Featured image for how to string light on outdoor tree
Image source: uplightrentals.com
Transform your outdoor space with expert-recommended techniques for stringing lights on trees—start by choosing durable, weather-resistant LED lights and planning a balanced layout to highlight the tree’s natural shape. Use non-invasive clips or wraps to protect bark while securing lights in a spiral or web pattern for maximum visual impact. With the right tools and timing, you’ll achieve a breathtaking glow that elevates your landscape in minutes.
How to String Light on Outdoor Tree 2026 Expert Tips for Stunning Results
Key Takeaways
- Plan your layout: Sketch light placement before hanging for balanced, professional results.
- Use outdoor-rated lights: Ensure durability and safety with weather-resistant, certified lighting.
- Start from the trunk: Wrap lights upward in spiral for even coverage and minimal tangling.
- Secure with clips: Attach lights with non-damaging clips, not nails or staples.
- Hide power sources: Conceal cords and transformers for a clean, polished look.
- Test before finalizing: Check lights at night to adjust spacing and brightness.
Why This Matters / Understanding the Problem
Picture this: It’s a warm summer evening. You’re sitting outside with friends, maybe a cold drink in hand, when you notice the sun starting to dip. The backyard goes dark—except for the faint glow of your neighbor’s perfectly lit trees. Suddenly, you’re hit with a wave of *why can’t mine look like that?*
You’re not alone. Lighting outdoor trees isn’t just about hanging a few bulbs and calling it a day. It’s about ambiance, warmth, and creating a space you actually want to spend time in. But here’s the thing—most people either overdo it (think: Vegas strip in your backyard) or underdo it (one sad strand dangling from a branch).
The good news? With the right approach, how to string light on outdoor tree 2026 expert tips for stunning results isn’t just a search phrase—it’s a roadmap to a magical outdoor oasis. Whether you’re prepping for a party, a holiday, or just want to enjoy your yard after sunset, this guide will walk you through every step—no electrical degree required.
And hey, I’ve been there. I’ve tangled myself in lights, tripped over extension cords, and once even had a squirrel chew through a strand (true story). But after years of trial, error, and a few “aha!” moments, I’ve cracked the code. Let’s get your trees glowing—the smart, safe, and *actually beautiful* way.
What You Need
Before you start wrapping lights around every branch in sight, let’s gather your toolkit. You don’t need anything fancy, but having the right gear makes all the difference. Think of this as your “light prep” checklist—like packing for a camping trip, but way more fun.
- Outdoor-rated string lights: Look for UL-listed, weatherproof (IP65 or higher), and LED for energy efficiency. Avoid indoor-only lights—they’ll short out in a heartbeat.
- Extension cords (outdoor-rated, GFCI-protected): Safety first! A GFCI (ground fault circuit interrupter) cuts power if it detects a leak—critical for wet weather.
- Light clips or zip ties: Use clips designed for trees or heavy-duty zip ties (30+ lbs). Avoid nails or screws—they damage bark and invite pests.
- Ladder (sturdy, non-slip): A 6–8 ft. step ladder works for most trees. For taller ones, consider a telescoping ladder or a light pole tool.
- Light pole or hook tool (optional but handy): A telescoping pole with a hook lets you hang lights without climbing. Great for tall or delicate trees.
- Measuring tape: To plan spacing and avoid “light gaps.”
- Timer or smart plug: So your lights turn on at dusk without you lifting a finger.
- Gloves (rubber or work gloves): Protect your hands from bark, sap, and cold metal.
- Bucket or tote: To carry tools and lights as you work.
Pro Insight: I learned the hard way that cheap zip ties break in winter. Spend a few extra bucks on UV-resistant, heavy-duty ones. Your future self will thank you.
Bonus: If you’re using how to string light on outdoor tree 2026 expert tips for stunning results for a holiday or event, consider themed lights (warm white for elegance, colored for parties). But for year-round use, stick with warm white (2700K–3000K)—it’s cozy and flattering.
Step-by-Step Guide to How to String Light on Outdoor Tree 2026 Expert Tips for Stunning Results
Step 1: Choose the Right Tree and Lighting Style
Not all trees are created equal—and neither are lighting styles. Start by asking: *What do I want this tree to do?*
– **Ambient glow**: Soft, even lighting for relaxing.
– **Focal point**: Bold, dramatic lighting to highlight the tree’s shape.
– **Party-ready**: Bright, colorful lights for events.
Tree Type Matters:
– **Smooth-bark trees** (maple, birch): Use light clips—they grip well.
– **Rough-bark trees** (oak, pine): Use zip ties or wrap lights *around* the bark (don’t force clips).
– **Delicate branches** (dogwood, willow): Use a light pole tool to avoid snapping twigs.
– **Tall trees** (over 15 ft.): Use a telescoping pole or ladder with a spotter.
Lighting Style Ideas:
– **Wrap style**: Coil lights around the trunk and major branches (great for smooth trunks).
– **Web style**: Create a crisscross pattern between branches (ideal for open canopies).
– **Drape style**: Hang lights vertically from branches (perfect for weeping trees).
– **Spotlight style**: Use a few bright lights at the base to uplight the canopy (dramatic!).
Warning: Never wrap lights *too tightly*. As the tree grows, the bark can split. Leave at least 1–2 inches of slack per season.
Step 2: Measure and Plan Your Layout
Grab your measuring tape. Measure:
– **Trunk circumference** (at chest height).
– **Branch length** (from trunk to tip).
– **Distance from power source** (outlet or timer).
Now, calculate how many light strands you need. A good rule: **1 strand per 2–3 feet of branch**. For example, a 12 ft. branch needs 4–6 strands.
– **For wrap style**: Measure trunk + branch length.
– **For web style**: Multiply branch count by average length.
Pro Tip: Lay out lights on the ground first. Test the spacing. You want coverage—not a light “bald spot” or a tangled mess. I once skipped this and ended up with one branch lit like a runway and another in darkness. Not a good look.
How to string light on outdoor tree 2026 expert tips for stunning results starts here: a plan prevents 90% of mistakes.
Step 3: Install Power and Safety Setup
Safety first—always.
1. **Plug into a GFCI outlet** (or use a GFCI extension cord). This shuts off power if water gets in.
2. **Use outdoor-rated extension cords**. Check the gauge: 14-gauge for up to 100 ft., 12-gauge for longer runs.
3. **Elevate connections**. Don’t let plugs sit on wet grass. Use a plastic container or cord cover.
4. **Test lights before hanging**. Plug them in. If a strand doesn’t light, fix it *now*.
Real Talk: I once hung all my lights, plugged them in, and—nothing. Turns out, one bulb was loose. Fixing it *after* hanging? A nightmare. Test early!
Step 4: Hang the Lights (The Right Way)
Time to get hands-on. Put on your gloves. Here’s how:
**For Wrap Style (Trunk + Branches):**
1. Start at the base. Wrap lights around the trunk in a spiral, leaving 2–3 inches between coils. Use clips or zip ties every 6–8 inches.
2. Move to branches. Follow the same spiral pattern. Keep tension light—don’t pull tight.
3. Overlap strands at branch junctions. Secure with a zip tie or clip.
**For Web Style (Canopy):**
1. Tie one end of a strand to a sturdy branch.
2. Use a light pole tool to “web” lights between branches—like a spiderweb.
3. Anchor each end with a clip or tie.
**For Drape Style (Weeping Trees):**
1. Tie strands to the top of a central branch.
2. Let lights hang vertically. Use clips every 12–18 inches to prevent sagging.
**For Spotlight Style (Uplighting):**
1. Place a floodlight at the base (facing up).
2. Use a ground stake or rock to hide the cord.
Pro Tip: Use *light clips* for smooth bark. For rough bark, wrap the light strand *around* the bark (not through it) and secure with a zip tie. No damage, no regrets.
Step 5: Connect and Test the Circuit
Now, link your strands:
1. **Connect end-to-end** (if using plug-in strands). Most outdoor lights have male/female plugs.
2. **Avoid daisy-chaining more than 3–5 strands**. Too many overloads the circuit. Use a multi-outlet extension cord instead.
3. **Use waterproof connectors** (or wrap connections in electrical tape + a plastic bag).
4. **Test again**. Turn on the timer. Walk around. Check for:
– Dark spots
– Flickering bulbs
– Overheating (warm but not hot)
Fix issues now. A flickering bulb? Tighten the base. Dark spot? Add a strand.
How to string light on outdoor tree 2026 expert tips for stunning results isn’t just about hanging lights—it’s about *perfecting* them.
Step 6: Secure Cords and Hide the Clutter
A beautiful tree can be ruined by a mess of cords. Here’s how to hide them:
– **Run extension cords along the ground** and cover with mulch, rocks, or a cord cover.
– **Use cord clips** to secure cords to the tree trunk (away from lights).
– **Bury cords shallowly** (1–2 inches) in mulch beds—*never* deeper (it’s a tripping hazard and damages roots).
– **For long runs**, use a conduit (PVC pipe) to protect cords.
Real Talk: I once left cords on the grass. My dog chewed them. $40 down the drain. Hide them—your pets, guests, and wallet will thank you.
Step 7: Set a Timer and Enjoy
Finally, automate your lights:
1. **Plug into a timer** (mechanical or smart).
2. **Set dusk-to-dawn mode** (most timers have this).
3. **Or set a schedule** (e.g., 6 PM–10 PM).
Smart plugs (like Kasa or TP-Link) let you control lights from your phone. Bonus: Use a dimmer for ambiance.
Now, step back. Turn on the lights. Breathe. That’s your *magic*.
Pro Tips & Common Mistakes to Avoid
Let’s talk about the things they don’t tell you in the manual. These are the lessons I’ve learned—sometimes the hard way.
Pro Tip #1: Less is More
Don’t wrap every inch of the tree. Leave some branches bare. It creates contrast and depth. Think of it like makeup: a little blush, not a full face of glitter.
Pro Tip #2: Use Warm White (2700K–3000K)
Cool white (5000K+) looks harsh and clinical. Warm white feels cozy and inviting—like a campfire or candlelight. I switched to warm white after my neighbor said my cool lights looked “like a hospital parking lot.” Ouch.
Pro Tip #3: Check for Growth
Trees grow. Lights don’t. Every spring, inspect your setup. Loosen zip ties if they’re cutting into bark. Replace damaged strands. I do this during my spring cleanup—it takes 10 minutes and saves me from a mid-season meltdown.
Common Mistake #1: Overloading the Circuit
Daisy-chaining 10 light strands? That’s a fire hazard. Use a multi-outlet extension cord with a built-in breaker. Or better: use LED lights (they use 80% less power).
Common Mistake #2: Using Indoor Lights Outdoors
Indoor lights aren’t waterproof. Rain, snow, or even morning dew can cause shorts. Always use outdoor-rated lights. Look for “IP65” or “weatherproof” on the box.
Common Mistake #3: Ignoring the Power Source
No outlet nearby? Don’t run cords across walkways (tripping hazard). Use a solar-powered spotlight or a battery-operated strand instead. Or, install an outdoor outlet (hire an electrician for this).
Common Mistake #4: Not Testing Before Hanging
I’ve done this. You’ve probably done this. Plug in lights *before* you climb the ladder. A dead strand is a pain to fix once it’s 10 feet off the ground.
Pro Insight: For large trees, use a *light pole tool*. It has a hook to grab light strands and place them high up. No ladder needed. I bought one after my ladder almost fell over. Best $30 I ever spent.
How to string light on outdoor tree 2026 expert tips for stunning results isn’t just about the lights—it’s about the *details* that make them shine.
FAQs About How to String Light on Outdoor Tree 2026 Expert Tips for Stunning Results
Q: Can I leave outdoor tree lights up year-round?
Yes—but with caveats. Use weatherproof LED lights and check them every season. Loosen zip ties as the tree grows. Remove lights during storms or high winds (to prevent branches from breaking). I leave mine up from fall to spring, then take them down in summer to give the tree a “break.”
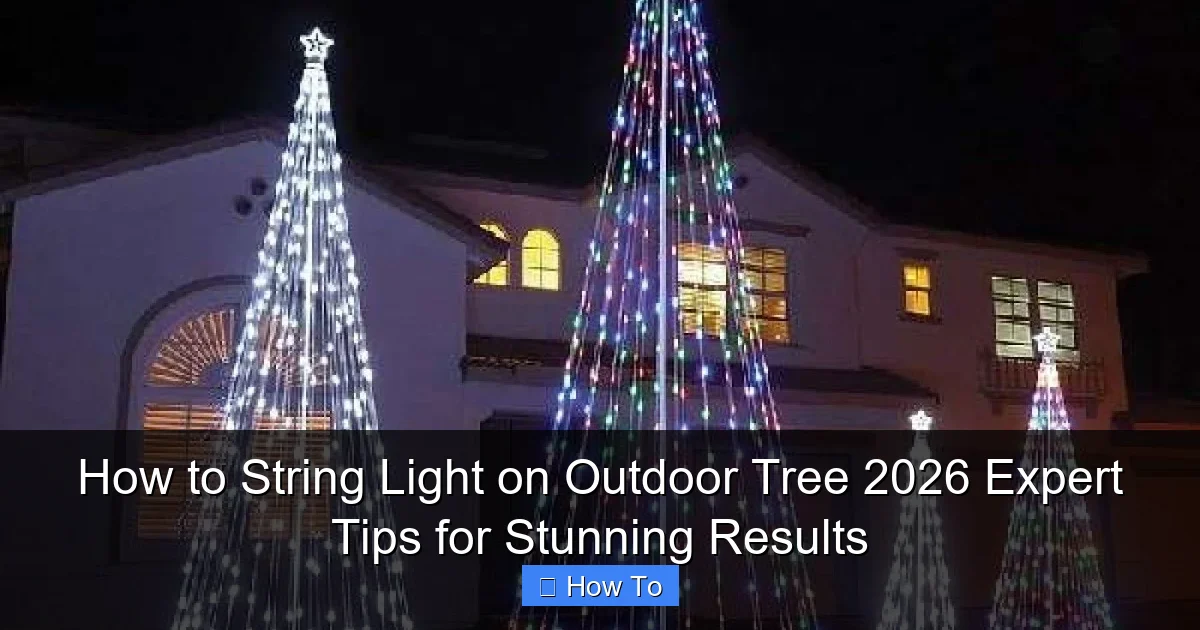
Visual guide about how to string light on outdoor tree
Image source: i.pinimg.com
Q: How do I hang lights on a tree with no branches?
No branches? No problem. Use the wrap style on the trunk. Or, install a ground stake light at the base to uplight the canopy. For very tall, branchless trees (like palms), wrap lights around a PVC pipe and stake it into the ground—like a giant light pole.
Q: What if my tree has rough bark?
Rough bark (like oak or pine) doesn’t grip clips well. Wrap lights around the bark (not through it) and secure with zip ties. Or, use a light pole tool to hang lights from higher branches. Avoid forcing clips—they’ll just fall off.
Q: How many light strands do I need?
Rule of thumb: 1 strand per 2–3 feet of branch. For a 15 ft. tree, that’s 5–7 strands. For a wrap style, measure the trunk + branches. Pro tip: Buy 1–2 extra strands for overlap and backup.
Q: Can I use solar-powered lights?
Yes! Solar lights are great for areas with no outlet. But—they’re usually less bright. Use them for ambient glow, not a focal point. Place the solar panel in direct sunlight (south-facing is best). I use solar spotlights for uplighting—they’re bright enough and zero cords.
Q: How do I remove lights without damaging the tree?
Cut zip ties with scissors (don’t pull). For clips, gently squeeze the sides and slide them off. Never yank lights—you’ll tear bark. I keep a pair of wire cutters in my tool bucket for quick removal.
Q: What’s the best light color for outdoor trees?
Warm white (2700K–3000K) is the gold standard. It’s cozy, flattering, and mimics candlelight. Colored lights (red, blue, etc.) are fun for parties, but use sparingly. I keep warm white year-round and swap in colored strands for holidays.
Final Thoughts
There you have it—the real, no-fluff guide to how to string light on outdoor tree 2026 expert tips for stunning results. This isn’t about perfection. It’s about creating a space that feels like *you*. A place where you want to linger after dinner. Where your kids run through the glow. Where your friends say, “This is so beautiful.”
Start small. Pick one tree. Use the steps above. Test, adjust, and—most importantly—enjoy the process. Lighting trees isn’t a chore. It’s an act of love for your outdoor space.
And remember: the best lights aren’t the brightest. They’re the ones that make you smile when you walk outside.
So grab your gloves, your ladder, and a cup of coffee. Your magical backyard is waiting.
Action Step: Pick a weekend this month. Gather your gear. Hang those lights. Then, turn them on at dusk. Sit back. And soak it in. You’ve earned it.

