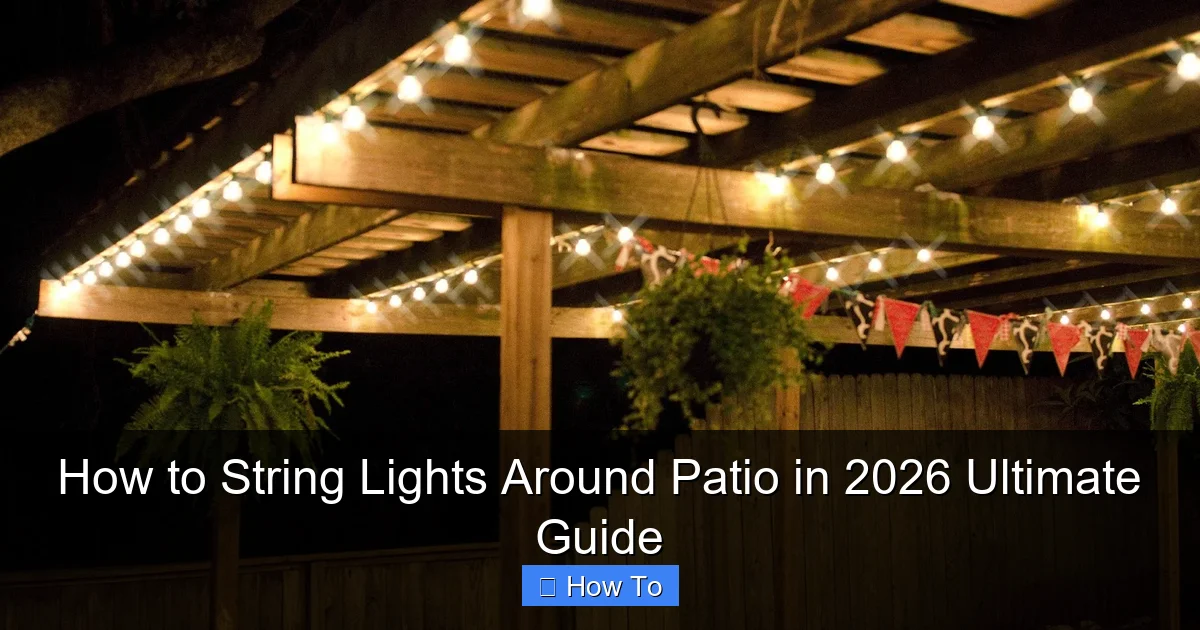
Featured image for how to string lights around patio
Image source: warisanlighting.com
Transform your patio into a stunning nighttime retreat by strategically stringing lights along railings, posts, or overhead beams for maximum ambiance and safety. Choose durable, weather-resistant LED string lights and use proper mounting hardware like hooks or zip ties to ensure a secure, long-lasting setup. Plan your layout with spacing and power access in mind to create a professional, inviting glow perfect for entertaining or relaxing in 2026.
“`html
How to String Lights Around Patio in 2026 Ultimate Guide
Key Takeaways
- Plan your layout first: Sketch light placement to avoid overbuying or gaps.
- Use weatherproof lights: Choose UL-rated LEDs for durability in all conditions.
- Anchor securely: Install hooks or clips rated for outdoor weight loads.
- Hide cords creatively: Run wires along beams or under trim for a clean look.
- Test before finalizing: Check connections and brightness before permanent installation.
- Add timers or dimmers: Enhance ambiance and energy efficiency with smart controls.
Why This Matters / Understanding the Problem
Picture this: It’s a warm summer evening. You’re sitting on your patio, sipping iced tea, and watching the sky turn soft shades of orange and pink. You want to extend the magic into the night—but the moment the sun sets, it’s pitch black. That’s when how to string lights around patio in 2026 ultimate guide becomes your new best friend.
Outdoor lighting isn’t just about visibility. It’s about mood, safety, and transforming your backyard into a cozy retreat. But here’s the catch: most people either overcomplicate it or end up with tangled, sagging, or unsafe setups. I’ve been there—twice. Once, I used cheap plastic hooks that snapped in the wind. Another time, I strung lights too tight and pulled a gutter loose. Oops.
The good news? With the right approach, stringing lights around your patio is easier than assembling IKEA furniture (and way more satisfying). This guide walks you through everything—from choosing the right lights to securing them safely—so you can enjoy a beautifully lit space without the headaches.
Whether you have a small balcony or a sprawling backyard, how to string lights around patio in 2026 ultimate guide is your roadmap to a dreamy, functional outdoor oasis.
What You Need
Before you start, gather your gear. Trust me, nothing kills the vibe like realizing mid-installation that you’re missing a key tool. Here’s what you’ll need:
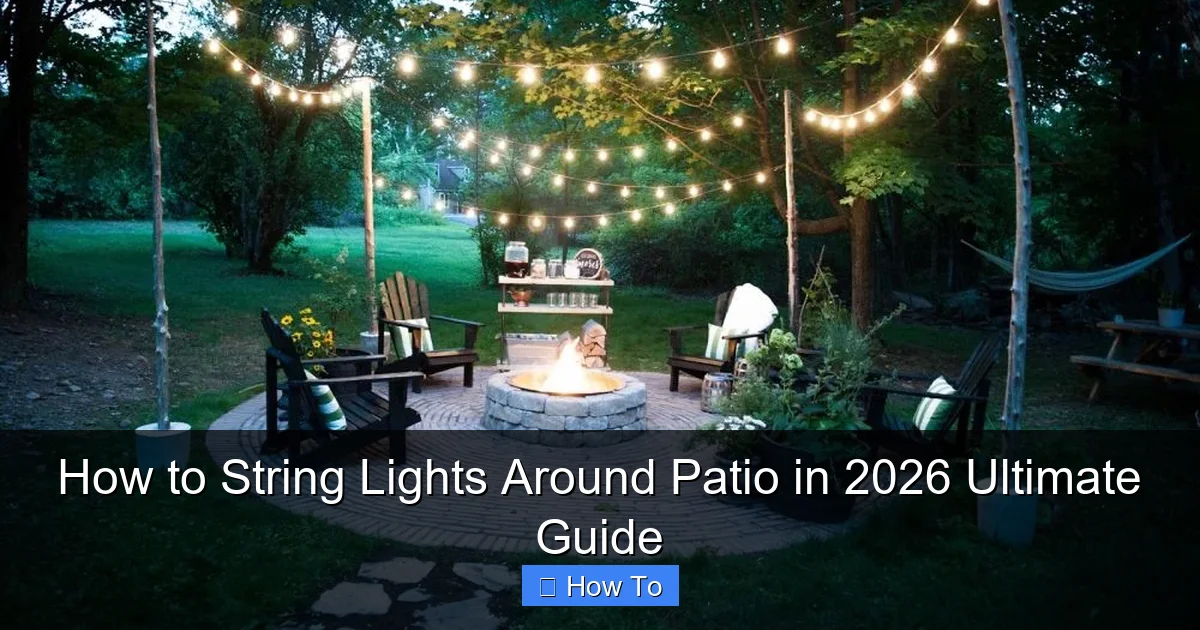
Visual guide about how to string lights around patio
Image source: cdn.homedit.com
- Outdoor-rated string lights: LED, weatherproof, and preferably with warm white or soft amber tones. I love vintage Edison bulbs for that rustic charm.
- Measuring tape: To map your layout and avoid running out of lights.
- Drill & anchors (if attaching to wood, stucco, or brick): Use appropriate screws for your surface.
- Eye hooks or cup hooks: For wood or vinyl surfaces. Go stainless steel or coated to resist rust.
- Adhesive clips or gutter hooks: Great for no-drill options on metal or plastic gutters.
- Extension cords & outdoor-rated power strip: Make sure they’re GFCI-protected for safety.
- Zip ties or outdoor-rated cable clips: For tidying up excess cord and securing lights between anchors.
- Timer or smart plug: So your lights turn on at sunset—automatically. No more fumbling in the dark.
- Ladder (if needed): A sturdy, non-slip one. Safety first!
- Helper (optional but helpful): For longer runs, having someone to hand you clips or hold the end of the lights is a game-changer.
Pro insight: Don’t cheap out on the lights. I once bought a $20 set from a big-box store—they lasted one season. Invest in quality. Look for “ETL” or “UL” listed for outdoor use and check the IP rating (IP44 or higher is ideal).
Step-by-Step Guide to How to String Lights Around Patio in 2026 Ultimate Guide
Step 1: Plan Your Layout & Measure the Perimeter
First things first: map it out. You don’t want to start stringing lights only to realize you’re 10 feet short (or have 10 feet too many).
Grab your measuring tape and measure the full perimeter of your patio. Include any overhangs, railings, or pergolas you want to highlight. Write it down—yes, on paper or your phone notes. I once eyeballed a 20-foot run and ended up with 25 feet of lights. Lesson learned.
Now, sketch a quick diagram. Decide where you want the lights to start and end. Think about:
- Where the power source is (outlet, timer, etc.)
- Any obstacles (trees, planters, furniture)
- Whether you want a straight line, zigzag, or canopy effect
For a classic look, I recommend a “canopy” or “crisscross” pattern—lights going across the space in parallel lines or an X-shape. It adds depth and feels more intentional than a single strand.
Pro tip: Add 10–15% extra length to your measurement. You’ll use it for slack at anchors and to reach the power source.
Step 2: Choose the Right Mounting Method
How you attach the lights depends on your patio’s structure. Here are the most common options—pick the one that fits your setup.
For Wood Surfaces (Deck Railings, Pergolas, Fences)
- Use stainless steel eye hooks or cup hooks.
- Pre-drill small pilot holes to prevent splitting.
- Space hooks every 18–24 inches for even tension.
For Vinyl or Metal Gutters
- Use gutter clips or adhesive-backed clips.
- No drilling needed—great for renters or delicate surfaces.
- Check weight limits: most clips hold up to 5 lbs per foot.
For Brick, Stucco, or Concrete
- Use masonry screws with plastic anchors.
- Drill pilot holes with a masonry bit.
- Space anchors every 24–30 inches.
For No-Damage Options (Renters, Temporary Setups)
- Try adhesive outdoor clips (like Command Outdoor Strips).
- Use freestanding poles or shepherd’s hooks in planters or weighted bases.
- Or, drape lights over a pergola or existing structure—no mounting needed.
Warning: Avoid using nails or screws on vinyl siding. They can crack or warp the material. I learned this the hard way—my neighbor’s siding still has a tiny hole from my overeager DIY moment.
Step 3: Install the Anchors (Mounting Points)
Now it’s time to install your mounting hardware. Take your time here—this is the foundation of your setup.
Start at the end closest to your power source. That way, you’re not dragging cords across the patio.
For eye hooks or screws:
- Mark each anchor point with a pencil (every 18–24 inches).
- Pre-drill holes (if needed).
- Screw in the hooks or anchors by hand, then tighten with a screwdriver or drill.
- Make sure they’re secure—give them a gentle tug. If they wiggle, tighten or reposition.
For adhesive clips:
- Clean the surface with rubbing alcohol (dirt kills adhesion).
- Press each clip firmly for 30 seconds.
- Wait 24 hours before hanging lights (yes, really—I skipped this once and lost half my clips overnight).
For gutter hooks:
- Snap them onto the gutter edge.
- Space them evenly—don’t overload one section.
Pro tip: Use a level to keep your anchor points aligned. A crooked line will make your lights look messy, even if they’re perfectly strung.
Step 4: Hang the Lights (The Fun Part!)
Now for the main event: hanging the lights. Unpack them carefully—I’ve tangled more than one set before I learned to lay them out straight.
Start at the power source end. Plug the lights in (just to test—unplug before continuing). If they don’t light up, check the fuse (usually in the plug) or replace a bulb.
Now, begin attaching:
- Loop the light strand’s built-in hook (or a zip tie) over the first anchor.
- Walk the lights to the next anchor, keeping slight tension—don’t pull too hard.
- Secure at each anchor point. For eye hooks, loop the wire or use a zip tie. For clips, snap the cord in.
- Continue around the patio.
For a canopy effect (my favorite):
- Run parallel lines across the patio, 3–5 feet apart.
- Use a zigzag pattern by connecting anchors on opposite sides.
- Or, create an X-shape by crossing lights diagonally.
Keep the cord slack—about 1–2 inches of give at each anchor. Too tight = stress on the wire and anchors. Too loose = sagging lights.
Pro tip: If your lights have a plug on both ends, use the female end at the power source and the male end at the far side. That way, you can add another strand later if needed.
Step 5: Manage Cords & Power
Ugly cords can ruin a beautiful setup. Let’s fix that.
- Use outdoor-rated extension cords (rated for wet locations).
- Run cords along the ground or under furniture—never across walkways (tripping hazard).
- Use cable clips or zip ties to secure cords to railings, posts, or the ground.
- Plug into a GFCI outlet (or use a GFCI extension cord). This cuts power if there’s a short—critical for safety.
For a cleaner look:
- Use a smart plug or timer to automate on/off times.
- Hide the plug behind a planter, bench, or outdoor outlet cover.
- For permanent setups, consider hiring an electrician to install an outdoor-rated outlet near your patio.
Pro tip: I use a weatherproof outlet cover (like the Intermatic ST01) to protect my timer and plugs from rain. It’s a $20 investment that saves me from rewiring every spring.
Step 6: Test, Adjust, and Secure
Once everything’s hung, plug it in and step back.
Check for:
- Even brightness (no dark spots or flickering)
- Sagging or overly tight sections
- Cords that are visible or in the way
Adjust as needed:
- Add more anchors to reduce sagging.
- Loosen or tighten zip ties.
- Reposition cords for a cleaner look.
Finally, secure any loose ends with zip ties or clips. I like to leave a small loop at the end of the cord—makes it easier to unplug later.
Pro tip: Take a photo of your setup. That way, when you take them down for winter, you’ll know exactly how to restring them next year.
Step 7: Seasonal Care & Storage
Your lights don’t have to be a one-season wonder. With a little care, they’ll last for years.
- Winter: Remove lights if you live in a snowy or icy climate. Moisture and freezing can damage wires.
- Storage: Wrap lights around a cardboard reel or a dedicated light winder (I use a light reel organizer—game-changer for tangles).
- Inspect: Before rehanging, check for frayed wires, loose bulbs, or damaged plugs.
For permanent setups (like pergola lights), use commercial-grade LED strands rated for year-round outdoor use. They cost more upfront but save you time and hassle.
Pro tip: Label your lights by location (“patio,” “deck,” “pergola”) so you know where each set goes when it’s time to rehang.
Pro Tips & Common Mistakes to Avoid
After years of trial, error, and a few “why did I do that?” moments, here are my hard-earned insights.
Pro Tip 1: Use warm white or amber lights. Cool white feels sterile—like a parking lot. Warm tones create a cozy, inviting glow. I once used cool white for a party and my guests asked if I was “trying to set a hospital vibe.” Oops.
Pro Tip 2: Don’t skip the timer. I used to turn my lights on and off manually. Now, with a $15 timer, they come on at dusk and shut off at 11 PM. Less effort, more ambiance.
Common Mistake 1: Overloading circuits. Most outdoor outlets are on a 15-amp circuit. A single strand of LED lights uses about 0.2–0.5 amps. But if you plug in a space heater, string lights, and a sound system? You’ll trip the breaker. Stick to one high-draw device or use a dedicated circuit.
Common Mistake 2: Using indoor lights outdoors. Indoor lights aren’t sealed against moisture. Rain, dew, or humidity can short-circuit them. Always check the label: “Indoor Use Only” means just that.
Common Mistake 3: Ignoring the weather. Wind can snap weak hooks. Snow can weigh down sagging lines. Check your setup after storms and reinforce as needed. I once lost a gutter hook in a gust—my lights ended up in my neighbor’s yard. Awkward.
Pro Tip 3: Layer your lighting. String lights are great, but pair them with solar path lights, lanterns, or LED candles for depth. It’s like cooking—one ingredient isn’t enough for a great dish.
FAQs About How to String Lights Around Patio in 2026 Ultimate Guide
Q: Can I leave string lights up year-round?
A: It depends. If you use commercial-grade, all-weather LED lights and your setup is secure (no sagging, no exposed wires), yes. But in areas with heavy snow, ice, or high winds, I recommend taking them down. Moisture and freezing can damage even “outdoor-rated” lights.
Q: How many lights do I need for my patio?
A: Measure your perimeter (in feet), then add 10–15% for slack and anchors. For a 20-foot run, get a 24-foot strand. For a canopy, multiply the width by the number of lines (e.g., 12-foot width × 3 lines = 36 feet total).
Q: What’s the best way to hang lights without drilling?
A: Use gutter clips, adhesive outdoor clips, or freestanding poles. For railings, try zip ties or tension rods. I’ve used a weighted umbrella stand with a hook—no damage, no fuss.
Q: How do I connect multiple light strands?
A: Use a multi-outlet extension cord or plug the male end of one strand into the female end of another (if compatible). Never exceed 210 watts (for incandescent) or 80% of the circuit’s max load. For LEDs, you can usually connect 2–3 strands safely.
Q: Are battery-powered string lights any good?
A: They’re great for small spaces or renters. But batteries drain fast—especially in cold weather. I use them for table centerpieces or short-term setups. For long runs, stick to plug-in.
Q: How do I fix a flickering light strand?
A: First, check the fuse (in the plug). Replace it with a spare (included with most sets). If it still flickers, replace one bulb at a time—sometimes a loose bulb causes the whole strand to blink. If all else fails, the wire might be damaged. Time to replace.
Q: Can I use string lights in a tree?
A: Yes! Wrap them around the trunk and branches, or drape them like a canopy. Use tree-friendly clips or zip ties. Avoid tight wraps—they can damage bark. And always use outdoor-rated lights!
Final Thoughts
There you have it—your complete how to string lights around patio in 2026 ultimate guide. From planning to power management, I’ve shared what works, what doesn’t, and the little tricks that make all the difference.
Remember: this isn’t about perfection. It’s about creating a space where you love to spend time. A little glow, a little warmth, and a lot of personality.
Start small. Test one strand. Get the hang of it. Then expand. And don’t stress if it’s not Pinterest-perfect—your patio is for living, not just looking at.
When you’re done, invite a friend over, pour a glass of wine, and watch the lights come on. That moment—when the space transforms—is worth every zip tie and anchor.
Now go string those lights. Your dream patio is just a few steps away.
“`

