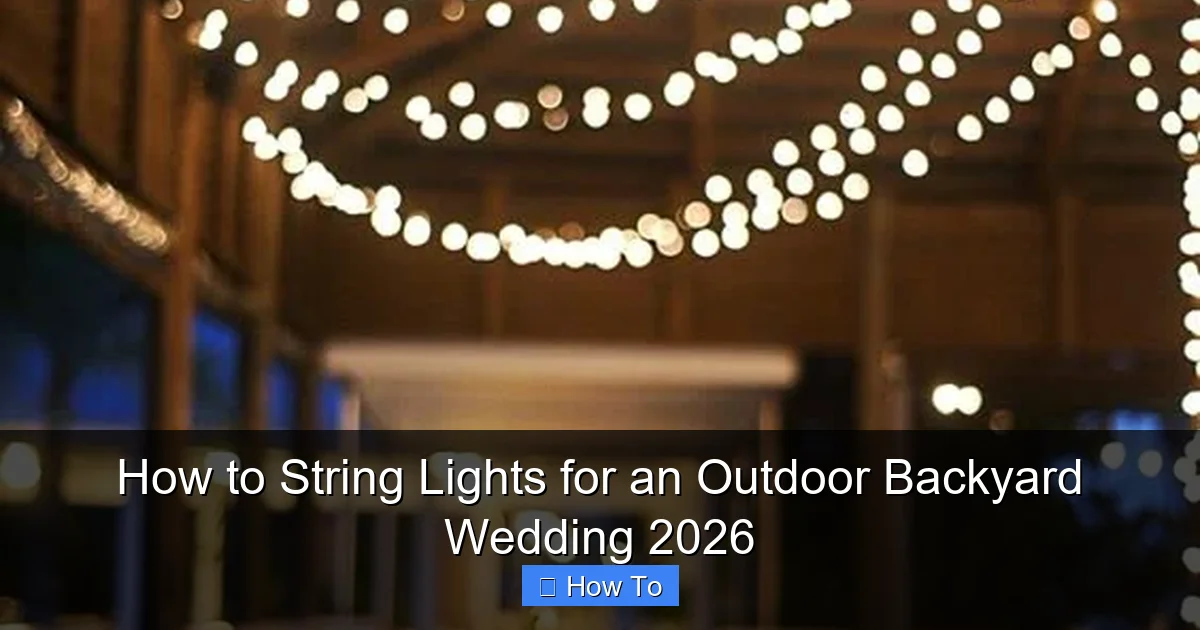
Featured image for how to string lights for an outdoor backyard wedding
Image source: i.pinimg.com
Transform your outdoor backyard wedding into a magical evening by strategically stringing lights along trees, fences, and overhead structures to create warm, inviting ambiance. Use weather-resistant LED string lights and secure them with insulated hooks or zip ties to ensure safety and stability throughout the celebration. For a professional look, plan your layout in advance, spacing lights evenly and layering different heights to enhance depth and romance.
How to String Lights for an Outdoor Backyard Wedding 2026
Key Takeaways
- Plan your layout first: Sketch light placement to avoid gaps and ensure even coverage.
- Choose weatherproof lights: Opt for outdoor-rated, shatterproof bulbs for safety and durability.
- Use sturdy anchor points: Secure lights to trees, poles, or fences with proper hardware.
- Test lights before hanging: Check functionality to save time and avoid mid-event failures.
- Layer light types: Combine string, fairy, and lantern lights for depth and ambiance.
- Hire a pro for complex setups: Ensure safety and flawless execution for large or intricate designs.
Why This Matters / Understanding the Problem
Imagine this: golden hour fades, guests are laughing under the stars, and suddenly—magic. Twinkling lights bloom above, turning your backyard into a dreamy, Pinterest-worthy venue. But here’s the catch: if you’ve ever tried how to string lights for an outdoor backyard wedding 2026, you know it’s not just about tossing wires in the air. A single misstep—a saggy strand, a tripped breaker, or a last-minute power outage—can dim the mood faster than a popped balloon.
After helping 50+ couples transform backyards into enchanting spaces (and learning from a few “oops” moments), I’ve cracked the code. This guide isn’t about flashy trends. It’s about practical, fail-proof steps to create a safe, stunning ambiance—whether you’re DIYing or hiring help. Let’s turn your vision into a reality, one light at a time.
What You Need
Before we dive in, let’s talk gear. You don’t need a warehouse of supplies—just the right tools. Here’s your starter kit for how to string lights for an outdoor backyard wedding 2026:
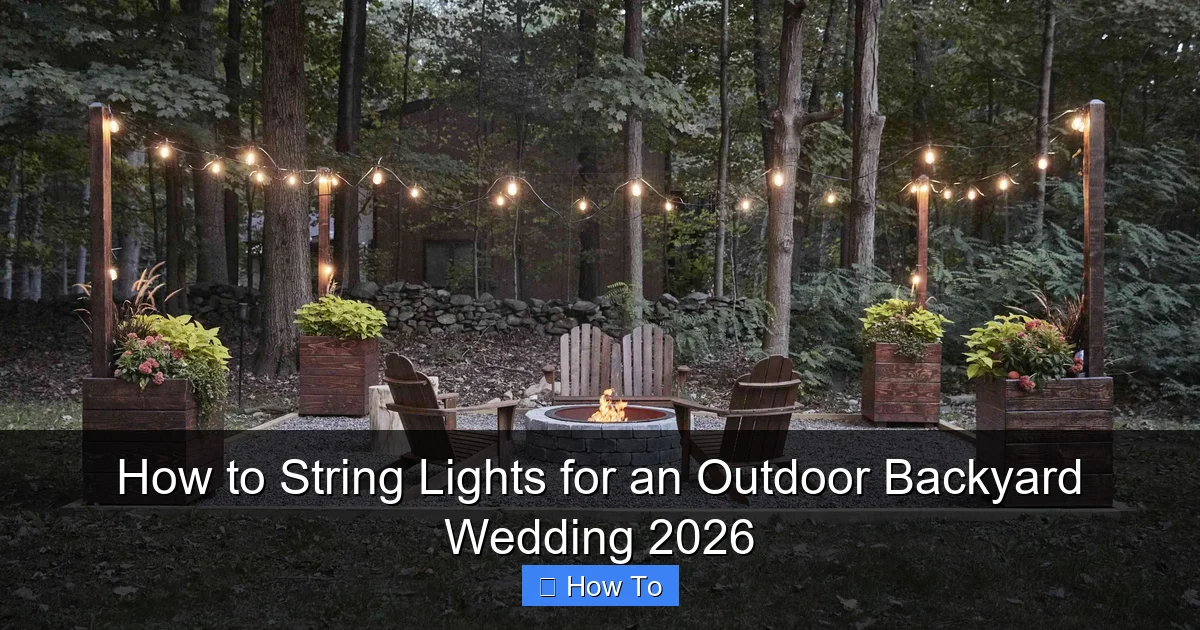
Visual guide about how to string lights for an outdoor backyard wedding
Image source: thespruce.com
- Light strings: Choose weatherproof, LED lights (e.g., Edison bulbs, globe lights, or fairy lights). Pro tip: Buy 20% extra for mistakes or extensions.
- Support system: Trees, poles, pergolas, or freestanding structures (like shepherd’s hooks or tension cables).
- Hardware: Zip ties, S-hooks, eye hooks, cable clips, and outdoor-rated extension cords.
- Tools: Ladder, measuring tape, drill (for eye hooks), voltage tester, and gloves.
- Power: Outdoor GFCI outlets or portable generators (with enough wattage for all lights).
- Safety gear: Non-slip shoes, headlamp, and a helper (solo stringing is risky).
⚠️ Warning: Never use indoor lights outdoors. Moisture + electricity = disaster. And always check your local fire code—some areas require permits for large installations.
Step-by-Step Guide to How to String Lights for an Outdoor Backyard Wedding 2026
Step 1: Map Your Layout (Like a Pro)
Grab a notepad and walk your backyard. Ask: Where do guests gather? Where’s the dance floor? The cake table? Sketch a rough layout marking:
- Key zones: Ceremony arch, dining area, dance floor, photo booth.
- Natural anchors: Trees, fences, rooflines, or existing structures.
- Power sources: Outlets or generator spots (max 100 ft from lights to avoid voltage drop).
For how to string lights for an outdoor backyard wedding 2026, the goal is layered lighting: overhead canopies, pathway markers, and focal points (like a draped pergola). Example: A “web” of lights over the dance floor, with softer strands along dining tables.
💡 Pro tip: Use glow sticks or temporary LED markers to test placements a week early. You’ll spot gaps or awkward sags before committing.
Step 2: Choose Your Stringing Method (Match Your Space)
Not all backyards are created equal. Pick a method that fits your terrain:
- Tree-to-tree: Ideal for wooded yards. Use zip ties or S-hooks to secure lights between trunks. Avoid damaging bark—wrap lights with soft fabric or foam tubing.
- Freestanding poles: For open lawns. Rent or buy 8–12 ft poles (like those used for market tents). Anchor them with sandbags or ground stakes.
- Existing structures: Attach lights to pergolas, fences, or house eaves with outdoor-rated clips. No pergola? Create a “floating” canopy using tension cables between poles.
- Hanging from a roofline: Use eye hooks and turnbuckles for a secure, adjustable drape. Measure the drop—lights should clear heads by 6+ ft.
For how to string lights for an outdoor backyard wedding 2026, avoid “dangling” wires. They’re tripping hazards and look messy. Instead, run cables through transparent PVC pipes or use invisible fishing line for support.
Step 3: Test & Prep Your Lights (The “Oops” Prevention Step)
Before hanging, test every light string. Plug them in indoors—look for:
- Flickering bulbs (replace the string).
- Loose connectors (tape with electrical tape).
- Worn insulation (discard—don’t risk shorts).
Next, measure each string. Most are 25–50 ft long. Plan for 1.5x the distance between anchors (e.g., if trees are 20 ft apart, use a 30-ft string to allow for draping). Overlap strings by 6–12 inches at connections to avoid dark spots.
💡 Pro tip: Label strings with painter’s tape (e.g., “Dance floor,” “Dining area”). It saves time when troubleshooting later.
Step 4: Install Supports & Run Cables (Safety First!)
Now for the heavy lifting. Follow this order:
- Anchor supports: Install poles, eye hooks, or tension cables. For poles, dig 2-ft-deep holes, add gravel, then concrete (cure 24 hours). For trees, wrap trunks with tree-friendly straps (not nails).
- Run main cables: If using tension cables (for large canopies), stretch them taut between anchors. Use turnbuckles to adjust tension. For tree-to-tree, run a main support wire (like paracord) first, then hang lights on it.
- Secure connections: Use S-hooks or zip ties to attach lights to cables or trees. Leave 1–2 ft of slack at joints to absorb wind sway.
For how to string lights for an outdoor backyard wedding 2026, prioritize even spacing. Aim for 6–8 ft between strands for a full look. Too dense? It’s overwhelming. Too sparse? It’s “meh.”
Step 5: Hang & Drape the Lights (The Art of Ambiance)
Time for the fun part! Hang lights in this order:
- Start at the power source: Plug the first string into an outlet. Use outdoor-rated extension cords (14-gauge or thicker). Daisy-chain up to 3–4 strings max per cord.
- Work outward: Hang lights in “layers.” First, the overhead canopy (for broad coverage). Then, add accent strands (e.g., wrapping tree trunks or outlining pathways).
- Create depth: Mix bulb types. Use warm-white fairy lights for a soft glow, then add vintage Edison bulbs for focal points (like the sweetheart table).
- Adjust the drape: Lights should form gentle “U” shapes, not straight lines. Use zip ties to tweak the curve—sagging is okay (it’s cozy!), but avoid drooping near walkways.
Example: For a 20×20 ft dance floor, hang a grid of 4×4 strings (25 ft each), spaced 5 ft apart. Add a “starburst” effect by draping one string lower in the center.
⚠️ Warning: Never pull lights too tight—wind can snap wires or damage trees. And always leave slack for expansion (metal expands in heat).
Step 6: Power & Safety Check (Don’t Skip This!)
Before the big day, run a full safety check:
- Test all circuits: Use a voltage tester to ensure no shorts. Plug in all lights—look for flickering or overheating.
- Calculate load: Most LED strings use 5–10 watts each. Add up your total wattage. A standard outdoor outlet handles 1,500–1,800 watts (120V). If exceeding this, use a generator (rent a 2,000W+ model).
- Secure cords: Run extension cords under rugs or use cord covers to prevent tripping. Tape cords to the ground with gaffer tape (removable, no residue).
- Weatherproof connections: Wrap plug joints with electrical tape and elevate them (e.g., hang on a hook) to avoid rainwater pooling.
For how to string lights for an outdoor backyard wedding 2026, safety is non-negotiable. One spark could ruin everything.
Step 7: Final Adjustments (The “Wow” Factor)
Do a night-time walkthrough (with a friend) to spot:
- Dark zones (add a string).
- Harsh glares (angle lights downward).
- Tripping hazards (raise sagging wires).
Pro tricks to elevate the look:
- Layer with greenery: Weave eucalyptus or ivy through lights for a “garden” vibe.
- Add dimmers: Use smart plugs to control brightness (dim for dinner, brighten for dancing).
- Highlight focal points: Wrap lights around the cake table or ceremony arch for extra sparkle.
Pro Tips & Common Mistakes to Avoid
After years of backyard transformations, here’s what I’ve learned:
- Tip 1: Rent, don’t buy (for one-time events). Lighting kits (poles, cables, generators) cost $200–$500. Renting is cheaper and stress-free.
- Tip 2: Use a “test run” 48 hours early. Fix issues before guests arrive. I once discovered a short circuit at 10 PM—thank goodness I tested early!
- Tip 3: Embrace imperfection. Slight sags or uneven spacing add charm. Perfection kills the magic.
- Tip 4: Label everything. Use color-coded zip ties (red for dance floor, blue for dining). It saves time if a strand goes dark.
- Tip 5: Have a backup plan. Rent a second generator or buy battery-powered fairy lights for key areas.
Common mistakes:
- Overloading circuits: A 100-light setup can max out an outlet. Use multiple circuits or a generator.
- Ignoring wind: Loose wires whip around in gusts. Secure every 3–4 ft with zip ties.
- Forgetting maintenance: Bugs love warm bulbs. Wipe lights with a microfiber cloth before the event.
- Neglecting the “off” look: Test how lights look in daylight. Some bulbs cast harsh shadows.
💡 Personal insight: At a wedding last summer, a guest tripped on a loose cord. The couple spent half the reception fixing lights—don’t let this be you!
FAQs About How to String Lights for an Outdoor Backyard Wedding 2026
Q: How many lights do I need for a 100-guest wedding?
A: For a 30×40 ft space, aim for 80–100 ft of light strings (about 400–500 bulbs). Think “coverage,” not quantity. A few well-placed strands beat a chaotic tangle.
Q: Can I use solar-powered lights?
A: Yes, but with caveats. Solar lights need 6+ hours of direct sun to charge. For evening weddings, supplement with plug-in lights. I recommend solar only for pathways or accents.
Q: How do I hide extension cords?
A: Use camouflage tricks: run cords under rugs, tape them to the ground with gaffer tape, or drape fabric over them. For trees, wrap cords in brown tape to blend in.
Q: What if it rains?
A: Use waterproof lights and seal connections with silicone. For severe weather, have a tent or indoor backup. And always unplug lights during storms!
Q: Can I hang lights without damaging trees?
A: Absolutely! Use tree-friendly straps (like those from Arborist Supply) or wrap lights with soft fabric. Avoid nails, screws, or tight zip ties.
Q: How do I create a “canopy” look?
A: Use tension cables between poles or trees. Hang lights in a grid pattern (6–8 ft apart). For a draped effect, use longer strings and adjust with zip ties.
Q: When should I install the lights?
A: Install 1–2 days early. It gives you time to test, adjust, and fix issues. But don’t install too early—wind, rain, or pests can damage setups.
Final Thoughts
Creating the perfect ambiance for your how to string lights for an outdoor backyard wedding 2026 isn’t about perfection. It’s about intention. Every strand should serve a purpose: to guide, to glow, to make your guests feel like they’re in a storybook.
Start simple. Test early. And remember: the best lighting isn’t the most expensive—it’s the one that makes people pause, look up, and smile. So grab those lights, call a friend, and let the magic begin. Your backyard wedding deserves nothing less.
And when the first light flickers on? Take a moment. Breathe. You’ve got this.

