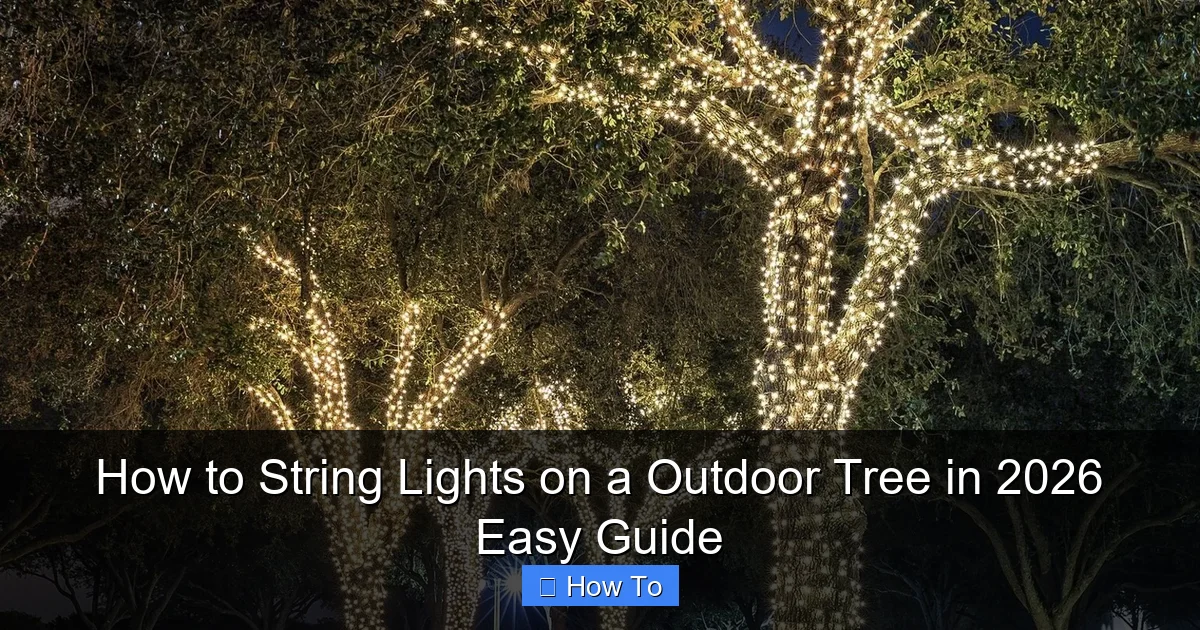
Featured image for how to string lights on a outdoor tree
Image source: themprojects.com
Transform your outdoor tree into a dazzling nighttime centerpiece by starting with the right lights—solar-powered or low-voltage LED strands for safety and ease in 2026. Wrap lights from the trunk outward, securing them with insulated clips or zip ties to avoid damage, and work upward in a spiral pattern for even coverage. Always use a GFCI outlet and test lights before hanging to ensure a flawless, professional glow.
“`html
How to String Lights on an Outdoor Tree in 2026: Easy Guide
Key Takeaways
- Plan your layout: Sketch light placement before starting to avoid gaps or overhangs.
- Use outdoor-rated lights: Ensure lights are weatherproof and safe for year-round use.
- Start from the trunk: Anchor lights at the base, then spiral upward for even coverage.
- Secure with insulated clips: Prevent damage to bark and branches while holding lights firmly.
- Test before hanging: Check all bulbs work to avoid mid-installation fixes.
- Power safely: Use GFCI outlets and hide cords to reduce tripping hazards.
Why This Matters / Understanding the Problem
Let’s be real—nothing transforms your backyard like twinkling lights on a tree. Whether it’s for the holidays, a summer soirée, or just to make your evening coffee feel magical, stringing lights on an outdoor tree adds charm and warmth.
But here’s the catch: it can also be frustrating. You’ve probably seen those tangled messes, lights sagging in the wind, or worse—half the strands go dark after one season. That’s why learning how to string lights on an outdoor tree in 2026 easy guide isn’t just about aesthetics. It’s about doing it right—safely, beautifully, and with minimal effort.
I’ve been there. Last year, I tried wrapping my oak with lights using cheap zip ties. By January, half were dangling like sad tinsel. After some trial, error, and a few YouTube rabbit holes, I cracked the code. This guide? It’s what I wish I had when I started.
We’ll cover everything from choosing the right lights to avoiding common pitfalls. Whether you’re a first-timer or a seasoned decorator, this how to string lights on an outdoor tree in 2026 easy guide will help you create a stunning, long-lasting display—no headaches included.
What You Need
Before you start, gather your gear. The right tools make all the difference. Think of this like baking a cake: you need the right ingredients to get the flavor (and the sparkle) just right.
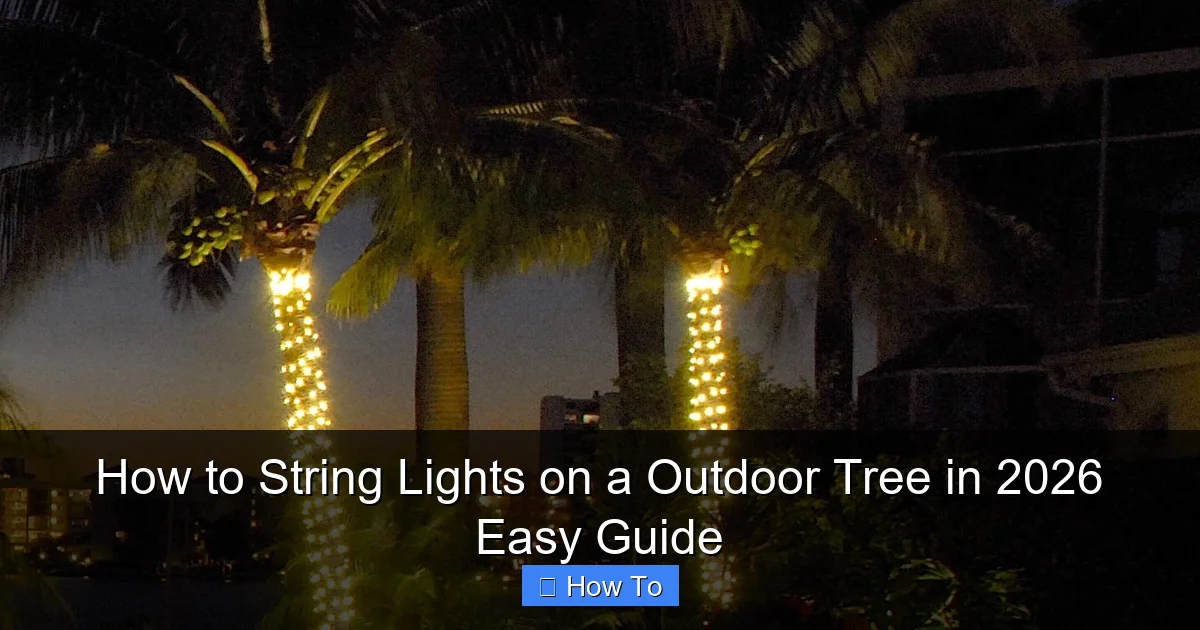
Visual guide about how to string lights on a outdoor tree
Image source: warisanlighting.com
- Outdoor-rated LED string lights – Look for “UL-listed for outdoor use” and check the weatherproof rating. I prefer warm white LEDs—they’re energy-efficient and give that cozy glow.
- Extension cords (outdoor-rated) – Make sure they’re GFCI-protected for safety. I use one with a built-in timer—saves energy and keeps things consistent.
- Light clips or hooks – Skip the nails and tape. I use plastic light clips designed for trees. They’re gentle on bark and reusable.
- Measuring tape or string – Helps estimate how many lights you’ll need.
- Step ladder or extension pole – For tall trees, a telescoping light-hanging pole (like the Light Hanger Pro) is a game-changer.
- Zip ties (optional) – Only for temporary fixes or securing ends. Avoid wrapping tightly around trunks.
- Gloves and safety goggles – Especially if you’re climbing or working near power sources.
- Timer or smart plug – Automate your lights so they turn on at sunset and off at bedtime.
Pro tip: Buy lights with end-to-end connectors so you can daisy-chain multiple strands without overloading circuits. And always check the maximum wattage your outlet or transformer can handle.
Warning: Never use indoor lights outdoors. They’re not weatherproof and can become fire hazards when wet. Trust me—I learned this the hard way with a soggy strand during a spring shower.
Step-by-Step Guide to How to String Lights on an Outdoor Tree in 2026 Easy Guide
Now that you’re prepped, let’s get into the fun part. This method works for any tree—oak, maple, palm, even a small fruit tree. The key is working with the tree’s natural shape, not against it.
Step 1: Choose the Right Lights and Test Them First
Before hanging anything, plug in your lights and test them. I can’t tell you how many times I’ve hung a full tree only to find a dead section halfway up.
- Check for broken bulbs, frayed wires, or dim sections.
- If using multiple strands, test each one individually.
- For LED lights, look for shatterproof bulbs—they survive wind and rain better.
I prefer net lights for wide canopies and icicle strands for weeping trees. For a classic look, go with globe lights or twinkle LEDs.
Pro tip: Buy one extra strand. You’ll likely need it for the base, top, or to replace a faulty one. And keep the receipt—some stores offer a 1-year replacement policy.
Step 2: Measure Your Tree and Plan the Layout
Grab your measuring tape. Wrap it around the trunk to get the circumference. Then, measure the height from ground to the highest point you want to light.
- For a trunk wrap: Multiply the circumference by the height (in feet) to estimate linear feet needed.
- For a canopy drape: Measure the tree’s diameter. A 15-foot-wide tree? You’ll need about 30 feet of lights for a gentle drape.
- For a spiral wrap: Plan for 1.5x the tree’s height to allow for the spiral.
I like to sketch a quick layout on paper. For my 20-foot maple, I did a spiral up the trunk, then draped lights from the main branches like a chandelier.
Warning: Avoid wrapping lights too tightly around young or thin-barked trees. It can damage the cambium layer and stunt growth. Use clips or space lights loosely.
Step 3: Install Light Clips (Don’t Nail or Tape!)
This is where most people go wrong. Nails hurt the tree. Tape falls off in wind. Clips? They’re the Goldilocks solution—just right.
- Attach plastic light clips every 12–18 inches around the trunk.
- On branches, place clips at the base and tip of each major limb.
- For smooth-bark trees (like birch), use adhesive clips with removable backing.
- For rough bark (oak, pine), spring-loaded clips grip better.
I use the Light Clips by Tree Light—they’re UV-resistant and last 5+ years. Install them before hanging lights so you can work from a ladder without juggling everything.
Step 4: Start at the Bottom and Work Up
Begin at the base. Plug in the first strand and secure the end clip to the trunk. Then, wrap the lights upward in a spiral, keeping the spacing even.
- Keep the lights taut but not tight—about 1–2 inches of slack per foot.
- For spirals, maintain a 6–12 inch gap between wraps. Too tight? It looks cluttered. Too loose? It sags.
- Use your extension pole for high sections. I love the Light Hanger Pro—it has a hook that grabs the light strand and clips it in place.
At each clip, gently press the light socket into the clip. Don’t force it—plastic clips snap easily.
Pro tip: Work in sections. Do the trunk first, then the branches. It’s easier to adjust spacing and avoid tangles.
Step 5: Drape the Canopy (Optional but Stunning)
If you want a “starry sky” effect, add lights to the branches. This works best with flexible LED strands or net lights.
- Start at the trunk and drape lights outward along each main branch.
- Let the ends hang 12–24 inches down—like a chandelier.
- For large trees, use net lights over the canopy. Drape them like a blanket, securing the corners with clips.
- For palm trees, wrap the trunk and add a few strands to the fronds (avoid wrapping fronds—they’ll break).
I did this on my backyard maple last year. My neighbor said it looked like a “fairy tree.” Win.
Step 6: Connect Strands Safely
If you’re using multiple strands, connect them at the base, not mid-tree. This reduces strain and avoids overloading.
- Use outdoor-rated male-to-female connectors.
- Plug the first strand into the extension cord, then connect the next strand to the first.
- Never exceed the manufacturer’s recommended number of connected strands (usually 3–5 for LEDs).
- Wrap connections with waterproof electrical tape and tuck them into a weatherproof outlet box.
Warning: Overloading circuits is a fire hazard. If your lights flicker or the breaker trips, unplug immediately.
Step 7: Secure the Ends and Power Source
The last 12 inches are crucial. Loose ends whip in the wind and can pull clips off.
- Secure the final clip to the trunk or a sturdy branch.
- Coil excess cord and zip-tie it to a lower branch (use a quick-release tie so you can remove it easily).
- Place the extension cord on a cord cover or bury it under mulch (but not too deep—you’ll need to access it).
- Use a GFCI outlet or outdoor power strip for extra safety.
I use a smart plug with a sunset timer. My lights turn on at 6:30 PM and off at 10:30 PM—no fumbling with switches.
Step 8: Test, Adjust, and Enjoy
Step back and admire your work. Turn the lights on at dusk. Look for:
- Sagging sections? Add more clips.
- Uneven spacing? Gently adjust the strands.
- Flickering? Check connections and replace any faulty bulbs.
I always do a “wind test” the next day. If lights are swaying too much, add a few more clips. If they’re too stiff, add a little slack.
Pro Tips & Common Mistakes to Avoid
After 10+ years of decorating trees, here’s what I’ve learned the hard way:
- Don’t wrap young trees – Wait until the trunk is at least 6 inches in diameter. Young bark is too fragile.
- Use the right clips – Metal clips can girdle the tree. Plastic or silicone is safer.
- Skip the tape – Duct tape, painter’s tape—it all fails in rain or UV. Clips are better.
- Don’t overload – More lights aren’t always better. A few well-placed strands create more impact than a tangled mess.
- Check local rules – Some HOAs or cities have rules about outdoor lighting. Check before you go all-out.
- Store properly – When removing lights, wrap them around a cardboard reel or use a light storage bag. No tangles next year!
Personal insight: I once left my lights up year-round. By spring, the sun had faded the wires, and squirrels chewed through a strand. Now, I take them down in February. It’s worth the effort to extend their life.
Pro tip: For multi-year installations, use color-coded clips (e.g., red for trunk, blue for branches). Makes removal and rehanging way easier.
FAQs About How to String Lights on an Outdoor Tree in 2026 Easy Guide
You’ve got questions. I’ve got answers—straight from my own trial and error.
Q: Can I leave outdoor string lights up all year?
A: Technically, yes—but I don’t recommend it. UV rays degrade plastic, and wind can loosen clips. I take mine down after the holidays and reinstall in November. If you must leave them, use UV-protected lights and check monthly for damage.
Q: How many lights do I need for a 30-foot tree?
A: For a spiral wrap, plan for 45–60 linear feet of lights (1.5x the height). For a canopy drape, measure the width. A 20-foot-wide tree needs about 40 feet of lights. Always buy one extra strand—better safe than sorry.
Q: What’s the best way to hang lights on a tall tree?
A: Use a telescoping light hanger pole. I use the Light Hanger Pro—it extends to 24 feet and has a hook to grab the strand. For very tall trees, consider a drone with a light attachment (yes, they exist!). Or, hire a pro.
Q: Are LED lights better than incandescent?
A: Absolutely. LEDs use 80% less energy, last 10x longer, and stay cool. Plus, they’re safer for trees—no heat damage. My old incandescent strands got so hot, I worried about fire. LEDs? Barely warm to the touch.
Q: How do I prevent tangles when storing lights?
A: Wrap them around a cardboard reel or use a light storage bag. I cut a piece of cardboard into a 12-inch circle, wrap the lights around it, then tape the ends. No more “Christmas knot syndrome.”
Q: Can I use solar-powered lights?
A: Yes! They’re great for areas without outlets. Just make sure they’re outdoor-rated and have a high-capacity battery. My solar lights last 6–8 hours on a full charge. But for large trees, I stick with wired—more reliable.
Q: What if my tree has thick bark?
A: Use wide-mouth clips or bark-friendly straps. I use Tree Light Clips with rubber padding—they grip rough bark without cutting in. Avoid anything that digs into the wood.
Final Thoughts
Stringing lights on an outdoor tree isn’t just about decoration—it’s about creating moments. That first time you turn them on at dusk, see the glow reflect on your patio, and hear your kids gasp? That’s magic.
This how to string lights on an outdoor tree in 2026 easy guide is built on real experience—what worked, what failed, and what I’d do differently. The key is planning, using the right tools, and respecting the tree.
Remember: start small. You don’t need to light the whole tree on day one. Try a spiral on the trunk, then add branches next year. And always, always test your lights first.
Now grab your clips, your lights, and your ladder. Your backyard is about to become the most magical spot on the block. And if you ever get stuck? Just think: “What would my coffee-drinking, light-loving self do?” Then do that.
Happy hanging!
“`

