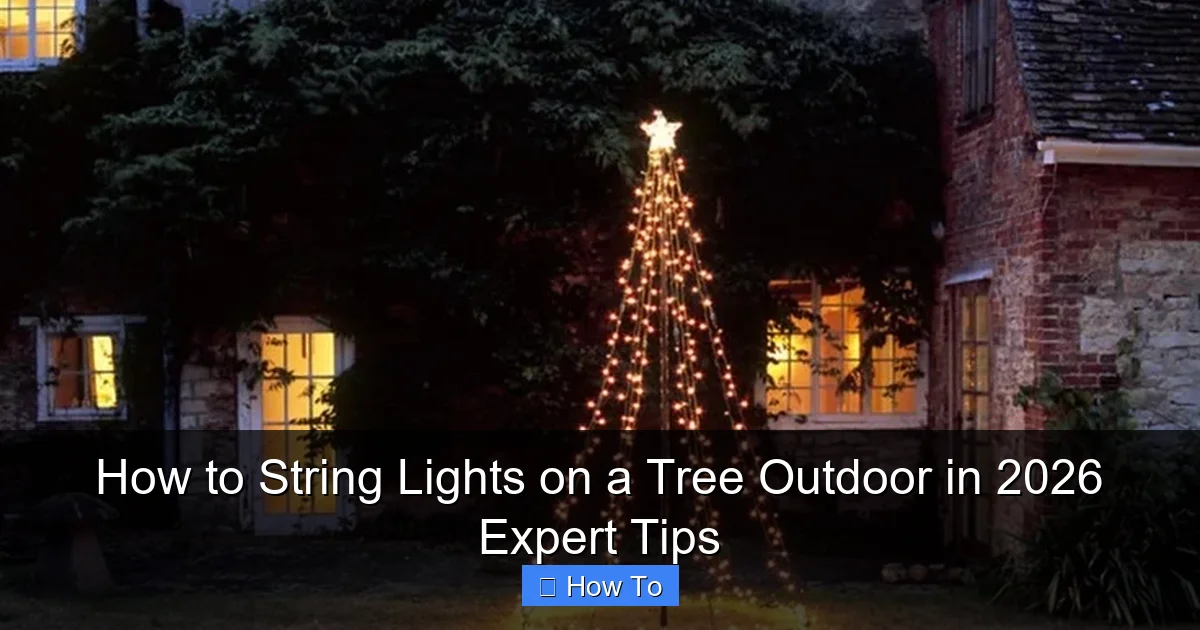
Featured image for how to string lights on a tree outdoor
Image source: craftionary.net
Transform your outdoor space in 2026 by starting with LED, weather-resistant string lights to ensure durability and energy efficiency. Wrap lights vertically from the trunk outward, using clips or zip ties to secure them at branch junctions for a professional, wind-resistant display that highlights the tree’s natural shape. This expert method prevents tangles, minimizes damage, and delivers maximum sparkle all season long.
“`html
How to String Lights on a Tree Outdoor in 2026 Expert Tips
Key Takeaways
- Plan your layout first: Sketch light placement to avoid over- or under-lighting.
- Use outdoor-rated lights: Ensure safety and durability with weatherproof, UL-listed string lights.
- Anchor lights properly: Wrap lights around branches, not trunks, to prevent damage.
- Start from the base: Work upward for even coverage and fewer tangles.
- Test lights before hanging: Check for dead bulbs or frayed wires to save time.
- Secure with clips, not nails: Use plastic clips to avoid harming the tree.
Why This Matters / Understanding the Problem
Let’s be honest—nothing transforms a backyard, patio, or garden quite like twinkling lights wrapped around a tree. It’s cozy, romantic, and instantly festive. But if you’ve ever tried how to string lights on a tree outdoor in 2026 expert tips and ended up with tangled wires, sagging strands, or lights that barely last a season, you’re not alone.
I’ve been there. One year, I spent two hours wrapping lights around an old oak, only to realize half the bulbs were out, the lights were uneven, and the extension cord was tripping every guest. It was a disaster. But over the years—and through trial, error, and a few “aha!” moments—I’ve learned the right way to do it. And now, I’m sharing it with you.
This guide isn’t just about hanging lights. It’s about doing it safely, beautifully, and in a way that lasts. Whether you’re prepping for a summer soirée, holiday cheer, or just want to enjoy your yard at night, mastering how to string lights on a tree outdoor in 2026 expert tips means you’ll spend less time fixing and more time enjoying.
What You Need
Before we dive in, let’s make sure you’ve got the right gear. The last thing you want is to be halfway up a ladder and realize you forgot the zip ties.

Visual guide about how to string lights on a tree outdoor
Image source: png.pngtree.com
- Outdoor-rated string lights (LED is best—energy-efficient, cool to the touch, and long-lasting)
- Extension cords (outdoor-rated, GFCI-protected)—don’t skimp on safety here
- Zip ties or outdoor-rated light clips—plastic or silicone-coated for weather resistance
- Measuring tape—to estimate how many strands you’ll need
- Step ladder or extension ladder—depending on tree height
- Gloves—protect your hands from rough bark and cold
- Timer or smart plug—set it and forget it (bonus: saves energy)
- Optional: light tester—to check bulbs before hanging
- Optional: ladder stabilizer—keeps your ladder from slipping on grass or uneven ground
Pro tip: Always check your lights indoors before hanging. Nothing worse than climbing a ladder only to find a faulty strand.
Step-by-Step Guide to How to String Lights on a Tree Outdoor in 2026 Expert Tips
Step 1: Choose the Right Tree and Plan Your Layout
Not all trees are created equal for lighting. You want a tree with strong, visible branches and a clear path for the lights. Think about the story you want to tell—do you want a spiral up the trunk? Wrap the main branches? Go full canopy?
Start by walking around your tree at night (use a flashlight if needed). Look for:
- Strong, low-hanging branches that can support weight
- Smooth bark (avoid trees with peeling or rough bark that can damage wires)
- Clear access to a power source (within 50 feet is ideal)
- Enough vertical height to create visual drama
Now, sketch a quick layout. I like to use chalk or a light-colored string to mock up the pattern. This helps avoid over-lighting or awkward gaps. For how to string lights on a tree outdoor in 2026 expert tips, planning is half the battle.
Warning: Avoid trees with weak or dead branches—safety first. If the branch looks brittle, skip it.
Step 2: Measure and Calculate Light Needs
Grab your measuring tape. Measure:
- The height of the trunk from ground to the first major branch
- The circumference at chest height
- The total length of branches you plan to light
For a classic spiral wrap, multiply the height by 1.5 to 2 to account for the diagonal path. For example, a 10-foot trunk? You’ll need about 15–20 feet of lights just for the trunk.
For branches, estimate 3–5 feet of lights per foot of branch length. A 6-foot branch? 18–30 feet of lights.
Add 10–15% extra for overlap and mistakes. Better to have a little extra than run short mid-ladder.
When shopping, look for lights with end-to-end connectors so you can link multiple strands safely. And remember: how to string lights on a tree outdoor in 2026 expert tips means planning for durability—choose weatherproof, UV-resistant strands.
Step 3: Test and Prepare Your Lights
Before you even touch the ladder, plug in your lights indoors. Check for:
- Burned-out bulbs (replace or repair)
- Frayed wires or cracked insulation
- Smooth operation of any smart features (app, timer, etc.)
If you’re using multiple strands, connect them indoors and test the full chain. This saves you from climbing up, only to find a broken connection.
While you’re at it, untangle the lights. I like to lay them out on the lawn or drape them over a clothesline. It prevents mid-installation tangles—trust me, it’s a game-changer.
Pro tip: Use a light tester if you have one. It’ll catch dead bulbs you can’t see with the naked eye.
Bonus: Choose the Right Light Style
Not all lights are the same. Here’s a quick rundown:
- Mini lights: Classic twinkle—great for spirals and tight wraps. Use 50–100 lights per strand.
- Globe lights: Softer glow, modern look. Ideal for larger trees or open spaces.
- Net lights: Drape over branches—super fast, but less control over spacing.
- Fairy lights: Delicate and magical. Best for small trees or accent branches.
For how to string lights on a tree outdoor in 2026 expert tips, I recommend mini or globe lights for trunks and branches. They’re versatile, bright, and easy to secure.
Step 4: Start at the Base (Trunk Wrap)
Now the fun begins. Start at the base of the trunk, about 1–2 feet off the ground. Why? So the power cord can run down to your outlet without being visible.
Use your first zip tie or light clip to secure the plug end to the trunk. Make it snug, but don’t over-tighten—you don’t want to damage the bark or the wire.
Begin wrapping in a spiral pattern, moving upward. Keep the spacing consistent—about 6–8 inches between wraps. This creates a smooth, professional look.
As you go, secure every 2–3 wraps with a zip tie or clip. Don’t just drape—lights can sag or blow in the wind. Use outdoor-rated zip ties (they won’t degrade in sun or rain).
When you reach a major branch junction, pause. You’ll want to transition to branch lighting here.
Warning: Never wrap lights too tightly. Trees grow—tight wraps can girdle the trunk over time. Leave a little slack.
Step 5: Light the Main Branches
Now it’s time to highlight the tree’s structure. Choose 2–4 main branches to light. These should be strong, visible, and spread out.
Start at the trunk end of the branch. Use a zip tie to secure the first bulb (or socket). Then, drape the lights along the branch, securing every 1–2 feet.
For a natural look, follow the curve of the branch. Don’t force a straight line. Let the lights flow with the tree’s shape.
If the branch is long, you may need to run lights from both ends (plug at the trunk, end at the tip). This avoids overloading a single strand.
For extra drama, add a second layer of lights on the underside of the branch. This creates a “halo” effect at night.
When you reach the tip, secure the end with a zip tie. If you have a dead end, you can tuck it into a branch fork or secure it with a clip.
Pro tip: Use branch clips (available online) for a cleaner look. They grip the branch without zip ties.
Step 6: Manage Power and Cords
This is where many people go wrong. A messy cord can ruin the whole look.
Run your extension cord along the ground from your outlet to the base of the tree. Use cord covers (plastic channels or rubber mats) to protect it from foot traffic and weather.
At the tree, wrap the cord around the base (not the trunk) or tuck it behind a root. Secure it with a stake or zip tie.
Use a GFCI outlet (or GFCI extension cord) to protect against shocks. This is non-negotiable for outdoor use.
If you’re using multiple strands, connect them at the base—not mid-trunk. This keeps connections dry and reduces tripping hazards.
For a clean finish, use a timer or smart plug. Set it to turn on at dusk and off at midnight. No more forgetting to unplug!
For how to string lights on a tree outdoor in 2026 expert tips, power management is just as important as the lights themselves.
Step 7: Adjust and Fine-Tune
Once everything’s up, step back and look at your work—during the day and at night.
During the day: Check for:
- Uneven spacing
- Sagging strands
- Visible cords
- Over-tightened zip ties
At night: Turn on the lights and look for:
- Dark spots (add more lights or adjust spacing)
- Glare (use diffusers or reposition bulbs)
- Flickering (check connections and replace bad bulbs)
Make small adjustments. It’s easier to tweak a few clips than redo the whole tree.
I always keep a spare strand and extra clips handy—just in case.
Step 8: Maintain and Store Properly
Good lighting isn’t just about installation. It’s about longevity.
During the season, check weekly for:
- Loose zip ties (tighten or replace)
- Damaged wires (replace immediately)
- Water in sockets (wipe dry and use silicone sealant if needed)
When it’s time to take them down (after the season or before storms):
- Unplug and turn off the timer
- Remove lights from branches first, then trunk
- Cut zip ties (don’t pull—they can damage bark)
- Coil lights loosely (figure-eight pattern) and store in a dry, cool place
- Label strands by length or type for next year
For how to string lights on a tree outdoor in 2026 expert tips, proper storage means your lights will last 5–10 years instead of 2.
Pro Tips & Common Mistakes to Avoid
After years of trial and error, here’s what I’ve learned—the hard way.
- Don’t use indoor lights outdoors. They’re not rated for moisture or UV. One rainstorm and they’re toast.
- Never staple or nail lights to a tree. It damages bark, invites pests, and creates fire hazards. Use clips or ties.
- Avoid overloading circuits. Check the wattage of your lights and extension cord. Most outdoor outlets can handle 1,800 watts max.
- Skip the “drape and pray” method. Lights that just hang will sag, tangle, and look messy. Secure them properly.
- Don’t ignore the weather. If a storm’s coming, unplug the lights. Wind can whip them into branches and break bulbs.
- Use a ladder stabilizer. It’s a $20 tool that prevents slips and keeps you safe.
- Light the tree, not the power cord. Hide cords behind roots, rocks, or mulch. No one wants to see a bright orange cord.
Personal insight: I once used metal wire to hang lights—bad idea. It cut into the bark and caused rot. Now I only use plastic or silicone-coated fasteners.
For how to string lights on a tree outdoor in 2026 expert tips, safety and sustainability are key. Do it right, and your tree (and your guests) will thank you.
FAQs About How to String Lights on a Tree Outdoor in 2026 Expert Tips
Can I leave outdoor string lights up all year?
Technically, yes—if they’re rated for year-round outdoor use. But I don’t recommend it. Winter ice, summer heat, and UV exposure degrade wires and sockets. Take them down after the season. Your lights will last longer, and your tree will stay healthy.
What’s the best way to hide extension cords?
Use a cord cover (plastic channel or rubber mat) along the ground. For a more natural look, bury it under mulch or run it behind a fence. Just make sure it’s GFCI-protected and not a tripping hazard.
How many lights do I need for a 15-foot tree?
For a 15-foot tree with a 3-foot diameter trunk and four main branches, plan for:
- Trunk: 25–30 feet (spiral)
- Branches: 60–80 feet total (15–20 feet per branch)
- Total: 85–110 feet of lights
Buy 2–3 extra strands for backup.
Are LED lights better than incandescent?
Absolutely. LEDs use 80% less energy, run cooler, and last 10–20 times longer. Plus, they’re safer around kids and pets. For how to string lights on a tree outdoor in 2026 expert tips, LED is the way to go.
Can I use smart lights?
Yes! Smart string lights (like Philips Hue or Twinkly) let you control color, brightness, and patterns via app. Just make sure they’re outdoor-rated and have a weatherproof hub. They’re a bit pricier, but worth it for the wow factor.
What if my tree is too tall for a ladder?
For trees over 20 feet, use a light pole or telescoping light hanger. Or hire a professional with a bucket truck. Don’t risk injury—safety first.
How do I keep lights from sagging?
Secure every 1–2 feet with zip ties or clips. Use a light tensioner (a small spring clip) for longer runs. And avoid overloading—don’t daisy-chain more than 3–4 strands unless the manufacturer says it’s safe.
Final Thoughts
Stringing lights on a tree isn’t just a chore—it’s a chance to create magic in your own backyard. With the right tools, a little planning, and these how to string lights on a tree outdoor in 2026 expert tips, you’ll turn your tree into a glowing centerpiece.
Remember: Start with a plan, use outdoor-rated gear, secure everything properly, and don’t rush. Take your time. Enjoy the process. And when you flip the switch that first night? That’s the best part.
So grab your lights, your ladder, and a friend (for safety and company). Light up your tree, pour a drink, and savor the glow. You’ve earned it.
And next year? You’ll do it even better.
“`

