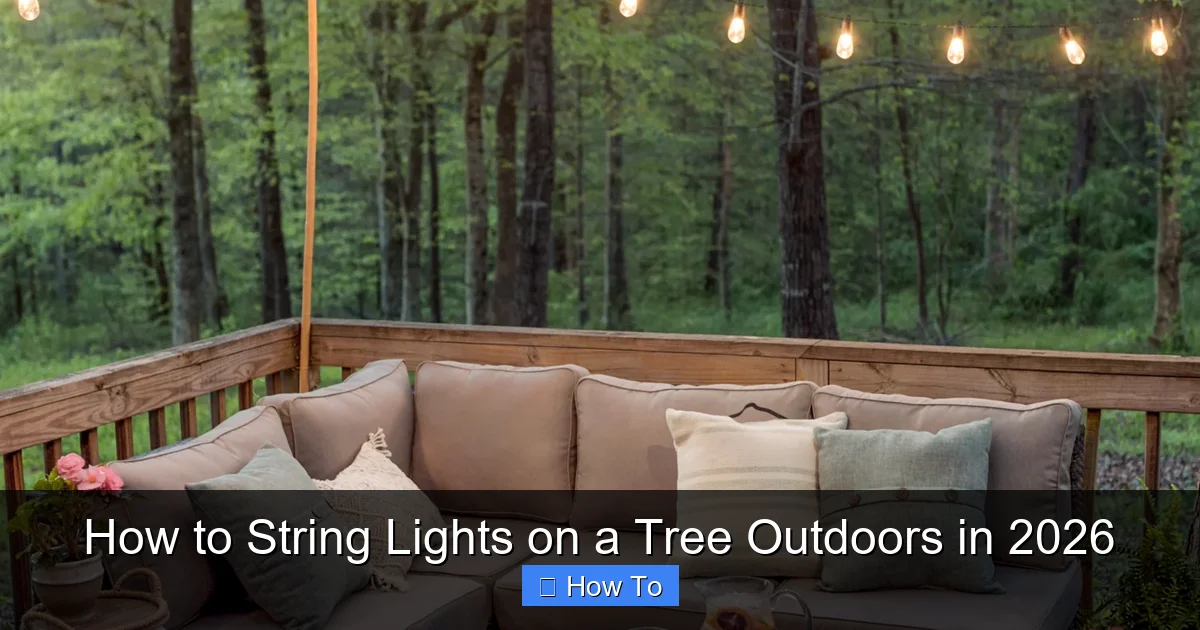
Featured image for how to string lights on a tree outdoors
Image source: homestoriesatoz.com
Choose LED weatherproof lights and a sturdy extension cord to safely and effectively string lights on an outdoor tree in 2026. Wrap lights evenly from the trunk outward, securing with insulated clips or zip ties to avoid damage and ensure a professional, dazzling display that withstands the elements.
“`html
How to String Lights on a Tree Outdoors in 2026
Key Takeaways
- Plan your layout first: Map light placement before climbing to avoid rework.
- Use outdoor-rated lights: Ensure durability and safety with weatherproof, UL-listed strands.
- Anchor lights securely: Attach with insulated clips or hooks—never nails or staples.
- Start from the base: Wrap trunk first, then spiral upward for even coverage.
- Check connections regularly: Test lights during installation to catch issues early.
- Power safely: Use GFCI outlets and hide cords to prevent tripping hazards.
Why This Matters / Understanding the Problem
Let’s be real—nothing transforms a backyard into a magical retreat like twinkling lights wrapped around a tree. Whether it’s for a summer BBQ, a cozy winter night, or just because you want to feel like you’re living in a Pinterest board, knowing how to string lights on a tree outdoors in 2026 is a must-have skill.
But here’s the catch: it’s not as simple as grabbing a string of lights and tossing them up. Trees move in the wind, branches break, and tangled cords can turn your dreamy setup into a nightmare. I’ve learned this the hard way—after one too many tangled messes and snapped branches.
The good news? With the right approach, you can create a stunning, safe, and long-lasting outdoor light display. And yes, it’s totally doable even if you’re not a DIY pro. This guide walks you through everything you need to know—step by step—so you can light up your tree without the stress.
Pro Tip: The best time to install tree lights is during dry, calm weather. Avoid windy days—you don’t want to chase lights like a kite!
What You Need
Before we dive in, let’s gather your tools and supplies. You don’t need a full workshop—just a few essentials to make the job smooth and safe.
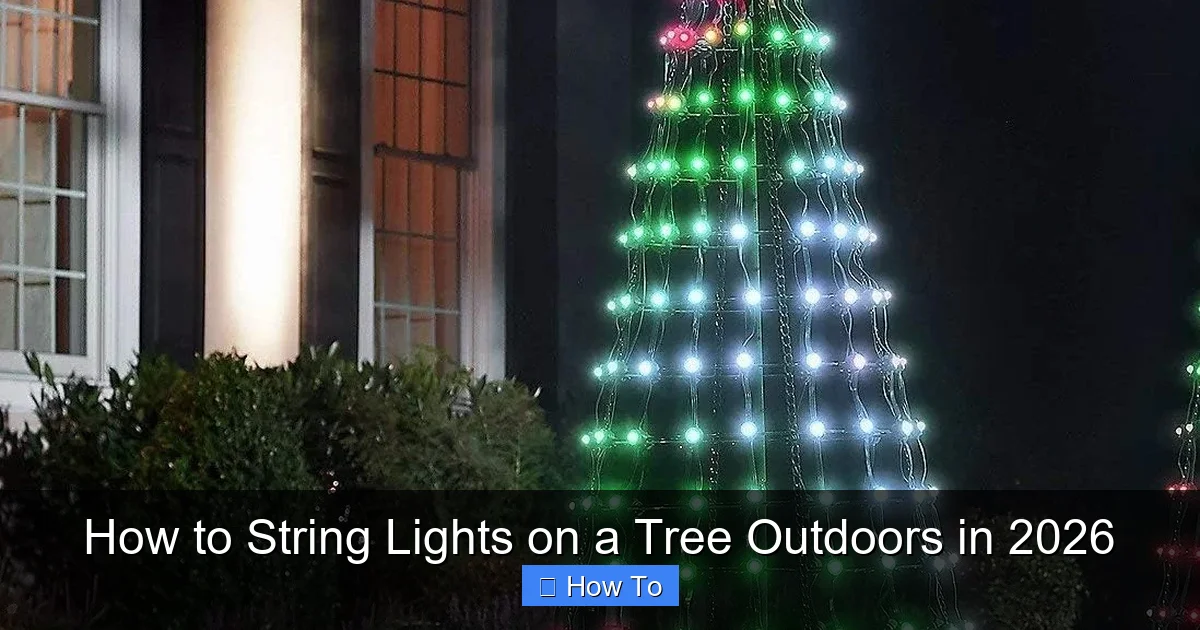
Visual guide about how to string lights on a tree outdoors
Image source: m.media-amazon.com
- Outdoor-rated LED string lights (solar or plug-in, depending on your setup)
- Extension cords (rated for outdoor use, with GFCI protection)
- Light clips or outdoor-rated zip ties (never use nails or staples—they damage trees!)
- Telescoping light pole or ladder (for tall trees)
- Measuring tape (to plan your spacing)
- Timer or smart plug (optional, but great for automation)
- Work gloves (to protect your hands from bark and branches)
- Helper (optional but highly recommended)
Pro tip: Go for LED lights—they’re energy-efficient, last longer, and generate less heat, which is safer for the tree and your home.
And if you’re wondering about solar vs. plug-in: solar is great for off-grid areas, but plug-in gives you more brightness and consistency. For how to string lights on a tree outdoors in 2026, I recommend a mix—solar for ambiance, plug-in for key focal points.
Step-by-Step Guide to How to String Lights on a Tree Outdoors in 2026
Step 1: Choose the Right Type of Lights and Plan Your Design
Not all lights are created equal. For outdoor tree lighting, you want weather-resistant, UL-listed LED string lights with a low voltage (usually 24–30V). Avoid cheap indoor lights—they’ll burn out in a season.
Start by deciding on a style:
- Wrap-around (spiral): Great for trunks and thick branches
- Web or canopy style: Lights crisscrossing from trunk to branches
- Downward draping: Lights hanging from high branches like a chandelier
Sketch a quick plan. Measure the tree’s height and circumference. For a spiral wrap, you’ll need about 1.5–2 feet of light per foot of tree height. For a web, estimate 3–5 strings radiating from the trunk.
Pro Tip: Use painter’s tape to mock up the pattern on the ground. It helps visualize spacing before you start climbing.
This step is crucial for how to string lights on a tree outdoors in 2026—planning saves time, prevents tangles, and ensures even coverage.
Step 2: Inspect the Tree and Clear the Area
Before you hang a single light, check the tree for weak or dead branches. Use pruning shears to remove anything that’s brittle or hanging too low. You don’t want a branch snapping under the weight or movement of lights.
Clear the ground around the tree—move furniture, toys, or garden tools. You’ll be moving around a lot, and tripping over a hose while holding a ladder is not fun.
Also, check for power sources. If you’re using plug-in lights, map the shortest, safest path for your extension cord. Avoid running it across walkways where someone could trip. Use cord covers or bury it slightly under mulch if needed.
This prep work makes the actual installation faster and safer—especially when learning how to string lights on a tree outdoors in 2026.
Step 3: Start at the Base and Work Up (For Spiral Wrap)
For a classic spiral look, start at the base of the trunk. Use a telescoping light pole or a stable ladder. Never stand on a chair or wobbly stool—safety first!
Begin wrapping the lights around the trunk at a 30–45 degree angle. Keep the spacing even—about 6–8 inches between wraps. Use light clips or outdoor-rated zip ties every 2–3 feet to secure the lights. These are designed to grip without cutting into the bark.
Don’t pull too tight. Trees expand and contract with temperature and moisture. Over-tightening can damage the cambium layer (the tree’s “skin”). Think of it like giving the tree a gentle hug, not a bear squeeze.
As you go up, pause every few feet to step back and check your spacing. It’s easy to drift too close or too far apart when you’re focused on climbing.
Warning: Never use nails, screws, or staples. They create wounds that invite pests and disease. Tree health should always come first.
Step 4: Branch Out with Web or Canopy Style
If you’re going for a web or canopy effect, start by attaching the first light string to the trunk near the base. Then, run it up to a high branch and secure it with a clip or tie.
From that branch, run a second string to another branch, forming a “V” or “X” pattern. Continue this crisscrossing method, spacing strings 12–18 inches apart. The goal is even light coverage without overcrowding.
Use a light pole with a hook attachment to place strings high up. If you’re using a ladder, have a helper hand you the lights—this reduces trips up and down.
For a chandelier effect, tie one end of a string to the trunk and let the other end drape down. Secure the dangling end to a lower branch with a loose loop. This creates beautiful vertical lines without stressing the branch.
This method is especially effective for how to string lights on a tree outdoors in 2026—it highlights the tree’s natural shape and casts soft, ambient light below.
Step 5: Secure All Connections and Manage Cords
Once the lights are in place, it’s time to secure all connections. Plug-in lights need a safe, dry spot for the plug. Use a weatherproof outlet cover or a plastic storage bin with a hole cut for the cord to protect the connection.
For solar lights, place the solar panel in direct sunlight—ideally facing south (in the Northern Hemisphere). Angle it toward the sun for maximum charging.
Use cord clips or spiral wraps to keep excess cord off the ground. Tuck it behind the trunk or wrap it loosely around the base. This prevents tripping and keeps the look clean.
If you’re using multiple strings, connect them end-to-end (if compatible) or use a power strip with a timer. Avoid daisy-chaining more than 3–4 strings—overloading can cause overheating.
Pro Tip: Label each string with a small tag. When it’s time to take them down, you’ll know which plug goes where!
Step 6: Test the Lights and Adjust
Before you call it a night, turn on the lights and walk around the tree. Look for dark spots, overly bright areas, or strings that sag.
Adjust spacing if needed. A little tweak can make a big difference. If a string is too tight, loosen the clips. If it’s too loose, add an extra clip or two.
Check for shadows. Lights placed too close to the trunk will create dark patches. Move them slightly outward for better diffusion.
And don’t forget to test the timer or smart plug. Set it to turn on at dusk and off at midnight (or whatever time you prefer). Automation is a game-changer—no more forgetting to turn them off!
This final check ensures your how to string lights on a tree outdoors in 2026 setup looks perfect and works reliably.
Step 7: Maintain and Store Properly
Your lights will last longer if you maintain them. After the season, turn them off and unplug. Gently remove clips and untangle any knots.
Inspect the lights for damage. Frayed wires, broken bulbs, or corroded connections should be replaced. Store them in a cool, dry place—ideally in a labeled bin with the clips and extension cords.
For trees with permanent installations (like commercial properties), check the lights every few months. Replace damaged strings and re-secure loose clips. Trees grow, so your setup may need minor adjustments over time.
And remember: never leave lights on during storms or high winds. Lightning and flying debris are real risks.
With proper care, your lights can last 5–10 years—making this a long-term investment in your outdoor space.
Pro Tips & Common Mistakes to Avoid
Let’s talk real talk—here’s what I wish I knew when I first tried how to string lights on a tree outdoors in 2026.
Pro Tip 1: Use battery-powered or solar lights for hard-to-reach areas. No cords, no hassle.
I once spent two hours running an extension cord through my neighbor’s yard. Never again. Now I use solar for the back branches and plug-in for the main trunk.
Pro Tip 2: Choose warm white or soft yellow lights. Cool white can look harsh and clinical.
Warm tones mimic candlelight and create a cozy vibe. I learned this after a friend said my cool white lights looked like a construction zone. Oops.
Common Mistake 1: Overloading the tree with too many lights.
More isn’t always better. Dense lighting can block airflow, trap moisture, and stress the tree. Stick to 1–2 strings per major branch.
Common Mistake 2: Using indoor lights outdoors.
Indoor lights aren’t sealed against moisture. One rainstorm can fry them—and possibly trip your breaker. Always use outdoor-rated lights.
Common Mistake 3: Installing during high winds.
I did this once. The lights flapped like a flag, tangled instantly, and one string snapped a small branch. Wait for calm weather. Your tree (and your sanity) will thank you.
Pro Tip 3: Add a dimmer or smart plug for mood control.
Dim the lights for a romantic dinner, brighten them for a party. Smart plugs let you control them with your phone or voice assistant. Game-changer.
FAQs About How to String Lights on a Tree Outdoors in 2026
Q: Can I leave tree lights up all year?
A: Technically, yes—but I don’t recommend it. Weather, pests, and tree growth can damage lights. Take them down after the season and reinstall in spring. It’s safer for the tree and the lights.
Q: How do I prevent lights from tangling?
A: Use clips or ties every 2–3 feet. Avoid free-hanging loops. When storing, wrap each string around a cardboard tube or use a light reel. I keep mine in labeled bins—no more wrestling with a knotted mess.
Q: Are solar lights bright enough for trees?
A: For ambiance, yes. For bright, consistent light, plug-in is better. I use solar for subtle glow and plug-in for focal points like the trunk or a central branch.
Q: What if my tree is too tall?
A: Use a telescoping pole with a hook or hire a professional with a lift. Never climb a ladder on unstable ground. Safety first, sparkle second.
Q: Can I use net lights on a tree?
A: Net lights are designed for bushes or flat surfaces. They can work on small trees, but for large ones, they may sag or block airflow. Stick to string lights for best results.
Q: How do I hide the cords?
A: Run them behind the trunk or wrap them loosely around the base. Use brown or green cord covers. For a seamless look, bury them slightly under mulch (but not too deep—you’ll need to unplug them).
Q: Are there eco-friendly options?
A: Absolutely! Solar lights, energy-efficient LEDs, and biodegradable clips are all great choices. Look for Energy Star-rated lights and recycle old ones properly.
Final Thoughts
Stringing lights on a tree isn’t just about decoration—it’s about creating moments. That first night you turn them on, when the yard glows like a fairytale? Pure magic.
Now that you know how to string lights on a tree outdoors in 2026, you’ve got the tools, the tips, and the confidence to do it right. Remember: plan first, use the right gear, and respect the tree.
Start small if you’re new. One tree, one style. You can always add more next year. And don’t stress about perfection—your backyard doesn’t need to be Instagram-famous. It just needs to feel like home.
So grab your lights, invite a friend, and make it a project. Light it up, step back, and enjoy the glow. You’ve earned it.
“`

