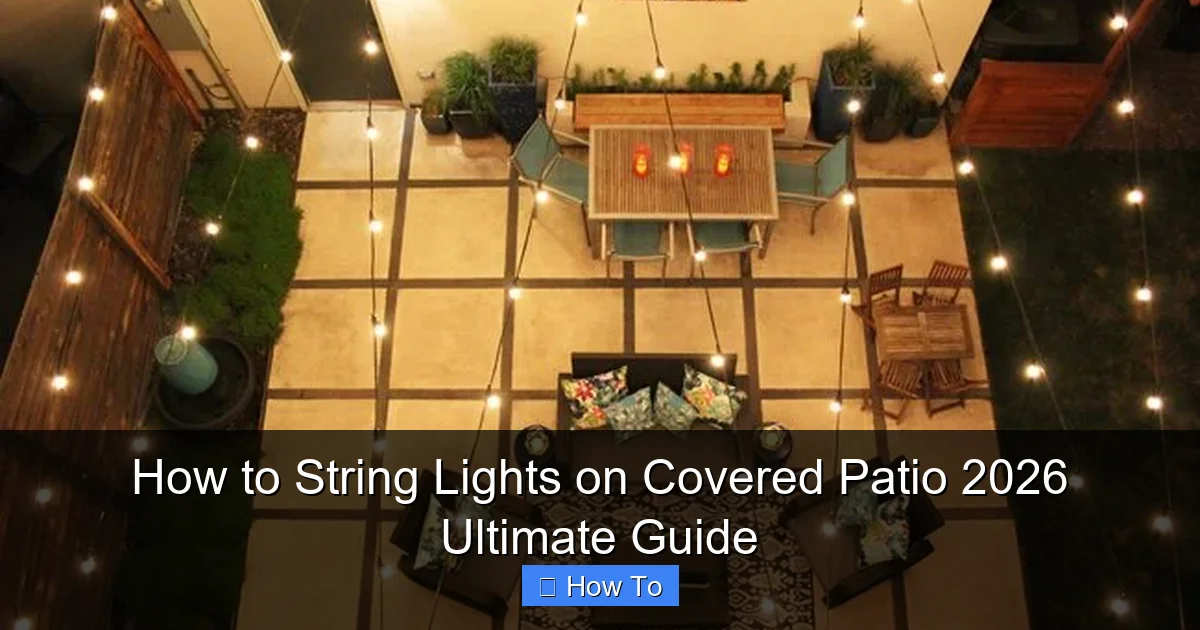
Featured image for how to string lights on covered patio
Image source: landscapelightingguru.com
Transform your covered patio into a stunning nighttime oasis by securely mounting string lights to beams, rafters, or walls using weather-resistant hooks or clips—no nails or damage required. Choose LED, shatterproof bulbs with warm white or color temperatures to enhance ambiance while ensuring energy efficiency and safety. With simple tools and smart spacing, you’ll achieve a professional, inviting glow perfect for entertaining or relaxing in 2026 and beyond.
“`html
How to String Lights on Covered Patio 2026 Ultimate Guide
Key Takeaways
- Plan your layout first: Sketch light placement to ensure even coverage and avoid overloading circuits.
- Use weatherproof lights: Choose UL-listed outdoor lights for durability and safety on covered patios.
- Secure with proper hardware: Install hooks, clips, or cables rated for outdoor use to prevent sagging.
- Measure voltage needs: Calculate total wattage to avoid tripping breakers or dimming lights.
- Hide cords neatly: Use raceways or zip ties to keep wires tidy and hazard-free.
- Test before finalizing: Check brightness and connections before permanently mounting lights.
Why This Matters / Understanding the Problem
Imagine this: you’ve got a cozy covered patio, perfect for morning coffee or late-night chats, but the lighting feels flat. Maybe it’s too dim, too harsh, or just missing that spark. String lights can transform that space into a warm, inviting oasis—but hanging them the wrong way can lead to sagging wires, tangled messes, or even damage to your roof or beams.
If you’ve ever struggled with how to string lights on covered patio 2026 ultimate guide, you’re not alone. Whether your patio has a solid roof, a pergola, or a slatted ceiling, the challenge is the same: how to hang lights securely, beautifully, and without drilling into every surface. This guide walks you through every step—no guesswork, no stress.
From choosing the right lights to avoiding common pitfalls, we’ll cover everything you need to create a magical ambiance that lasts all year. Think of it as your go-to playbook for turning your patio into a glowing retreat—without calling an electrician.
What You Need
Before you start, gather your supplies. Having everything ready saves time and frustration. Here’s your checklist:
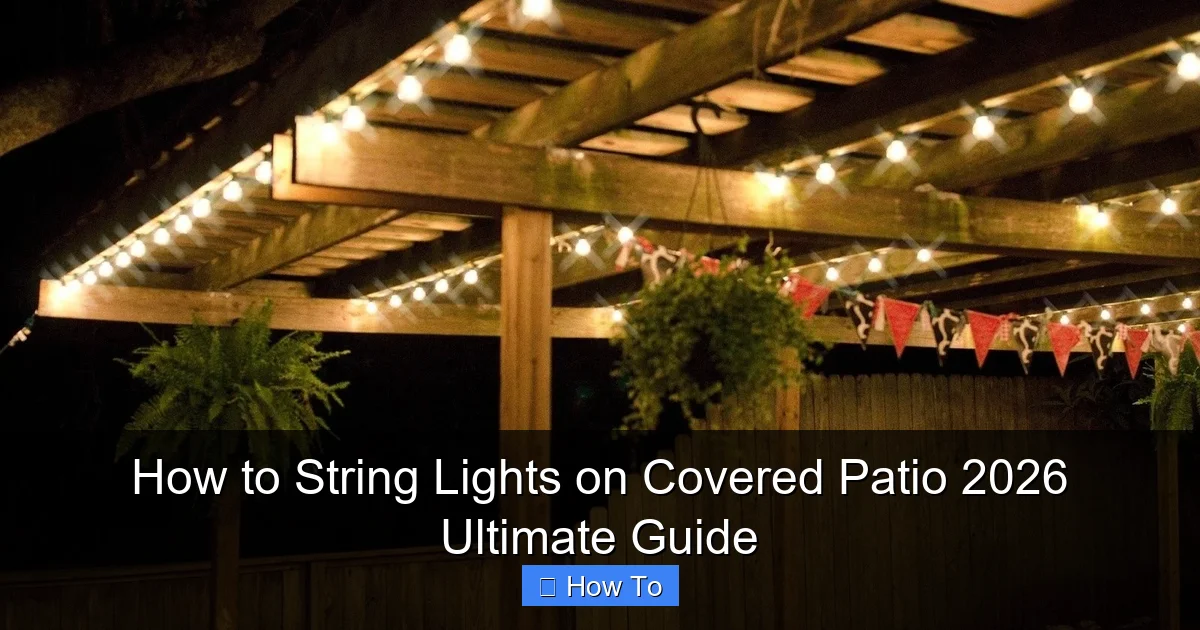
Visual guide about how to string lights on covered patio
Image source: randolphsunoco.com
- String lights: LED or incandescent (LEDs last longer and use less power)
- Measuring tape: To map out spacing and length
- Scissors or utility knife: For cutting zip ties or adjusting cords
- Zip ties or cable clips: Reusable and gentle on surfaces
- Adhesive hooks or removable wall anchors: For non-permanent mounting
- Extension cords and power adapters: With outdoor-rated, weather-resistant plugs
- Timer or smart plug: To automate on/off times (optional but highly recommended)
- Step ladder: For reaching higher areas safely
- Level (optional): To keep your lines straight
Pro tip: If your patio has a metal roof or vinyl ceiling, avoid adhesive hooks that could leave residue. Instead, use magnetic clips or tension wires. And always check the weight limit on any mounting hardware—especially if you’re using heavy vintage-style bulbs.
For this how to string lights on covered patio 2026 ultimate guide, we’re focusing on solutions that are easy to install, easy to remove, and kind to your home’s structure.
Step-by-Step Guide to How to String Lights on Covered Patio 2026 Ultimate Guide
Step 1: Plan Your Layout Like a Pro
Start by sketching your patio on paper or using a simple app like Google Draw. Mark where the lights will go—along the edges, in a grid, or in a zigzag pattern. This is where most people skip ahead and regret it later.
Ask yourself: Do you want ambient glow or bright task lighting? A soft halo effect works best with lights hung close to the ceiling. For dining areas, a grid or crisscross pattern adds brightness without glare.
Measure the perimeter or area you plan to cover. Add 10% extra for slack and connections. Most string lights come in 24- to 48-foot strands. If you need more, plan for multiple runs with extension cords.
Pro tip: Use painter’s tape to mark key anchor points before hanging. This lets you visualize spacing and adjust before committing.
Step 2: Choose the Right Type of String Lights
Not all string lights are created equal. For a covered patio, you need outdoor-rated, weather-resistant lights. Look for an IP65 or higher rating—this means they’re dust-tight and protected from water jets.
LED lights are the best choice: they’re energy-efficient, cool to the touch, and last up to 25,000 hours. Incandescent bulbs give a warmer glow but get hot and use more electricity. Avoid indoor-only lights—they’ll fail in humidity or rain.
Consider the bulb shape and spacing:
- Globe lights (3–5 inches apart): Great for ambient lighting
- Mini lights (4–6 inches apart): Ideal for outlining edges
- Edison-style bulbs (8–12 inches apart): Add vintage charm
For a modern, seamless look, choose connectable strands that let you link multiple sets without visible plugs.
This step is crucial in the how to string lights on covered patio 2026 ultimate guide—picking the right lights saves you from replacing them every season.
Step 3: Decide on Your Mounting Method
Your patio’s structure determines how you’ll hang the lights. Here are the most common setups:
- Solid roof (e.g., shingle, metal, tile): Use adhesive hooks rated for outdoor use. Clean the surface first with rubbing alcohol for better grip.
- Pergola or open beams: Use zip ties, cable clips, or eye screws. Zip ties are quick and removable. Eye screws offer a permanent, clean look.
- Vinyl or wood ceilings: Adhesive hooks work, but test on a small area first. For heavier lights, use removable wall anchors.
- Tension wire system: Run a thin, high-tensile wire between two anchor points. Clip lights to it with S-hooks or carabiners. Perfect for long runs without drilling.
Never use nails or screws on a covered patio roof—especially if it’s a sunroom or glass ceiling. Water can seep through, causing leaks and damage.
Warning: Avoid overloading adhesive hooks. Most hold 1–2 pounds. For heavy strands, double up or use multiple hooks.
Step 4: Install Anchor Points (Without Damaging Your Home)
Now it’s time to set your mounting points. Start at the power source—usually an outdoor GFCI outlet. Work outward from there.
- Place your first anchor point 6–12 inches from the outlet. This gives you slack for plugging in.
- Space anchors every 3–5 feet, depending on the weight of the lights. Heavier bulbs need closer spacing.
- For a straight line, use a level or string line to keep hooks aligned. A crooked line is a dead giveaway of a rushed job.
- If using zip ties, thread them through the light strand’s loop (if it has one) or around the wire. Tighten just enough to secure—don’t pinch the wires.
For a grid pattern, install anchors in rows and columns. Use a grid template (like a piece of cardboard with holes) to keep spacing even.
This step is the backbone of the how to string lights on covered patio 2026 ultimate guide—solid anchors mean no sagging, no slipping, no headaches later.
Step 5: Hang the Lights—Slow and Steady Wins
Unplug the lights first. Safety first! Then:
- Start at the anchor closest to the power source. Hook or clip the first bulb or loop.
- Work along the line, attaching each section as you go. Don’t stretch the wire—let it hang naturally.
- For multiple strands, connect them end-to-end before hanging. Test each connection as you go.
- If using a tension wire, clip the lights to the wire with S-hooks. Adjust spacing by sliding the clips.
For a crisscross pattern:
- Hang the first strand horizontally.
- Hang the second at a 45-degree angle, crossing the first.
- Repeat, adjusting angles for visual interest.
Pro tip: Leave a small loop at each anchor point to absorb tension. This prevents the lights from pulling away during wind or temperature changes.
Step 6: Manage Cords and Power Sources
Messy cords ruin the look. Here’s how to keep them tidy:
- Use cord clips or zip ties to secure extension cords to beams or walls.
- Route cords behind furniture or along baseboards to hide them.
- Use a weatherproof cord cover if cords run across walkways.
- Plug into a GFCI outlet with a weatherproof outlet cover to prevent shocks.
For a clean look, use a smart plug with a timer. Set it to turn on at dusk and off at midnight. Bonus: it saves energy and extends bulb life.
Warning: Never daisy-chain more than three extension cords. Overloading can cause overheating and fire hazards.
Step 7: Test, Adjust, and Refine
Turn the lights on and step back. Look for:
- Uneven spacing
- Sagging sections
- Flickering bulbs
- Visible cords or plugs
Adjust hooks, tighten zip ties, or add support points as needed. Replace any burnt-out bulbs (keep spares on hand).
For a polished finish, tuck excess wire into a hook or use a decorative cord organizer. Some people use faux vines or greenery to disguise cords—just don’t block airflow or create a fire risk.
This final check is what turns a good job into a great one in the how to string lights on covered patio 2026 ultimate guide.
Pro Tips & Common Mistakes to Avoid
Over the years, I’ve learned a few things the hard way. Here’s what to watch out for:
- Don’t hang lights in direct rain: Even “waterproof” lights can fail if water pools in sockets. Angle them slightly so water drains out.
- Use a timer, not manual switches: It’s easy to forget to turn them off, wasting power and shortening bulb life.
- Check for GFCI tripping: If your outlet keeps cutting off, it might be moisture or a short. Test with a different outlet.
- Store lights properly in winter: Coil them loosely, store in a dry place, and avoid folding bulbs. This prevents wire damage.
- Match your style to your patio: Modern homes suit sleek, white-wire lights. Rustic patios shine with vintage bulbs and black cords.
Common mistake: Hanging lights too tight. This strains the wire and can break internal filaments. Let them hang with a slight sag—like a gentle smile.
Another big one: ignoring the power source. If you’re running lights from an indoor outlet, use a weatherproof outdoor extension cord and seal the entry point with silicone or a cord cover.
And here’s a personal favorite: use dimmable lights. They let you adjust brightness for different moods—cozy for reading, bright for game night.
FAQs About How to String Lights on Covered Patio 2026 Ultimate Guide
Q: Can I hang string lights on a vinyl ceiling without drilling?
A: Absolutely! Use outdoor-rated adhesive hooks or removable wall anchors. Clean the surface first with rubbing alcohol for better adhesion. I’ve used these on my own vinyl ceiling for years—no marks, no damage.
Q: How do I prevent sagging in long runs?
A: Add extra anchor points every 3–5 feet. For very long runs (over 30 feet), use a tension wire system. It’s like a clothesline for lights—keeps everything taut and even.
Q: Are solar string lights a good option?
A: They work, but with caveats. Solar lights need direct sunlight to charge. On a covered patio, they might not get enough light. I recommend hybrid sets: solar with a USB backup. Or stick to plug-in lights for consistent brightness.
Q: Can I connect multiple light strands?
A: Yes, but check the manufacturer’s limit—usually 3–5 strands. Overloading can blow fuses or damage the transformer. Use a power strip with surge protection to be safe.
Q: What’s the best way to store lights in winter?
A: Unplug, coil loosely (don’t wrap tightly), and store in a breathable bag or box. Keep in a dry, temperature-stable area. I use old pillowcases—easy to label and stack.
Q: How do I hide extension cords?
A: Use cord clips to secure them to beams, run them behind furniture, or use a decorative cover. For a seamless look, paint cords to match your ceiling (use outdoor-safe paint).
Q: Are LED lights worth the extra cost?
A: 100%. They last 25x longer than incandescent, use 80% less energy, and stay cool. I switched years ago and haven’t replaced a single bulb since. Plus, many are now dimmable and color-changing.
Final Thoughts
Hanging string lights on your covered patio isn’t just about lighting—it’s about creating a feeling. A place where you linger after dinner, where friends gather without checking the time, where the world outside fades away.
With this how to string lights on covered patio 2026 ultimate guide, you’ve got the tools, the tips, and the know-how to do it right. No guesswork. No damage. Just beautiful, functional lighting that lasts.
Start small. Test one strand. Get comfortable with the process. Then expand. And remember: perfection isn’t the goal—ambiance is. A slightly crooked line? That’s charm. A bulb that flickers in the wind? That’s magic.
So grab your lights, your tape measure, and a cup of coffee. Your dream patio is just a few hooks away.
“`

