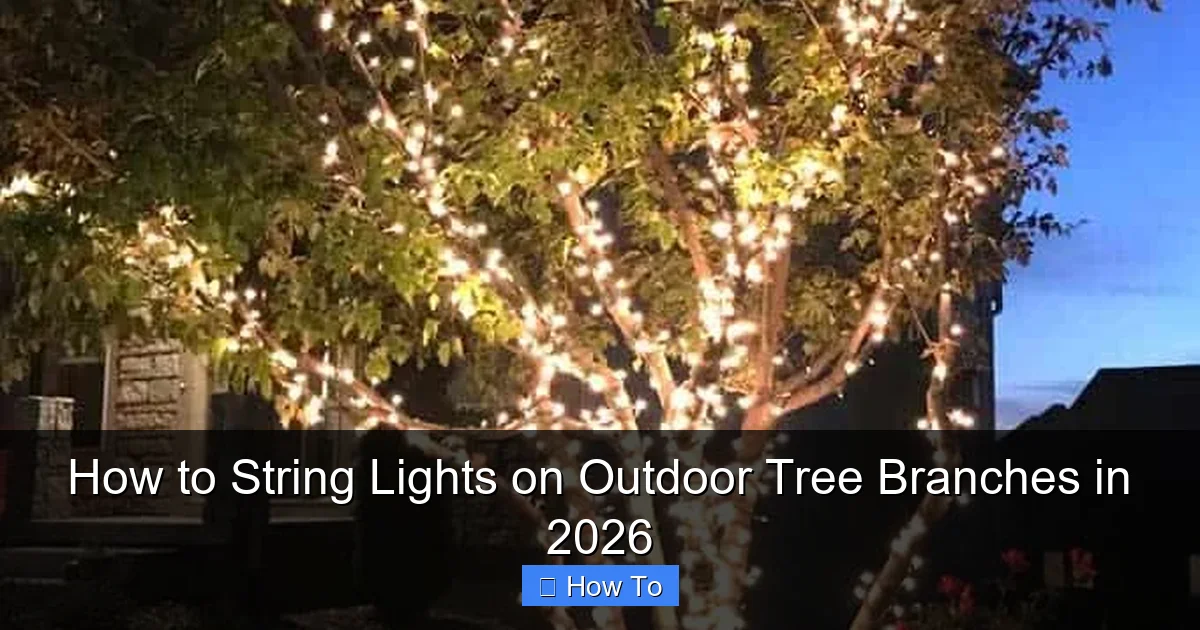
Featured image for how to string lights on outdoor tree branches
Image source: loveourreallife.com
Transform your outdoor space in 2026 by securely stringing lights on tree branches using durable, weather-resistant clips and a smart, spiral wrapping technique that protects bark and ensures even illumination. Prioritize safety with a fiberglass ladder and LED lights to minimize heat and energy use while achieving a professional, enchanting glow. This method works for any tree shape and keeps lights tangle-free all season.
“`html
How to String Lights on Outdoor Tree Branches in 2026
Key Takeaways
- Plan your layout first: Sketch light placement to avoid overloading branches.
- Use outdoor-rated lights: Ensure durability with weatherproof, UL-certified string lights.
- Anchor lights securely: Wrap or clip lights without damaging tree bark.
- Opt for LED bulbs: Save energy and reduce fire risk with cool-burning LEDs.
- Test before hanging: Check all bulbs and connections for faults early.
- Time it right: Install lights after leaves drop to avoid damage and improve visibility.
Why This Matters / Understanding the Problem
There’s something magical about a tree glowing softly at night. Whether it’s for a backyard party, holiday cheer, or just everyday ambiance, how to string lights on outdoor tree branches in 2026 is a question more people are asking—especially as smart lighting, solar tech, and weatherproof designs get better every year.
I learned this the hard way. A few years back, I tried to wrap my maple tree with cheap holiday lights. The result? Tangled wires, flickering bulbs, and a ladder that nearly toppled when a branch snapped under tension. It looked more “haunted house” than “enchanted forest.”
Since then, I’ve tested dozens of setups, talked to landscapers, and even helped friends transform their backyards into twinkling escapes. The truth? It’s not just about hanging lights—it’s about doing it safely, beautifully, and with longevity in mind. In 2026, with climate shifts and smarter tech, the approach has evolved. This guide shares what actually works—no fluff, no overpriced gimmicks.
Whether you’re aiming for a cozy bistro vibe or a festive winter wonderland, how to string lights on outdoor tree branches in 2026 starts with smart planning and ends with a result you’ll love every time you step outside.
What You Need
Before you climb a ladder or untangle a spool of wire, let’s get your toolkit ready. The right gear makes all the difference—especially when you’re working with trees, weather, and electricity.
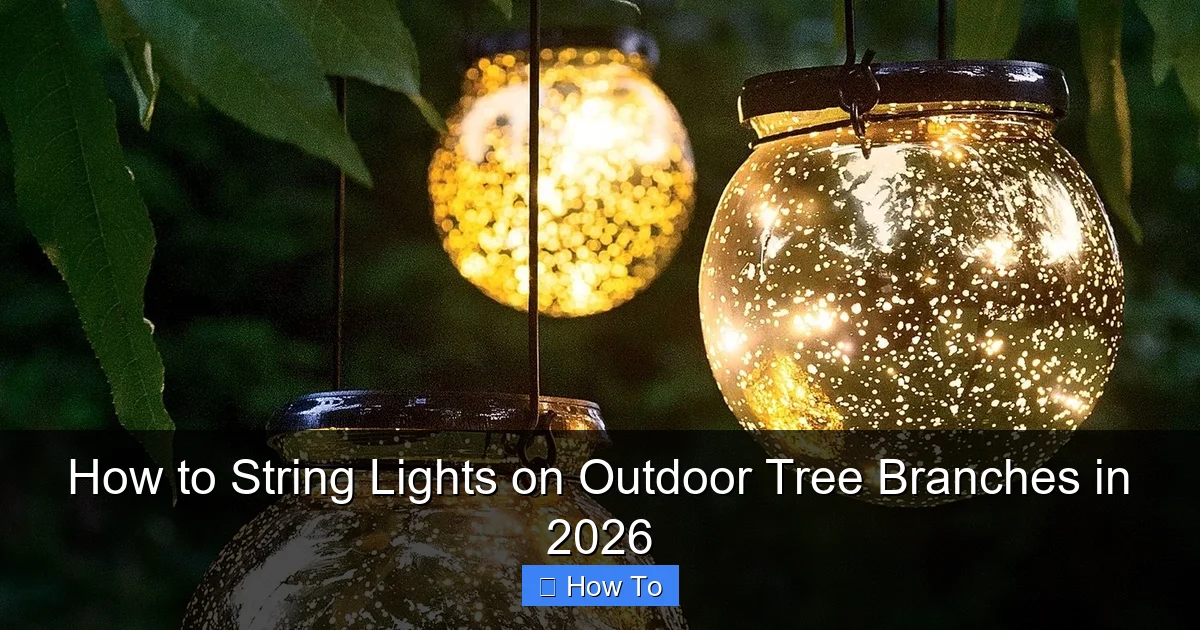
Visual guide about how to string lights on outdoor tree branches
Image source: themprojects.com
- Outdoor-rated string lights: Look for UL-listed or ETL-certified lights with an IP44 or higher weatherproof rating. Solar and LED options are energy-efficient and safer for long-term use.
- Extension cords (outdoor-rated, GFCI-protected): Avoid daisy-chaining more than 3 strands unless the manufacturer says it’s safe.
- Light clips or tree-friendly fasteners: Skip nails or staples. Use plastic clips, zip ties (UV-resistant), or commercial tree clips designed not to damage bark.
- Ladder (sturdy, non-conductive): A fiberglass or wooden ladder is safest. Never use metal near power sources.
- Measuring tape: To estimate light length and spacing.
- Timer or smart plug: For automatic on/off control—huge for energy savings and convenience.
- Optional but helpful: A second person for safety, gloves, and a bucket to hold tools.
Pro tip: In 2026, many people are switching to solar-powered string lights with motion sensors or app control. They’re easier to install (no outlets needed) and reduce fire risk. But make sure your tree gets at least 4–6 hours of direct sun for reliable charging.
Step-by-Step Guide to How to String Lights on Outdoor Tree Branches in 2026
Step 1: Choose the Right Lights for Your Tree Type and Climate
Not all trees are the same—and neither are all lights. A weeping willow needs a different approach than a sturdy oak.
- For thick, sturdy trees (oak, maple, pine): You can wrap lights around trunks and large branches. Use heavy-duty, outdoor-rated lights with thicker cords.
- For delicate or weeping trees (willow, birch): Avoid wrapping. Instead, drape lights over branches or use a “canopy” style from a central pole.
- For fruit trees or young saplings: Be gentle. Use lightweight LED fairy lights and avoid tension. These trees are still growing—don’t girdle them with tight cords.
In 2026, climate matters more than ever. If you live in a region with extreme heat, cold, or high UV exposure, choose lights with UV-stabilized plastic and corrosion-resistant sockets. I once used standard lights in a desert climate—by spring, the plastic had cracked and the sockets rusted. Lesson learned.
Warning: Never use indoor-only lights outdoors. They’re not weatherproof and can short-circuit, posing fire or shock risks.
Step 2: Plan Your Layout (Sketch It or Use an App)
Before you start, visualize how the lights will look. A quick sketch helps—or use a free app like SketchUp Free or RoomSketcher to mock up your tree with light paths.
- Decide: Trunk wrap, branch drape, canopy net, or uplighting?
- Measure the tree’s height, spread, and trunk circumference.
- Calculate how many feet of lights you need. Add 10–15% extra for slack and overlaps.
I like to use the “3:1 rule”: For every 3 feet of vertical height, use 1 foot of horizontal spread. This keeps the lights balanced and avoids overcrowding.
For example, a 15-foot tree with a 20-foot canopy might need:
- 15 ft for trunk wrap (spiral)
- 30 ft for main branches (draped)
- 20 ft for canopy net (top-down)
- Total: ~65 ft (plus 10 ft for slack) = 75 ft of lights
This planning phase is key to how to string lights on outdoor tree branches in 2026—because a good plan prevents mid-installation panic.
Step 3: Install a Safe Power Source and Timer
Power is the backbone of your setup. In 2026, safety and convenience are non-negotiable.
- Plug your extension cord into a GFCI outlet (ground fault circuit interrupter). This shuts off power if moisture or a short is detected.
- Use a weatherproof outdoor outlet cover to protect the connection.
- Plug in a timer or smart plug. I use a Wi-Fi-enabled smart plug so I can turn lights on/off from my phone or set a schedule (e.g., 6 PM–10 PM).
- Route the cord along the ground using cord covers or bury it shallowly (not deeper than 3 inches) to avoid tripping.
If you’re using solar lights, place the panel in full sun—ideally facing south (in the Northern Hemisphere). Avoid shading from branches or structures.
Pro tip: Test your lights and timer before installing. There’s nothing worse than climbing a ladder only to find half the strand is dead.
Step 4: Start at the Base (For Wrap Styles) or Top (For Drape Styles)
Now the fun begins. But don’t rush—take your time.
For trunk wraps:
- Begin at the base, 2–3 feet off the ground (to avoid snow and critters).
- Use tree clips or UV-resistant zip ties every 12–18 inches to secure the lights in a spiral pattern.
- Wrap upward, leaving 6–12 inches between turns. Tight enough to stay, loose enough not to stress the bark.
- When you reach the first major branch, continue wrapping it outward, or switch to a drape style.
For branch drapes (my personal favorite):
- Start at the top of the tree or a central pole.
- Drape lights over branches like garland, letting them hang 6–18 inches below.
- Use clips to secure the ends and prevent wind whipping.
- Work your way down, spacing drapes every 2–3 feet.
For canopy nets:
- Stretch a net of fairy lights or mini LEDs across the top of the tree.
- Anchor corners to sturdy branches or a support pole.
- Let it drape naturally—don’t pull too tight.
Remember: how to string lights on outdoor tree branches in 2026 isn’t about perfection—it’s about harmony. A few loose strands? That’s charm, not a flaw.
Step 5: Secure Lights Without Damaging the Tree
This is where many people go wrong. Nails, screws, and tight wires can girdle a tree, cutting off nutrients and inviting disease.
- Use tree-safe fasteners: Plastic clips, rubberized hooks, or soft silicone bands.
- Zip ties are okay—but only if they’re UV-resistant and not cinched tight. Loosen them annually as the tree grows.
- Never staple or nail into the bark. I’ve seen trees die from this—don’t be that person.
- For young trees: Use lightweight LED strands and avoid wrapping at all. Drape or hang from above.
I once used zip ties on a young apple tree. Two years later, the ties had cut into the bark. I had to cut them off with a knife—and the tree took a year to recover. Use removable clips instead.
Insider tip: In 2026, “smart” tree clips with tension sensors are hitting the market. They alert you via app if a tie is too tight. Game-changer for long-term installations.
Step 6: Test, Adjust, and Trim the Cord
Once all lights are up, it’s time to test and refine.
- Turn on the lights at night. Check for dead bulbs, flickering, or uneven spacing.
- Adjust any sagging or tangled sections. A second person helps here.
- Trim excess cord with wire cutters. Leave 6–12 inches for repairs or future adjustments.
- Use cord clips to bundle and hide extra wire along the trunk or base.
If you’re using a timer, set it to your desired schedule. I like “sunset to 10 PM” in summer, “5 PM to midnight” in winter.
For solar lights, test after a full day of sun. If they don’t stay on all night, reposition the panel or switch to a higher-capacity model.
Step 7: Maintain and Store Properly (Seasonal or Year-Round)
Your lights should last years—if you care for them.
- For seasonal use (e.g., holidays): Remove lights after 3–4 months. Store in a cool, dry place with bulbs protected (use original packaging or bubble wrap).
- For year-round use: Inspect every 3–6 months. Look for frayed wires, loose sockets, or damaged clips.
- Clean bulbs with a dry cloth. Never use water or chemicals.
- Replace dead bulbs promptly. A single dead bulb can cause a whole strand to flicker.
In 2026, many people are switching to modular LED systems where individual bulbs can be replaced—no more tossing a whole strand because one light died.
Warning: Never leave lights on during storms or high winds. Wind can whip cords into branches, causing damage or fire. Use a timer to shut off automatically.
Pro Tips & Common Mistakes to Avoid
After years of trial and error, here’s what I’ve learned the hard way.
- Don’t over-light the tree. More isn’t always better. A few well-placed strands create depth and elegance. Overdoing it looks chaotic.
- Use warm white or soft color temps (2700K–3000K). Cool white (5000K+) feels clinical. Warm light mimics firelight and feels inviting.
- Angle lights downward. Upward lighting can attract bugs and look harsh. Downward or sideways light is softer and more natural.
- Check local regulations. Some HOA or city codes restrict outdoor lighting brightness or duration. Better safe than fined.
- Consider wildlife. Bright lights can disrupt nocturnal animals. Use motion sensors or timers to minimize impact.
Common mistakes:
- Using indoor lights outside → Shorts, fire risk.
- Tight wrapping → Girdles the tree, causes rot.
- Ignoring wind load → Cords snap, branches break.
- Forgetting the timer → Lights run all night, waste energy, attract pests.
- Skipping GFCI → Shock hazard in wet conditions.
One last thing: how to string lights on outdoor tree branches in 2026 is as much about timing as technique. Install in dry weather, when the tree is dormant (late fall or early spring), and avoid windy days.
FAQs About How to String Lights on Outdoor Tree Branches in 2026
Can I leave outdoor string lights up year-round?
Yes—but only if they’re rated for continuous outdoor use and you maintain them. I leave mine up from April to November. In winter, I remove them to avoid snow and ice damage. If you’re in a mild climate, year-round is possible with weatherproof, UV-resistant lights and regular checks.
Are solar string lights worth it in 2026?
Absolutely. Solar tech has improved—panels are smaller, batteries last longer, and LEDs are brighter. Just ensure your tree gets enough sun. I use solar on my backyard maple, and it runs from dusk to dawn. No cords, no bills. Just remember: cloudy days = shorter runtime.
How do I keep lights from tangling when storing?
Wrap them around a cardboard frame or use a light reel. I cut a 12” x 12” square from a cereal box, slit one edge, and wrap the lights in a figure-eight pattern. No tangles, no mess. Or buy a cheap plastic reel from a hardware store.
Can I use smart lights with voice control?
Yes! In 2026, many outdoor lights work with Alexa, Google, or Apple Home. I use Wi-Fi-enabled LED strands that I control from my phone. You can dim, change colors, or set scenes (e.g., “Romantic Night”). Just make sure they’re outdoor-rated and connect to a 2.4 GHz network.
What if my tree has no nearby outlet?
Go solar. Or use a battery-powered LED strand with a rechargeable pack. Some models last 8–12 hours on a single charge. For larger setups, consider a portable power station (like a Jackery) with an inverter.
How high can I safely go on a ladder?
Never stand on the top 2–3 rungs. I use a 6-foot ladder for trees up to 12 feet. For taller trees, use a pole duster or hire a pro with a lift. Safety first—your tree isn’t worth a fall.
Can I mix different types of lights?
Sure! I love combining warm white fairy lights with color-changing bulbs in a canopy. Just make sure they’re on separate circuits or timers so you can control them independently. And avoid mixing old incandescent with new LED—they have different voltage needs.
Final Thoughts
How to string lights on outdoor tree branches in 2026 isn’t just about aesthetics—it’s about creating a space that feels like home. Whether it’s a quiet evening with a book or a party under the stars, the right lighting transforms your yard.
Remember: start with a plan, use safe gear, respect the tree, and test before you commit. Don’t rush. Take breaks. And if you’re unsure, ask for help.
My best advice? Start small. Try one tree, one style. See how it looks, how it holds up in wind and rain. Then expand. Over time, you’ll develop your own rhythm—and your own signature look.
And when you finally turn on those lights for the first time? That moment—when the dark tree comes alive with soft, glowing light—is worth every step.
Now go make your backyard magic happen.
“`

