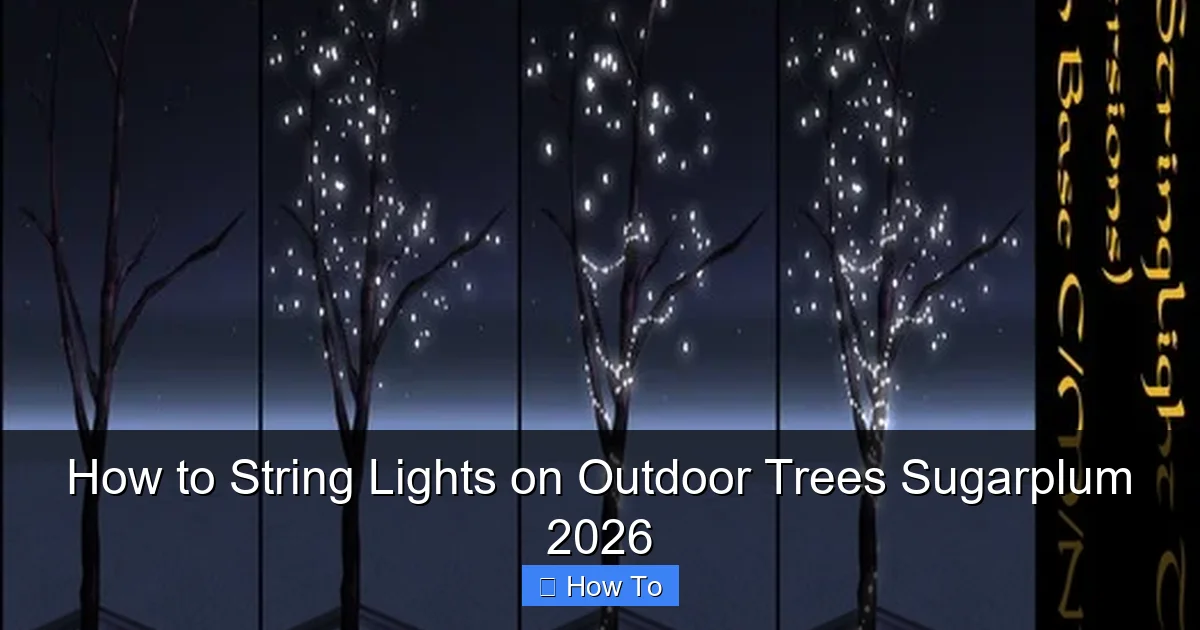
Featured image for how to string lights on outdoor trees sugarplum
Image source: slm-assets.secondlife.com
Transform your outdoor space into a magical wonderland by learning how to string lights on Sugarplum 2026 trees with precision and style—start by measuring the tree’s height and circumference to ensure even spacing and avoid tangles. Use durable, weather-resistant lights and secure them with insulated clips or zip ties to protect branches while creating a stunning, long-lasting glow that enhances any nighttime ambiance.
How to String Lights on Outdoor Trees Sugarplum 2026
Key Takeaways
- Plan your layout first: Sketch tree placement and light spacing for balanced coverage.
- Use outdoor-rated lights: Ensure durability with weatherproof, UL-listed string lights.
- Wrap lights clockwise: Maintain even spacing by following the tree’s natural spiral.
- Secure with insulated clips: Avoid damage using UV-resistant, non-conductive fasteners.
- Test lights before hanging: Check functionality to prevent mid-installation failures.
- Anchor the power source: Keep connections elevated and dry for safety.
- Trim excess branches: Improve light visibility and reduce tangling risks.
Why This Matters / Understanding the Problem
There’s something magical about walking into your backyard and seeing a tree wrapped in soft, glowing lights. It feels like stepping into a fairy tale—especially during the holidays or a summer soirée. But if you’ve ever tried how to string lights on outdoor trees Sugarplum 2026 style, you know it’s not as simple as tossing them up and calling it a day.
I learned this the hard way last year. I had visions of a twinkling sugarplum tree (yes, inspired by the classic carol) and ended up with tangled cords, uneven lighting, and a ladder that wobbled so much I nearly gave up. The tree looked more like a haunted shrub than a festive centerpiece.
But after a few tries, some trial and error, and a few lessons from a friend who’s a landscape lighting pro, I cracked the code. Now, my outdoor trees are the talk of the neighborhood. And the best part? You can do it too—without the stress, the tangles, or the ladder wobbles.
Whether you’re prepping for a holiday party, a romantic dinner under the stars, or just want to add some everyday charm, how to string lights on outdoor trees Sugarplum 2026 is about more than aesthetics. It’s about creating a mood, a memory, and a space that feels truly *yours*.
Let’s get into the real, practical, and yes—fun—way to do it right.
What You Need
Before you start, gather your tools and materials. Trust me: having everything ready saves you from running back and forth mid-process. Here’s what I use every time I set up tree lights:
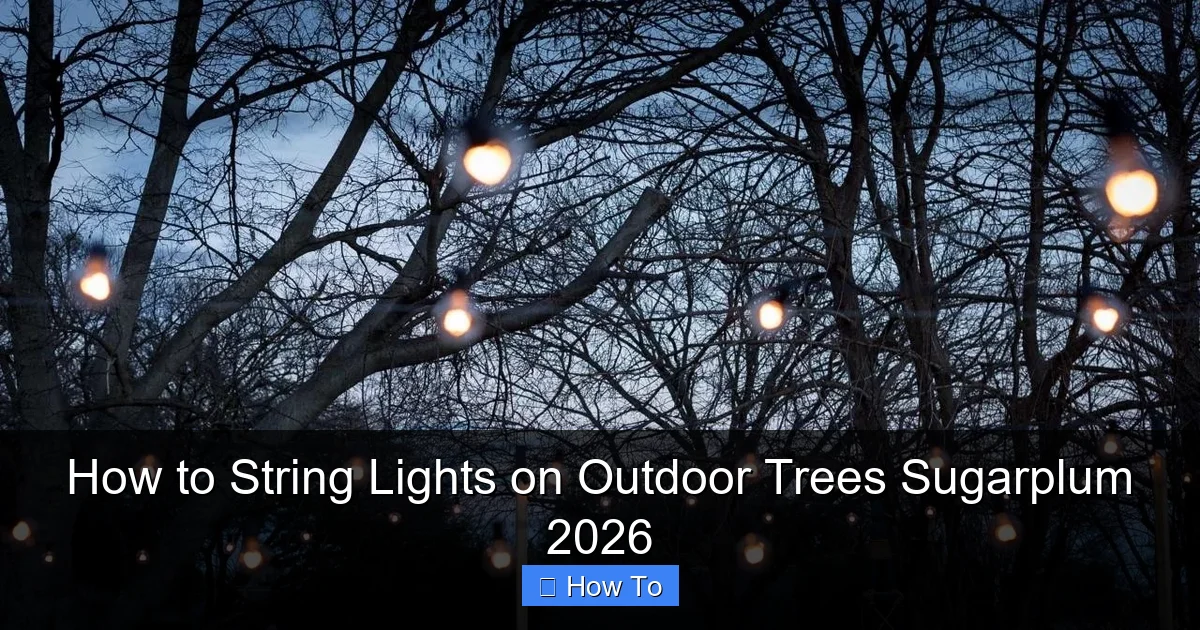
Visual guide about how to string lights on outdoor trees sugarplum
Image source: themprojects.com
- Outdoor-rated string lights – LED is best. They’re energy-efficient, last longer, and don’t get hot. Look for “UL-listed for outdoor use” and weather resistance (IP44 or higher).
- Extension cords (outdoor-rated) – Get one or two, depending on how far your outlet is from the tree.
- Tree-safe clips or hooks – Avoid nails or staples. Use plastic or rubber tree clips designed for lights. I love the ones with built-in grippers.
- Zip ties (optional) – Great for securing the base or tucking in loose cords.
- Measuring tape – Helps estimate how much lighting you’ll need.
- Ladder (sturdy and non-slip) – A telescoping or step ladder works best. Make sure it’s tall enough for the highest branches.
- Work gloves – Protect your hands from bark, branches, and cold.
- Timer or smart plug (optional) – So your lights turn on at sunset without you having to remember.
- Helper (optional but helpful) – Especially for taller trees or if you’re using multiple strands.
Pro Tip: Always buy 10–20% more lights than you think you’ll need. Trees have more surface area than they appear, and you don’t want to run out mid-wrap!
Step-by-Step Guide to How to String Lights on Outdoor Trees Sugarplum 2026
Step 1: Choose the Right Tree and Lighting Style
Not all trees are created equal when it comes to lighting. Think about the shape, height, and bark texture. I prefer trees with strong, visible branches—like oaks, maples, or even a well-pruned fruit tree.
For the how to string lights on outdoor trees Sugarplum 2026 look, I go for a “cascading” or “wrapped” style:
- Wrapped style: Lights spiral around the trunk and main branches. Great for round or columnar trees.
- Cascading style: Lights drape down from the canopy, like icicles. Ideal for weeping trees or those with long, drooping branches.
- Canopy glow: Lights are hung across the top, creating a “floating” effect. Works well for open-grown trees.
I love the sugarplum vibe—soft, warm, and a little whimsical. So I use warm white LEDs with a slight twinkle effect. But you can go with colored lights, vintage Edison bulbs, or even solar-powered strands if you’re off-grid.
Warning: Avoid wrapping lights too tightly around young or thin-barked trees (like birch or maple saplings). It can damage the bark and restrict growth. Stick to older, sturdier trees.
Step 2: Measure and Plan the Layout
Grab your measuring tape and walk around the tree. Measure the height from the ground to the highest point you want to light. Then, estimate the circumference of the trunk and major branches.
Here’s a quick formula I use:
- Trunk wrap: Circumference (in inches) x number of wraps (I do 4–6 wraps from bottom to top) = total length needed for trunk.
- Branch coverage: Add 1.5–2 feet per major branch for draping or wrapping.
- Canopy spread: If you’re doing a canopy style, measure the diameter and multiply by 3 (for a loose drape).
Let’s say your tree is 15 feet tall, has a 3-foot circumference, and 6 main branches. You’d need roughly:
- Trunk: 3 ft x 5 wraps = 15 ft
- Branches: 6 x 2 ft = 12 ft
- Canopy: 10 ft diameter x 3 = 30 ft (if doing a drape)
- Total: ~57 ft. Add 10% buffer = 63 ft minimum.
Now, plan where the plug-in point will be. You want the first plug to be as close to the outlet as possible—ideally, at the base of the tree. If you’re using a smart plug, place it near the base too.
Pro Tip: Lay your lights on the ground in a loose coil before starting. This prevents tangles when you’re up the ladder.
Step 3: Install Tree-Safe Clips or Hooks
This is the secret to a clean, professional look. Don’t just wrap lights around branches—they’ll sag, shift, and look messy by morning.
Instead, use tree clips or light hooks. I prefer the rubber-coated ones that grip without cutting into the bark. Here’s how to install them:
- Start at the base of the trunk. Place a clip every 12–18 inches as you go up.
- On branches, install clips every 2–3 feet along the main limbs.
- For a cascading style, place clips at the tips of drooping branches to anchor the ends.
- For canopy lighting, use clips at the highest points to create “anchor nodes.”
Don’t overdo it—just enough to guide the lights without crowding. And never use metal staples, nails, or wire. They can rust, damage the tree, and become a hazard.
For the how to string lights on outdoor trees Sugarplum 2026 effect, I like to space clips slightly closer at the top to create a denser glow—like a crown of light.
Personal Insight: I once used duct tape to hold lights. Big mistake. It left residue, hurt the bark, and the lights fell off in a windstorm. Tree clips are cheap, safe, and reusable.
Step 4: Start Stringing—Bottom to Top, Inside to Outside
Now the fun part: putting up the lights. Here’s my tried-and-true method:
- Start at the base. Plug in the first strand near the outlet. Secure the first light bulb (or socket) to the bottom clip.
- Work upward. Spiral the lights around the trunk, attaching every bulb or every other bulb to the clips. Keep tension firm but not tight.
- Move to branches. Once the trunk is wrapped, move to the lower branches. Drape or wrap them, securing with clips every 2–3 feet.
- Work from inside out. Start with inner branches, then move to outer ones. This keeps you from having to reach over already-lit areas.
- Use zip ties at junctions. Where strands meet (like at the trunk-branch junction), use a zip tie to secure the connection. Trim the excess.
- Keep the plug accessible. Don’t bury it under the lights. Leave it near the base for easy access.
If you’re using multiple strands, connect them at the base before going up. I like to use a “daisy chain” method: plug strand 2 into strand 1, strand 3 into strand 2, etc. But don’t exceed the manufacturer’s max strand count (usually 3–5 for LED).
Warning: Never leave dangling plugs or loose cords on the ground. They’re a tripping hazard and can short out. Use zip ties to secure cords to the trunk or nearby stakes.
Step 5: Test and Adjust
Before you step back and admire your work, test the lights.
- Plug everything in.
- Walk around the tree and look for dark spots, sagging sections, or flickering bulbs.
- Adjust clips or add extra ones where needed.
- Tuck in any loose cords with zip ties or clips.
- Trim zip ties with scissors—don’t leave sharp ends.
I always do this at dusk. It’s the best time to see how the lights actually look in low light. You might find that a branch is too dark or that the glow is too harsh. Small tweaks make a big difference.
For the sugarplum 2026 look, I aim for soft, even illumination—no hot spots or dark zones. If a section is too bright, I’ll add a leaf or branch in front to diffuse it.
Step 6: Secure the Base and Manage Cords
This is where many people cut corners—and pay for it later.
Use stakes or garden anchors to secure the main cord from the tree to the outlet. I use 6-inch metal stakes and loop the cord around them every 3–4 feet. This prevents tripping and keeps the cord from pulling on the tree.
If the cord runs across grass, use a cord cover (like a rubber channel) or bury it under mulch (only if it’s rated for burial). Never leave cords exposed on concrete or gravel—they’ll fray.
For a clean look, I run the cord along a fence, down a post, or behind a shrub. The goal is to make it disappear.
Pro Tip: If you’re using a timer or smart plug, place it in a waterproof box near the outlet. I use a small plastic container with a lid—keeps it dry and hidden.
Step 7: Add the Finishing Touches (Optional)
Want to elevate your how to string lights on outdoor trees Sugarplum 2026 setup? Try these extras:
- Fairy lights in the canopy: Add tiny LED fairy lights to the upper branches for a starry effect.
- Ornaments or ribbons: Hang lightweight glass ornaments or satin ribbons from the tips. Just make sure they’re weatherproof.
- Motion sensor or color-changing lights: For a dynamic look, use smart bulbs that shift color or respond to movement.
- Ground lighting: Add path lights or spotlights at the base to highlight the tree from below.
I once added red velvet ribbons to my sugarplum tree—it looked like a scene from a storybook. Just remember: less is more. You don’t want to over-decorate.
Pro Tips & Common Mistakes to Avoid
After years of trial, error, and a few near-disasters, here’s what I’ve learned:
Pro Tip #1: Use a buddy. One person holds the ladder, passes clips, and gives feedback. It’s safer and faster.
Pro Tip #2: Start early. Install lights during daylight. It’s easier to see what you’re doing, and you’ll avoid rushing.
Pro Tip #3: Label your strands. Use masking tape to mark each strand (e.g., “Trunk 1,” “Branch 3”). Makes troubleshooting a breeze.
Common Mistake #1: Overloading circuits. Don’t plug 10 strands into one outlet. Use a heavy-duty outdoor outlet or a power strip with surge protection.
Common Mistake #2: Ignoring the weather. If a storm is coming, unplug the lights or use a timer that cuts off during high winds. I lost a strand to a lightning strike once—never again.
Common Mistake #3: Forgetting to check bulbs. A single burnt-out bulb can take down an entire strand (if it’s not LED). Test each strand before installing.
Personal Insight: I used to wrap lights too tightly, thinking it would keep them in place. But it stressed the branches and left marks. Now, I leave a little slack—like a gentle hug, not a squeeze.
FAQs About How to String Lights on Outdoor Trees Sugarplum 2026
Q: Can I leave the lights up all year?
You can, but I don’t recommend it. Even weatherproof lights degrade over time. UV rays, rain, and temperature swings shorten their lifespan. I take mine down after 3–4 months and store them in a dry, dark place. That way, they last for years.
Q: What if my tree has thick, rough bark?
Great question! Thick bark (like on an oak) is actually better for clips—they grip more securely. Just make sure the clips are wide enough to fit over the bark without pinching. Rubber-coated clips work best here.
Q: Are solar lights a good option?
Yes, if your tree gets at least 4–6 hours of direct sun. But solar lights are dimmer and less reliable in winter. I use them for accent lighting, not main coverage. For a full how to string lights on outdoor trees Sugarplum 2026 effect, stick with plug-in LEDs.
Q: How do I prevent animals from chewing the cords?
Squirrels and rodents love to chew cords. I’ve seen it happen! Use cord sleeves (flexible plastic tubes) or spray the cords with pet-safe deterrent spray (like bitter apple). Also, run cords through PVC pipes if they’re at ground level.
Q: Can I string lights on a palm tree?
Palm trees are tricky. Their trunks are smooth and slippery, so clips won’t stick. I’ve had luck using velcro straps or light ropes with built-in grippers. Just avoid wrapping tightly around the crown—it can damage the growing tip.
Q: What’s the best time of year to install them?
Late fall or early winter is ideal. The leaves have fallen (if it’s a deciduous tree), so you can see the structure clearly. But you can do it any time—just avoid extreme heat or freezing temps. I once installed lights in 90°F weather and nearly passed out from the heat. Not worth it!
Q: Do I need a permit or approval?
Usually not, but check your HOA or local ordinances. Some neighborhoods have rules about light brightness, duration, or colors (especially around holidays). I keep my lights on a timer from 5 PM to 11 PM—respectful and safe.
Final Thoughts
There’s nothing quite like stepping outside at night and seeing your tree glowing like a beacon of joy. That’s what how to string lights on outdoor trees Sugarplum 2026 is all about—creating a moment of wonder, right in your own backyard.
It’s not about perfection. It’s about effort, care, and a little bit of magic. Whether you’re wrapping a single tree or lighting up your entire yard, the process is part of the fun.
So grab your lights, your clips, and a good playlist. Take your time. Test as you go. And don’t be afraid to tweak until it feels *just right*.
And when you finally step back, turn off the yard lights, and see your sugarplum tree glowing in the dark—well, that’s the reward. That’s the memory.
Now go make your yard shine.

