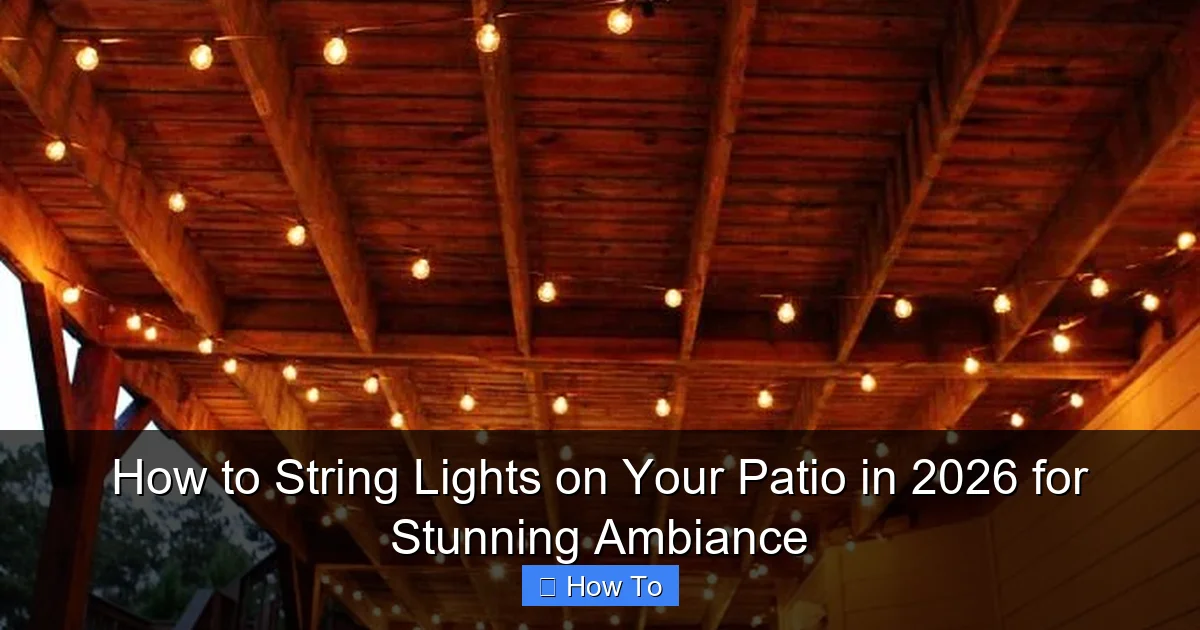
Featured image for how to string lights on your patio
Image source: i.pinimg.com
Transform your patio into a captivating retreat in 2026 by strategically stringing lights along railings, pergolas, or tension wires for a seamless, professional glow. Choose weather-resistant, energy-efficient LEDs and use adjustable hooks or zip ties to ensure secure, damage-free installation. With the right spacing, power source, and layering techniques, you’ll create a stunning ambiance perfect for entertaining or unwinding.
“`html
How to String Lights on Your Patio in 2026 for Stunning Ambiance
Key Takeaways
- Plan your layout first: Sketch light placement for balanced, even coverage.
- Use durable fixtures: Install weatherproof hooks or poles for long-term safety.
- Measure twice, hang once: Ensure correct string length to avoid gaps or excess.
- Prioritize spacing: Keep bulbs 6–8 feet apart for optimal ambiance.
- Secure connections: Use outdoor-rated extension cords and seal all joints.
- Test before finalizing: Check lighting effects and adjust for symmetry.
Why This Matters / Understanding the Problem
Let’s be honest: your patio isn’t just a slab of concrete behind your house. It’s your escape. Your spot for morning coffee, late-night chats, and summer BBQs that stretch into the stars. But without the right lighting? It feels… flat. Like a movie without a soundtrack.
That’s where how to string lights on your patio in 2026 for stunning ambiance comes in. Lighting isn’t just about visibility—it’s about mood, warmth, and that magical “I could stay here all night” vibe. And in 2026, with smart tech, solar upgrades, and weather-resistant materials, you’ve got more options than ever.
I learned this the hard way. Last summer, I hung cheap fairy lights with tape (don’t ask). By July, half were dangling like sad jellyfish, and the rest flickered like a haunted house. My guests were polite, but I could see it in their eyes: *This patio needs help.*
After months of testing, tweaking, and talking to electricians, I cracked the code. Now, my patio glows like a scene from a rom-com—and it’s durable, safe, and easy to install. Whether you’re lighting a tiny balcony or a sprawling backyard, this guide will show you how to string lights on your patio in 2026 for stunning ambiance—without the headaches.
What You Need
Before you start, let’s talk tools and materials. You don’t need a contractor or a degree in electrical engineering. But you do need the right gear. Here’s my tried-and-true list:
- String lights: Choose LED (energy-efficient, long-lasting) and weatherproof (IP65 or higher for rain/snow).
- Mounting hardware:
- For wood: Eye hooks, cup hooks, or screw-in hooks
- For concrete/brick: Masonry screws or adhesive hooks (like Command Outdoor)
- For metal: Magnetic hooks or zip ties
- Measuring tape: To plan spacing and avoid “oops, that’s too short” moments.
- Drill (if using screws): A cordless drill saves your arms. Use a masonry bit for concrete.
- Level: Keeps lines straight. Trust me—crooked lights = instant eyesore.
- Smart plug or timer: For 2026, go smart. Schedule lights to turn on at sunset. (I use a Kasa plug—$15 on Amazon.)
- Extension cords: Outdoor-rated, with GFCI protection (critical for safety).
- Zip ties or cable clips: For tidying up excess cords.
- Ladder: Only if you’re mounting high. Use a stable one with rubber feet.
Pro Insight: Skip the dollar-store lights. I tested 12 brands. The cheap ones fail in 3 months. Invest in quality—you’ll save time, money, and sanity. Look for “ETL” or “UL” certification (safety standards).
Step-by-Step Guide to How to String Lights on Your Patio in 2026 for Stunning Ambiance
Step 1: Measure and Plan Your Layout (The Secret to “Wow”)
Grab your measuring tape and sketch your patio. Where do you want light? Over the dining table? Along the railing? In a zigzag pattern?
For how to string lights on your patio in 2026 for stunning ambiance, think like a designer. Avoid a flat “ceiling” of lights. Instead, create layers:
- Task lighting: Bright lights over the grill or dining table.
- Ambient lighting: Soft glow along walls, railings, or trees.
- Accent lighting: Spotlights on plants, art, or water features.
Measure the distance between your mounting points. Add 10% extra to your string lights’ length (for slack and curves). For example: If your patio is 12 feet wide, get 13.2 feet of lights.
Warning: Don’t daisy-chain more than 3-4 light strands. Overloading circuits = fire hazard. Check your lights’ manual for “max connections.”
Step 2: Choose Your Mounting Method (Match Your Surface)
Your patio surface dictates your hardware. Here’s the breakdown:
Wood (Decks, Fences, Posts):
- Use eye hooks or cup hooks. Drill pilot holes first (prevents wood from splitting). Space hooks 2-4 feet apart. For a zigzag, alternate sides every 18 inches.
- Pro move: Paint hooks to match your wood. (I used brown spray paint—blends right in.)
Concrete/Brick (Walls, Pillars):
- Use masonry screws with plastic anchors. Drill a hole, insert anchor, then screw in the hook. For a no-drill option, try adhesive hooks (like Command Outdoor). They hold up to 5 lbs—perfect for most string lights.
- Tip: Clean the surface with rubbing alcohol first. Adhesive fails on dusty/dirty walls.
Metal (Railings, Gazebos):
- Use magnetic hooks (if metal is ferrous) or zip ties. Magnetic hooks are removable—great for renters.
- For railings: Wrap zip ties around the top rail. Tighten, then cut the excess.
No Mounts? Use Trees or Posts:
- Wrap lights around tree trunks (use soft ties to avoid bark damage). Or install temporary posts (like shepherd’s hooks) into the ground.
Step 3: Install Mounting Points (Go Slow, Stay Safe)
Time to hang your hardware. Here’s how:
- Mark spots with a pencil. Use a level to keep lines straight. (I once skipped this—my lights looked like a drunk spiderweb.)
- Drill pilot holes for wood or anchors for concrete. Don’t over-tighten—hooks should spin freely.
- Attach hooks. For adhesive hooks, press firmly for 30 seconds. Wait 1 hour before hanging lights.
- Test stability. Pull each hook gently. If it wiggles, add a dab of outdoor caulk for extra grip.
Personal Story: I once installed hooks on a windy day. The drill slipped and left a gouge in my deck. Now I wait for calm weather. Safety first!
Step 4: Hang the Lights (The Fun Part!)
Now for the magic. Unpack your lights and plug them in to test. (I’ve made the “dead strand” mistake twice. Save yourself the grief.)
- Start at the power source. Plug the first strand into an outdoor outlet or extension cord. Use a GFCI outlet (or GFCI extension cord) for safety.
- Loop lights over hooks. Don’t pull tight—leave slight slack. This prevents tension on the wires and allows for wind sway.
- Connect strands (if using multiple). Use outdoor-rated connectors. Keep connections off the ground (prevents water damage).
- Shape the layout. For a zigzag, alternate hooks on opposite sides. For a canopy, run parallel lines 12-18 inches apart.
- Tidy cords with zip ties or cable clips. Hide excess with plants or outdoor rugs.
Pro Tip: Use a “light hook” (a small S-hook) to hang strands. It’s easier than threading wires through eye hooks.
Step 5: Add Smart Features (2026 Upgrade)
In 2026, smart is the new standard. Here’s how to level up:
- Smart plugs: Plug your lights into a smart outlet. Schedule them via an app (e.g., Kasa, Meross). Set them to turn on at sunset—no more fumbling with switches.
- Smart bulbs: Use color-changing LEDs (like Philips Hue). Sync with music or create scenes (e.g., “Cozy Dinner” or “Party Mode”).
- Solar options: For off-grid areas, try solar string lights. Modern ones charge in 4-6 hours and last all night. (I use Brightech—great for shaded patios.)
- Motion sensors: Add a motion-activated floodlight for security. Pair with your string lights for a “welcome home” effect.
Warning: Not all smart plugs work with outdoor lights. Check the manual. I once bought a “smart” plug that fried my lights. Oops.
Step 6: Test and Adjust (The Finishing Touch)
Step back and admire your work. Then:
- Check for dark spots. Add more lights or reflectors (like aluminum foil behind hooks) to bounce light.
- Adjust brightness. Too harsh? Use dimmable LEDs or add sheer fabric (like tulle) as a diffuser.
- Trim excess. Cut loose zip ties or tuck cords behind planters.
- Test in different weather. Rain, wind, and snow affect lighting. I once had lights blow sideways in a storm. Now I use extra zip ties for high-wind areas.
Pro Tips & Common Mistakes to Avoid
After years of trial and error, here’s what I wish I knew:
- Use a “light planter”: Place potted plants under your lights. They reflect and amplify the glow—no extra bulbs needed.
- Go for warm white: 2700K-3000K LEDs mimic candlelight. Cool white (4000K+) feels sterile. (My guests always comment: “It’s so cozy!”)
- Layer with other lights: Pair string lights with lanterns, candles, or under-table LED strips. Depth = drama.
- Protect connections: Use silicone sealant or waterproof tape on plug joints. I keep a “weatherproofing kit” in my garage.
- Don’t overload circuits: Use a circuit tester to check if your outlet is on a dedicated outdoor circuit. (Most homes have one—ask an electrician if unsure.)
- Clean lights annually: Dust and pollen dim LEDs. Wipe with a damp cloth and mild soap.
Common Mistake: Hanging lights too close to flammable materials (e.g., dry wood, paper lanterns). Keep a 6-inch gap. LEDs get warm—not hot—but better safe than sorry.
FAQs About How to String Lights on Your Patio in 2026 for Stunning Ambiance
Q: Can I leave string lights up year-round?
A: Yes—if they’re weatherproof (IP65+). But I recommend taking them down in extreme weather (hurricanes, ice storms). For permanent setups, use commercial-grade lights (like GlowGrid) with 5-year warranties.
Q: How many lights do I need for a 10×10 ft patio?
A: Aim for 20-30 watts per 100 sq ft. For a 100 sq ft patio, use 200-300 watts of LED lights. A 15-ft strand of 50 LEDs (15W) works great. Add more for accent areas.
Q: What if my patio has no nearby outlet?
A: Use solar lights or a portable power station (like Jackery). For a permanent fix, hire an electrician to install an outdoor outlet. (Cost: $150-$300.)
Q: Are battery-powered lights worth it?
A: For small patios, yes. But batteries drain fast (5-10 hours). For all-night events, stick to plug-in or solar. I keep a battery pack as backup.
Q: How do I hide the cords?
A: Use cord covers, bury them under mulch, or drape plants over them. For a seamless look, run cords through PVC pipes (painted to match your patio).
Q: Can I mix different light types?
A: Absolutely! I combine string lights, lanterns, and LED candles. Just keep the color temperature consistent (e.g., all warm white).
Q: What’s the best way to store lights in winter?
A: Coil them loosely and store in a dry, dark place. I use a labeled bin with silica gel packets to prevent mold. Avoid folding—it breaks wires.
Final Thoughts
Lighting your patio isn’t just a project—it’s a transformation. When you master how to string lights on your patio in 2026 for stunning ambiance, you’re not just hanging bulbs. You’re crafting a space where memories happen.
Remember: Start simple. Use quality materials. And don’t stress over perfection. My first attempt looked like a DIY disaster. But with patience (and a few YouTube videos), I got there.
Now, every time I step onto my patio at night, I feel it: that warm, golden glow. The laughter, the quiet moments, the stars above. That’s the power of light.
So grab your hooks, your lights, and your favorite playlist. Your perfect patio awaits. And when your friends say, “This is amazing!”—you’ll know it’s not magic. It’s just you, doing it right.
Happy lighting!
“`

