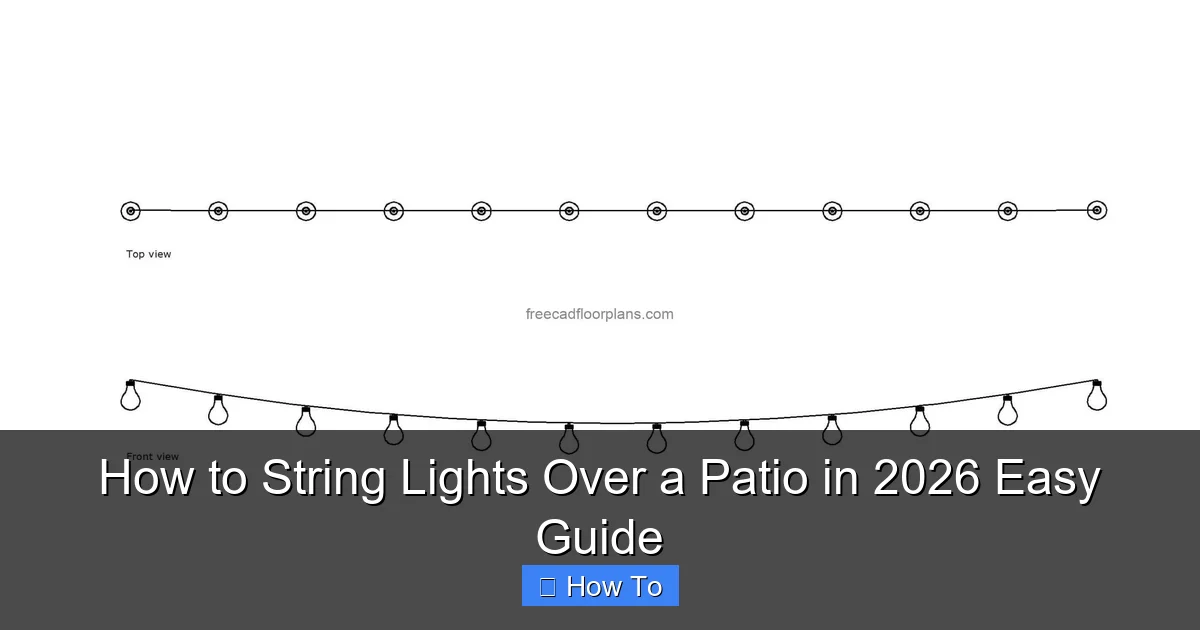
Featured image for how to string lights over a patio
Image source: freecadfloorplans.com
Transform your patio into a magical outdoor retreat in 2026 by mastering the art of string light installation with minimal tools and maximum impact. Learn the easiest methods—from tension wires and poles to no-damage clips—to securely hang lights across any patio layout, regardless of structure. With smart planning and weather-resistant fixtures, you’ll create a stunning, ambient glow that lasts all season long.
“`html
How to String Lights Over a Patio in 2026 Easy Guide
Key Takeaways
- Plan your layout first: Sketch light placement for balanced coverage and minimal sagging.
- Use weatherproof lights: Choose LED or solar-powered for durability and energy efficiency.
- Secure with proper hardware: Install hooks, cables, or poles rated for outdoor weight loads.
- Measure spacing precisely: Keep bulbs 12–18 inches apart for optimal brightness and symmetry.
- Test before finalizing: Hang temporarily to adjust tension and avoid overstretching wires.
- Hide cords safely: Use raceways or clips to keep wires tidy and prevent tripping hazards.
Why This Matters / Understanding the Problem
Let’s be honest—there’s nothing quite like stepping outside on a warm evening to a softly lit patio, the glow of string lights dancing above like stars. Whether it’s for a quiet dinner, a backyard BBQ, or just unwinding after a long day, lighting sets the mood. But if you’ve ever tried to figure out how to string lights over a patio in 2026 easy guide, you know it’s not as simple as just draping them across.
I’ve been there. Last summer, I tried hanging lights between two trees and ended up with sagging wires, tangled bulbs, and a near-trip over an extension cord. It looked more like a DIY disaster than a cozy oasis. The truth? Without planning, your dream patio lighting can go from magical to messy in seconds.
That’s why this how to string lights over a patio in 2026 easy guide exists. It’s not about flashy tools or expensive kits. It’s about practical, doable steps—tested in real backyards, with real challenges. Whether you have a covered deck, open patio, or a mix of structures, this guide walks you through creating a beautiful, functional, and safe lighting setup—without the headaches.
Pro insight: The key isn’t just hanging lights—it’s designing a lighting plan that works for your space, lasts through seasons, and doesn’t become a safety hazard. Think of it like wiring a room: plan first, act second.
What You Need
Before we dive into the steps, let’s gather your toolkit. You don’t need a contractor’s license—just a few essential items and a little patience. Here’s what you’ll need for a successful how to string lights over a patio in 2026 easy guide project:
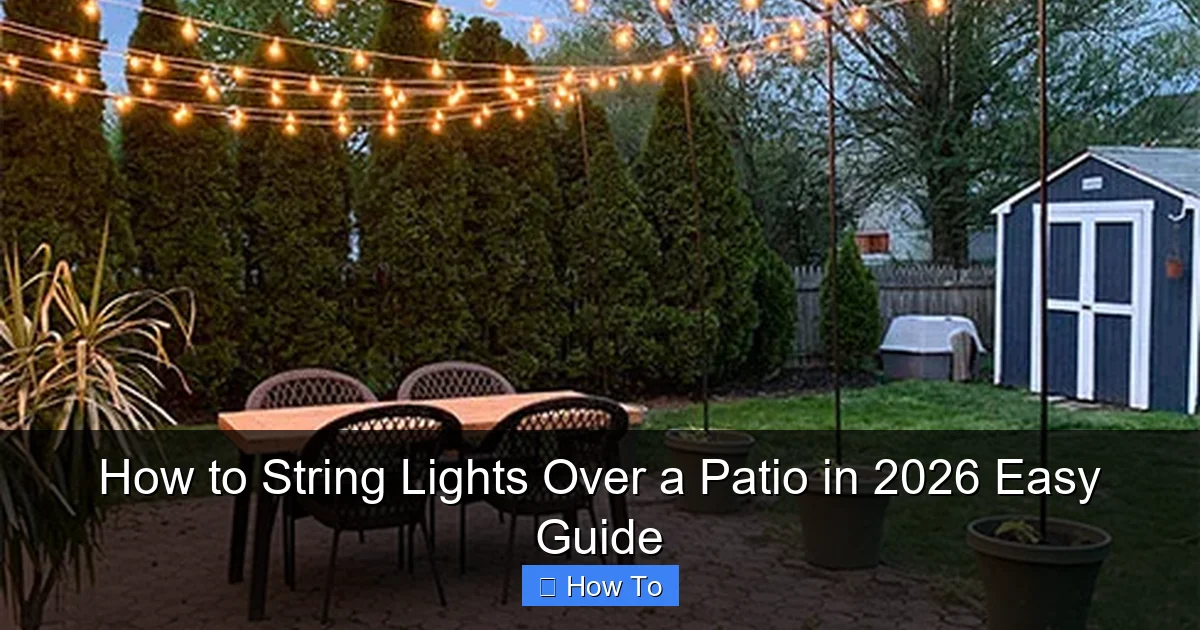
Visual guide about how to string lights over a patio
Image source: thehoneycombhome.com
- String lights (LED, weatherproof): Choose shatterproof, warm-white LEDs (2700K–3000K). They’re energy-efficient, last longer, and look cozy—not clinical.
- Measuring tape: For accurate spacing and layout planning.
- Drill and drill bits: If mounting to wood or concrete (use masonry bits for stone or brick).
- Anchors and screws: For secure mounting on wood, stucco, or concrete.
- Eye hooks, cup hooks, or J-hooks: These are your main attachment points. Stainless steel or coated metal resists rust.
- Zip ties or outdoor-rated clips: For securing wires along railings or beams.
- Extension cords (outdoor-rated, GFCI-protected): Never use indoor cords outside. Look for “wet location” ratings.
- Timer or smart plug: Automate your lights to turn on at dusk—no more remembering to flip a switch.
- Level: Ensures your lights hang straight (trust me, crooked lights bug me more than they should).
- Ladder (if needed): A sturdy step ladder or extension ladder, depending on height.
- Optional: Wire clips, conduit clips, or cable raceways: For a cleaner, more professional look.
Bonus: Grab a helper. Even if you’re solo, having someone hold the ladder or hand you hooks makes the job faster and safer.
Warning: Never use nails or staples to hang string lights. They can damage wiring and create fire hazards. Always use proper hooks or clips.
Step-by-Step Guide to How to String Lights Over a Patio in 2026 Easy Guide
Step 1: Measure and Plan Your Layout
Before you buy anything, measure your patio. Walk the perimeter, note where you have structural support (posts, beams, eaves, railings), and decide where you want light to fall.
Ask yourself: Do you want a grid pattern, a canopy effect, or simple perimeter lighting? I prefer a crisscross grid for larger patios—it spreads light evenly and looks intentional. For smaller spaces, a single run from corner to corner works great.
Sketch a quick diagram. Mark where each light strand will start and end. Include the distance between attachment points—ideally, 4 to 6 feet apart for even tension. This is your how to string lights over a patio in 2026 easy guide blueprint.
Pro tip: Leave a 1–2 foot “sag” in the middle of each run. It’s not a flaw—it’s intentional. Sagging adds visual interest and prevents over-tightening, which can damage sockets.
Real talk: I once skipped the sketch and just started hanging. The result? Lights too close together in one area, dark spots in another. Planning saves time and frustration.
Step 2: Choose the Right Mounting Points
Not all surfaces are created equal. Here’s how to handle common patio types:
- Wooden beams or posts: Use cup hooks or eye screws. Drill pilot holes first to avoid splitting.
- Concrete or brick walls: Use masonry anchors and screws. Tapcon screws work well for brick.
- Metal railings or pergolas: Use zip ties or metal cable clips. Avoid drilling if possible—clips are removable and clean-looking.
- Roof eaves or overhangs: Use gutter hooks (if your gutters can support them) or screw-in hooks into the fascia board.
- No structural support? Use poles: Install temporary or permanent metal poles (like shepherd’s hooks or T-posts) at the corners. Anchor them in planters or concrete bases.
Test each point by gently tugging. If it wiggles, reinforce it. You don’t want lights falling mid-party.
For a floating canopy (my favorite), use 4 corner poles with cross wires. Attach lights to the wires—no need to drill into anything. It’s like a tent frame for light.
Pro tip: If using poles, bury the base 12–18 inches in concrete for stability. Or, use weighted planters (fill with sand or gravel) for a removable option.
Step 3: Install Your Mounting Hardware
Now, install your hooks, screws, or clips. Use a level to keep everything aligned. I like to install all hooks first, then string the lights—it’s easier to adjust spacing.
For wood: Drill a pilot hole slightly smaller than the screw. Screw in the hook by hand, then tighten with pliers (don’t over-tighten—strip the wood).
For concrete: Drill a hole with a masonry bit. Insert an anchor, then screw in the hook. Let the anchor expand for a snug fit.
For railings: Wrap zip ties around the railing and attach a small hook or loop. Use black or brown ties to blend in.
Space hooks every 4–6 feet. Closer spacing = less sag, but more hardware. Farther apart = more sag, but fewer holes.
Label each hook with tape if needed. It helps when you’re stringing lights and don’t want to guess which end is which.
Step 4: String the Lights (With Tension in Mind)
Here’s where the magic happens. Start at one corner and work your way around. But don’t just drape—tension matters.
Attach the first end to the hook. Then, stretch the strand to the next hook. Don’t pull too tight—remember that 1–2 foot sag. Use a helper to hold the far end while you adjust.
For multiple strands: Connect them end-to-end if they’re designed for it (check the manufacturer’s limit—usually 2–3 strands max). Or, use separate runs from a central power source.
Use zip ties or clips to secure the wire to railings, beams, or poles between hooks. This prevents wind from pulling the lights out of place.
For a grid pattern: Run parallel strands first, then cross them with perpendicular runs. Use small hooks or zip ties at intersections to keep them tidy.
If your lights have bulbs every 6 inches, space your hooks so bulbs hang over seating or dining areas. You want light where you’ll be, not in the air.
Real-life fix: I once hung lights too tight. A gust of wind pulled a hook loose. Now I test each strand by gently pulling—if it moves, I add another support.
Step 5: Power It Up—Safely
This is critical. Outdoor electricity = safety first.
Use GFCI-protected extension cords (they’ll have a “test” and “reset” button). Plug into a GFCI outlet or use a GFCI adapter.
Route cords along the ground or under furniture. Never run them across walkways. If you must, cover with a cord cover or run them under a rug (temporarily).
Use a timer or smart plug to automate the lights. Set it to turn on at sunset and off at midnight. No more fumbling with switches.
For permanent setups: Consider hiring an electrician to install an outdoor outlet near your patio. It’s a game-changer.
If using solar-powered lights: Place the solar panel in direct sunlight (south-facing, no shade). Test them for a full day before final installation.
Step 6: Test, Adjust, and Enjoy
Turn the lights on. Step back. Look for:
- Uneven sagging: Tighten or loosen strands as needed.
- Dark spots: Add a small accent light or adjust strand spacing.
- Glare or harsh light: Use frosted bulbs or add a sheer canopy for diffusion.
- Wires in the way: Re-route with clips or zip ties.
Walk through your patio at night. Sit in your favorite chair. Does the light feel cozy? Is it bright enough for conversation? Make small tweaks until it feels just right.
Take photos. You’ll want to remember this setup for next year—or show it off to friends.
Pro Tips & Common Mistakes to Avoid
After years of trial, error, and a few late-night repairs, here’s what I’ve learned:
Pro tip #1: Use “S” hooks—they’re easy to install and remove. I keep a pack in my toolbox for quick adjustments.
Pro tip #2: Label your strands—if one burns out, you’ll know which one to replace. Use colored tape or tags.
Pro tip #3: Add dimmers—some LED strings are dimmable. Use a dimmer switch or smart plug for mood lighting.
Pro tip #4: Seasonal storage—take lights down in winter if you live in a snowy area. Store in a dry place, coiled loosely (no tight loops).
Now, the mistakes I’ve made (so you don’t have to):
- Overloading outlets: Don’t plug 5 strands into one outlet. Check wattage—most outlets max at 1800W. Use a power strip with surge protection.
- Using indoor lights outside: They’ll short-circuit in rain. Always choose outdoor-rated or wet-rated lights.
- Ignoring wind: In windy areas, use stronger hooks and more supports. I once lost a strand in a storm—lesson learned.
- Forgetting about trees: If using trees, use tree-friendly straps (not wire or rope) to protect bark. Wrap loosely and check annually.
- No backup plan: Keep spare bulbs and a spare strand. Murphy’s Law loves a party.
One last thing: light color matters. Warm white (2700K–3000K) feels inviting. Cool white (4000K+) feels sterile. Stick with warm for patios.
FAQs About How to String Lights Over a Patio in 2026 Easy Guide
Q: Can I use regular indoor string lights outside?
A: Nope. Indoor lights aren’t sealed against moisture. Use outdoor-rated or wet-rated lights. They’re built to handle rain, snow, and UV exposure.
Q: How many strands can I connect together?
A: Check the packaging. Most LED strands allow 2–3 in a row. Exceeding the limit can blow a fuse or damage the lights. When in doubt, use separate runs from a central power source.
Q: Do I need a permit to install permanent lights?
A: For temporary setups (seasonal, removable), no. But if you’re wiring into the house or adding permanent outlets, check local codes. When in doubt, call an electrician.
Q: How do I keep lights from sagging?
A: A little sag is good. Too much? Add more support points (hooks every 3–4 feet) or use a center pole. For long runs, consider a support wire (like aircraft cable) with lights clipped to it.
Q: Can I leave lights up year-round?
A: It depends. In mild climates, yes—but inspect annually for wear. In snowy or stormy areas, take them down. UV and freezing temps degrade wires and sockets.
Q: What if my patio has no roof or posts?
A: Use freestanding poles (like shepherd’s hooks or metal T-posts). Anchor them in planters or concrete. Or, attach lights to a pergola or awning. Get creative!
Q: How do I make it look professional?
A: Plan your layout, use consistent spacing, and hide wires. Use black or brown zip ties. Add a timer. And—this is key—step back and view it from different angles at night. Adjust until it feels balanced.
Final Thoughts
Creating a beautifully lit patio isn’t about perfection. It’s about creating a space that feels like you. Whether you’re following this how to string lights over a patio in 2026 easy guide to the letter or adding your own flair, the goal is the same: a place where memories happen.
Start small. Try a single strand first. Get comfortable. Then expand. The best part? You don’t need to spend a fortune. A few well-placed lights, some smart planning, and a little patience can transform your backyard into a sanctuary.
So grab your tools, sketch your plan, and get started. The night is waiting. And when those lights come on for the first time—gently glowing, perfectly placed—you’ll feel that quiet pride. Like you built something that matters.
And hey, if a bulb burns out or a hook wiggles? That’s part of the process. Fix it, learn, and enjoy. Because the best patios aren’t flawless—they’re lived-in, loved, and full of light.
Now go make your patio shine.
“`

