Featured image for how to string mini led lights into a sealed jar
Image source: static-01.daraz.pk
Transform any sealed jar into a mesmerizing decor piece by carefully threading battery-powered mini LED lights through the opening and securing them with waterproof sealant to maintain the jar’s integrity. Use a flexible wire or fishing line to guide the delicate string inside without damaging the LEDs, ensuring even light distribution. Perfect for centerpieces or ambient lighting, this DIY hack creates a magical glow while keeping electronics safely enclosed and splash-resistant.
“`html
How to String Mini LED Lights Into a Sealed Jar for Magical Decor
Key Takeaways
- Choose battery-powered LEDs: Ensures no cords disrupt the jar’s seal.
- Use lightweight fairy lights: Prevents sagging and maintains visual appeal.
- Secure the battery pack: Attach it outside the jar for easy access.
- Test lights before sealing: Avoids troubleshooting after the jar is closed.
- Add decorative elements: Enhance magic with faux snow or glitter.
- Seal the jar tightly: Keeps moisture out and decor intact longer.
Why This Matters / Understanding the Problem
Ever walked into a room lit with a soft, glowing jar that looked like it held captured starlight? That’s the magic of how to string mini LED lights into a sealed jar for magical decor—a simple DIY project that transforms ordinary glass jars into enchanting nightlights, centerpieces, or mood lighting.
Many people struggle with bulky cords, tangled wires, or jars that fog up when sealed. Others worry about safety: Can I really put electronics in a jar and keep it airtight? The good news? Yes—with the right approach, you can create safe, long-lasting, and stunning decor that wows guests and adds warmth to any space.
This guide walks you through how to string mini LED lights into a sealed jar for magical decor without leaks, overheating, or frustrating setup. Whether you’re crafting a wedding centerpiece, a cozy bedroom accent, or a holiday gift, this method keeps the glow going—safely and beautifully.
What You Need
Before you start, gather these tools and materials. Everything is affordable and easy to find online or at craft stores.
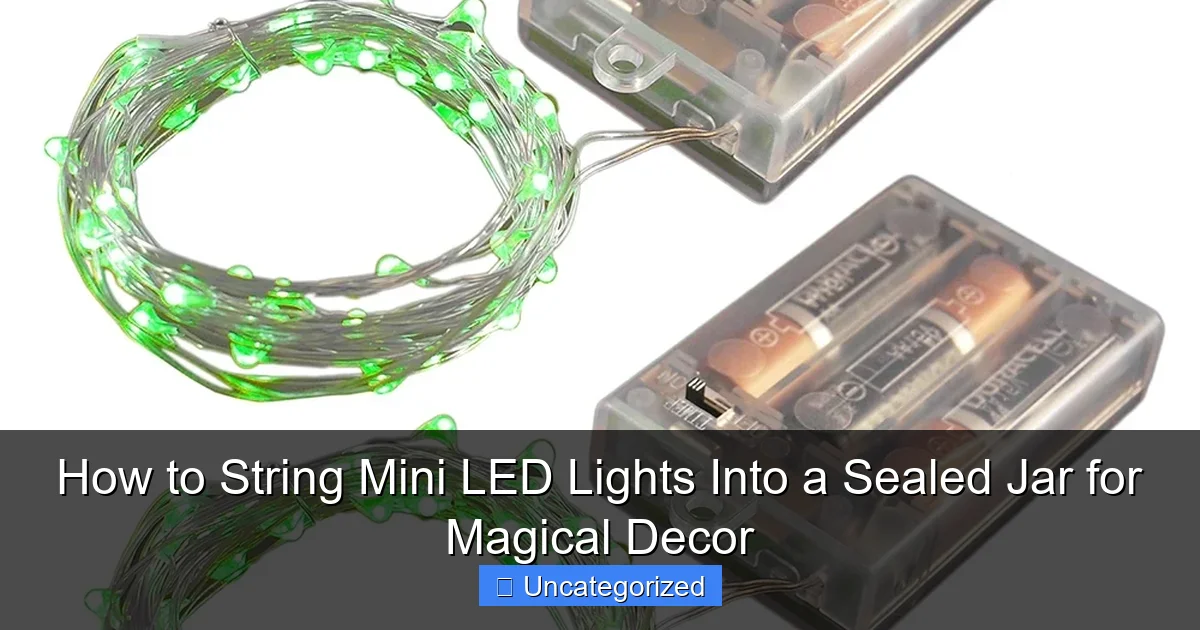
Visual guide about how to string mini led lights into a sealed jar
Image source: i5.walmartimages.com
- Glass jar with a tight-sealing lid (mason jar, apothecary jar, or any clear glass container with a rubber gasket or threaded lid)
- Battery-powered mini LED string lights (3–5 ft long, 20–30 LEDs, preferably with a small battery pack)
- Hot glue gun and glue sticks (or waterproof epoxy for extra sealing)
- Drill or Dremel tool with small drill bit (1/8″ to 3/16″) (or a heated nail if you don’t have power tools)
- Sandpaper (fine grit, 120–220) (to smooth rough edges)
- Small funnel or dropper (optional, for adding glitter or water)
- Decorative elements (optional: dried flowers, moss, sand, seashells, faux snow, or glitter)
- Electrical tape (to secure wires and insulate)
- Scissors
- Gloves and safety goggles (especially when drilling glass)
Pro tip: Use warm white LEDs for a cozy, candle-like glow or color-changing lights for festive vibes. Avoid plug-in lights—battery-powered is essential for safety and portability.
Step-by-Step Guide to How to String Mini LED Lights Into a Sealed Jar for Magical Decor
Step 1: Choose the Right Jar and Lights
Not all jars are created equal. Pick a jar with a wide mouth and airtight seal—this makes inserting lights easier and prevents moisture buildup. Mason jars are ideal, but vintage apothecary jars or spice tins with glass lids also work.
For lights, go with battery-powered mini LED string lights. Look for ones with a small, flat battery pack (AA or AAA) so it fits under the lid. Avoid lights with bulky switches or USB connectors—they won’t seal well.
Test the lights before starting. Make sure they turn on, and the battery pack is fully charged or has fresh batteries. This avoids the frustration of sealing a dud.
Warning: Never use plug-in or high-voltage lights in sealed jars. Heat buildup and electrical risks make them unsafe for this project.
Step 2: Drill a Small Hole in the Lid
This is the key to sealing the jar while letting the wire pass through. Use a drill or Dremel with a glass-cutting bit to make a hole just wide enough for the light wire (usually 1/8″ to 3/16″).
Work slowly. Apply light pressure and keep the drill perpendicular to the lid. Too much force can crack the glass or metal. If you don’t have a drill, heat a metal nail with a torch and gently press it through the lid—this melts a clean hole in metal or melts through the rubber gasket.
After drilling, use sandpaper to smooth any sharp edges. A rough hole can fray the wire or leak air over time.
Pro tip: Place the lid on a scrap wood block while drilling to prevent slipping. And always wear safety goggles—glass shards are no joke.
Step 3: Thread the Wire Through the Lid
Feed the light string’s wire through the hole from the inside of the lid. This means the LEDs will go into the jar, and the battery pack stays outside. Leave about 2–3 inches of wire hanging out the top.
Once threaded, gently pull the lights through until the battery pack rests flat against the lid’s outer surface. The wire should be snug—no loose wiggling.
If your lights have a switch, position it so it’s accessible through the hole or near the edge of the lid. You’ll want to turn it on and off easily later.
Step 4: Seal the Wire Hole for a Perfect Airtight Seal
This step is crucial for how to string mini LED lights into a sealed jar for magical decor without fogging or leaks. Apply hot glue around the wire where it exits the lid, forming a dome that covers the hole completely.
Work in small layers. Let each layer cool slightly before adding more. This prevents the glue from melting the wire insulation. The goal is a smooth, waterproof seal that keeps air and moisture out.
For extra protection (especially if using water or humidity-sensitive decor), use waterproof epoxy instead of glue. Mix and apply according to the package, then let it cure for 24 hours.
Warning: Don’t use super glue or silicone caulk—they can degrade over time or damage the wire. Hot glue or epoxy is safer and more reliable.
Step 5: Arrange the Lights Inside the Jar
Now the fun part: placing the lights. Gently push the LED string into the jar, letting the wires drape naturally. Avoid tangling—spread the lights evenly so they glow from all sides.
For a “floating” effect, wrap the string loosely around a pencil or dowel, then slide it into the jar. Remove the core, and the lights stay coiled like a glowing vine.
If you’re adding decor (like dried flowers or moss), place it first, then drape the lights over it. Use a chopstick or skewer to position lights behind or around objects for depth.
Pro tip: For a snow globe effect, add a few drops of glycerin and water, then drop in glitter. The sealed jar keeps it swirling for weeks!
Step 6: Secure the Battery Pack (Optional)
The battery pack sits outside the jar, so it needs a home. You have a few options:
- Glue it to the lid’s top with hot glue or epoxy (ideal for flat packs).
- Attach it to the jar’s side with a small adhesive hook or Velcro strip (great for easy battery changes).
- Hide it in a base—glue the jar to a wooden block or coaster with a cutout for the pack.
Whichever you choose, make sure the pack is stable and the switch is easy to reach. You don’t want to knock it over every time you turn the lights on.
Step 7: Test and Final Touches
Turn the lights on. Check for:
- Even glow—no dark spots.
- No flickering (a sign of loose connections).
- No condensation inside (if fog appears, your seal isn’t airtight—reapply glue).
Add final touches: a ribbon around the jar neck, a label with a name or date, or a tiny tag with “Do Not Open” for a mystical vibe.
Let the lights run for 1–2 hours to test battery life. Most mini LEDs last 20–50 hours on fresh batteries—perfect for events or daily use.
Pro Tips & Common Mistakes to Avoid
Even simple projects have pitfalls. Here’s how to avoid them and make your jar glow like a pro.
Use the Right Glue for a Lasting Seal
Hot glue works great for most jars, but if you’re using water or live plants (like moss), opt for clear waterproof epoxy. It resists moisture and won’t crack over time.
Test the seal by submerging the sealed lid in water for 5 minutes. If no bubbles form, you’re good to go.
Don’t Overload the Jar
Too many lights or decor items can block the glow. Aim for 70% light coverage—leave space so the LEDs shine through. A cramped jar looks cluttered, not magical.
Prevent Overheating
LEDs produce minimal heat, but sealed spaces can trap it. Never use incandescent or halogen lights—they can melt glue or crack glass. And avoid running lights for more than 6–8 hours at a time if the battery pack is enclosed.
Label Battery Access
Write “Open Here” or “Battery Side” on the jar or base. This helps you (or guests) know where to find the switch and battery compartment without guessing.
Store Batteries Outside (When Not in Use)
To extend battery life, turn off the lights and remove batteries if storing the jar for weeks. This prevents corrosion and keeps the lights fresh.
Common Mistakes
- Drilling too big a hole: A wide hole is hard to seal. Stick to 3/16″ or smaller.
- Using plug-in lights: Not only unsafe, but they defeat the purpose of a portable, magical decor piece.
- Ignoring wire insulation: If the wire is exposed, it can short out. Cover any bare spots with electrical tape.
- Forgetting to test before sealing: Always check lights and batteries before gluing.
- Over-gluing: Too much glue can drip inside the jar or block the switch. Less is more.
Real-life fix: Sarah from Portland sealed her jar with hot glue, but the lights flickered after a week. She reopened it, found a loose wire, taped it, and resealed. Problem solved!
FAQs About How to String Mini LED Lights Into a Sealed Jar for Magical Decor
Can I use regular string lights instead of battery-powered ones?
No. Plug-in or USB-powered lights create heat and require an outlet, making them unsafe for sealed jars. Battery-powered mini LED lights are the only safe option. They’re cool, portable, and perfect for long-term use.
Will the jar fog up over time?
Only if the seal is poor. A proper hot glue or epoxy seal keeps moisture out. If fog appears, your seal failed—reapply glue and retest. For extra protection, add a silica gel packet (the kind from shoe boxes) inside the jar to absorb humidity.
How long do the batteries last?
Most mini LED strings use 2–3 AA batteries and last 20 to 50 hours of continuous use. Energy-efficient LEDs and low-drain circuits make them long-lasting. Use lithium batteries for even better performance.
Can I put water in the jar?
Yes—but only if you use waterproof lights and a perfect seal. Submerge the LED string in water (check the packaging for IP67 or “waterproof” rating). Add glycerin and glitter for a snow globe effect. Never use regular non-waterproof lights in liquid.
What if the wire is too thick for the hole?
Use a larger drill bit (up to 3/16″) or gently file the wire’s insulation with sandpaper. Never force it—this can damage the wire. If the hole is too big, seal it with epoxy instead of glue for a stronger bond.
Can I use this for outdoor decor?
Yes! These jars work great for patios, porches, or garden paths. Just make sure the seal is 100% waterproof and the battery pack is protected from rain (e.g., under a roof or in a waterproof base). Avoid direct sunlight, which can fade decor over time.
Are these safe around kids and pets?
Absolutely—when done right. Battery-powered LEDs don’t get hot, and the sealed jar keeps wires and batteries inaccessible. Supervise small children around batteries, but the jar itself is safe. No risk of burns or electric shock.
Final Thoughts
Creating a glowing jar is more than a craft—it’s a way to bring light, magic, and personality into your space. Whether you’re making a centerpiece for a wedding, a nightlight for a child’s room, or a gift for a friend, how to string mini LED lights into a sealed jar for magical decor is a skill worth mastering.
Remember: the key is a tight seal, the right lights, and a little creativity. Don’t rush the drilling or sealing steps—they make or break the project. And have fun! Add seashells for a beach vibe, pinecones for winter, or origami stars for a whimsical touch.
Once you’ve made one, you’ll want to make a dozen. They’re perfect for parties, holidays, or just brightening a dark corner. So grab a jar, some lights, and start glowing. Your magical decor journey starts now.
Pro tip: Document your creations with photos. You might just inspire someone else to try how to string mini LED lights into a sealed jar for magical decor—and spread the light.
“`

