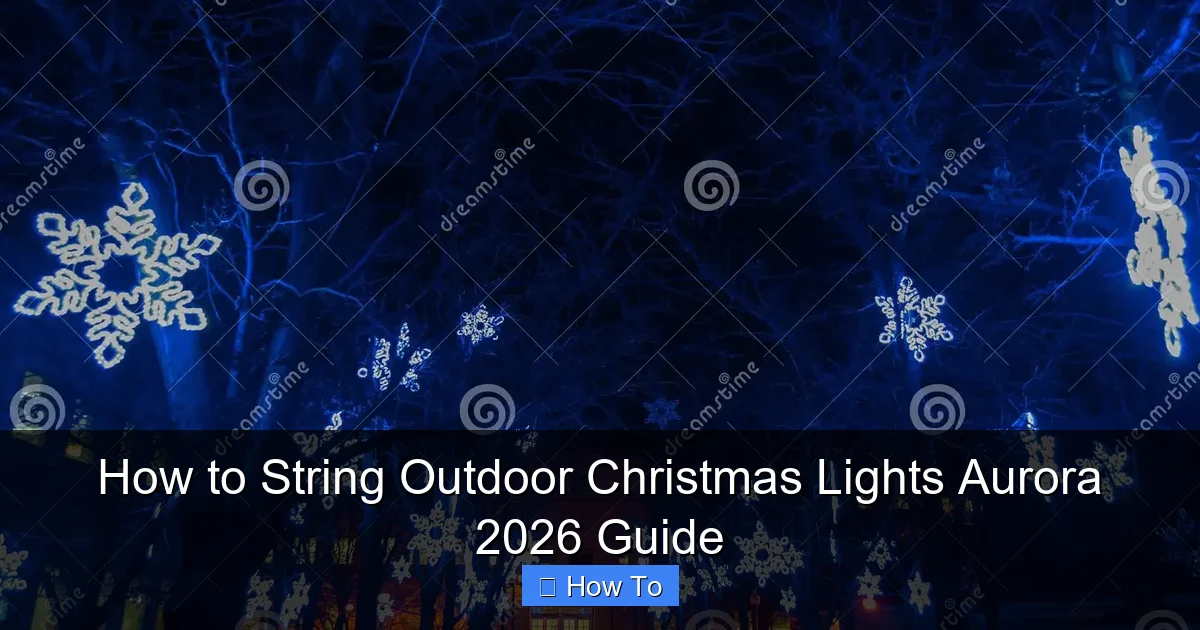
Featured image for how to string outdoor christmas lights aurora
Image source: thumbs.dreamstime.com
Master the art of stringing outdoor Christmas lights in Aurora with weather-resistant gear and smart planning for a dazzling, safe display. Choose LED lights, secure them with insulated clips, and map your layout to avoid overloaded circuits—ensuring a bright, energy-efficient setup that withstands winter’s chill. Follow local codes and timer automation for a hassle-free, show-stopping holiday glow.
“`html
How to String Outdoor Christmas Lights Aurora 2026 Guide
Key Takeaways
- Plan your layout first: Sketch light placement to avoid mid-project changes.
- Use weatherproof lights: Ensure all lights are rated for outdoor use.
- Start from power source: Work outward to minimize extension cord clutter.
- Secure with clips, not nails: Protect wires and avoid damage to surfaces.
- Test before hanging: Check bulbs and connections to prevent rework later.
- Layer lights strategically: Combine string, icicle, and rope lights for depth.
Why This Matters / Understanding the Problem
Picture this: It’s late November, and the holidays are creeping up fast. You’ve got the tree up, the cocoa ready—but your house? Still looks like a regular Tuesday night. You want that magical glow, that festive sparkle that makes your home stand out in the neighborhood. But every time you try to hang outdoor Christmas lights, something goes wrong: tangled strings, broken bulbs, or worse—half your lights go dark after one storm.
That’s where this How to String Outdoor Christmas Lights Aurora 2026 Guide comes in. Whether you’re a first-timer or a seasoned decorator, I’ve been there—struggling with icy ladders, extension cords that don’t reach, and timers that forget to turn on. This guide is packed with real-world fixes, step-by-step clarity, and the little tricks I’ve learned after a decade of turning my Aurora home into a winter wonderland. No fluff. Just practical advice to help you light up your holidays safely and beautifully.
By the end, you’ll know exactly how to plan, install, and maintain your display—so your house becomes the talk of the block, not the cautionary tale.
What You Need
Before we dive in, let’s gather everything you’ll need. I’ve learned the hard way that starting without the right tools leads to frustration and wasted time. Here’s your checklist—nothing fancy, just what works.
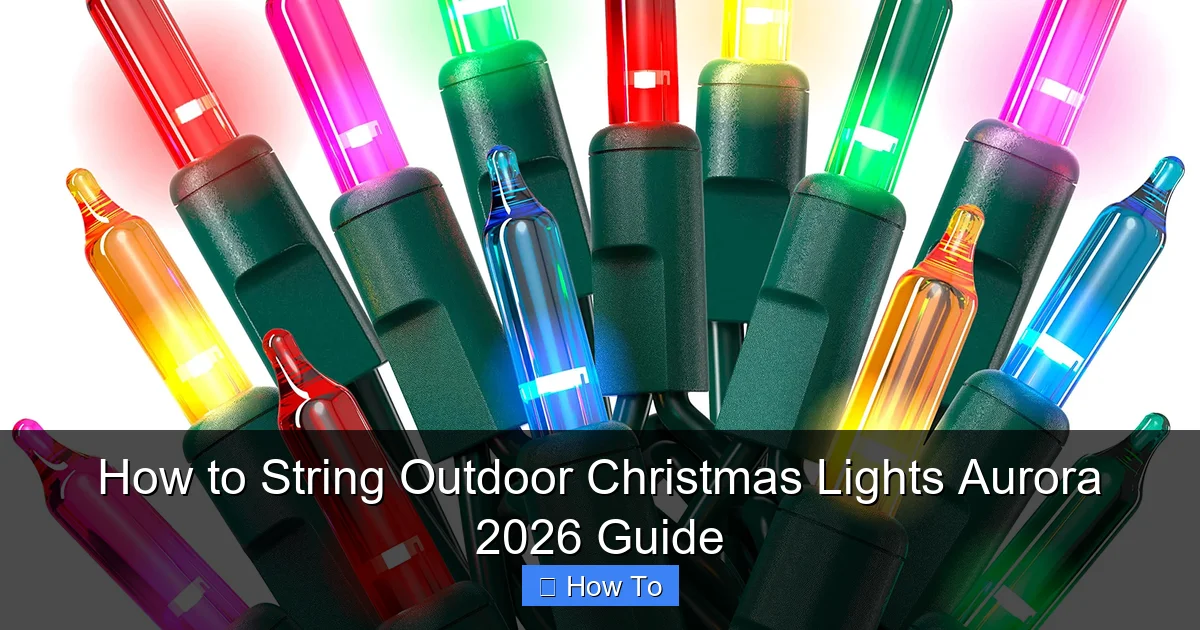
Visual guide about how to string outdoor christmas lights aurora
Image source: m.media-amazon.com
- Outdoor-rated LED Christmas lights (C9 or C7 bulbs for rooflines, mini-lights for shrubs and trees)
- Weatherproof light clips or hooks (I use Gutter Clips for eaves and adhesive hooks for brick)
- Heavy-duty extension cords (rated for outdoor use, 14-gauge minimum)
- Timer or smart plug (I swear by a dusk-to-dawn sensor or a Wi-Fi timer)
- Extension ladder (with stabilizer bar if you have gutters)
- Work gloves and safety goggles (frostbite and falling aren’t festive)
- Measuring tape (to avoid buying too many or too few strands)
- Zip ties and outdoor-rated electrical tape (for securing and waterproofing)
- Power strip with surge protection (Aurora winters are brutal on electronics)
- Helper (optional but highly recommended) (my husband holds the ladder—saves me from wobbling)
Pro tip: Buy lights with a “continuous illumination” feature. If one bulb burns out, the rest stay lit. Trust me, it saves so much time.
Step-by-Step Guide to How to String Outdoor Christmas Lights Aurora 2026 Guide
Step 1: Plan Your Design (Before You Buy a Single Light)
Don’t just start wrapping lights around your house like a present. A little planning prevents a major headache. Walk around your home with a notepad and sketch your house from each side.
Ask yourself: Where do I want the lights to shine? Rooflines, windows, garage doors, trees, and shrubs all need different approaches. I like to highlight architectural details—like my porch columns and dormer windows—to add depth.
Use your sketch to calculate how many feet of lights you need. Measure:
- Roofline (add 10% for overlap)
- Perimeter of windows and doors
- Tree trunks and branches (wrap from trunk outward)
- Pathways (use stake lights or rope lights)
Then, map your power sources. I have one outdoor outlet on the east side and one on the west. I plan my layout so no strand runs more than 20 feet from a power point. This is key in your How to String Outdoor Christmas Lights Aurora 2026 Guide—overloading circuits is a real risk in cold weather.
Warning: Aurora’s winter winds can be fierce. Avoid placing lights in areas that face direct wind exposure (like north-facing walls) unless you’re using heavy-duty clips.
Step 2: Choose the Right Lights for Aurora’s Climate
Not all lights are created equal. In Aurora, where winter temps drop below freezing and snow piles up, you need outdoor-rated, cold-weather LED lights. Incandescent bulbs burn out faster in cold and use more energy.
I prefer LED C9 bulbs for rooflines—they’re bright, durable, and use 80% less power. For trees and shrubs, I use 50-count mini-light strands with a warm white glow. They’re less likely to break when branches sway in the wind.
Look for lights with:
- IP44 or higher waterproof rating
- UL or ETL safety certification
- Low-voltage (12V) options for added safety
And here’s a secret: Buy one extra strand of each type. Bulbs burn out, and having backups means you’re not scrambling in December.
Pro Tip: Test all lights indoors before hanging. I once installed 20 strands only to find three were dead. Lesson learned.
Step 3: Install Clips and Hooks (Before the Lights Go Up)
Don’t staple, nail, or tape lights to your house. It damages surfaces and creates fire hazards. Instead, use weatherproof clips designed for gutters, eaves, shingles, and brick.
For rooflines and eaves, I use gutter clips—they snap onto the lip of the gutter and hold the light string securely. For shingles, shingle clips slide under the edge without nails. On brick or stucco, adhesive hooks (rated for outdoor use) work great.
Here’s how I do it:
- Start at the power source and work outward.
- Space clips every 6–12 inches for rooflines, 4–6 inches for tighter curves.
- For trees, use tree wrap clips or zip ties (wrap loosely so bark can expand).
- On windows, use window clips or adhesive hooks on the frame.
Take your time. Rushing leads to crooked lines and uneven spacing. I once spent an hour adjusting clips—worth it for that perfect look.
Warning: Don’t use metal clips on copper gutters. They can cause galvanic corrosion. Use plastic instead.
Step 4: Hang the Lights (Safely and Strategically)
Now the fun part! But safety first. Always:
- Use a sturdy extension ladder with a stabilizer bar (especially on icy ground).
- Have someone spot you—my husband holds the ladder and hands me clips.
- Wear slip-resistant boots and gloves (frostbite isn’t worth it).
Start at the power source and work outward. For rooflines:
- Snap the first clip in place.
- Insert the light strand into the clip, starting at the plug end.
- Work your way along, clipping every 6–12 inches.
- For corners, use a bendable clip or a 90-degree connector.
For trees and shrubs:
- Start at the base and wrap upward in a spiral.
- Use zip ties every 1–2 feet to secure (don’t cinch tight).
- For larger trees, use a tree light pole to reach the top safely.
For windows and doors:
- Clip lights along the frame, leaving a small gap so doors can open.
- Use adhesive hooks on brick or stucco—clean the surface first.
Pro Tip: In Aurora’s windy climate, double-clip at corners and edges. I’ve seen lights rip off in a storm when only clipped once.
Step 5: Power Up and Test
Before you plug in, double-check:
- All plugs are connected securely (no loose strands).
- Cords are off the ground (to prevent tripping and water pooling).
- No lights are touching metal gutters or downspouts (fire risk).
Now, plug into a surge-protected power strip connected to your outdoor outlet. Use a dusk-to-dawn timer or smart plug (I use a Kasa Wi-Fi plug—it turns on at 5 PM and off at 10 PM).
Turn it on and walk around. Look for:
- Dead sections (a single bad bulb can take out a whole strand).
- Flickering lights (loose connection or damaged wire).
- Overloaded circuits (if the breaker trips, reduce the number of strands).
If you find issues, unplug first! Then replace bulbs or reseat connectors. I keep a light tester handy—it’s a lifesaver.
Step 6: Secure and Protect (Aurora-Specific Tips)
Aurora’s weather is no joke. Here’s how I keep my lights safe all season:
- Seal connections: Wrap plug joints with outdoor electrical tape. I also use a small plastic bag (like a sandwich bag) over the connection and secure it with a zip tie.
- Anchor cords: Use zip ties or outdoor clips to secure extension cords to walls or stakes. Don’t let them dangle in snow or mud.
- Snow removal: Gently brush snow off lights with a soft broom. Never use a shovel—it can break bulbs.
- Windproofing: For trees, use a light net over large shrubs. It keeps branches from snapping and lights from flying.
I also add a motion-activated spotlight near the power strip. It deters critters (and curious neighbors).
Step 7: Maintenance and Removal
Don’t wait until January 1st to take down lights. I do a quick check every two weeks:
- Inspect for loose clips or frayed cords.
- Replace any burnt-out bulbs (I keep a spare kit).
- Clear snow and ice buildup.
When it’s time to remove:
- Unplug and disconnect all strands.
- Remove clips one by one—don’t yank lights off.
- Coil lights loosely (I use a light winder) and store in a dry, labeled bin.
- Save clips for next year—they’re expensive to replace.
Store everything in a cool, dry place. I keep mine in the garage, away from moisture and temperature swings.
Pro Tips & Common Mistakes to Avoid
After years of trial and error, here are the lessons I wish I’d known:
- Don’t overload circuits: Most outdoor outlets handle 15 amps. That’s about 150 feet of mini-lights or 50 feet of C9 bulbs. Use a circuit tester to check.
- Avoid cheap lights: They break easily and aren’t rated for Aurora’s cold. Invest in quality—it pays off.
- Skip the ladder in high winds: Aurora’s winter storms can knock you off. Wait for a calm day.
- Label your bins: I use color-coded labels (“Roofline – C9”, “Trees – Mini”). Saves time next year.
- Use a light tester: It finds dead bulbs and loose connections in seconds.
Common Mistake: I once used indoor lights on my porch. They lasted three days. Always check the rating!
Personal Insight: I used to think more lights = better. Now I focus on design. A few well-placed strands look better than a chaotic mess.
FAQs About How to String Outdoor Christmas Lights Aurora 2026 Guide
Q: Can I leave outdoor lights up all winter?
A: Technically, yes—but I recommend taking them down by January 15th. Snow, ice, and wind wear them out. Plus, it’s easier to store them before the next storm hits. If you must leave them, check weekly for damage.
Q: How do I prevent lights from tangling?
A: Store them properly! I use a light winder or wrap them around a cardboard tube. Never toss them in a bin—tangling is inevitable.
Q: What if a bulb burns out?
A: If you have “continuous illumination” lights, the rest stay lit. For older strands, replace the bulb with a spare. I keep a pack of replacements in my toolbox.
Q: Can I use solar lights in Aurora?
A: Only for low-light areas (like pathways). Solar lights don’t charge well in snow or short winter days. I use them for ground lighting, but not for rooflines.
Q: How do I handle steep roofs?
A: Use a roof hook ladder or hire a professional. I have a two-story house, and I only hang lights on the first-floor eaves. Safety first!
Q: What’s the best time to hang lights in Aurora?
A: Late November, before the first major snow. I aim for the weekend after Thanksgiving. It’s cold but manageable, and the display lasts through the holidays.
Q: How do I make my display unique?
A: Mix colors and styles! I use warm white on the roof, red on the trees, and a blue icicle strand on the porch. Add a wreath with lights or a lighted reindeer for extra charm.
Final Thoughts
Stringing outdoor Christmas lights in Aurora isn’t just about decoration—it’s about creating joy, safety, and a little magic. This How to String Outdoor Christmas Lights Aurora 2026 Guide is your roadmap to a stress-free, stunning display.
Remember: Plan first, use the right tools, and prioritize safety. Take your time. Enjoy the process. And don’t forget to step back and admire your work—especially on a cold, snowy night when your house glows like a beacon of holiday spirit.
You’ve got this. Now go light up the neighborhood. And when your neighbors ask, “How did you do that?”—just smile and say, “I followed the Aurora guide.”
“`

