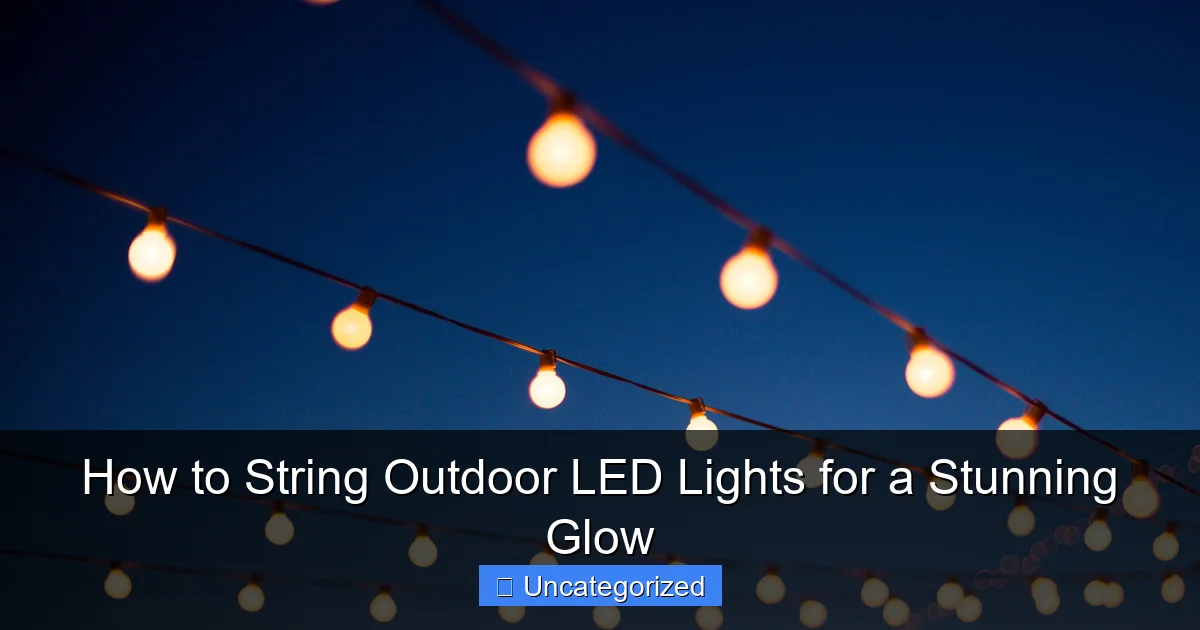
Featured image for how to string outdoor led lights
Image source: thespruce.com
Transform your outdoor space with perfectly strung LED lights by starting with a solid plan and measuring your area for optimal spacing. Use weatherproof, commercial-grade LED strands and secure them with durable hooks or clips to ensure a safe, long-lasting glow that withstands the elements. With the right tools and a creative layout—like zigzags, canopies, or rail wraps—you’ll achieve a stunning, professional-quality ambiance.
How to String Outdoor LED Lights for a Stunning Glow
Key Takeaways
- Plan your layout: Sketch the area to avoid overbuying and ensure even coverage.
- Use weatherproof lights: Choose IP65-rated or higher for durability in all conditions.
- Secure with hooks: Install mounting clips or hooks every 12–16 inches for stability.
- Measure voltage drop: Limit runs to 2–3 strands to maintain brightness.
- Hide cords safely: Tuck wires under eaves or use cord covers for a clean look.
- Test before hanging: Check all bulbs work before final installation to save time.
Why This Matters / Understanding the Problem
Imagine stepping into your backyard on a warm summer evening. The sun is setting, and instead of fumbling in the dark, you’re greeted by a soft, warm glow wrapping around your trees, patio, and fence. That’s the magic of how to string outdoor LED lights for a stunning glow—it transforms any outdoor space into a cozy, inviting retreat.
But here’s the catch: many people either skip this project because it feels overwhelming, or they rush it and end up with tangled wires, dim spots, or lights that don’t last the season. Whether you’re lighting up a small balcony, a sprawling deck, or a garden path, getting it right means combining smart planning with simple execution.
Outdoor lighting isn’t just about aesthetics—it boosts safety, extends usable space, and creates memorable moments. With energy-efficient LED lights, you get long-lasting brightness without skyrocketing your electricity bill. And the best part? You don’t need to be an electrician. With a little know-how, anyone can master how to string outdoor LED lights for a stunning glow and enjoy professional-looking results.
Whether you’re hosting a backyard BBQ, celebrating the holidays, or just want to enjoy your garden at night, this guide walks you through every step—from choosing the right lights to avoiding costly mistakes. Let’s turn your outdoor area into a nighttime showpiece.
What You Need
Before you start, gather the right tools and materials. Having everything on hand saves time and prevents mid-project trips to the hardware store. Here’s what you’ll need for how to string outdoor LED lights for a stunning glow:
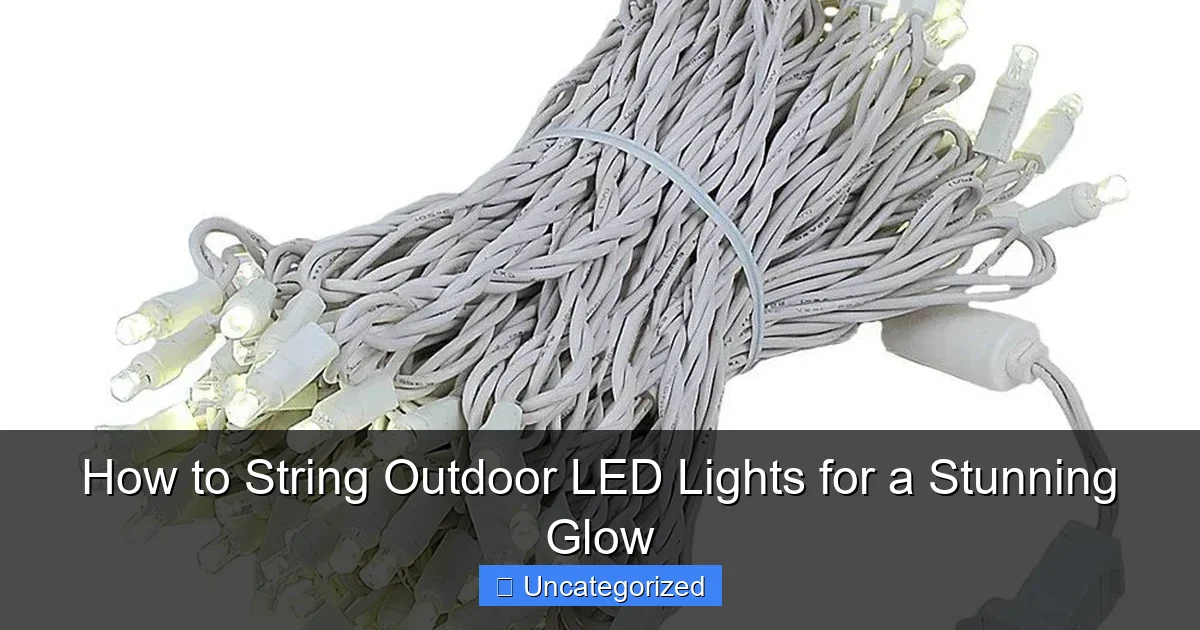
Visual guide about how to string outdoor led lights
Image source: i5.walmartimages.com
- Outdoor LED string lights – Choose weatherproof, UL-rated lights with warm white or soft white tones (2700K–3000K) for a cozy feel. Consider plug-in, battery-powered, or solar options.
- Extension cords (outdoor-rated) – Use GFCI-protected cords to prevent electrical hazards. Look for cords with built-in timers or surge protection.
- Light clips or hooks – Adhesive clips, gutter hooks, screw-in hooks, or zip ties work well depending on your mounting surface.
- Measuring tape – To plan spacing and avoid overbuying or underbuying lights.
- Drill with appropriate bits (optional) – For installing permanent hooks or eye screws into wood or masonry.
- Staple gun (optional) – For securing wires to wooden structures (use low-profile staples to avoid damaging wires).
- Timer or smart plug – Automate your lights to turn on at sunset and off at bedtime.
- Ladder – For reaching high spots safely.
- Gloves and safety glasses – Protect yourself when working at heights or drilling.
- Marker and notepad – To sketch your layout and track light placement.
Pro Tip: Buy 10–15% more lights than you think you need. This accounts for overlaps, corners, and unexpected gaps. It’s better to have extra than to run short halfway through.
Step-by-Step Guide to How to String Outdoor LED Lights for a Stunning Glow
Step 1: Plan Your Layout and Design
Start with a clear vision. Ask yourself: Where do I want light? Common zones include:
- Patio or deck railings
- Garden pergolas or trellises
- Tree trunks and branches
- Fences and walls
- Stair railings and pathways
Sketch your space on paper or use a free app like SketchUp Free or Google Drawings. Mark where outlets are, where lights will go, and how they’ll connect. For how to string outdoor LED lights for a stunning glow, symmetry and balance are key—but don’t be afraid to get creative.
Example: If you’re lighting a pergola, plan to run lights across the top beams in a crisscross or zigzag pattern. For a tree, wrap the trunk and major branches in a spiral or web design. For a fence, run lights along the top edge or drape them vertically.
Measure the total distance you’ll be covering. This helps you choose the right length of light strings. Remember: most LED sets are 25–50 feet long. Use multiple sets with end-to-end connectors or split them across zones.
Warning: Never daisy-chain more than three standard 25-foot sets unless the manufacturer says it’s safe. Overloading can damage lights or create fire hazards.
Step 2: Choose the Right LED Lights for Your Space
Not all LED lights are created equal. For how to string outdoor LED lights for a stunning glow, pick lights based on your needs:
- Plug-in LED string lights – Best for permanent setups near outdoor outlets. Look for waterproof, shatterproof bulbs with a minimum IP65 rating.
- Battery-powered LED lights – Great for temporary or hard-to-reach spots. Use rechargeable batteries to save money and reduce waste.
- Solar-powered LED lights – Ideal for areas without outlets. Ensure the solar panel gets 6–8 hours of direct sun daily.
- Smart LED string lights – Control via app or voice (Alexa, Google Home). Change colors, set schedules, or sync with music.
Consider bulb type:
- Globe or Edison-style bulbs – Classic look, great for patios and dining areas.
- Mini LEDs – Subtle, twinkling effect—perfect for trees and pathways.
- Rope lights – Flexible, great for outlining shapes or edges.
Color temperature matters: warm white (2700K–3000K) feels cozy; cool white (4000K+) feels modern but can be harsh outdoors. Stick with warm for a welcoming glow.
Pro Tip: Test a small section of lights indoors first. Check for dim bulbs, loose wires, or faulty connectors before installing.
Step 3: Install Mounting Hardware (If Needed)
Most LED lights need something to hang from. Avoid nails or screws that can damage wires or create tripping hazards. Instead, use:
- Adhesive light clips – Stick to walls, glass, or smooth surfaces. Use on gutters or siding.
- Gutter hooks – Clip over the edge of gutters. Great for eaves and overhangs.
- Screw-in hooks or eye screws – Ideal for wood, pergolas, or deck railings. Drill a pilot hole first to prevent splitting.
- Zip ties – Use on railings, fences, or tree branches. Cut off excess for a clean look.
Space hooks every 12–18 inches. For long runs, use a measuring tape and mark spots with a pencil. If using adhesive clips, clean the surface with rubbing alcohol first for better grip.
For trees, wrap lights gently around trunks and branches—don’t pull tight. Use zip ties or soft wire to secure, but avoid cutting into bark. For young trees, use temporary clips instead.
Warning: Never use staples on wires unless they’re specifically designed for cable management. Regular staples can crush insulation and cause shorts.
Step 4: Run and Connect the Lights
Now comes the fun part—stringing the lights! Start at the power source (outlet or solar panel) and work outward. This prevents tangles and ensures you don’t run out of cord.
Unroll the lights slowly. Don’t force them—LED strands are delicate. If you’re using multiple sets, connect them end-to-end using the manufacturer’s connectors. Make sure connections are tight and protected from water.
For a clean look, run lights along straight lines first (e.g., along a fence), then add decorative touches (e.g., draping over a pergola). Use your clips or hooks to secure every 12–18 inches. Don’t pull the lights too tight—leave a little slack so wind doesn’t snap them.
If you’re wrapping a tree:
- Start at the base and spiral upward.
- Keep spacing even (6–12 inches between wraps).
- Secure with zip ties or clips every few feet.
- For a “web” effect, run lights from the trunk to major branches.
For a pergola or gazebo:
- Run lights along the top beams.
- Use a zigzag or crisscross pattern for visual interest.
- Secure with clips or hooks every 12 inches.
- Let some strands drape down for a “chandelier” effect.
Pro Tip: Use a ladder with a spotter. Never lean over the edge. For high spots, use an extendable light pole (available at hardware stores).
Step 5: Power Up and Test
Before you celebrate, test your lights! Plug in the first set and check that all bulbs light up. If some are dim or out, check connections or replace bulbs.
If using multiple sets, plug them in one at a time. This helps isolate any issues. Look for:
- Flickering lights (could mean loose connection)
- Hot spots (indicates overloading)
- Water near connections (relocate or seal with electrical tape)
For solar lights, place the panel in full sun for 2–3 days before testing at night. Make sure the panel faces south (in the Northern Hemisphere) and is free of shade.
For battery-powered lights, insert fresh batteries and check the switch. Some have a “test” mode for daytime use.
Warning: Never leave extension cords coiled up or buried under mulch. This can cause overheating. Run cords along edges or use cord covers.
Step 6: Secure Cords and Protect Connections
Messy cords ruin the effect. Keep them tidy and safe:
- Use cord clips or zip ties to secure cords to railings, posts, or walls.
- Run cords along the ground in low-traffic areas, or use outdoor cord covers.
- For permanent setups, consider running cords through PVC conduit or under decking.
Protect connections from rain and snow:
- Use weatherproof connection covers (available at hardware stores).
- Wrap connections with electrical tape and heat-shrink tubing.
- Elevate connections off the ground using hooks or clips.
For solar panels, angle them toward the sun and clean them monthly with water and a soft cloth.
Pro Tip: Use a timer or smart plug to automate your lights. Set them to turn on 30 minutes before sunset and off at 10 PM. This saves energy and ensures consistency.
Step 7: Add Final Touches and Adjust
Step back and admire your work—then refine it. Adjust any sagging strands, tighten loose clips, or add extra lights to dark spots.
For a professional look:
- Hide cords behind plants, railings, or furniture.
- Use light diffusers (like paper lanterns or frosted covers) to soften harsh bulbs.
- Add lighted garlands or fairy lights in planters or along pathways.
For seasonal themes, swap out light colors or add themed covers (e.g., pumpkins for Halloween, snowflakes for winter).
Take photos from different angles. This helps you spot gaps or imbalances you might miss in person.
Pro Tip: Use a dimmer or smart app to adjust brightness. Lower light levels create a more intimate mood.
Pro Tips & Common Mistakes to Avoid
Even the best plans can go sideways. Here are expert insights to help you nail how to string outdoor LED lights for a stunning glow:
Pro Tips
- Use a light meter app (like Light Meter by Studio Neat) to check brightness. Aim for 10–20 lumens per square foot for ambient lighting.
- Mix light types—combine string lights with path lights or spotlights for layered lighting.
- Label your cords with colored tape or tags. This helps during setup and takedown.
- Install a GFCI outlet if you don’t have one. It shuts off power if there’s a short—critical for safety.
- Use zip ties with a quick-release for easy removal. Great for seasonal lights.
Common Mistakes to Avoid
- Overloading circuits – Never plug more than 3 standard sets into one outlet unless rated for more. Check wattage: most LED sets use 10–20 watts.
- Ignoring weather ratings – Indoor lights won’t survive rain. Always use outdoor-rated products.
- Pulling lights too tight – This stresses connections and can snap wires in cold weather.
- Forgetting about maintenance – Clean bulbs and panels monthly. Replace dead batteries or bulbs promptly.
- Using nails or staples on wires – This damages insulation and creates fire risks. Use clips or hooks instead.
- Neglecting safety – Always use a ladder with a spotter. Turn off power before making adjustments.
Warning: Don’t leave lights on 24/7. Even LEDs can overheat or attract insects. Use a timer to limit runtime to 4–6 hours per night.
FAQs About How to String Outdoor LED Lights for a Stunning Glow
1. Can I leave outdoor LED lights up year-round?
Yes, if they’re rated for outdoor use and installed properly. Use weatherproof connections, secure cords, and clean them seasonally. Remove battery-powered lights in winter to prevent corrosion.
2. How do I hide cords and make lights look professional?
Run cords along edges, use cord covers, or tuck them behind furniture. For railings, use clear zip ties or clips that blend in. For walls, paint cords to match the surface.
3. What’s the best way to light trees?
For small trees, wrap the trunk in a spiral. For large trees, create a web from the trunk to major branches. Use soft, flexible lights and secure with zip ties—don’t tie too tight.
4. Are solar lights bright enough for outdoor use?
Yes, but placement matters. Use them in sunny areas and choose models with high lumens (100+ per strand). Clean the solar panel monthly for best performance.
5. How do I connect multiple light sets safely?
Use end-to-end connectors from the same brand. Check the manufacturer’s limit—usually 2–3 sets max. Avoid cheap extension cords; use outdoor-rated, GFCI-protected ones.
6. Can I cut LED string lights to size?
Only if the packaging says “cuttable.” Most standard sets are not. Cutting can damage the circuit and void the warranty. Instead, buy the right length or use shorter sets.
7. What’s the best color for outdoor LED lights?
Warm white (2700K–3000K) is ideal. It feels cozy and complements most outdoor settings. Cool white is too harsh; colored lights are fun for holidays but less versatile.
Final Thoughts
Learning how to string outdoor LED lights for a stunning glow isn’t just about hanging lights—it’s about creating moments. Whether you’re sipping coffee on a quiet morning or hosting a backyard party, the right lighting sets the mood.
Remember: plan first, choose quality lights, install safely, and maintain regularly. A little extra effort now means years of enjoyment. And don’t forget the small touches—like a timer, dimmer, or hidden cord—that elevate your setup from “nice” to “wow.”
So grab your lights, gather your tools, and get started. Your outdoor oasis is waiting. With this guide, you’re not just adding light—you’re adding magic.
Now, step outside, flip the switch, and let your space shine.

