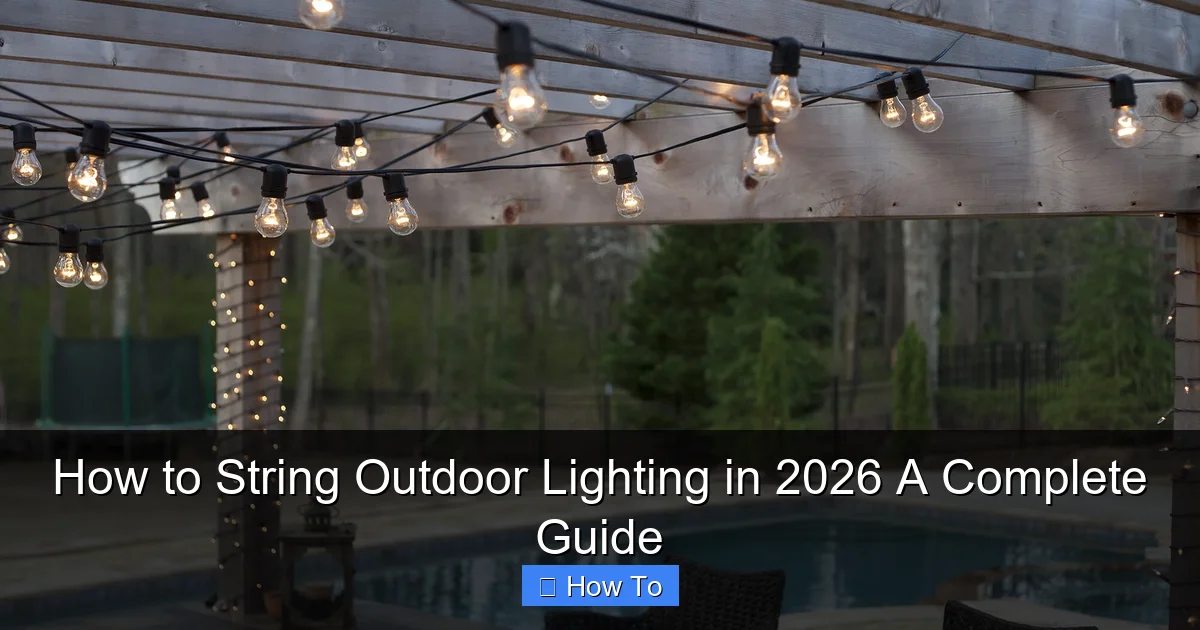
Featured image for how to string outdoor lighting
Image source: img.yardenvy.com
Transform your outdoor space in 2026 with expertly strung lighting that’s safe, stylish, and built to last. This guide walks you through choosing weather-resistant fixtures, planning layouts, and securing lights with professional techniques—ensuring a stunning, durable display. From measuring spacing to connecting power sources safely, master every step with confidence.
“`html
How to String Outdoor Lighting in 2026: A Complete Guide
Key Takeaways
- Plan your layout first: Sketch your space to optimize light placement and avoid over- or under-lighting.
- Use weatherproof fixtures: Always choose IP65+ rated lights for durability in rain, snow, and humidity.
- Install a GFCI outlet: Prevent shocks and outages with a ground-fault circuit interrupter for safety.
- Secure with proper hardware: Use tension cables, hooks, or clips rated for outdoor use to prevent sagging.
- Test before finalizing: Power up the system during installation to troubleshoot issues early.
- Opt for smart controls: Use timers or app-based systems to automate lighting and save energy.
Why This Matters / Understanding the Problem
Picture this: It’s a warm summer evening, and you’re hosting friends in your backyard. You’ve grilled the perfect burgers, music is playing, but the moment the sun sets, your space turns into a dim, shadowy cave. You’ve seen those dreamy patios with soft, glowing string lights—but you’re not sure how to get that magic without tripping over wires, overloading circuits, or creating a safety hazard.
That’s where knowing how to string outdoor lighting in 2026: a complete guide comes in. Whether you’re lighting up a cozy balcony, a sprawling patio, or a garden path, the right setup transforms your space from forgettable to unforgettable. But it’s not just about aesthetics—safety, durability, and smart energy use matter too.
With 2026 bringing smarter tech, weather-resistant materials, and eco-friendly options, there’s never been a better time to upgrade your outdoor lighting game. This guide walks you through the process step by step—no electrician required.
What You Need
Before you start, let’s gather your tools and materials. The good news? You don’t need a full toolkit. Most items are affordable and easy to find.
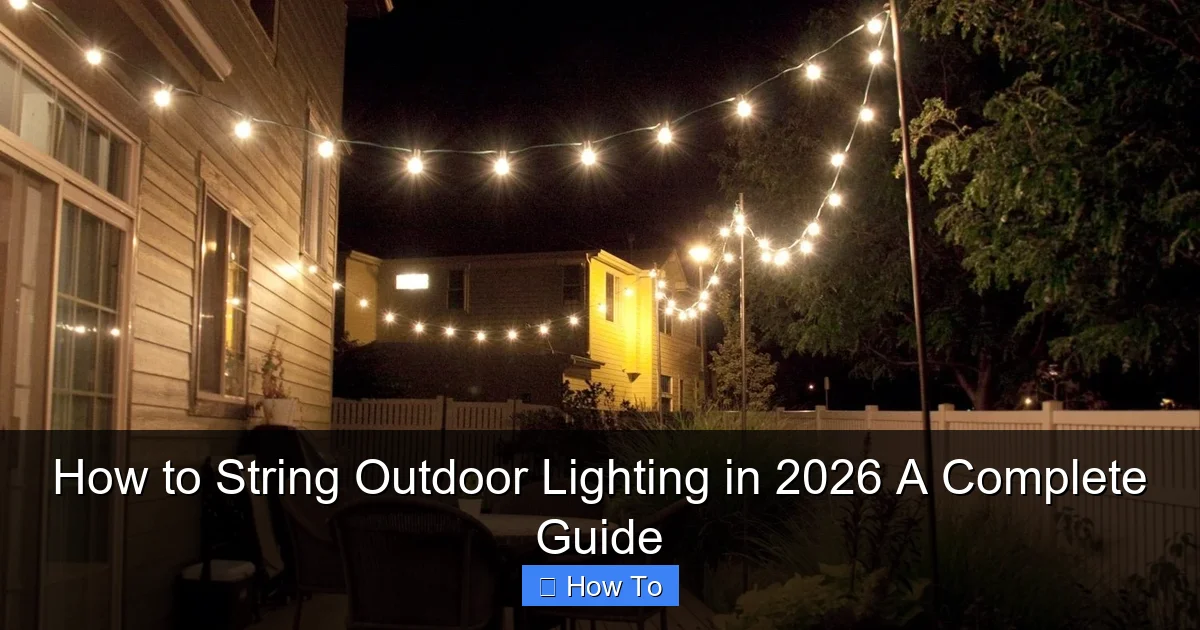
Visual guide about how to string outdoor lighting
Image source: themprojects.com
- Outdoor-rated string lights (LED recommended—energy-efficient, long-lasting, cooler)
- Extension cords (outdoor-rated, GFCI-protected) – crucial for safety
- Mounting hardware – hooks, clips, zip ties, or adhesive mounts (depending on surface)
- Measuring tape – for planning layout and spacing
- Staple gun (optional) – for temporary setups on wood surfaces
- Smart plug or timer (optional but helpful) – for automatic on/off
- Ladder (if needed) – for high installations
- Power source – outdoor GFCI outlet or extension from inside
- Weatherproof cable clips or conduit (for long-term installs)
Pro Insight: Always check the maximum wattage or string count on your lights. Most outdoor string lights can’t be daisy-chained beyond 3–5 strands. Overloading is a fire hazard—don’t skip this step!
Step-by-Step Guide to How to String Outdoor Lighting in 2026: A Complete Guide
Step 1: Plan Your Layout Like a Pro
Start with a sketch. Grab paper or use a free app like SketchUp Free or Roomstyler to map your space. Think about where people will gather—dining table, lounge area, entry path.
Ask yourself: Where will the lights hang? Over a pergola? Along a fence? Around a tree? This affects your mounting strategy and power source location.
Measure the distance from your power source to each lighting zone. This helps you buy the right length of lights and extension cords. Remember: how to string outdoor lighting in 2026: a complete guide isn’t just about hanging lights—it’s about smart planning.
- For patios: Create a grid or canopy effect
- For fences: Run lights horizontally or in zigzag patterns
- For trees: Wrap trunks or drape between branches (use soft, non-constricting ties)
Warning: Avoid running lights across walkways unless they’re high enough (7+ feet) to prevent tripping. Safety first!
Step 2: Choose the Right Type of Outdoor Lights
Not all string lights are created equal. In 2026, your options are better than ever:
- LED Edison bulbs – classic look, warm glow, low energy use
- Solar-powered string lights – no wiring, but less reliable on cloudy days
- Smart string lights – control via app, change colors, sync to music
- Weatherproof globe lights – great for year-round use in harsh climates
- Fairy lights (micro-LED) – delicate, perfect for trees or railings
For durability, look for IP65 or higher ratings—this means dustproof and water-resistant. If you live in a rainy or snowy area, skip the cheap indoor lights labeled “outdoor use.”
Pro tip: Buy one extra strand. You’ll likely need it for repairs or expansion later.
Step 3: Prepare Your Mounting Surfaces
Before hanging anything, clean the surfaces. Dust, grease, or peeling paint can cause mounts to fail.
For wooden pergolas, decks, or fences:
- Use outdoor-rated hooks, screws, or adhesive-backed clips
- Space hooks every 12–18 inches for even tension
- Pre-drill holes in wood to prevent splitting
For masonry, stucco, or brick:
- Use masonry anchors and screws
- Adhesive clips work short-term, but not for heavy or permanent setups
- Consider removable hooks with silicone pads for rentals
For trees:
- Use soft rubber or fabric ties—never wire or zip ties that cut bark
- Attach to strong, stable branches
- Leave room for growth—trees move and expand!
Personal Insight: I once used regular zip ties on a tree. Two years later, the bark had grown around them, scarring the trunk. Learn from my mistake: use flexible, non-constricting materials.
Step 4: Install Mounting Hardware (Safely and Securely)
Now it’s time to hang the hooks, clips, or anchors. This is where precision pays off.
- Mark spots with a pencil before drilling
- Use a level for straight lines (especially on pergolas)
- For high installations, use a sturdy ladder with a helper
- On metal surfaces (e.g., gutters), use magnetic clips or rubberized hooks
If you’re renting or don’t want to drill, try:
- Adhesive outdoor clips (rated for 10–15 lbs)
- Weighted bases for freestanding poles
- Clips that hook over railings or fence tops
Remember: The goal is a clean, secure base. Loose mounts = sagging lights = tripping hazard.
Step 5: Hang the Lights (The Fun Part!)
Start from the power source. Plug in your first string and work outward.
- Attach the first bulb or loop to the starting hook
- Run the string along your planned path, securing every 12–18 inches
- For canopies: Use a “crisscross” or “X” pattern for even light spread
- For trees: Drape gently, avoiding sharp bends in the wire
- For railings: Use clips or zip ties (if removable) every 8–12 inches
Don’t pull too tight. String lights need a little slack to handle wind and temperature changes. Think of it like clothes on a line—too tight, and they snap.
If using multiple strands, connect them with outdoor-rated connectors. Never splice wires yourself unless you’re certified. Use manufacturer-approved extension cords instead.
Pro Tip: Use zip ties with a quick-release tab for easy adjustments. You’ll thank yourself later when you want to change the layout.
Step 6: Manage Cables and Power Sources
Messy cords ruin the magic. Here’s how to keep things tidy and safe.
- Run extension cords along walls, under deck railings, or behind furniture
- Use weatherproof conduit for long runs across open areas
- Secure cords with outdoor-rated cable clips or zip ties
- Keep cords off the ground—use hooks or conduit to prevent tripping
- Plug into a GFCI outlet—this shuts off power if water gets in
For permanent setups, consider burying conduit (6–12 inches deep) with waterproof connectors. Or use solar lights to eliminate wires entirely.
If you’re using a timer or smart plug, place it near the outlet—not dangling in the rain.
Step 7: Test, Adjust, and Secure
Now the big moment: flip the switch!
- Turn on the lights during daylight to spot issues
- Check for dark spots, sagging, or flickering bulbs
- Adjust spacing or add extra clips if needed
- Replace any faulty bulbs or strands
- Ensure all connections are dry and secure
For smart lights, pair with your app and test features like dimming, color changes, or scheduling.
Walk around the space at night. Does the light feel inviting? Too bright? Too dim? Make small tweaks until it feels just right.
Step 8: Maintain and Winterize (For Year-Round Use)
Good lighting lasts years—if you care for it.
- Inspect monthly for loose mounts, damaged wires, or water buildup
- Clean bulbs with a dry cloth (never wet)
- In winter, remove lights if you get heavy snow or ice (or use weatherproof models)
- Store in a dry, cool place—avoid folding tightly to prevent wire damage
- For permanent setups, use silicone sealant on connections (optional)
If you keep lights up year-round, invest in all-weather LED strands and check them after storms.
Pro Tips & Common Mistakes to Avoid
Pro Tip #1: Use warm white (2700K–3000K) bulbs for cozy, inviting light. Cool white (5000K+) feels harsh outdoors.
Pro Tip #2: Layer your lighting. Combine string lights with path lights, spotlights, or lanterns for depth.
Pro Tip #3: For rentals, use removable adhesive hooks and avoid drilling. Brands like 3M Command work great.
Common Mistake #1: Overloading Circuits
Don’t plug 10 strings into one outlet. Check the wattage on each strand and your outlet’s limit (usually 15–20 amps). When in doubt, use a separate circuit.
Common Mistake #2: Ignoring Weather Ratings
“Outdoor use” doesn’t mean “rainproof.” Look for IP65 or IP67 for heavy rain or snow. Cheap lights may fail in a storm.
Common Mistake #3: Poor Cable Management
Dangling cords are a tripping hazard. Use clips, conduit, or hide them behind furniture. A clean setup looks professional and safe.
Common Mistake #4: Hanging Too Tight
Wind and temperature changes cause expansion. Leave a little slack—like a gentle curve—to prevent wire fatigue.
Common Mistake #5: Forgetting the Timer
Lights on all night waste energy and disturb neighbors. A $10 timer or smart plug saves money and hassle.
FAQs About How to String Outdoor Lighting in 2026: A Complete Guide
Q: Can I use indoor string lights outside?
Not safely. Indoor lights lack weatherproofing. Rain or humidity can cause shorts or fires. Always use outdoor-rated lights for exterior use.
Q: How many string lights can I connect together?
Check the manufacturer’s label. Most allow 3–5 strands. Exceeding this overloads the circuit. Use a power distribution box or multiple outlets instead.
Q: Are solar string lights worth it?
Yes—for low-power, decorative use. They’re easy to install and eco-friendly. But on cloudy days, they may not charge fully. Great for patios, not for high-visibility paths.
Q: Can I leave outdoor lights on all year?
Yes, if they’re weatherproof and properly installed. But in areas with heavy snow or ice, consider removing them to prevent damage. Or use all-season models with reinforced wires.
Q: How do I hide the power cords?
- Run cords behind furniture or planters
- Use outdoor-rated conduit or cable raceways
- Paint cords to match the wall (with weatherproof paint)
- For decks, run under railings or through hollow posts
The key is planning ahead. Cords are easier to hide during installation than after.
Q: What’s the best way to hang lights on a pergola?
Use a grid pattern: run strings parallel, then crisscross at right angles. Secure with hooks every 12–18 inches. For a modern look, space strings 2–3 feet apart. Use a level to keep lines straight.
Q: Can I control my lights with my phone?
Absolutely! In 2026, smart string lights connect via Wi-Fi or Bluetooth. Use apps to turn on/off, dim, change colors, or set schedules. Some even sync to music or voice assistants.
Final Thoughts
Lighting isn’t just about visibility—it’s about mood. The right setup makes your backyard feel like a retreat, a party zone, or a cozy hideaway. And now, with how to string outdoor lighting in 2026: a complete guide, you have everything you need to do it safely, stylishly, and sustainably.
Remember: Start small. Test one area—maybe a dining nook—before lighting the whole yard. Use quality materials, plan your layout, and prioritize safety. A little effort now saves headaches later.
And don’t forget the magic of layering. Pair string lights with path markers, lanterns, or even candles for a truly inviting space. The best outdoor lighting feels natural, not flashy.
So grab your lights, invite a friend over, and get started. Your dream outdoor space is just a few hooks and a plug away. And when the sun sets and your lights come on? That’s the moment it all pays off.
Action Step: Tonight, sketch your space and measure your power source. Pick one zone to light first. Small wins build confidence—and before you know it, you’ll have a backyard that feels like magic.
“`

