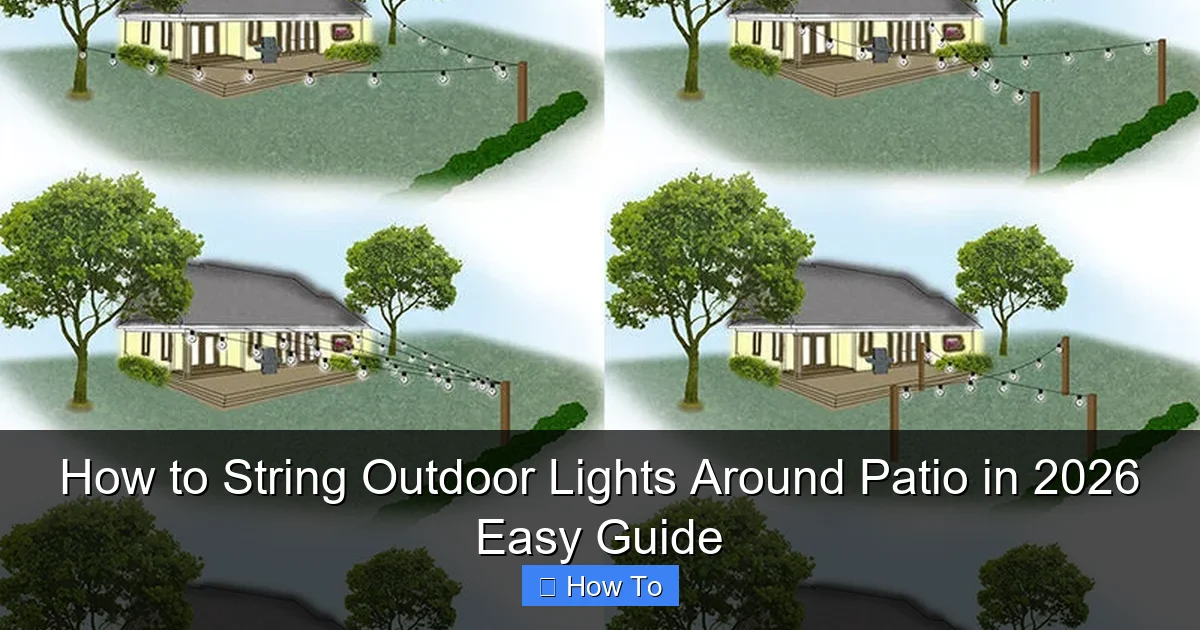
Featured image for how to string outdoor lights around patio
Image source: img.yardenvy.com
Transform your patio into a stunning nighttime oasis by strategically stringing outdoor lights along railings, pergolas, or overhead wires for balanced, ambient illumination. This 2026 guide simplifies the process with step-by-step tips on measuring, spacing, and securing weather-resistant lights for a safe, professional look. No electrician needed—just creativity and the right tools for a dazzling, inviting space.
“`html
How to String Outdoor Lights Around Patio in 2026 Easy Guide
Key Takeaways
- Plan your layout first: Sketch light placement to avoid uneven spacing or overhangs.
- Use weatherproof lights: Ensure durability with IP65-rated or higher outdoor-rated fixtures.
- Anchor securely: Install hooks or clips into studs or sturdy patio structures for stability.
- Measure twice: Calculate cord length and bulb spacing before purchasing to minimize waste.
- Layer lighting: Combine string lights with task or accent lights for balanced ambiance.
- Test before finalizing: Check connections and brightness early to troubleshoot issues efficiently.
Why This Matters / Understanding the Problem
Let’s be honest: nothing beats the cozy vibe of a well-lit patio at dusk. Whether you’re hosting a summer BBQ, enjoying a quiet evening with a book, or just wanting to make your backyard feel more inviting, how to string outdoor lights around patio in 2026 easy guide is the secret to transforming your outdoor space into a warm, magical retreat.
But here’s the catch—many people either overcomplicate it or end up with droopy, tangled, or unsafe setups. I’ve been there. I once tried to drape lights across my patio with zip ties and ended up with a lopsided mess that looked more like a haunted garage than a relaxing oasis.
The good news? With the right approach, tools, and a little patience, you can create a beautiful, safe, and long-lasting lighting display. This how to string outdoor lights around patio in 2026 easy guide is designed to help you avoid rookie mistakes and get it right the first time—no electrician needed.
Pro tip: Start planning during daylight. It’s much easier to map out your layout when you can see where you’re going.
What You Need
Before you start, gather everything so you’re not scrambling mid-project. Here’s your quick checklist—nothing fancy, just practical tools and materials.
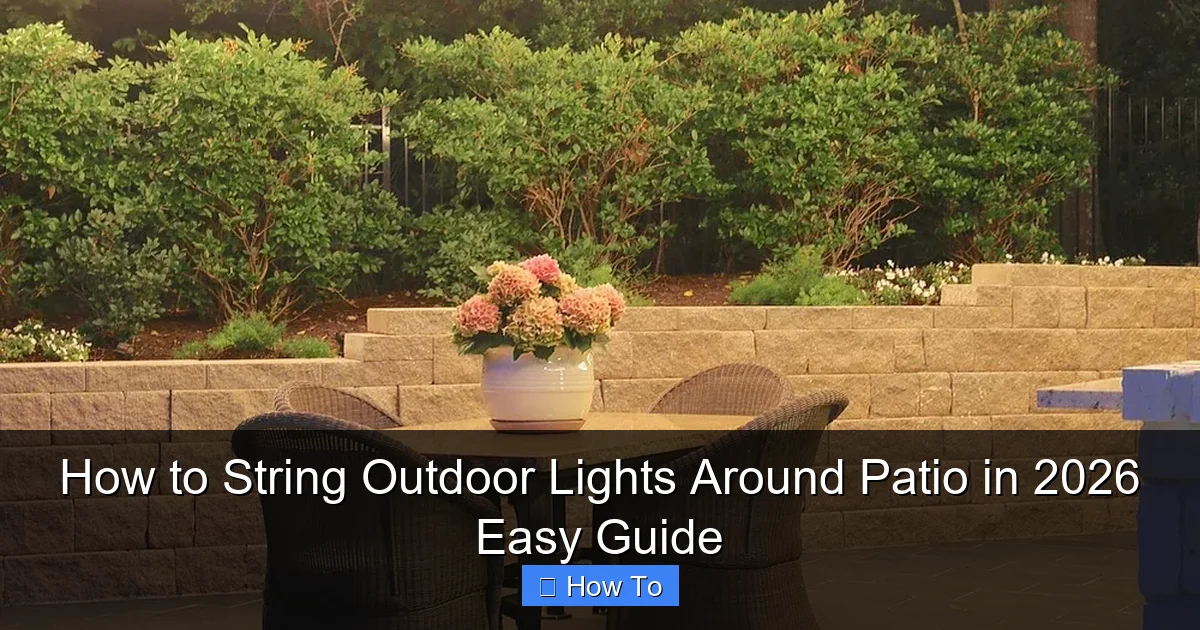
Visual guide about how to string outdoor lights around patio
Image source: thecreativityexchange.com
- Outdoor-rated string lights (LEDs are best—low energy, long life, safe)
- Measuring tape (to avoid buying too much or too little)
- Outdoor-rated extension cords (if your outlets are far)
- Weatherproof zip ties or cable clips (plastic, UV-resistant)
- Hooks or eye screws (stainless steel or coated to resist rust)
- Drill and drill bits (for wood, masonry, or vinyl depending on your patio)
- Level (optional but helpful for straight lines)
- Staple gun (with outdoor staples) (for wood beams or pergolas)
- Timer or smart plug (to automate on/off times)
- Ladder (if you’re working above 6 feet)
Bonus: If you’re going for a boho or café-style look, consider globe lights, edison bulbs, or fairy lights—they add character without extra effort.
Warning: Never use indoor lights outside. They’re not built for moisture, temperature changes, or UV exposure. Safety first!
Step-by-Step Guide to How to String Outdoor Lights Around Patio in 2026 Easy Guide
Let’s walk through the process like we’re doing it together—step by step, no fluff. This how to string outdoor lights around patio in 2026 easy guide is designed for real people with real backyards.
Step 1: Plan Your Layout (The Secret to a Pro Look)
Before you touch a single light, take 10 minutes to plan. Sketch your patio on paper or use a phone app. Decide where the lights will go: around the perimeter, across the ceiling, in a zigzag, or along a pergola.
Ask yourself: Do I want ambient lighting (soft, all-over glow) or accent lighting (highlights on specific areas like a seating zone or grill)?
- For ambient: Run lights along the edges and overhead.
- For accent: Focus on key zones (dining table, lounge chairs).
Measure the distances between mounting points. This tells you how much light string you need. Pro tip: Buy 10–15% extra for overlaps and adjustments.
My mistake: I once bought lights that were 2 feet short because I didn’t account for the corner wrap. Now I always add a buffer.
Step 2: Choose the Right Mounting Method
How you attach the lights depends on your patio structure. Here’s what works best for common setups:
- Wooden deck or pergola? Use outdoor staples or eye screws every 12–18 inches.
- Vinyl or aluminum railings? Use weatherproof zip ties or clips designed for railings.
- Masonry or stucco walls? Drill pilot holes and use plastic anchors with screws.
- No structure overhead? Install outdoor poles or shepherd’s hooks at corners.
Never nail or staple directly into siding or painted surfaces—it can damage the material and create leaks.
Real talk: I used regular screws on my stucco and ended up with cracked patches. Now I use anchors—game-changer.
Step 3: Install Mounting Points (Evenly & Securely)
Now it’s time to prep. Start by marking your mounting spots with a pencil or tape. Use a level to keep lines straight—especially if you’re going around a rectangular patio.
For screws or eye hooks:
- Drill a small pilot hole (prevents wood from splitting).
- Insert anchors (if needed).
- Screw in hooks or eyelets—tight, but don’t over-torque.
For zip ties on railings:
- Thread the tie under the railing.
- Pull tight and cut the excess.
- Space them every 18 inches to avoid sagging.
Tip: If you’re using multiple strands, plan where the plug-in end will go. You want it near an outlet, not dangling in the middle of your space.
Step 4: Hang the Lights (With Tension Control)
This is where the magic happens. Start at the power source and work outward. Unroll the lights carefully—don’t yank them.
For screw or hook systems:
- Hook the light’s built-in loops or use S-hooks to connect to eye screws.
- Keep tension even—don’t pull too tight or let it droop.
For staples or clips:
- Attach the lights every 12–18 inches.
- Use a ladder for high spots—safety first!
If you’re connecting multiple strands, use outdoor-rated connectors. Avoid daisy-chaining more than 3–4 strands (check the manufacturer’s limit).
Personal insight: I once connected 6 strands and blew a fuse. Lesson learned: always check the wattage and strand limit.
Step 5: Secure the Cords (No Tripping Hazards)
Exposed cords are both ugly and dangerous. Hide them with:
- Weatherproof cord covers (for ground-level cords).
- Zip ties or clips (to run cords along railings or beams).
- Concealed channels (if you’re building a permanent setup).
Never run cords across high-traffic areas. If you must, use a rubber cord cover rated for outdoor use.
For overhead runs, keep cords close to the structure—don’t let them dangle in mid-air.
Step 6: Test & Adjust
Plug in the lights and turn them on. Walk around your patio and look for:
- Sagging sections (add more clips).
- Uneven spacing (adjust hooks or ties).
- Flickering bulbs (replace or tighten connections).
Use a timer or smart plug to automate on/off times. I set mine to turn on at sunset and off at 11 PM—no more forgetting to switch them off!
Pro tip: Use a dusk-to-dawn sensor if your outlet is hard to reach.
Step 7: Weatherproof & Maintain
Even outdoor-rated lights need care. After hanging:
- Seal any exposed connections with dielectric grease (prevents corrosion).
- Trim nearby branches to avoid abrasion from wind.
- Check connections every few months for rust or looseness.
For winter: If you live in a cold climate, consider taking down lights or using winter-rated strands that handle freezing temps.
Pro Tips & Common Mistakes to Avoid
After years of trial, error, and a few “what was I thinking?” moments, here are the insider tips that make all the difference.
1. Use LED, Not Incandescent
I used to buy cheap incandescent strings—big mistake. They burn out fast, get hot, and use way more power. LEDs last 25,000+ hours, stay cool, and are safer. Plus, they come in warm white (cozy) and cool white (crisp).
2. Don’t Ignore the Gauge
Thin wires (like 22 AWG) can overheat if you connect too many strands. Go for 18 or 20 AWG if you’re running long lines or multiple strands.
3. Avoid the “Spiderweb” Effect
It’s tempting to crisscross every inch of your patio. But too many lights look chaotic. Stick to 2–3 main lines for a clean, elegant look.
4. Plan for Power
Outdoor outlets are limited. Use a weatherproof outlet box if your plug is exposed. Or, install a GFCI outlet (required by code in most areas).
5. Think About Light Spread
Not all lights shine the same. Globe lights give a soft glow; string lights with clear bulbs are brighter. Mix them for depth—like ambient base lighting with accent spots.
6. Label Your Strands
If you’re using multiple sets, label them (e.g., “Pergola,” “Rail,” “Table”). Makes troubleshooting a breeze.
7. Don’t Overlook Wind
Strong gusts can loosen connections or pull down lights. Use extra clips in windy areas and avoid loose, flappy designs.
Common mistake: I once hung lights with no tension control. After a storm, they were sagging like wet spaghetti. Now I check tension every time.
FAQs About How to String Outdoor Lights Around Patio in 2026 Easy Guide
Let’s tackle the questions I get most often—straight, simple, and from real experience.
Q: Can I leave outdoor string lights up all year?
A: It depends. If they’re rated for all-season use (check the box), yes—but inspect them every few months. In snowy or icy climates, I recommend taking them down to prevent damage. For mild areas, just ensure connections are sealed and cords are secure.
Q: How many strands can I safely connect?
A: Most manufacturers say 2–4 strands max. Check the wattage—don’t exceed 80% of your outlet’s capacity (usually 15 amps = 1,800 watts). When in doubt, use a power strip with surge protection.
Q: What if my patio has no overhead structure?
A: No problem! Use outdoor poles (like shepherd’s hooks or T-posts), or install ceiling hooks in overhangs. You can also string lights between trees or use a freestanding pergola.
Q: Are solar lights worth it for patios?
A: For low-light ambiance, yes—but they’re not bright enough for dining or cooking. I use solar fairy lights for mood lighting and plug-in strings for functional areas. Best of both worlds.
Q: How do I fix a burnt-out bulb without replacing the whole strand?
A: Many LED strings have shunt technology—if one bulb dies, the rest stay on. But if a whole section fails, it’s usually a bad connection. Try tightening the plug, cleaning the socket, or using a bulb tester to find the culprit.
Q: Can I use indoor lights if I cover them?
A: No. Indoor lights aren’t built for moisture, UV, or temperature swings. Even a “covered” setup can get damp. Always use outdoor-rated lights—your safety (and insurance) depends on it.
Q: What’s the best spacing between lights?
A: For ambient glow, 12–18 inches between bulbs is ideal. Closer for a “twinkle” effect, farther for a “café” look. I like 15 inches—it’s cozy without being overwhelming.
Final Thoughts
There you have it—a complete, real-world how to string outdoor lights around patio in 2026 easy guide that’s simple, safe, and stylish. You don’t need to be an electrician or a DIY pro to create a stunning outdoor space. Just plan ahead, use the right tools, and take your time.
Remember: the goal isn’t perfection. It’s a space where you want to be—where laughter lingers, stories are shared, and the stars have company. Whether you’re going for a romantic glow or a festive party vibe, your patio lights can set the mood.
Start small. Try one strand this weekend. See how it feels. Then expand as you go. And hey—take a photo when it’s done. You’ll be amazed at how a few simple lights can transform your backyard.
Now go string those lights. Your perfect evening awaits.
Last tip: Invite a friend over when it’s done. There’s nothing like seeing someone’s face light up (literally and figuratively) when they see your work.
“`

