Featured image for how to string outdoor lights around patio
Image source: warisanlighting.com
Transform your patio into a stunning nighttime retreat by strategically stringing weather-resistant LED lights along railings, pergolas, or overhead wires for a professional, inviting glow. In 2026, the key is using durable, smart-enabled lights with easy-install clips or tension cables to create customizable ambiance without damaging your outdoor space. With minimal effort and maximum impact, you can achieve a safe, energy-efficient lighting setup perfect for entertaining or relaxing.
“`html
How to String Outdoor Lights Around Patio in 2026
Key Takeaways
- Plan your layout first: Sketch light placement to avoid over- or under-lighting key areas.
- Use weatherproof lights: Choose UL-rated, outdoor-specific lights for safety and durability.
- Anchor securely: Install hooks or clips every 12–16 inches to prevent sagging.
- Opt for LED bulbs: Save energy and reduce heat with long-lasting, efficient LEDs.
- Test before finalizing: Power the lights temporarily to check spacing and brightness.
- Blend with design: Match light color and style to your patio’s aesthetic.
- Use a timer: Automate on/off times for effortless ambiance and energy savings.
Why This Matters / Understanding the Problem
Let’s be honest—there’s nothing quite like sipping coffee on your patio at sunset, the air warm, the breeze soft, and a gentle glow from string lights overhead. But here’s the catch: if your lights are sagging, tangled, or barely hanging on after a light rain, the magic fades fast.
I’ve been there. Last summer, I spent an entire weekend trying to string lights across my patio, only to end up with a lopsided, droopy mess that looked more like a haunted house than a cozy retreat. That’s when I realized how to string outdoor lights around patio in 2026 isn’t just about aesthetics—it’s about smart planning, durable materials, and knowing a few tricks that save time and frustration.
Whether you’re hosting a backyard BBQ or just want a peaceful evening under the stars, proper lighting sets the mood. And with 2026 bringing smarter, more weather-resistant tech and design trends, now’s the perfect time to do it right.
What You Need
Before you grab a ladder and start hammering nails into your house, let’s make sure you’ve got the right gear. Here’s your outdoor patio lighting toolkit—no fluff, just what actually works.
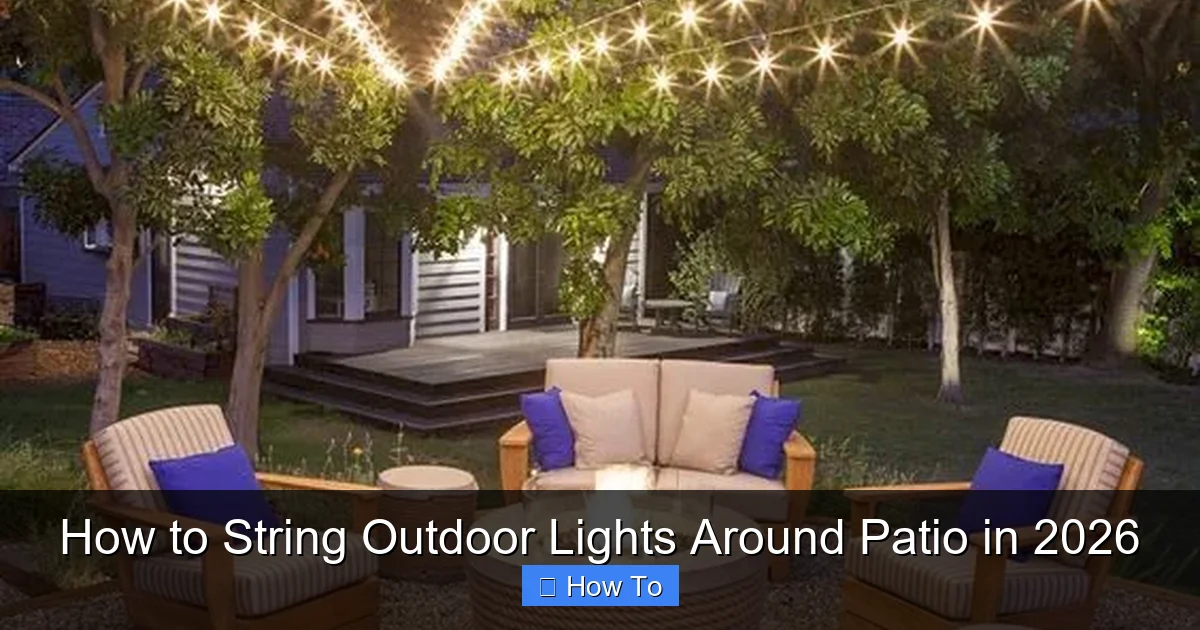
Visual guide about how to string outdoor lights around patio
Image source: digsdigs.com
- Outdoor-rated string lights (LED, weatherproof, with a UL or ETL safety rating)
- Measuring tape (for spacing and planning)
- Sturdy ladder (non-conductive, if near electrical sources)
- Weatherproof mounting hardware (screw-in hooks, adhesive-backed clips, or tension cables)
- Drill and drill bits (for wood, stucco, or brick)
- Extension cords or outdoor power strips (GFCI-protected)
- Smart timer or app-controlled hub (optional, but game-changing)
- Zip ties or cable clips (for clean cable management)
- Level (to avoid that “oops” slant)
- Work gloves (trust me, your hands will thank you)
Pro Insight: I learned the hard way that “indoor” lights won’t survive a summer storm. Always check the IP rating—IP44 or higher means splash and dust resistance. For full weatherproofing, go for IP65 or IP67.
Step-by-Step Guide to How to String Outdoor Lights Around Patio in 2026
Alright, let’s get into the nitty-gritty. This guide is based on real installs I’ve done—successes and the “what not to do” moments. By following these steps, you’ll avoid the sag, the glare, and the “why won’t these stay up?” frustration.
Step 1: Plan Your Layout (Before You Buy or Hang)
Start with a sketch—yes, even if you’re not an artist. Grab a notepad or use a free app like Sketchbook or even Google Drawings. Map out your patio’s shape and where you want lights.
Ask yourself: Are you going around the perimeter? Across the ceiling? In a crisscross pattern? For most patios, a rectangular or U-shaped perimeter layout works best for even coverage.
Measure the total distance. Most string lights come in 25–50 ft strands, and you can usually connect up to 3–5 strands (check the manufacturer’s max). But don’t just buy one extra—measure twice, buy once.
For how to string outdoor lights around patio in 2026, consider modern trends like zigzag patterns or floating canopies—but only if your structure can support them.
Tip: Use painter’s tape to mark anchor points on the ground or walls. It’s temporary, removable, and gives you a real-life preview.
Step 2: Choose the Right Mounting Method (No Nails in the House!)
This is where most people go wrong. You don’t want to drill into your siding unless you’re ready to patch and repaint. Instead, pick a mounting style that matches your patio’s structure.
- Wooden beams or pergola: Use stainless steel screw hooks or eye screws. Pre-drill to avoid splitting.
- Concrete or brick walls: Use masonry anchors and toggle bolts. A drill with a masonry bit is essential.
- Stucco or vinyl siding: Use adhesive-backed outdoor-rated clips (like Command Outdoor Hooks). They’re strong, removable, and won’t damage surfaces.
- Fences or railings: Zip ties or cable clips work great. Just avoid over-tightening.
- No structure? Use poles: Install ground-mounted poles or use existing trees (with tree-friendly straps).
For a floating canopy (popular in 2026), consider a tension cable system. Run a stainless steel cable between two sturdy anchor points, then hang lights from it. It’s sleek and avoids drilling.
Warning: Never use nails or staples on your home’s exterior—moisture can seep in, and repairs are costly.
Step 3: Install Mounting Points (Evenly Spaced & Level)
Now, install your hooks, clips, or anchors. Here’s the key: space them every 12–18 inches for even tension. Too far apart, and the lights will sag. Too close, and it looks cluttered.
Use a level to ensure all points are aligned. Even a 2-degree tilt will make your lights look crooked. I once skipped this step and ended up with a “drunken sailor” look—don’t be me.
If you’re using adhesive hooks, clean the surface with rubbing alcohol first. Let it dry completely. Press firmly for 30 seconds, then wait 24 hours before hanging lights (yes, really).
For screw-in hooks, drill pilot holes slightly smaller than the screw. This prevents wood from splitting and ensures a snug fit.
Step 4: Hang the Lights (Start from the Power Source)
Here’s a golden rule: always start from the power outlet. That way, you minimize extension cord runs and reduce voltage drop (which makes lights dim).
Unroll your lights and test them indoors first. Nothing worse than hanging a strand that doesn’t work.
Attach the first socket to the first mounting point. Use the built-in hooks or zip ties. Then, work your way around the perimeter, gently pulling the strand taut—but don’t overstretch. A little slack is okay; it allows for expansion in heat and contraction in cold.
For tension cables, attach the lights with small carabiners or S-hooks. This lets you adjust later and makes removal easier for storms or cleaning.
Pro Tip: If your lights have a “bulb down” orientation, make sure they’re all facing the same way. It looks cleaner and prevents water pooling in the sockets.
Step 5: Manage Cables & Power (No Tripping Hazards!)
Extension cords are inevitable, but they don’t have to be eyesores. Use outdoor-rated, GFCI-protected cords (look for the “GFCI” label). They cut power instantly if moisture is detected.
Run cords along walls or railings, securing them with zip ties or cable clips. Avoid running them across walkways. If you must, use a cord cover or bury them in a shallow trench with landscape fabric.
For a cleaner look, hide cords behind plants, furniture, or use a decorative cord sleeve (like woven rattan covers).
If you’re tech-savvy, consider a smart plug with app control. I use a Kasa outdoor plug—set it to turn on at sunset, off at 11 PM. No more fumbling with switches.
Step 6: Test & Adjust (The “Oops, Fix It” Phase)
Plug everything in and step back. Look for:
- Sagging strands (add more support points)
- Uneven spacing (reposition hooks)
- Flickering or dim bulbs (check connections and voltage)
- Glare (angle bulbs downward or use diffusers)
Use a ladder to fine-tune tension. A little adjustment can make a big difference. I once had to rehang three hooks because one was slightly too low—annoying, but worth it.
For a crisscross or canopy design, check symmetry from multiple angles. Walk around, sit on a chair, stand up. Does it look balanced?
Step 7: Secure & Weatherproof (Because Mother Nature Doesn’t Care)
Even the best lights fail if they’re not weather-ready. Here’s how to protect your investment:
- Seal connections: Use electrical tape or silicone sealant on plug junctions.
- Elevate plugs: Keep them off the ground. Use a weatherproof box or hang them high.
- Trim vegetation: Keep leaves and branches away to prevent wear and fire risk.
- Remove in extreme weather: Take down lights during hurricanes or blizzards. Or, if permanent, use storm-rated hardware.
For long-term installs, consider solar-powered string lights. They’re gaining traction in 2026 for their eco-friendliness and no-cord hassle. Just ensure they get 6+ hours of sun.
Pro Tips & Common Mistakes to Avoid
After years of trial, error, and a few facepalms, here’s what I’ve learned—straight from the trenches.
Tip #1: Use a light meter app (like Lux Light Meter) to check brightness. Too bright? Add dimmer bulbs or shields. Too dim? Add a second strand or switch to brighter LEDs.
Tip #2: For a “twinkle” effect, mix in frosted or globe bulbs with clear ones. It adds depth without being gimmicky.
Tip #3: If you’re renting, use removable adhesive hooks. I used 3M Outdoor Command Hooks in my apartment patio—held strong through two summers, came off clean.
Mistake #1: Overloading circuits. One 1000W outdoor circuit can handle about 10 strands of LED lights. Check your breaker box. I once tripped the whole house—embarrassing.
Mistake #2: Ignoring bulb direction. If your lights are “uplight,” they’ll shine into your eyes. Always aim bulbs downward or sideways.
Mistake #3: Using zip ties on vinyl siding. They can crack the material. Use adhesive clips instead.
Pro Insight: For a 2026 twist, try color-tunable LEDs. I have a strand that shifts from warm white to cool blue—perfect for dinner parties or movie nights. Just don’t overdo it; subtlety wins.
FAQs About How to String Outdoor Lights Around Patio in 2026
You’ve got questions. I’ve got answers—no jargon, just real talk.
Can I leave my string lights up year-round?
It depends. If they’re IP65 or higher and mounted securely, yes—but check them monthly. I leave mine up, but I take them down for hurricanes and blizzards. For harsh climates, consider seasonal removal to extend lifespan.
How do I hide extension cords?
Use cord covers (like rubber raceways) or bury them in shallow trenches (6 inches deep, with landscape fabric). I also tuck them behind planters or run them along fence lines. For a permanent fix, install an outdoor outlet.
What’s the best spacing for hooks?
Every 12–18 inches for standard strands. For heavier lights (like Edison bulbs), go 10–12 inches. Too far, and you’ll sag. Too close, and it looks busy. I use 15 inches as a sweet spot.
Can I connect multiple strands?
Yes, but don’t exceed the manufacturer’s max. Most LED strands let you connect 3–5. Use a weatherproof junction box for the connection point. I once daisy-chained 8—lights dimmed, and the plug melted. Oops.
Are solar string lights worth it?
Absolutely—if you get 6+ hours of sun. They’re eco-friendly, no cords, and great for remote areas. But they’re dimmer and less reliable on cloudy days. I use them on my side patio; my main patio has wired LEDs.
How do I clean outdoor string lights?
Turn them off, unplug, and wipe bulbs with a damp microfiber cloth. For grime, use a mild soap solution. Never use abrasive cleaners. I do this twice a year—keeps them looking fresh.
What if my patio has no structure?
No problem. Use ground-mounted poles (like shepherd’s hooks or metal posts), trees (with tree-friendly straps), or a freestanding canopy. I installed poles in my yard using concrete footings—looked like a professional job.
Final Thoughts
So, there you have it—your no-nonsense, real-world guide to how to string outdoor lights around patio in 2026. It’s not just about hanging lights; it’s about creating a space that feels like home, even after dark.
Remember: plan your layout, choose the right hardware, start from the power source, and never skip the test phase. And when in doubt, add an extra hook. A little extra effort now means years of cozy, glowing evenings.
As for me, I’m already planning my 2026 upgrade: color-tunable LEDs, a smart timer, and a tension cable canopy. But you don’t need all that to start. Just grab a strand, a few hooks, and give it a go. You’ve got this.
Now, go light up your patio—and enjoy the magic.
“`

