
Featured image for how to string outdoor lights with a pole
Image source: i.etsystatic.com
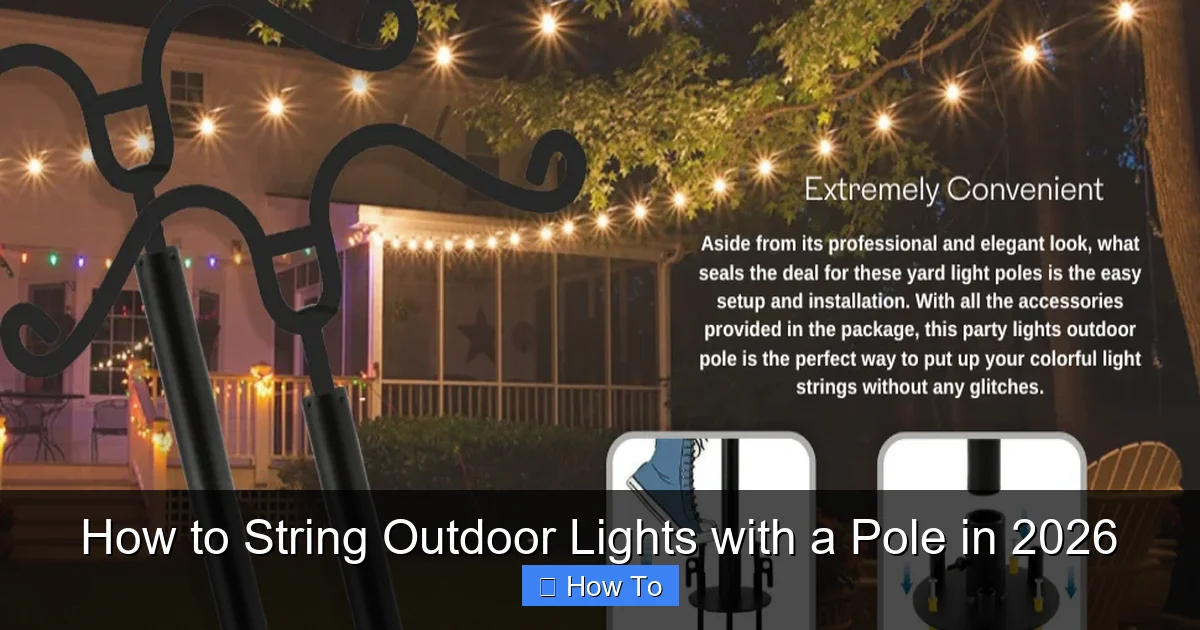
Stringing outdoor lights with a pole in 2026 is faster and safer than ever, thanks to lightweight, extendable poles with built-in hooks and tension guides. Simply anchor the pole, run the lights through the guide system, and secure them without climbing or guesswork—ideal for patios, gardens, and event spaces. This method ensures a clean, professional look while minimizing setup time and risk.
“`html
How to String Outdoor Lights with a Pole in 2026
Key Takeaways
- Plan your layout first: Sketch the area to ensure even light spacing and avoid overloading circuits.
- Use durable materials: Choose weather-resistant lights and poles for long-lasting outdoor setups.
- Secure poles properly: Anchor poles firmly to prevent sagging or damage from wind and weather.
- Measure wire tension: Keep cables taut but not overly tight to avoid pole strain or breakage.
- Test before finalizing: Check connections and lights before permanent installation to troubleshoot issues early.
Why This Matters / Understanding the Problem
Picture this: you’re hosting a summer BBQ, and as the sun dips below the horizon, the backyard plunges into darkness. You want that cozy, inviting glow—but stringing lights between trees or structures isn’t always an option. Maybe your yard lacks anchor points, or you’re dealing with uneven terrain. That’s where how to string outdoor lights with a pole in 2026 comes in. It’s a game-changer for creating ambiance, extending usable space, and adding curb appeal—all without permanent installations.
But here’s the catch: poles can be tricky. They need to be sturdy, properly spaced, and installed with care to avoid sagging, tripping hazards, or storm damage. I’ve learned this the hard way—my first attempt involved a flimsy PVC pipe that bent like a noodle under the weight of Edison bulbs. Don’t make my mistake. Whether you’re lighting a patio, garden path, or pool deck, this guide will help you nail it the first time.
By the end, you’ll know exactly how to string outdoor lights with a pole in 2026, from choosing materials to avoiding common pitfalls. Let’s get started.
What You Need
Before you dive in, gather these essentials. I’ve broken them down into categories so you don’t forget anything mid-project.
Visual guide about how to string outdoor lights with a pole
Image source: m.media-amazon.com
- Poles: Steel, aluminum, or pressure-treated wood (4–8 ft tall, depending on your space). Steel is best for windy areas.
- Ground stakes or concrete anchors: For securing poles. Metal stakes work for soft soil; concrete is better for long-term setups.
- String lights: LED (energy-efficient and durable), with a length matching your span. Measure twice!
- Hooks or eye bolts: Stainless steel or coated metal to prevent rust. Use one per pole.
- Measuring tape and level: To ensure even spacing and vertical poles.
- Drill and screws: For attaching hooks to poles.
- Extension cords and outdoor-rated power source: Check for GFCI outlets to prevent shocks.
- Optional: Turnbuckles (for tensioning), zip ties (for securing cords), and a helper (trust me, it’s easier with two people).
Pro Tip: Skip cheap plastic poles. They warp in heat and snap in cold. Invest in quality—it pays off in longevity.
Step-by-Step Guide to How to String Outdoor Lights with a Pole in 2026
Step 1: Plan Your Layout
Start with a sketch. Map where poles will go, noting distances between them and power sources. For a straight line (e.g., patio border), aim for poles every 8–12 feet. For curves (e.g., garden path), reduce spacing to 6–8 feet to prevent sagging.
Measure your space and calculate pole count. Example: A 30-ft span with poles every 10 ft needs 4 poles (one at each end + two in the middle). Mark spots with spray paint or stakes.
Why this matters: Poor spacing leads to droopy lights or uneven lighting. I once spaced poles 15 ft apart and had to rework the entire setup after the middle section sagged like a hammock.
Step 2: Install the Poles
For soft soil: Use ground stakes. Dig a 6–8 inch hole, insert the stake, and backfill with soil. For hard ground or long-term use: Pour quick-dry concrete into a 12-inch hole, insert the pole, and level it. Let cure 24–48 hours.
For temporary setups: Use weighted bases (e.g., sandbags or portable stands). Ensure poles are vertical—check with a level. Tilted poles = uneven lights.
Pro tip: Add a cap to wooden poles to prevent water damage. For metal poles, apply rust-resistant paint to cut ends.
Warning: Avoid placing poles near sprinkler lines or tree roots. A friend hit a root while digging and spent an hour fixing his irrigation system.
Step 3: Attach Hooks or Eye Bolts
Drill a hole 1–2 inches below the pole’s top. Insert a stainless steel eye bolt or screw-in hook. Tighten securely. For wooden poles, pre-drill to avoid splitting.
For adjustable tension: Use turnbuckles instead of hooks. They let you fine-tighten the wire later. I use these on my patio—they’re a lifesaver after winter expansion.
Key detail: Hooks should face the direction of the light run. Misaligned hooks strain the pole and cause lights to twist.
Step 4: Run the Support Wire (Optional but Recommended)
For spans over 20 ft or heavy lights (e.g., vintage bulbs), add a steel cable. Thread it through each eye bolt and secure with clamps. Tighten with a turnbuckle until taut.
Why? The wire carries the weight, not the lights. My first 25-ft run without a wire sagged 6 inches. With a cable, it’s perfectly straight.
For shorter spans: You can skip the wire and attach lights directly to hooks. But use thicker-gauge lights (e.g., 18-gauge) to avoid stretching.
Step 5: Hang the Lights
If using a support wire: Clip lights to the cable with S-hooks or zip ties. Space them evenly. For no wire: Hang lights directly on hooks. Use carabiners for easy removal.
Start at the power source. Plug in the first set, then connect subsequent sets as you go. Leave slack for expansion—lights tighten when cold.
For curves: Bend the wire or string gently. Avoid sharp angles—they create hot spots and shorten bulb life.
Pro Tip: Test lights before finalizing. A burnt-out bulb in the middle is a pain to replace later.
Step 6: Secure Power and Cords
Run extension cords along the ground or poles. Use outdoor-rated cords (look for “SJTW” or “W” rating). Hide them under rugs or with cord covers.
Use a GFCI outlet or outlet protector. Safety first—water and electricity don’t mix. I once had a cord short out after a storm because I ignored this step.
For permanent setups: Bury cords in conduit (PVC pipe) or run them through poles. Not pretty, but it’s safe and tidy.
Step 7: Adjust and Test
Check for sag, uneven lighting, or loose connections. Tighten turnbuckles if needed. For hooks, add zip ties to prevent lights from slipping.
Test all bulbs. Replace any that flicker or don’t light. Turn on at night to spot dark spots or glare.
Final touch: Trim excess cord with a zip tie. It looks cleaner and reduces tripping hazards.
Pro Tips & Common Mistakes to Avoid
- Don’t skip the support wire: Even for short spans, it prevents sagging and extends bulb life. My 15-ft run without a wire looked perfect—until a heatwave made the lights stretch.
- Use LED lights: They’re cooler, more efficient, and last longer. Halogen bulbs overheat and melt plastic hooks.
- Mind the weather: In windy areas, use thicker poles (1.5-inch diameter) and secure cords with zip ties every 2–3 ft. I lost a light string in a storm because I didn’t anchor the cords.
- Avoid daisy-chaining too many sets: Most manufacturers recommend no more than 2–3 sets per outlet. Overloading causes overheating.
- Check local codes: Some areas require permits for permanent installations or have height restrictions. When I added lights to my fence, I had to lower the poles to comply.
- Think about maintenance: Use quick-disconnect clips so you can remove lights for cleaning or winter storage. My first setup had lights glued in place—I had to cut them down.
Warning: Never use indoor-rated lights outdoors. They’ll fail in humidity and temperature swings. I learned this after a $50 set of “outdoor-looking” lights died in one season.
FAQs About How to String Outdoor Lights with a Pole in 2026
1. Can I use a single pole to hang lights?
Yes, but only for short spans (under 10 ft) or decorative clusters (e.g., a single pole with lights radiating outward). For longer runs, you’ll need multiple poles or a support wire anchored to trees or structures. A single pole can’t handle the tension of a 20-ft line—it’ll bend or topple.
2. How do I prevent lights from sagging?
Use a support wire (steel cable) for spans over 20 ft. For shorter runs, space poles closer (8–10 ft) and choose stiffer light strings. I also use turnbuckles to fine-tighten the wire—it’s like tuning a guitar. No wire? Opt for thicker-gauge lights (18-gauge or lower).
3. What’s the best pole material?
– Steel: Strong and durable, but can rust. Coat cut ends with rust-resistant paint.
– Aluminum: Lightweight and rust-proof, but less sturdy in high winds.
– Wood: Aesthetic but needs sealing and capping to prevent rot.
For most backyards, I recommend galvanized steel—it’s the best balance of strength and cost.
4. Can I install poles on concrete or pavers?
Yes! Use weighted bases (e.g., sandbags) for temporary setups. For permanent installations, anchor poles to concrete with epoxy or expansion bolts. I use a base plate with bolts for my patio lights—it’s rock-solid.
5. How do I handle curves or corners?
Add a pole at the curve’s peak. Angle hooks to guide the wire or string smoothly. For tight turns, use flexible LED strips instead of rigid strings. My garden path has a 90-degree turn, and a single pole with a 45-degree hook works perfectly.
6. Are there solar-powered options?
Yes! Solar string lights with pole-mounted panels are great for remote areas. Just ensure the panel gets 6+ hours of direct sun. I use solar lights on my shed roof—no wiring needed. But they’re dimmer than grid-powered lights, so mix with wired sets for brightness.
7. How do I store poles and lights in winter?
For temporary setups: Remove poles, clean them, and store in a dry place. For permanent poles: Take down lights and cover hooks with plastic caps. I leave my steel poles up but remove the lights—it saves time in spring.
Final Thoughts
Mastering how to string outdoor lights with a pole in 2026 isn’t just about aesthetics—it’s about creating a space that’s functional, safe, and inviting. Whether you’re lighting a party, a quiet evening, or a path to your front door, the right setup makes all the difference.
Remember: Start small. Test your layout with a single pole before committing to a full run. Invest in quality materials—they’ll save you time and frustration later. And don’t be afraid to tweak: lighting is art, not science. If something looks off, adjust it. My best designs came from trial and error.
Now go grab those poles, measure twice, and light up your space. Your backyard (and your guests) will thank you. And when that first sunset hits your perfectly strung lights? That’s the moment it all pays off.
Pro tip for 2026: Keep an eye out for smart poles with built-in outlets and app-controlled lighting. They’re the next frontier—but for now, this guide has you covered.
“`

