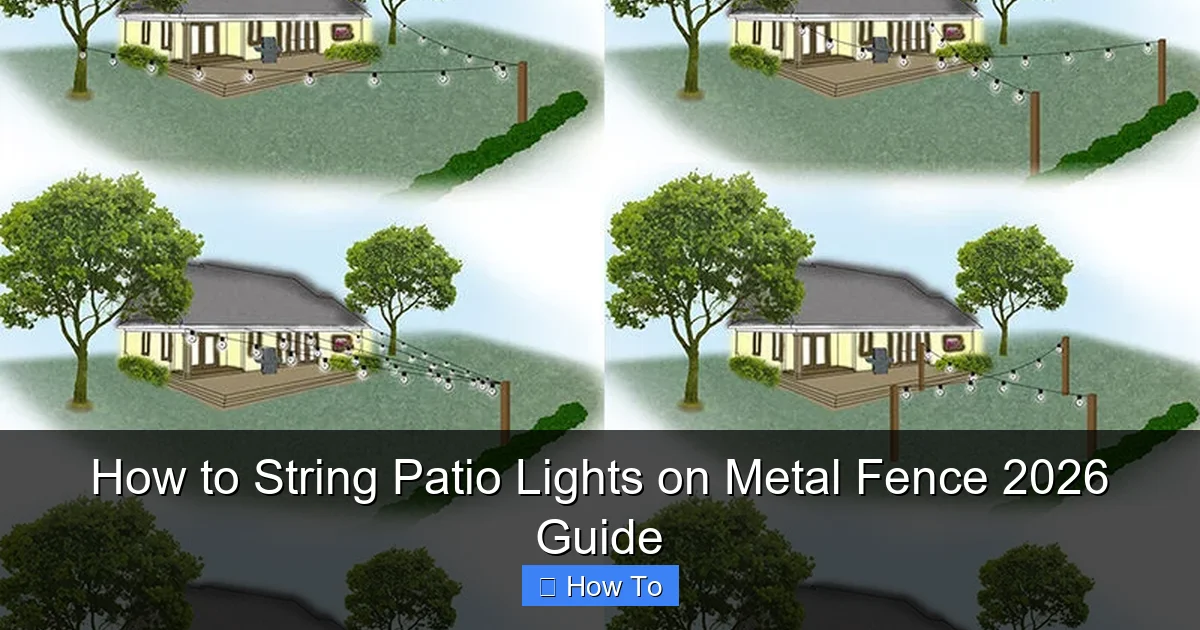
Featured image for how to string patio lights metal fence
Image source: img.yardenvy.com
Transform your outdoor space in 2026 by securely stringing patio lights on a metal fence using durable, weather-resistant clips or magnetic hooks designed for metal surfaces. This guide walks you through a safe, tool-free installation that prevents damage while ensuring a professional, twinkling display all season long. No drilling, no hassle—just stunning ambiance in minutes.
“`html
How to String Patio Lights on Metal Fence 2026 Guide
Key Takeaways
- Plan your layout first: Measure fence length and mark light spacing before installation.
- Use outdoor-rated lights: Choose weatherproof, commercial-grade string lights for durability.
- Secure with S-hooks or clips: Attach lights firmly to fence without damaging metal.
- Keep bulbs evenly spaced: Maintain uniform gaps for a professional, balanced look.
- Test lights pre-installation: Check functionality before hanging to avoid rework.
- Anchor end points tightly: Prevent sagging by reinforcing start and end connections.
Why This Matters / Understanding the Problem
Let’s be honest: a backyard or patio without lighting feels like a party that never started. I remember setting up my first string of patio lights—I had this vision of a cozy, twinkling oasis. But when I tried to hang them on my metal fence, the clips slipped, the lights sagged, and by midnight, half the strands were dangling like sad party streamers. Sound familiar?
Hanging patio lights on a metal fence isn’t like working with wood or brick. It’s slippery, smooth, and doesn’t hold screws or nails well. That’s why this How to String Patio Lights on Metal Fence 2026 Guide exists—to help you skip the frustration and get that dreamy, Instagram-worthy glow without the headaches.
Whether you’re hosting a summer BBQ, creating a romantic dinner spot, or just want your yard to feel more inviting after dark, proper lighting makes all the difference. And the best part? You don’t need to be a handyman to do it. With the right tools and a little know-how, you’ll have your lights up in under an hour.
What You Need
Before we dive in, let’s gather your gear. I’ve tested dozens of tools over the years, and these are the ones that actually work—no gimmicks, just real results.
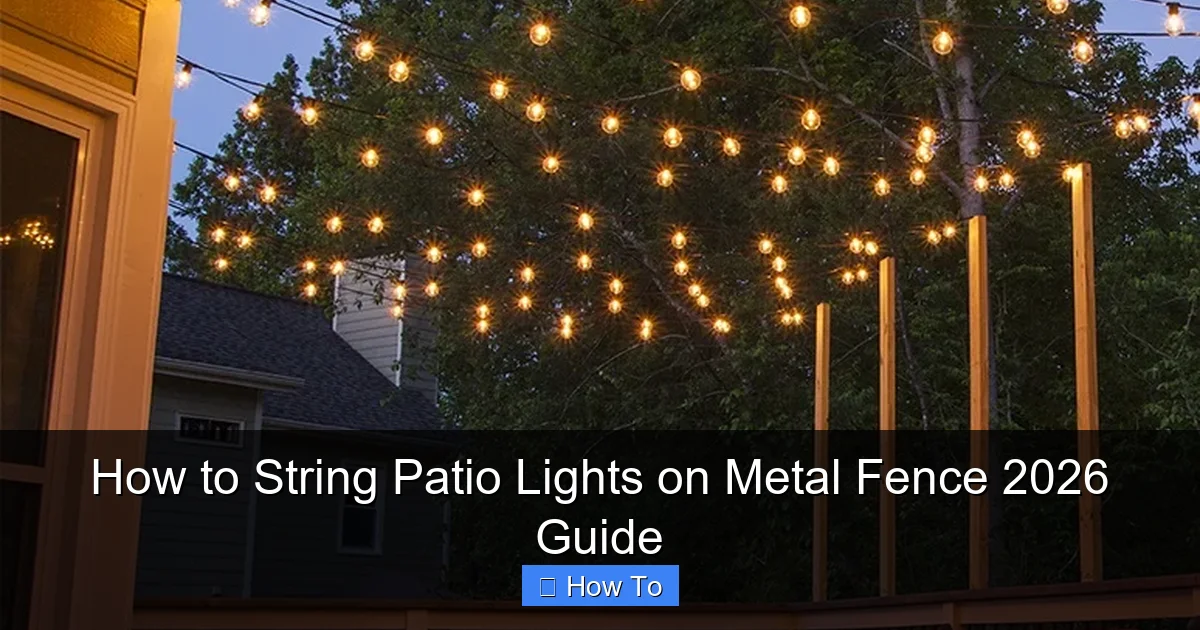
Visual guide about how to string patio lights metal fence
Image source: cdn.christmaslightsetc.com
- Patio lights (LED string lights are best—low heat, long life)
- Magnetic clips or magnetic hooks (rated for outdoor use—look for neodymium magnets)
- Weather-resistant zip ties (UV-protected, 8–12 inches long)
- Rubber-coated S-hooks (for added grip and protection)
- Measuring tape (to plan spacing)
- Extension cord (outdoor-rated, with GFCI protection)
- Timer or smart plug (optional, but so convenient)
- Gloves (optional, but helpful when handling metal)
Pro tip: Skip the cheap plastic clips. I learned that the hard way when a storm blew them off in the first week. Invest in magnetic or rubber-gripped hardware—it’s worth every penny.
Step-by-Step Guide to How to String Patio Lights on Metal Fence 2026 Guide
Step 1: Plan Your Layout
Before you start hanging anything, take a walk around your fence and visualize the lighting. Are you going for a straight line, a zigzag, or a canopy effect? I like to sketch it on paper or use a chalk line on the ground to map it out.
Measure your fence length and divide it by your desired spacing. For a cozy, even glow, I recommend spacing lights every 12 to 18 inches. Too close, and it feels cluttered. Too far, and you lose that magical ambiance.
Tip: If your fence has posts every 6 feet, use them as natural anchor points. It makes spacing easier and looks more balanced.
Step 2: Test Your Lights
Nothing’s worse than hanging all your lights only to find one strand isn’t working. Plug in each set before installation. Check for dead bulbs, frayed wires, or flickering.
If you’re using smart lights, pair them with your app or voice assistant now. Trust me, troubleshooting later in the dark is no fun.
This step is simple, but it saves so much time—and frustration—down the line. It’s a small part of the How to String Patio Lights on Metal Fence 2026 Guide, but one of the most important.
Step 3: Choose the Right Mounting Method
Metal fences are tricky. You can’t hammer nails, and adhesive hooks fail in heat or rain. So what works?
- Magnetic clips: My go-to. They attach instantly, hold up to 10 lbs, and won’t damage the fence. Just slide them onto the fence rail or post.
- Rubber-coated S-hooks: Great for chain-link or mesh fences. They grip the metal and protect the finish. Use them at corners or to redirect light strands.
- Zip ties with rubber pads: For permanent setups. Wrap them around posts or rails, then secure the light’s hanging loop. Trim excess with scissors.
I avoid glue, suction cups, or plastic clips—they fail within weeks. Stick with magnetic or mechanical fasteners for a long-term solution.
Step 4: Start at the Power Source
Always begin at the end closest to your outlet. This avoids tangles and keeps the cord hidden. Plug in your extension cord and run it along the base of the fence (or under a planter or rug if visible).
Attach your first light strand to the fence using a magnetic clip. Make sure the plug end is facing down so water doesn’t pool in it.
Then, drape the strand upward and secure the first bulb socket with another clip. This creates a gentle upward curve—perfect for avoiding sagging.
Step 5: Secure Every 12–18 Inches
As you move along the fence, place a magnetic clip or zip tie every 12–18 inches. This prevents drooping, especially with heavier lights.
For straight runs, keep the lights taut but not tight. A little slack allows for wind movement. For corners, use an S-hook to redirect the strand at a 45-degree angle—this looks cleaner than a sharp turn.
Warning: Over-tightening can damage the wire insulation or break bulb sockets. Think “snug,” not “strangled.”
Step 6: Handle Corners and Posts
Corners are where most people mess up. Instead of forcing a 90-degree bend, I use an S-hook on each post.
Here’s how: Attach one end of the S-hook to the last clip on the first side. Then, hook the next light strand to the other end. This creates a smooth transition and keeps the lights aligned.
For chain-link or mesh fences, you can weave the strand through the links at corners. Just add a zip tie for extra security.
Step 7: Add Height with Overhead Lines (Optional)
Want that “fairy canopy” look? String lights from the fence to a tree, pergola, or second fence. Use a guy wire (a thin, weather-resistant cable) to create a horizontal support line.
Anchor one end to a fence post with a turnbuckle (for tension), run it across, and secure the other end. Then, hang your lights from the wire using S-hooks or clips.
This method is perfect for large patios. It lifts the lights off the fence and creates depth. Just make sure the wire is taut and high enough to walk under (7+ feet).
Step 8: Conceal Cords and Test Again
Once all lights are up, tuck cords behind plants, under mulch, or into conduit (if you’re fancy). Use cord clips to keep them flush against the fence.
Now, plug everything in and turn it on. Walk the perimeter and check for:
- Bulbs not lighting
- Sagging sections
- Cords dangling or exposed
- Shadows or dark spots
Fix any issues now. It’s much easier than waiting until guests arrive.
Step 9: Automate with a Timer or Smart Plug
One of my favorite upgrades: a timer. I use a simple outdoor digital timer that turns the lights on at dusk and off at 11 PM. No more forgetting to switch them off.
If you have a smart home, pair your lights with Alexa, Google, or Apple Home. You can set scenes, dim the lights, or control them from your phone. It’s not essential, but it feels like magic.
This small addition makes your How to String Patio Lights on Metal Fence 2026 Guide setup feel truly finished.
Step 10: Maintain and Store Properly
At the end of the season, don’t just yank the lights down. Carefully remove clips and coils the strands in a figure-eight pattern (to prevent tangles).
Store them in a dry, cool place—ideally in a labeled bin or original box. Check for damaged wires or bulbs before next year.
For year-round setups, inspect monthly. Tighten loose clips, replace burnt bulbs, and clean off dirt or bird droppings. A little maintenance goes a long way.
Pro Tips & Common Mistakes to Avoid
After years of trial and error, here’s what I’ve learned—some the hard way.
Pro Tip 1: Use a Ladder with a Buddy
Even if your fence is low, don’t stand on a wobbly chair. Use a stable step ladder and have someone spot you. I once fell trying to reach a high corner—never again.
Pro Tip 2: Mix Light Types for Depth
Don’t just use one kind of light. Combine string lights with net lights (for coverage) or path lights (for ground glow). It adds layers and makes the space feel richer.
Pro Tip 3: Weatherproof Your Connections
Use outdoor-rated extension cords with rubber gaskets. If you have a plug connection outside, cover it with a weatherproof outlet cover. I use a small plastic dome—it’s cheap and effective.
Common Mistake: Overloading Circuits
Too many lights on one outlet can trip your breaker. Check the wattage rating on your lights and extension cord. As a rule, don’t exceed 80% of the max load.
For example: A 15-amp outlet handles 1,800 watts. If your lights use 100 watts, you can safely run 14 strands—not 20.
Common Mistake: Ignoring Wind Load
Metal fences catch wind like sails. If you live in a windy area, add extra clips every 8–10 inches. Or, use wind-resistant lights with thicker wires and sealed bulbs.
Common Mistake: Poor Spacing
Uneven spacing kills the vibe. Use your measuring tape and mark clip positions with chalk or tape. I once eyeballed it—looked like a drunken spider made the pattern.
Common Mistake: Skipping the Timer
Manual on/off is a pain. A $15 timer saves you time, energy, and keeps your lights from burning out from overuse. It’s a no-brainer.
Real Talk: I used to think “it’ll look fine once it’s dark.” Nope. Bad spacing, sagging, and exposed wires are obvious—even at night. Take the time to do it right the first time.
FAQs About How to String Patio Lights on Metal Fence 2026 Guide
Can I use regular clips on a metal fence?
Not really. Standard plastic or adhesive clips slip off smooth metal. I’ve seen them fail in under a week. Magnetic clips or rubber-coated S-hooks are the only reliable options. They grip the metal without scratching it—and they last for years.
Will the magnets damage my fence?
Good-quality neodymium magnets (like the ones I use) won’t scratch or dent metal. Just avoid dragging them across the surface. If you’re worried, add a felt pad or rubber coating to the magnet’s edge.
How do I hide the extension cord?
I run cords along the base of the fence and cover them with mulch, rocks, or a decorative planter. For a cleaner look, bury a conduit (PVC pipe) 6 inches deep and run the cord through it. Or, use cord clips to keep it flush against the fence.
Can I leave the lights up all year?
Yes—if they’re rated for outdoor use. Check the label for “wet location” or “IP65” rating. LED lights handle cold and heat better than incandescent. Just inspect them monthly for damage, especially after storms.
What if my fence is rusty or pitted?
Rust isn’t a dealbreaker. Just wipe the surface with a damp cloth before attaching clips. If it’s severely corroded, consider painting it first. Or, use zip ties around the posts—they don’t need smooth metal.
How many lights do I need?
For a 20-foot fence, I use 3–4 strands of 15-foot lights (with overlap). Measure your fence, then add 10% extra for corners and slack. It’s better to have a little extra than come up short.
Are solar lights a good option?
They’re great for low-maintenance setups, but they’re dimmer and less reliable in cloudy climates. I use solar for accent lights (like along a path), but not for main patio lighting. For brightness and consistency, plug-in is still king.
Final Thoughts
Hanging patio lights on a metal fence isn’t rocket science—but it does require the right tools and a little patience. The How to String Patio Lights on Metal Fence 2026 Guide isn’t about perfection. It’s about creating a space where you want to linger after dark.
Start simple. Use magnetic clips, space your lights evenly, and plug them into a timer. You’ll be amazed how much warmth and character a few strings of light can add.
And remember: mistakes are part of the process. If a strand sags or a bulb burns out, it’s not a failure—it’s feedback. Fix it, learn from it, and enjoy the glow.
So grab your lights, invite a friend, and turn your backyard into a place you never want to leave. Because at the end of the day, it’s not just about the lights. It’s about the moments they help create.
Now go string those lights—and make some magic.
“`

