Featured image for how to string up outdoor patio lights
Image source: optic.nordarchitecture.com
Transform your outdoor space in minutes by choosing durable, weather-resistant LED string lights designed for 2026’s top patio trends. Mount them securely using adjustable hooks or tension cables along railings, eaves, or pergolas—no drilling required for renter-friendly setups. Plug into a GFCI outlet for safety, and use smart timers or app controls to effortlessly set the mood.
“`html
How to String Up Outdoor Patio Lights in 2026 Easy Guide
Key Takeaways
- Plan your layout first: Sketch light placement to avoid over- or under-lighting key areas.
- Use weatherproof fixtures: Choose IP65+ rated lights for durability in all conditions.
- Anchor securely: Install hooks or cables every 12–16 inches for sag-free support.
- Measure power needs: Calculate total wattage to prevent circuit overloads or dim lights.
- Test before finalizing: Check connections and brightness early to fix issues fast.
- Time it right: Install on dry days with low wind for safer, easier setup.
Why This Matters / Understanding the Problem
Let’s be honest: there’s something magical about stepping into a backyard at night and being greeted by soft, glowing lights. It’s not just about visibility—it’s about mood. Whether you’re hosting a summer BBQ, enjoying a quiet evening with a book, or just trying to make your outdoor space feel more inviting, string lights can transform the vibe in seconds.
But if you’ve ever tried to set them up, you know it’s not always smooth sailing. Tangled cords, sagging wires, or lights that just won’t stay put? Frustrating. That’s why I put together this How to String Up Outdoor Patio Lights in 2026 Easy Guide—to help you skip the headaches and get straight to the ambiance.
Over the years, I’ve strung lights on decks, patios, pergolas, and even between trees. I’ve learned what works, what doesn’t, and how to do it safely and beautifully. And the best part? You don’t need to be an electrician or a DIY expert. With the right approach, this is a weekend project anyone can tackle.
The key is planning, the right tools, and understanding your space. Whether you’re working with a small balcony or a sprawling backyard, this guide will walk you through the process step by step—so your lights shine bright and stay up all season (and beyond).
What You Need
Before you start hammering or drilling, let’s gather your gear. The good news? Most of these items are either already in your garage or easy to pick up at a hardware store. Here’s your checklist:
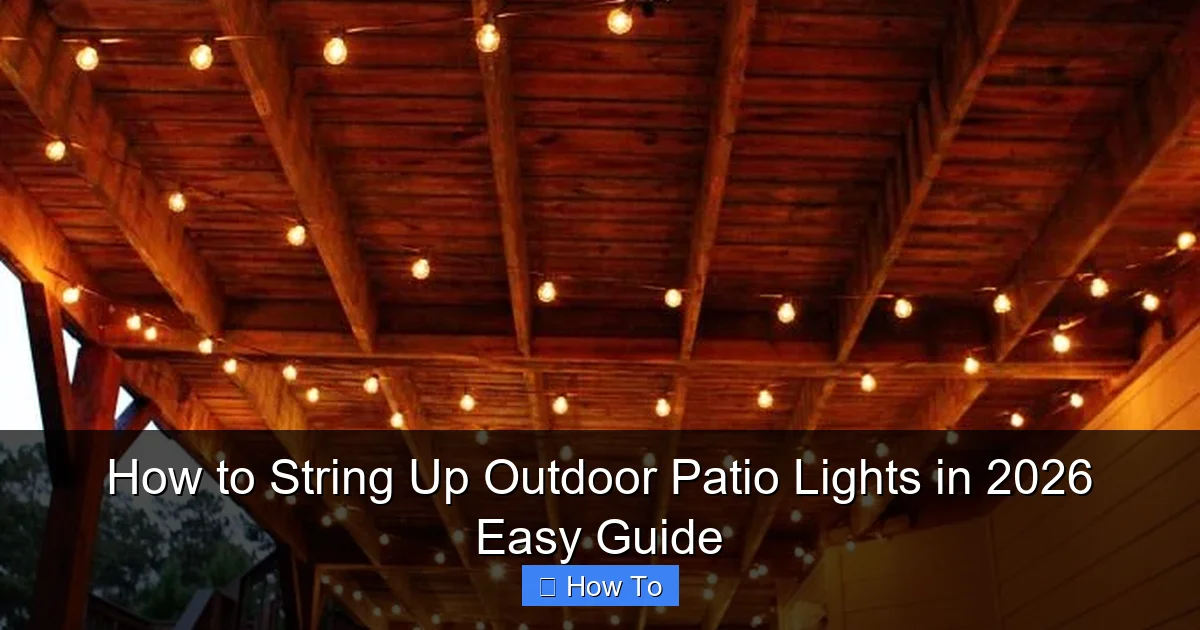
Visual guide about how to string up outdoor patio lights
Image source: i.pinimg.com
- Outdoor-rated string lights (LED, weatherproof, with a plug or solar-powered)
- Measuring tape (to map your layout)
- Drill with appropriate bits (if mounting to wood, brick, or concrete)
- Eye hooks or screw-in hooks (stainless steel or galvanized for rust resistance)
- Zip ties or cable clips (for temporary or flexible setups)
- Extension cords (outdoor-rated, GFCI-protected if using outlets)
- Staple gun (optional)—only for wood surfaces and temporary use
- Ladder or step stool (safety first!)
- Level (optional but helpful)—for a professional, even look
- Power source—outdoor GFCI outlet, solar battery, or generator (if off-grid)
Pro Tip: Always check your lights before you buy. Look for the UL or ETL outdoor rating—it means they’re tested for weather resistance. And if you’re using solar lights, make sure they get at least 6–8 hours of direct sunlight.
For the How to String Up Outdoor Patio Lights in 2026 Easy Guide, I recommend starting with LED string lights. They’re energy-efficient, last longer, and generate less heat—so they’re safer and more eco-friendly. Plus, many now come with smart features like app control or color-changing modes.
Step-by-Step Guide to How to String Up Outdoor Patio Lights in 2026 Easy Guide
Step 1: Plan Your Layout (The Secret to Success)
Before touching a single hook, grab a piece of paper or use your phone to sketch your patio or yard. Think about where you want the lights to go and how they’ll enhance the space.
- Do you want a canopy over a seating area?
- Maybe a zig-zag pattern between two trees?
- Or a simple border along the fence?
Measure the distance between anchor points. This helps you buy the right length of lights—no guessing. I learned this the hard way after buying a 25-foot strand for a 40-foot stretch. Not fun.
Also, consider how the lights will connect to power. Will you run an extension cord from the house? Use a solar-powered set? Or maybe install an outdoor outlet? The How to String Up Outdoor Patio Lights in 2026 Easy Guide emphasizes planning because it saves you from last-minute scrambles.
Warning: Never overload an extension cord. Most outdoor cords max out at 100 feet for 16-gauge. Use a thicker 14-gauge cord for longer runs or multiple strings.
Step 2: Choose Your Mounting Method
Now, decide how you’ll attach the lights. This depends on your surface:
- Wood (deck, pergola, fence): Use eye hooks or screw-in hooks. They’re easy to install and hold strong.
- Brick or concrete (walls, pillars): Use masonry anchors or toggle bolts. Drill slowly and use a masonry bit.
- Metal (gutters, railings): Use magnetic hooks or zip ties. Avoid drilling into gutters—they can leak.
- Trees: Use tree-friendly methods like zip ties, cable clips, or soft rope. Never nail into a tree—it can damage or kill it.
I once tried nailing a hook into a maple tree. The sap oozed out like it was crying. Not my finest moment. Lesson learned: trees are living things, not just anchor points.
For a clean, professional look, I recommend spacing hooks every 18–24 inches. This prevents sagging and keeps the lights taut. Use a level to ensure your first hook is straight—it’s much easier to fix now than after 10 hooks are in.
Step 3: Install the Hooks (or Anchors)
Now, it’s time to put in the hardware. Start with the highest or farthest point—usually where the light string will begin.
- Mark your spots with a pencil or painter’s tape.
- Drill pilot holes if needed (especially in hardwood or brick).
- Insert the hooks or anchors and tighten firmly.
For brick, I use a hammer drill with a 3/16” masonry bit. Go slow, apply light pressure, and let the drill do the work. If you rush, you risk cracking the brick.
For wood, I like stainless steel eye hooks—they’re strong, don’t rust, and look neat. Screw them in by hand first, then use a screwdriver or wrench to finish. Don’t overtighten—you don’t want to strip the wood.
Pro Tip: If you’re worried about damaging paint or wood, use painter’s tape on the surface before drilling. It reduces splintering and keeps your finish intact.
This step is crucial for the How to String Up Outdoor Patio Lights in 2026 Easy Guide because poorly installed hooks = sagging lights or, worse, lights falling mid-party.
Step 4: Test the Lights (Yes, Now!)
Before you hang anything, plug in your lights. Check for:
- Dead bulbs or sections
- Flickering or dimming
- Damaged cords or frayed insulation
Replace any faulty strands. Trust me, it’s better to find a dead bulb now than when you’re halfway up a ladder.
If you’re using multiple strings, test them together with a multi-outlet adapter. Make sure the total wattage doesn’t exceed your extension cord’s limit (usually 1875W for 15A cords).
For solar lights, charge them in full sun for a full day before testing. Some take longer to reach full capacity.
Step 5: Hang the Lights (The Fun Part)
Now, the magic begins. Start at the power source and work outward. This way, you avoid pulling on the plug end.
- Loop the light’s end hook or bulb socket around the first anchor.
- Stretch the string to the next hook, keeping it taut but not tight.
- Loop it around the hook and continue.
I like to leave a slight sag—about 2–3 inches between hooks. It gives a relaxed, natural look and prevents stress on the cord. But don’t go overboard. Too much sag looks sloppy and can collect water or debris.
For long runs, use a zip tie trick: attach a zip tie to the cord every 12 inches, then loop it around the anchor. It’s easier to adjust and reduces strain on the socket.
If your lights have built-in clips or loops, use them! They’re designed for this.
Warning: Don’t staple or nail into the cord. Even a small puncture can cause a short or fire. Only use staples on the plug end (if the manufacturer says it’s safe) or on wood with a staple guard.
Step 6: Manage the Power (No Tripping, Please)
Now, handle the plug and extension cord. This is where many people mess up.
- Use an outdoor-rated extension cord with a GFCI plug (ground fault circuit interrupter). It cuts power if there’s a short—critical for safety.
- Route the cord along a wall, under a deck, or through a conduit. Avoid high-traffic areas.
- Use cord covers or bury it under mulch (if temporary).
- Never daisy-chain more than three extension cords. It’s a fire hazard.
I once ran a cord across my patio. My dog stepped on it, tripped, and knocked over a wine glass. Not ideal. Now, I tuck cords under outdoor rugs or use cord clips to secure them to the fence.
If you’re using solar lights, place the panel where it gets full sun—no shade from trees or awnings. I like to mount the panel on a post or clip it to a gutter for maximum exposure.
Step 7: Add Finishing Touches (Make It Pop)
Now that the lights are up, let’s elevate the look:
- Use zip ties or clips to hide extra cord.
- Adjust the sag for even spacing.
- Add a dimmer or smart plug for mood control.
- Pair with lanterns, candles, or planters for depth.
I love using smart plugs with my lights. I can turn them on with a voice command or set a schedule. No more running outside to plug them in at sunset.
For a whimsical touch, wrap lights around tree trunks or drape them over a pergola. Just make sure they’re not touching dry leaves or branches—fire risk!
This final step is what turns a basic setup into a How to String Up Outdoor Patio Lights in 2026 Easy Guide success story.
Pro Tips & Common Mistakes to Avoid
After years of trial and error, here are my hard-earned insights:
- Buy extra lights. Always get 10–20% more than you think you need. You’ll use them for repairs or expansion.
- Use a timer. Set your lights to turn on at dusk and off at 10 PM. Saves energy and keeps neighbors happy.
- Inspect annually. Check for frayed cords, loose hooks, or water damage before each season.
- Label your cords. Use tags to identify which plug controls which set. Saves time during take-down.
- Don’t ignore local codes. Some areas require permits for permanent installations or outdoor outlets.
Common Mistake: Hanging lights too tight. It puts stress on the sockets and can pull hooks loose. A little sag is okay—and actually looks better.
Common Mistake: Using indoor lights outdoors. They’re not sealed against moisture. One rainstorm and they’re toast.
Common Mistake: Overloading circuits. Most outdoor outlets are on a 15-amp circuit. That’s about 1,800 watts. A single 100W string uses 10%—so plan accordingly.
I once ignored the sag rule. My lights looked like a suspension bridge. Not only did it look weird, but the tension pulled a hook out of the pergola. Oops.
Another time, I used indoor extension cords. They melted after a light drizzle. Lesson: outdoor gear is worth the extra cost.
For the How to String Up Outdoor Patio Lights in 2026 Easy Guide, remember: patience and planning beat speed every time.
FAQs About How to String Up Outdoor Patio Lights in 2026 Easy Guide
Q: Can I leave my string lights up year-round?
A: It depends. If they’re rated for all-season use and you live in a mild climate, yes. But in areas with heavy snow, ice, or extreme temps, I recommend taking them down. The cold can crack sockets, and snow can weigh down the wires. I store mine in a labeled bin with the hooks—makes spring setup a breeze.
Q: How do I hang lights on a concrete wall without drilling?
A: Use adhesive hooks rated for outdoor use (like Command Outdoor Strips). Or, try magnetic hooks if the wall has metal. For a no-damage option, run zip ties through a nearby fence or railing and attach the lights there. I’ve used this for renters—works great!
Q: What’s the best way to hang lights between trees?
A: Use a paracord or nylon rope (not metal wire). Tie it between the trees at the desired height, then clip the lights to the rope with zip ties or carabiners. Never nail into the tree. I once saw a tree die after years of wire girdling—heartbreaking.
Q: Can I connect multiple light strings?
A: Yes, but check the manufacturer’s limit. Most LED strings can connect 2–4 together. Never exceed the cord’s wattage rating. I use a multi-outlet adapter to power 3 strings from one outlet—keeps things organized.
Q: How do I prevent my lights from sagging?
A: Space hooks every 18–24 inches and leave a slight sag. For long runs, add a center support (like a T-post or pole). I’ve used a temporary post in the middle of a 30-foot span—looks clean and prevents droop.
Q: Are solar string lights worth it?
A: If you have good sun exposure, yes! They’re eco-friendly and save on electricity. But they’re less bright and may not last all night in winter. I use them for ambiance, not task lighting.
Q: What if my outlet is too far?
A: Use a longer extension cord or install an outdoor outlet. For off-grid setups, consider a portable power station (like a Jackery) or solar battery. I use a solar battery for my garden lights—no cords, no fuss.
Final Thoughts
Stringing up outdoor patio lights isn’t just about decoration—it’s about creating a space where memories happen. Whether it’s a family dinner, a quiet night under the stars, or a backyard movie, the right lighting sets the tone.
This How to String Up Outdoor Patio Lights in 2026 Easy Guide is your roadmap to a beautiful, safe, and long-lasting setup. Remember: plan your layout, choose the right hardware, test your lights, and manage power safely.
Start simple. You don’t need a million lights. Even a few strands can make a huge difference. And don’t stress about perfection—your space should feel lived-in, not like a Pinterest board.
So grab your tools, sketch your dream layout, and get started. Your patio (and your guests) will thank you. And when that first evening glow hits, you’ll know it was worth every minute.
Happy stringing!
“`

