Featured image for how to string white lights on outdoor trees
Image source: m.media-amazon.com
Transform your outdoor trees into stunning nighttime features by choosing durable, weather-resistant white LED lights designed for 2026’s advanced lighting standards. Wrap lights evenly from trunk to branches, securing them with insulated clips or zip ties to avoid damage and ensure a professional look. Always follow safety guidelines—use a sturdy ladder, check for frayed wires, and opt for low-voltage or solar-powered options for efficiency and peace of mind.
How to String White Lights on Outdoor Trees in 2026
Key Takeaways
- Plan your layout first: Sketch tree shape and spacing to ensure even light distribution.
- Use outdoor-rated lights: Always choose weatherproof, UL-listed LED strands for safety and durability.
- Start from the base: Wrap lights from trunk bottom upward in spiral for balanced coverage.
- Secure with insulated clips: Attach strands every 12–18″ to prevent sagging or damage.
- Test before finalizing: Power lights during installation to check for gaps or malfunctions.
- Minimize extension cords: Use one long cord with a GFCI outlet to reduce trip hazards.
- Remove after season: Store lights properly to extend lifespan and avoid weather damage.
Why This Matters / Understanding the Problem
There’s something magical about stepping into a backyard glowing with soft, white lights woven through tree branches. It feels like a scene from a holiday movie—or a quiet summer night made cozier by a warm, ambient glow.
But let’s be real: how to string white lights on outdoor trees in 2026 isn’t just about aesthetics. It’s about doing it right—safely, securely, and in a way that lasts through wind, rain, and seasons.
I’ve made my fair share of mistakes. Once, I used indoor lights on a maple tree. They lasted three days before flickering out like a dying firefly. Another time, I tangled myself in a web of cords and nearly needed a rescue mission from my neighbor (who still teases me about it).
So, I’ve learned. And now, I’m sharing what works—and what doesn’t—so you can avoid the pitfalls and create a lighting setup that’s beautiful, safe, and built to last.
Whether you’re prepping for the holidays, hosting a garden party, or just want year-round ambiance, knowing how to string white lights on outdoor trees in 2026 means you’re investing in a space that feels like home, every night.
What You Need
Before you climb a ladder or start wrapping branches, let’s gather the right gear. Trust me—using the wrong tools leads to frustration, wasted time, and sometimes, a trip to the hardware store at 8 p.m.
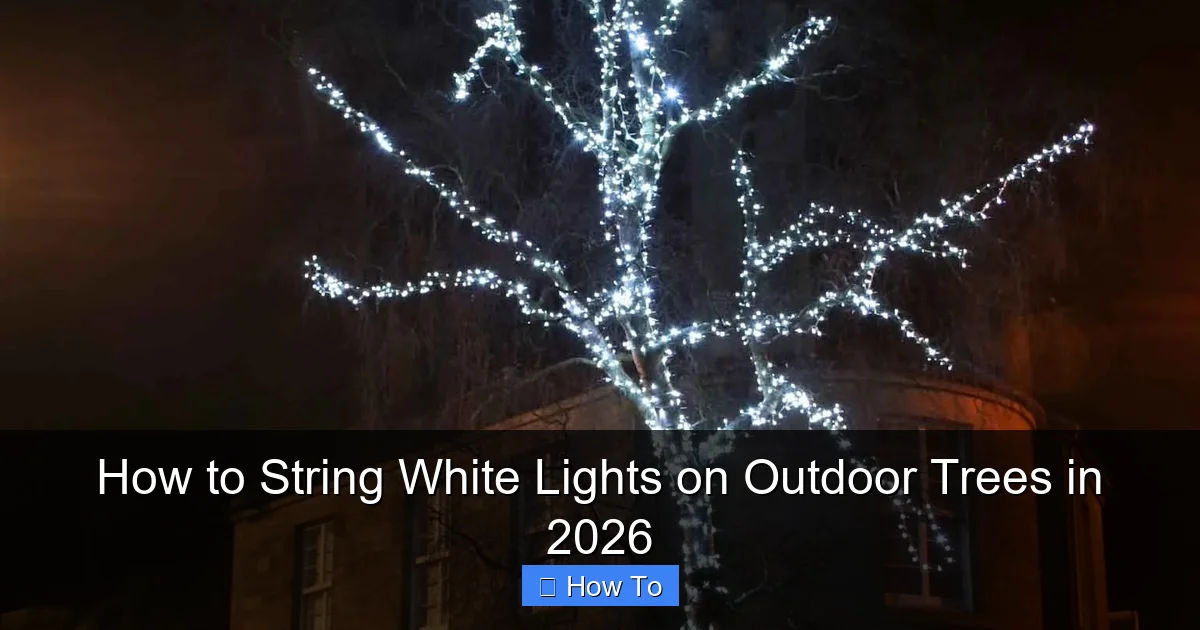
Visual guide about how to string white lights on outdoor trees
Image source: themprojects.com
Here’s your checklist for a successful lighting setup:
- Outdoor-rated LED string lights: Look for IP44 or higher waterproof rating. LEDs are energy-efficient, cool to the touch, and last longer than incandescents.
- Extension cords (outdoor-rated, GFCI-protected): Never use indoor cords outside. A GFCI outlet or adapter is a must for safety.
- Light clips or zip ties (UV-resistant): Avoid tape or nails—they damage bark and don’t hold well in rain.
- Ladder (sturdy, with rubber feet): Choose one that’s tall enough but stable. A 6-8 ft. step ladder works for most trees.
- Timer or smart plug: Automate on/off times to save energy and keep your lights on schedule.
- Gloves and safety glasses: Protect your hands and eyes from branches and tools.
- Measuring tape: To estimate how many feet of lights you’ll need.
- Tree-friendly fasteners (optional): Soft rubber tree straps or spiral tree guards prevent bark damage.
Pro Tip: Buy 10–20% more lights than you think you need. Trees are rarely perfectly symmetrical, and you’ll want extra for layering or fixing gaps.
Step-by-Step Guide to How to String White Lights on Outdoor Trees in 2026
Step 1: Choose the Right Lights and Plan Your Layout
Start by picking the right kind of lights. Not all “white” lights are the same. Some are warm white (2700K–3000K), which feels cozy and golden. Others are cool white (4000K–5000K), which looks more modern and bright.
For most outdoor trees, I recommend warm white LEDs—they mimic candlelight and blend beautifully with nature.
Now, measure the tree. Wrap a measuring tape around the trunk and up the main branches to estimate total length. Most string lights come in 25-ft, 50-ft, or 100-ft strands. If your tree is large, you might need multiple strands.
Here’s a quick formula:
- Trunk: Measure circumference x 1.5 (for spiral wrapping)
- Main branches: Add 2–3 ft per major limb
- Canopy: Estimate coverage—think of draping, not wrapping every twig
Plan your pattern. Popular options include:
- Spiral wrap: Start at the base and spiral up the trunk, then drape into branches.
- Canopy drape: Skip the trunk, focus on hanging lights from the canopy like a chandelier.
- Branch tracing: Wrap individual branches like a ribbon.
For how to string white lights on outdoor trees in 2026, I suggest starting with the spiral method—it’s classic, easy, and looks great from every angle.
Warning: Avoid overloading circuits. Most outdoor outlets handle 15 amps. A 100-ft LED strand uses about 0.5 amps. But if you’re running multiple trees, check total wattage.
Step 2: Prep the Tree and Work Area
Before you climb, clear the area. Remove toys, furniture, or debris under the tree. Trim any low-hanging or broken branches that could snag lights or make access hard.
Check the bark. If it’s thin or young, avoid anything that digs in—like nails or metal clips. Use soft rubber straps or zip ties wrapped loosely around the branch.
Now, plug in your lights and test them. Yes, do this before you start hanging. Nothing’s worse than finishing a 2-hour job only to find a dead section.
Set up your ladder on level ground. Use a spotter if you’re going high—safety first. And if you’re working near power lines, keep at least 10 ft away.
Pro tip: Lay your lights out on the ground first, in the order you’ll use them. This helps avoid tangles and makes the process smoother.
This prep step is crucial for how to string white lights on outdoor trees in 2026—it’s where most people rush and regret it later.
Step 3: Start at the Trunk (Spiral Method)
Begin at the base of the tree. Attach your first light clip or zip tie about 12–18 inches above the ground. Don’t go too low—you don’t want lights near soil or puddles.
Now, start wrapping the lights in a loose spiral up the trunk. Keep the spacing even—about 6–10 inches between wraps. Don’t pull tight. You want the lights to float, not strangle the tree.
As you go up, attach a clip or zip tie every 2–3 wraps to secure the strand. This prevents sagging and keeps the lights in place during wind.
If the trunk splits into multiple leaders (like a V-shape), wrap each one separately. Use a separate strand or a Y-connector to avoid overloading one line.
When you reach the top of the trunk (where major branches start), pause. This is where you’ll transition to the canopy.
Personal Insight: I once wrapped a trunk too tightly, and after a few weeks, the bark cracked. Now I use zip ties with a 1-inch gap—it’s enough to hold, but not harm.
Step 4: Drape Lights into the Canopy
Now for the fun part: bringing the lights into the branches.
From the top of the trunk, drape the strand outward into a major branch. Use a light clip or zip tie to anchor it every 2–3 feet. Let the lights hang in gentle curves—like a waterfall, not a stiff wire.
Work from the center out. Start with the largest branches, then fill in smaller ones. Aim for depth and layering, not full coverage. You want to see the tree’s shape, not a solid ball of light.
For a more natural look, vary the lengths. Let some strands hang lower, others stay higher. Think of it like painting with light.
If you’re using multiple strands, stagger the entry points. Don’t start all lights from the same spot—it creates a tangled mess.
And remember: how to string white lights on outdoor trees in 2026 isn’t about perfection. It’s about creating a feeling. A few gaps? That’s okay. In fact, it looks better.
Tip: Use a pole or broom handle to gently push lights into hard-to-reach spots. No need to risk a fall.
Step 5: Secure Connections and Manage Cords
Once all lights are hung, secure every connection point. Double-check zip ties and clips. Make sure no lights are dragging on the ground or near water sources.
Now, manage the cords. Run the main power cord along the ground to the nearest outlet. Use cord covers or bury it shallowly (if safe) to prevent tripping.
Use zip ties or clips to secure the cord to the base of the tree or a nearby post. Avoid running cords through high-traffic areas.
Connect all strands to a central hub—like a power strip with a timer. This keeps everything organized and lets you control all lights at once.
Plug into a GFCI outlet. If your outdoor outlet isn’t GFCI, use a GFCI adapter. It could save you from a shock or fire.
For how to string white lights on outdoor trees in 2026, this step is often overlooked—but it’s where safety and longevity start.
Step 6: Test, Adjust, and Automate
Turn on the lights. Step back and look from different angles. Does the glow feel balanced? Are there dark spots or overly bright areas?
Adjust as needed. Move a clip here, loosen a strand there. Add a few more lights if the canopy feels sparse.
Now, set your timer or smart plug. I recommend:
- On at sunset
- Off at 10 p.m. (or midnight for holidays)
This saves energy and prevents overheating. Plus, your neighbors won’t complain about all-night lighting.
If you use a smart plug, you can control lights via an app or voice assistant. Great for when you’re away and want to create a “lived-in” look.
Finally, do a final safety check. Ensure no wires are frayed, no lights are near metal gutters (risk of shorting), and all connections are dry.
Personal Story: I once left lights on 24/7. After two weeks, one strand started smelling like burning plastic. Now I always use a timer—peace of mind is worth it.
Step 7: Maintain and Store Properly
Your lights should last 5–10 years if you care for them. But that starts with seasonal maintenance.
After storms, check for loose strands or broken clips. Re-secure as needed.
When removing lights (after the season), do it gently. Don’t yank—unclip or cut zip ties carefully.
Coil each strand loosely. Use a figure-8 pattern to prevent tangles. Store in a dry, cool place—like a basement or closet. Never leave lights outside in winter.
Label each strand by length and color. This saves time next year when you’re setting up again.
For how to string white lights on outdoor trees in 2026, proper storage means you’ll spend less time troubleshooting and more time enjoying.
Pro Tips & Common Mistakes to Avoid
Over the years, I’ve learned a few things the hard way. Here are my top insights—so you don’t have to:
- Don’t use indoor lights outside. They’re not waterproof and can short-circuit in rain.
- Avoid metal clips on young trees. They can girdle the bark as the tree grows. Use plastic or rubber instead.
- Don’t wrap too tightly. Trees need to expand. Tight lights can damage bark and stunt growth.
- Skip the “full coverage” look. Less is more. Let the tree’s shape shine through.
- Never daisy-chain more than 3 strands. Most manufacturers say this, but people ignore it. It overloads circuits and causes failures.
- Use timers, not manual switches. You’ll forget to turn them off. A timer is a small investment for big savings.
- Check for recalls. Some light models have been recalled for fire risks. Check CPSC.gov before buying.
Pro Insight: I use a “light map” each year. I take a photo of the tree lit up, then mark where I placed clips. Next year, I just follow the map—saves so much time!
Another thing: wind is your enemy. If you live in a windy area, use extra clips and consider a canopy drape instead of tight wrapping. Wind can snap branches or pull out clips.
And one last thing—respect the tree. It’s not just a light post. It’s a living thing. Treat it gently, and it’ll reward you with beauty for years.
When done right, how to string white lights on outdoor trees in 2026 becomes a ritual—not a chore.
FAQs About How to String White Lights on Outdoor Trees in 2026
Can I leave outdoor tree lights up year-round?
You can, but I don’t recommend it. While outdoor-rated lights are weatherproof, UV exposure and temperature swings can shorten their lifespan. Plus, birds might nest in them, and snow/ice can damage cords.
I take mine down after the holidays and reinstall in spring for summer use. It keeps them fresh and reduces risk.
What’s the best height to start wrapping the trunk?
Start 12–18 inches above ground. This keeps lights out of standing water, avoids foot traffic, and gives a balanced look. If you have pets or kids, go higher—say, 24 inches—to keep cords out of reach.
Can I use solar lights on outdoor trees?
Yes, but with caveats. Solar lights work best in full sun. If your tree is shaded, they won’t charge well. Also, they’re usually dimmer and less reliable than plug-in lights.
I use solar for accent lighting—like on small bushes—but stick with plug-in for main trees.
How many lights do I need for a 20-ft tree?
For a 20-ft tree with a 15-ft spread, I’d use 2–3 strands of 100-ft lights. That gives you coverage on the trunk and major branches. Add more if you want a fuller look.
Remember: it’s better to have extra and hide the end than to run short.
Are smart lights worth it?
Absolutely. Smart plugs let you control lights from your phone. You can set schedules, turn them off remotely, or even sync with music. Some models work with Alexa or Google Home.
For how to string white lights on outdoor trees in 2026, smart tech makes setup and management way easier.
What if my tree has thick bark or rough texture?
No problem. Use zip ties with soft rubber sleeves or tree straps. Avoid anything sharp. If the bark is very rough, wrap a soft cloth around the branch first, then attach the light.
And never hammer nails into the tree—it invites disease.
Can I mix white lights with colored ones?
Sure! But keep it subtle. A few colored strands (like red or blue) can add interest, but too much feels chaotic. I like to use white as the base and add one accent color—say, blue for winter or gold for fall.
Just make sure all lights are outdoor-rated and compatible with your timer.
Final Thoughts
Learning how to string white lights on outdoor trees in 2026 isn’t just about decorating—it’s about creating moments. The quiet glow during a summer dinner. The warmth during a winter snowfall. The joy of kids seeing the yard “magically” lit up.
It’s a skill that blends practicality and poetry. And once you’ve done it right, it becomes second nature.
So grab your ladder, your warm white LEDs, and a timer. Start small if you’re new. One tree at a time. And remember: the goal isn’t perfection. It’s connection—to your space, your family, and the seasons.
When you’re done, step back. Turn off the house lights. Sit in a chair and just… look. That soft glow? That’s yours. Built with care, patience, and a little bit of magic.
Now go light up the night—safely, beautifully, and in a way that lasts.

