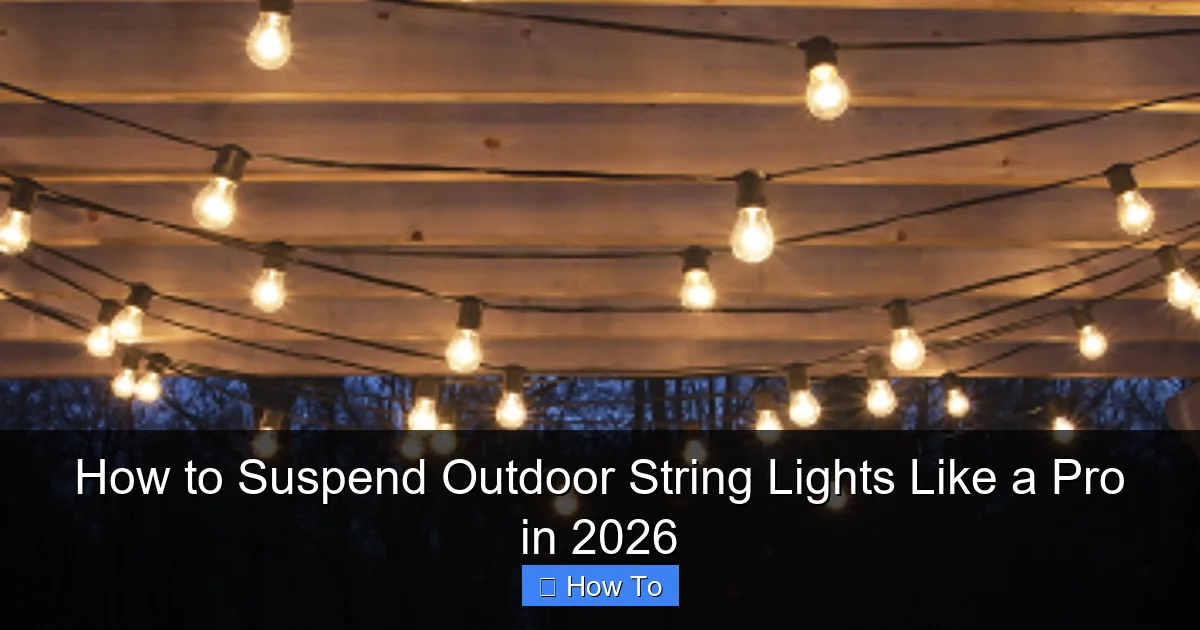
Featured image for how to suspend outdoor string lights
Image source: randolphsunoco.com
Master the art of suspending outdoor string lights safely and stylishly in 2026 with professional techniques that ensure durability and visual impact. Use sturdy mounting hardware, proper tension, and weather-resistant materials to create a seamless glow across patios, pergolas, or trees—no sagging, no hazards, just stunning ambiance.
“`html
How to Suspend Outdoor String Lights Like a Pro in 2026
Key Takeaways
- Plan your layout first: Measure space and mark anchor points for even light distribution.
- Use sturdy anchors: Install hooks or eye bolts into studs or solid structures for safety.
- Choose weatherproof lights: Ensure bulbs and cords are rated for outdoor use and durability.
- Maintain proper tension: Avoid sagging by using turnbuckles or zip ties for support.
- Hide cords creatively: Use conduit, paint, or landscaping to blend wires seamlessly.
- Test before finalizing: Power lights during installation to fix issues early.
Why This Matters / Understanding the Problem
Let’s be honest—nothing ruins a summer evening faster than a tangled mess of outdoor string lights that sag, droop, or snap in the wind. You want that warm, inviting glow over your patio or backyard, but instead, you’re left with a half-lit eyesore. I’ve been there. After my third failed attempt (and one very sad-looking tomato plant that got caught in the wires), I decided to figure out how to suspend outdoor string lights like a pro in 2026.
The goal isn’t just to hang lights—it’s to create a safe, durable, and visually pleasing setup that lasts through rain, wind, and seasons. Whether you’re hosting a BBQ, creating a romantic nook, or just want your yard to feel like a vacation spot, this guide walks you through every detail. From choosing the right materials to avoiding common pitfalls, you’ll learn how to suspend outdoor string lights like a pro in 2026—without needing a degree in engineering.
What You Need
Before you start, let’s gather your tools and materials. The good news? Most of this stuff is easy to find or already in your garage. Here’s what I used (and what worked best):
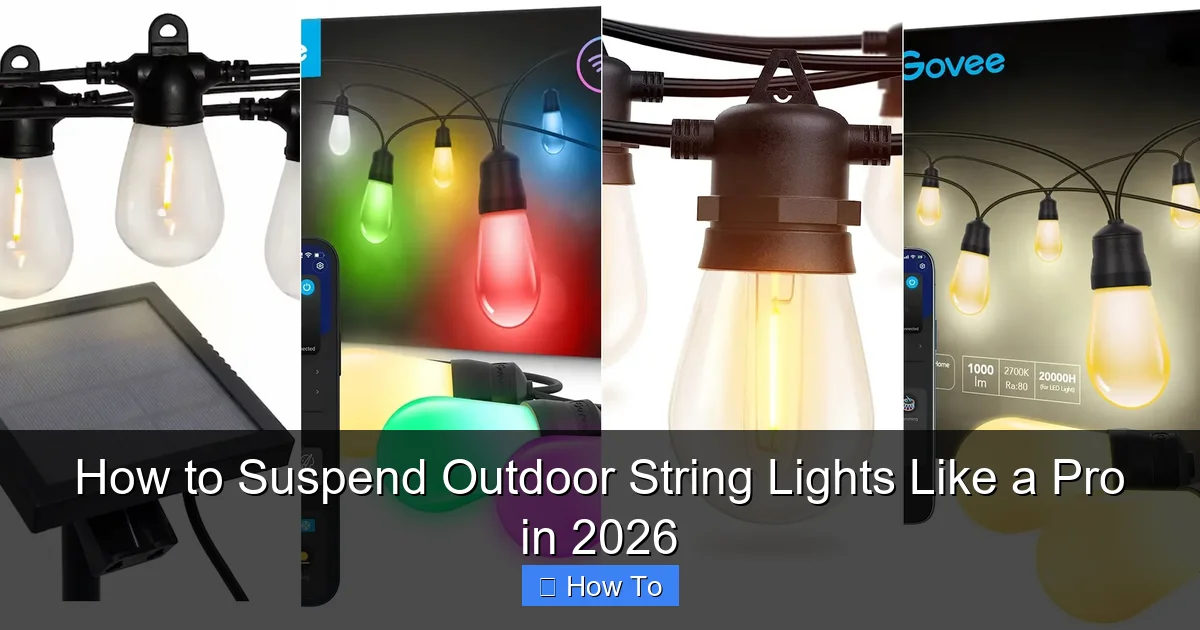
Visual guide about how to suspend outdoor string lights
Image source: popsci.com
- Outdoor-rated string lights (LED, weather-resistant, preferably with a heavy-duty cord)
- Support structures: Trees, posts, pergolas, or sturdy walls (avoid weak branches or flimsy fencing)
- Mounting hardware:
- Heavy-duty eye screws or screw hooks (stainless steel or coated for weather)
- Turnbuckles (for tensioning—trust me, they’re game-changers)
- Zip ties or outdoor-rated cable clips (for securing along surfaces)
- Measuring tape (to plan spacing and avoid sagging)
- Drill with appropriate bit (for wood or masonry, depending on surface)
- Level (optional but helpful for straight lines)
- Extension ladder (if working at height—safety first!)
- Work gloves (protect your hands from rough surfaces and sharp tools)
- String or mason line (for testing layout before drilling)
Pro Insight: I once skipped the turnbuckles and used plain hooks. Big mistake. The lights sagged after a month. Now, I swear by them. They let you adjust tension *after* installation—critical for how to suspend outdoor string lights like a pro in 2026.
Step-by-Step Guide to How to Suspend Outdoor String Lights Like a Pro in 2026
Step 1: Plan Your Layout (The Secret to Success)
Before you drill a single hole, take a walk around your space. Ask yourself: Where do I want the lights to shine? Over a dining table? Along a walkway? Around a seating area?
Use string or mason line to mock up the path. Tie it between trees, posts, or temporary stakes. Step back and look at it from different angles—especially at night if possible. This is your chance to tweak the design *before* committing to hardware.
For a professional look, aim for even spacing. I usually space my anchor points 6–8 feet apart. Too close? Overkill. Too far? Sagging city. Also, consider the drop—lights should be 7–8 feet above the ground to avoid head bumps and ensure good coverage.
Warning: Don’t run lights across high-traffic areas without proper height. I learned this when my nephew ran into one at dusk. Not fun. Always check local codes—some areas restrict overhead wiring.
Step 2: Choose the Right Support Points
Your anchor points are the backbone of your setup. Weak ones = droopy lights. Strong ones = lasting beauty.
For trees: Use wide, flat tree straps (never wire or rope—they damage bark). Wrap the strap around the trunk at least 6 inches above the ground and attach an eye screw. Choose healthy, thick trunks (at least 8 inches in diameter).
For wooden structures (fences, pergolas, decks): Use stainless steel eye screws or lag bolts. Drill pilot holes to prevent splitting. For pergolas, I like to mount hooks under the rafters to hide the hardware.
For masonry (brick, stucco, concrete): Use masonry anchors and screws. A hammer drill helps, but a regular drill with the right bit works too. Seal the hole with silicone caulk afterward to prevent water damage.
For metal posts or poles: Use U-bolts or heavy-duty zip ties. I once used zip ties on a galvanized steel post—worked perfectly for two years.
Pro Tip: Always test your anchor points by pulling on them *before* hanging lights. If it wiggles, reinforce it. Better safe than sorry.
Step 3: Install the Mounting Hardware
Now it’s time to get physical. Put on your gloves and grab your drill.
Start at one end. Drill pilot holes where you marked your layout (about 1/8 inch smaller than the screw). Insert the eye screw and tighten it firmly—don’t over-torque, but make sure it won’t spin.
If you’re using turnbuckles, attach one end to the eye screw and leave the other end free for now. This lets you adjust tension later.
Repeat for all anchor points. Use a level if you want perfectly straight lines (I do—because OCD, but also because it looks *way* better).
For long runs (over 20 feet), add a mid-span support. I use a small wooden post or a metal shepherd’s hook anchored into the ground. This prevents sagging and reduces strain on the end points.
Step 4: Run the Lights (The Fun Part)
Now, unroll your string lights. I always lay them out on the ground first to check for damage, loose bulbs, or tangles. Plug them in to test. Nothing worse than hanging a string that doesn’t work.
Start at the power source (usually an outdoor GFCI outlet). Plug in the first string and run it along your planned path. Use zip ties or cable clips to secure the cord to the support structure every 2–3 feet. This keeps it tidy and reduces wind movement.
For trees or irregular surfaces, I use outdoor-rated cable clips that grip bark or wood without nails. For straight runs on pergolas, I run the cord under the rafters and clip it every 18 inches.
When you reach the end, connect the next string (if needed). Most outdoor lights are end-to-end connectable—just follow the manufacturer’s limit (usually 3–5 strings max).
Once all strings are up, *don’t* plug them in yet. We’re not done.
Step 5: Add Tension with Turnbuckles (The Pro Move)
This is where most people skip—and where the magic happens. Turnbuckles let you tighten the lights *after* they’re hung, which compensates for cord stretch and prevents sagging.
Attach one end of the turnbuckle to the last eye screw and the other to the end of the light string (use a small carabiner or hook if needed). Then, slowly turn the center barrel to tighten. Go slowly—over-tightening can snap the cord or pull hardware loose.
I usually tighten until there’s a gentle 1–2 inch sag in the middle. That’s perfect. Any more, and it looks sloppy. Any less, and you risk damage in wind.
For long runs, add a turnbuckle every 15–20 feet. I once had a 30-foot span with no turnbuckles. After a month, it looked like a hammock. Never again.
Step 6: Secure and Protect the Cord
Even with tension, wind can whip the cord around. To prevent wear and tear:
- Use outdoor-rated zip ties every 2–3 feet on straight runs.
- On curves or corners, use flexible conduit or spiral wrap (I like the black plastic kind—looks clean).
- At connection points (where strings plug together), add a drip loop. This is a small loop of cord that dips below the plug. It prevents water from running down the cord into the socket. I make mine about 6 inches deep.
- Seal any outdoor outlets with weatherproof covers. I use a simple flip-top cover—keeps rain out and looks tidy.
Step 7: Test, Adjust, and Admire
Now, plug it in. Walk around. Look up. Does it look balanced? Is the glow even? Any flickering?
If a string flickers, unplug and check the connections. Loose plugs are the #1 cause. Tighten them, and re-test.
Adjust turnbuckles if needed. I usually do a final tweak after a week—cords settle, and you’ll see where it needs tightening.
Step back and take a photo. You just learned how to suspend outdoor string lights like a pro in 2026. And it shows.
Pro Tips & Common Mistakes to Avoid
Over the years, I’ve made every mistake in the book. Here’s what I wish I knew sooner:
- Use LED lights. They last longer, use less power, and don’t get hot. I switched from incandescent and haven’t looked back. Plus, they’re safer around trees and wood.
- Don’t skip the drip loop. I once ignored this. Rain dripped into the plug, caused a short, and melted the socket. Not cool.
- Avoid staples or nails. They can pierce the cord and cause shorts. Use clips or zip ties instead.
- Check local regulations. Some HOAs or cities have rules about overhead wiring. I got a warning once for running lights across a public sidewalk. Oops.
- Think about power. Use a GFCI outlet (ground fault circuit interrupter). It cuts power if there’s a fault—critical for safety. I run an outdoor-rated extension cord from the GFCI to the start of the lights.
- Plan for storage. If you take them down seasonally, coil them properly. I use a reel or figure-8 wrap to prevent tangles. Store in a dry place.
- Don’t overload circuits. Most outdoor outlets handle 15–20 amps. A string of 50 LED bulbs is about 0.5 amps. But add a heater, speaker, and fan? You’re pushing it. Use a power strip with surge protection if needed.
Personal Story: I once used regular zip ties on a metal pergola. After a year, UV exposure made them brittle and they snapped. Now I use UV-resistant ones—they last 3x longer. Small detail, big impact for how to suspend outdoor string lights like a pro in 2026.
FAQs About How to Suspend Outdoor String Lights Like a Pro in 2026
Can I run string lights across my yard without poles?
Yes—but only if you have sturdy anchor points. Trees, pergolas, or sturdy fences work. I’ve done 25-foot spans between two trees with turnbuckles. But if the points are weak, the lights will sag or pull loose. Always test your anchors first.
How high should I hang outdoor string lights?
7–8 feet above the ground is ideal. It’s high enough to avoid head bumps but low enough to feel cozy. For dining areas, I go 7.5 feet so the glow hits the table just right. For walkways, 8 feet keeps it safe.
Are solar string lights a good option?
They’re great for low-power, decorative use. But they’re not as bright or reliable as plug-in lights. I use solar for garden paths, but for main entertaining areas, I stick with plug-in. Also, solar lights need direct sunlight to charge—shady spots won’t work.
Can I leave outdoor string lights up all year?
It depends on your climate. In mild areas (like mine in Northern California), I leave them up year-round. But in harsh winters (snow, ice, salt), I take them down. The cold can crack cords, and ice buildup adds weight. If you leave them up, use heavy-duty, weatherproof lights and check them monthly.
How do I fix a sagging light string?
First, add a mid-span support (a post or hook). Then, use a turnbuckle to tighten the end. If it’s already sagging badly, unplug, remove it, and rehang with more supports. Prevention is easier than repair—plan spacing carefully.
What’s the best way to hide the power cord?
I run the cord along the ground and cover it with mulch or a low garden border. For patios, I use a cord cover (a rubber or plastic channel). Some people bury it, but that’s overkill unless it’s a permanent setup. Just make sure it’s not a tripping hazard.
Do I need a professional electrician?
Not for basic setups. But if you’re running wires underground, installing new outlets, or using high-wattage lights, call a pro. Safety first. For simple tree-to-tree or pergola runs, DIY is totally doable—and rewarding.
Final Thoughts
Learning how to suspend outdoor string lights like a pro in 2026 isn’t about fancy tools or expensive gear. It’s about planning, patience, and attention to detail. The difference between a DIY job and a pro look? It’s the turnbuckles, the drip loops, the even spacing—the little things that show you care.
Start small. Hang a 10-foot run between two trees. Get comfortable with the process. Then expand. Before you know it, your backyard will feel like a boutique hotel.
And when your guests say, “Wow, these lights are amazing,” you can smile and say, “Yeah, I learned how to suspend outdoor string lights like a pro in 2026.” Then pour yourself a drink and enjoy the glow.
Now go make your outdoor space shine—safely, beautifully, and for years to come.
“`

