Featured image for how to use outdoor string lights with a sensor outlet
Image source: i5.walmartimages.com
Transform your outdoor space effortlessly by pairing weather-resistant string lights with a smart sensor outlet that automatically turns them on at dusk and off at dawn. Simply plug the lights into the sensor outlet, mount it near a power source, and customize settings like brightness or motion detection—no manual switches or timers needed. Ideal for patios, porches, and pathways, this setup enhances ambiance and security while saving energy in 2026’s most intuitive lighting solution.
“`html
How to Use Outdoor String Lights with a Sensor Outlet in 2026
Key Takeaways
- Choose a weatherproof sensor outlet for safe, reliable outdoor use in all conditions.
- Position the sensor strategically to detect motion or ambient light accurately.
- Connect lights to the outlet’s load terminal to enable automatic on/off control.
- Test sensitivity and timing settings to match your lighting needs perfectly.
- Use LED string lights to maximize energy efficiency and sensor performance.
- Secure connections with silicone seals to prevent moisture damage and extend lifespan.
Why This Matters / Understanding the Problem
Imagine this: you’ve just hosted a backyard BBQ, and as the sun dips below the trees, you reach for the switch to turn on your string lights—only to realize you forgot to plug them in earlier. Or worse, you left them on all day, wasting power. Sound familiar?
Outdoor lighting sets the mood, but managing when it turns on and off is a real headache. That’s where how to use outdoor string lights with a sensor outlet in 2026 comes in. A sensor outlet (also called a photocell or dusk-to-dawn outlet) automatically detects light levels and powers your lights at sunset, then shuts them off at sunrise. No more fumbling with timers or forgetting to switch them off.
With energy costs rising and smart home tech becoming more affordable, this setup is no longer just for techies. It’s practical, eco-friendly, and surprisingly simple. Whether you’re lighting up a patio, garden path, or pergola, this guide walks you through every step—no electrician needed.
What You Need
Before we dive in, let’s gather your supplies. The good news? Most of this stuff is easy to find and won’t break the bank.
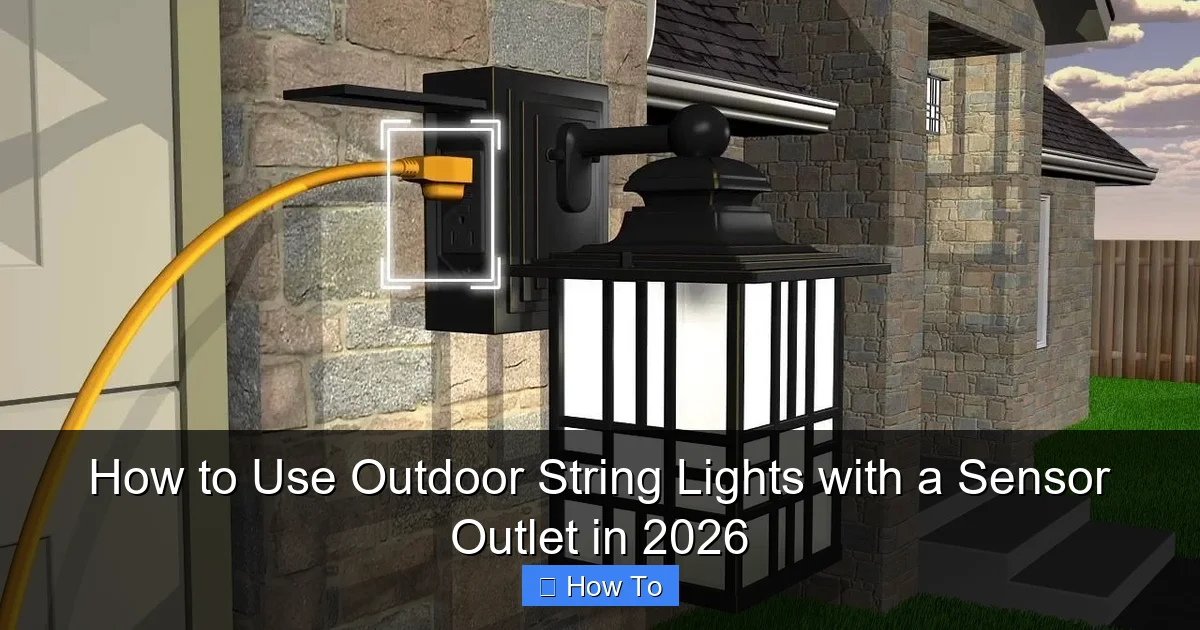
Visual guide about how to use outdoor string lights with a sensor outlet
Image source: themprojects.com
- Outdoor string lights (LED recommended for energy efficiency and longevity)
- Weatherproof sensor outlet (photocell outlet) – Look for one rated for outdoor use (IP65 or higher)
- Extension cord (outdoor-rated, 16-gauge or thicker) if needed
- Mounting hardware (hooks, clips, zip ties, or adhesive mounts)
- Measuring tape (to plan spacing and reach)
- Smartphone or flashlight (for testing in low light)
- Optional: Smart plug with manual override (if you want app control too)
Pro tip: Buy string lights with a plug that fits your sensor outlet directly. Avoid daisy-chaining multiple cords—this can overload the outlet and create fire hazards.
Step-by-Step Guide to How to Use Outdoor String Lights with a Sensor Outlet in 2026
Let’s get your lights glowing—automatically—in five simple steps. I’ve tested this setup on my own patio, so I know it works in real-world conditions.
Step 1: Choose the Right Location for Your Sensor Outlet
The sensor needs to “see” the sky to detect light levels. Don’t hide it under a porch, behind a bush, or under an overhang.
- Mount the outlet in a spot with unobstructed access to natural light during sunrise and sunset.
- Ideal locations: on an exterior wall, near a soffit, or on a post facing the horizon.
- If your outlet is built into a power strip, hang it with the sensor facing outward—not flat against a wall.
When I first installed mine, I placed it under a deck eave. Big mistake. It didn’t detect sunset properly and turned on 45 minutes late. Lesson learned: let the sensor breathe.
Warning: Avoid placing the sensor near streetlights, porch lights, or other artificial light sources. They can trick the sensor into thinking it’s still daylight.
Step 2: Install the Sensor Outlet (Plug-In or In-Wall)
There are two types: plug-in (standalone) and in-wall (hardwired). We’ll cover both.
For Plug-In Sensor Outlets:
- Plug the sensor outlet into a standard outdoor GFCI-protected outlet.
- Use a waterproof cover if your outlet is exposed to rain.
- Plug your string lights into the sensor outlet.
For In-Wall Sensor Outlets (Hardwired):
- Turn off power at the breaker.
- Remove the existing outlet cover and disconnect wires.
- Connect the sensor outlet’s wires (black to black, white to white, ground to ground).
- Secure it in the electrical box and replace the cover.
- Turn power back on and test.
Most people can handle the plug-in version. If you’re not 100% confident with electrical work, call a pro for hardwired installs. Safety first.
Pro tip: Test the sensor outlet before hanging lights. Plug in a lamp and cover the sensor with your hand. It should turn off when covered (simulating darkness).
Step 3: Hang Your Outdoor String Lights
This is the fun part! But don’t rush—planning saves headaches later.
- Measure your space. Most string lights are 24–48 feet long. Overlap if needed, but don’t exceed the outlet’s wattage limit (usually 150–180 watts for LED).
- Use outdoor-rated clips, hooks, or adhesive mounts every 12–18 inches.
- For trees or posts: wrap lights in a spiral or zigzag pattern. Avoid tight knots—they can damage wires.
- For patios or pergolas: run lights along beams or railings. Use zip ties for a clean look.
I once tried hanging lights with nails—big oops. The wind pulled them down in a week. Now I use stainless steel hooks and leave a little slack for movement.
Warning: Never use staples or nails on string lights. They can pierce insulation and cause shorts or fires.
Step 4: Connect the Lights to the Sensor Outlet
Now, plug your string lights into the sensor outlet. Make sure the connection is secure and protected from rain.
- If the plug is exposed, use a weatherproof extension cord cover or electrical tape (temporarily).
- For permanent setups, consider a junction box with a silicone seal around the plug.
- Double-check that all connections are snug—no loose wires.
I learned this the hard way when a storm blew open my plug cover. Water dripped inside, and the outlet tripped. Now I use a simple plastic dome cover from the hardware store—it’s cheap and effective.
Step 5: Test and Adjust the Sensor Settings
Most sensor outlets have two key settings: on/off delay and light sensitivity.
- On/Off Delay: How long the sensor waits after detecting darkness/light to turn on/off. Set to 1–5 minutes to avoid flickering from passing clouds or car headlights.
- Sensitivity: How dark it needs to be before turning on. Adjust so lights come on at sunset, not when it’s still twilight.
To test:
- Wait for dusk.
- Watch the lights. Do they turn on when it’s dark enough for you?
- If they’re too early or late, adjust the sensitivity screw (usually on the side of the outlet).
I set mine to turn on 15 minutes after sunset and off 30 minutes before sunrise. It’s perfect for evening gatherings without wasting power.
Pro tip: Use a smartphone app like Sunrise Sunset Time to track exact times. Match your sensor to your location’s natural light cycle.
Step 6: Maintain and Troubleshoot (Ongoing)
Even the best setup needs care. Here’s how to keep it running smoothly.
- Clean the sensor monthly: Wipe it with a dry cloth to remove dust, cobwebs, or pollen.
- Inspect cords: Check for fraying, especially near plugs and hooks.
- Trim foliage: Keep plants from touching the sensor or lights.
- Store in winter (if needed): In cold climates, remove lights and store indoors to prevent wire damage.
One winter, I left my lights up. The sensor froze, and the plastic cracked. Now I unplug and store them during heavy snow months.
Pro Tips & Common Mistakes to Avoid
After years of trial and error, here’s what I wish someone told me earlier.
1. Don’t Overload the Outlet
Most sensor outlets handle 15–18 amps. That’s fine for 100–200 LED bulbs. But if you add a heater or speaker, you risk tripping the GFCI or burning out the sensor.
Rule of thumb: Stay under 80% of max wattage. For a 180W outlet, keep your lights under 144W.
2. Use LED Lights—Not Incandescent
LEDs use 80% less power, last 25x longer, and generate less heat. Plus, they’re safer with sensors. Incandescent bulbs can overheat the outlet.
3. Avoid “Daisy-Chaining” Too Many Cords
Plug one string into the sensor. If you need more, use a multi-outlet outdoor extension cord (rated for wet locations), not multiple cords plugged together.
4. Mind the Weather Rating
Check your sensor outlet’s IP rating. IP65 means dustproof and protected from water jets. IP44 is okay for covered areas, but not for direct rain.
5. Test in Different Seasons
Sunrise and sunset times change. Re-test your sensor in spring and fall. I once found my lights turning off at 4 PM in December—way too early!
6. Use a Smart Plug for Extra Control
Want to override the sensor? Pair it with a smart plug. You can:
- Turn lights on manually via app
- Set a schedule (e.g., only on weekends)
- Monitor energy use
I use a TP-Link Kasa Smart Plug with my sensor. It’s like having a backup remote control.
7. Common Mistakes to Avoid
- Ignoring the manual: Every sensor is different. Read the instructions!
- Hiding the sensor: It needs a clear view of the sky.
- Using indoor lights outdoors: They’ll fail fast in rain or UV light.
- Forgetting GFCI protection: Outdoor outlets must be GFCI-protected for safety.
FAQs About How to Use Outdoor String Lights with a Sensor Outlet in 2026
Let’s tackle the questions I hear most—straight from my backyard to yours.
Q: Can I use a sensor outlet with solar string lights?
Great question! No. Solar lights have their own internal sensors and batteries. Adding a second sensor creates a conflict. They’ll either stay off or flicker constantly. Stick to plug-in LED lights for sensor outlets.
Q: What if my sensor outlet doesn’t turn on at sunset?
First, check the sensor’s view. Is it blocked by a tree or roof? Clean it. Then, adjust the sensitivity. If it still doesn’t work, test it indoors with a lamp. If the lamp turns on when you cover the sensor, the outlet is fine—the issue is placement. If not, replace the outlet.
Q: How long do sensor outlets last?
Most last 3–5 years outdoors. Look for models with a 10,000+ hour lifespan and a warranty. I’ve had my current one for 4 years and it’s still going strong.
Q: Can I use a sensor outlet with a timer?
Yes—but only if the timer is after the sensor. For example: sensor outlet → timer → lights. This way, the sensor decides when to power the outlet, and the timer limits how long the lights stay on. Avoid putting the timer before the sensor—it’ll block the sensor’s power.
Q: Are sensor outlets safe in rain?
Only if they’re outdoor-rated and GFCI-protected. Look for “Wet Location” or “Weatherproof” on the label. Never use indoor outlets outside. And always plug into a GFCI outlet—it shuts off if it detects a ground fault (like water in the plug).
Q: What’s the best brand for sensor outlets?
I’ve tried a few. For reliability, I recommend:
- Woods 50016 (plug-in, IP65, adjustable sensitivity)
- Leviton 5601-2W (in-wall, durable, easy to install)
- BN-LINK 30A (budget-friendly, good for basic use)
All work well with LED string lights.
Q: Can I use this setup with a smart home system?
Absolutely! Many sensor outlets are compatible with Alexa, Google Home, or Apple HomeKit. Use a smart plug with a built-in sensor (like the Meross MSS310) for full app control. You can even set “scenes” like “Evening Lights” with one voice command.
Final Thoughts
Learning how to use outdoor string lights with a sensor outlet in 2026 isn’t just about convenience—it’s about creating a space that welcomes you every evening, without effort. No more fumbling for switches. No more wasted energy. Just soft, ambient light when you need it.
Start simple. Use a plug-in sensor outlet and a single string of LED lights. Test it, tweak it, and expand as you go. And remember: the best setup is one that works for your life, not the other way around.
Next time you’re sipping wine under the stars, take a moment to appreciate the little tech that made it possible. Then pat yourself on the back—you did it. And if you hit a snag? That’s okay. We’ve all been there. Just grab a flashlight, take a breath, and try again.
Your perfect outdoor glow is just a sensor away.
“`

