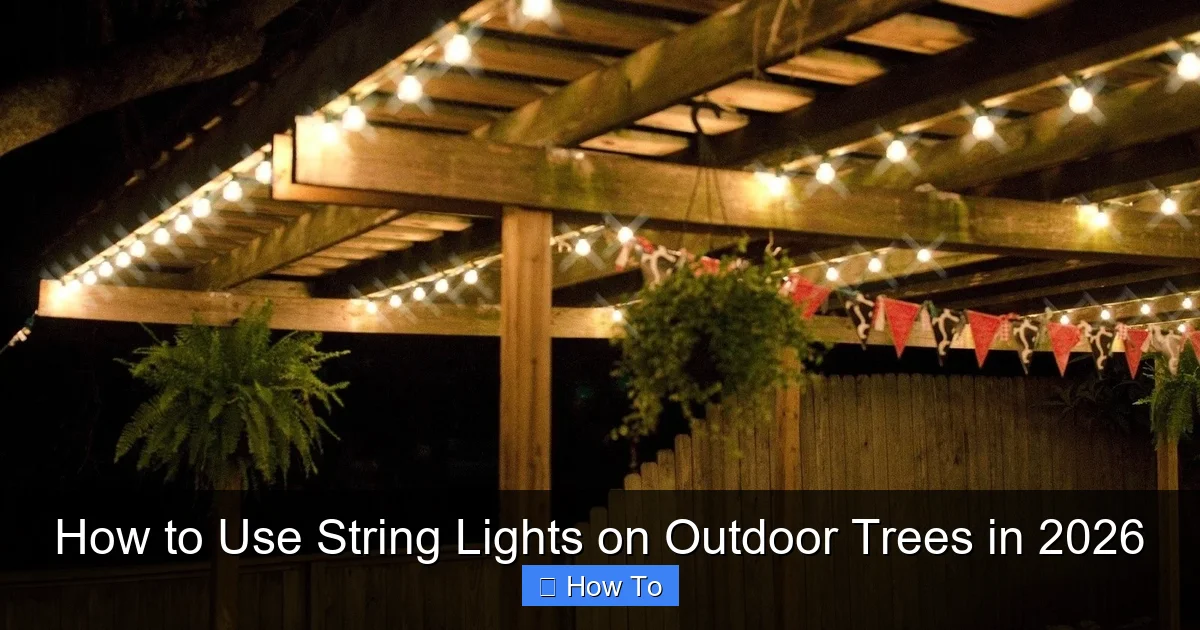
Featured image for how to use string lights on outdoor trees
Image source: randolphsunoco.com
Transform your outdoor space in 2026 by wrapping string lights around tree trunks and branches to create a magical, inviting ambiance. Use durable, weather-resistant LED lights and secure them with insulated clips or zip ties to protect tree bark and ensure safety. For maximum impact, layer lights from the trunk outward, highlighting natural shapes and casting enchanting shadows after dark.
How to Use String Lights on Outdoor Trees in 2026
Key Takeaways
- Plan your layout first: Sketch tree shape and light placement for balanced coverage.
- Use outdoor-rated lights: Ensure IP44+ waterproofing and UV-resistant materials for durability.
- Wrap strategically: Spiral trunks and branches evenly, avoiding tight tension on growth points.
- Secure with clips, not nails: Use removable hooks or zip ties to protect tree bark.
- Time with a smart plug: Automate on/off schedules for energy efficiency and convenience.
- Check connections regularly: Inspect for wear, moisture, or loose wires post-installation.
Why This Matters / Understanding the Problem
Picture this: It’s a warm summer evening. The sun has dipped below the horizon, and you’re sitting on your porch, sipping iced tea. The air is still, and the world feels quiet. Then, you flip a switch—and suddenly, your backyard transforms. Twinkling lights dance through the leaves of your favorite oak, maple, or palm, casting a soft, golden glow. It’s magical. But here’s the catch: if you’ve ever tried to how to use string lights on outdoor trees in 2026, you know it’s not always as easy as it looks.
Maybe you’ve tangled lights in the branches, only to find half of them don’t work when you plug them in. Or worse—your lights sagged after a week, or worse, a storm blew them down. Or perhaps you’ve stood at the hardware store, overwhelmed by choices: LED? Solar? Battery-powered? Warm white? Multicolor? And how many strands do you even need?
The truth is, lighting up outdoor trees isn’t just about aesthetics. It’s about creating ambiance, extending your living space, and adding a touch of wonder to your yard. But to do it right—without frustration, wasted money, or safety risks—you need a clear, practical plan. That’s exactly what we’re covering here.
In this guide, I’ll walk you through how to use string lights on outdoor trees in 2026 the smart, safe, and stunning way. No fluff. No vague advice. Just real tips from someone who’s done it (and messed up) more times than I care to admit. Whether you’re lighting up a single tree for a party or transforming your entire yard into a fairy-tale forest, this is your go-to guide.
“The goal isn’t just to light the tree—it’s to make it feel like it’s glowing from within, without looking like a tangled mess of cords.”
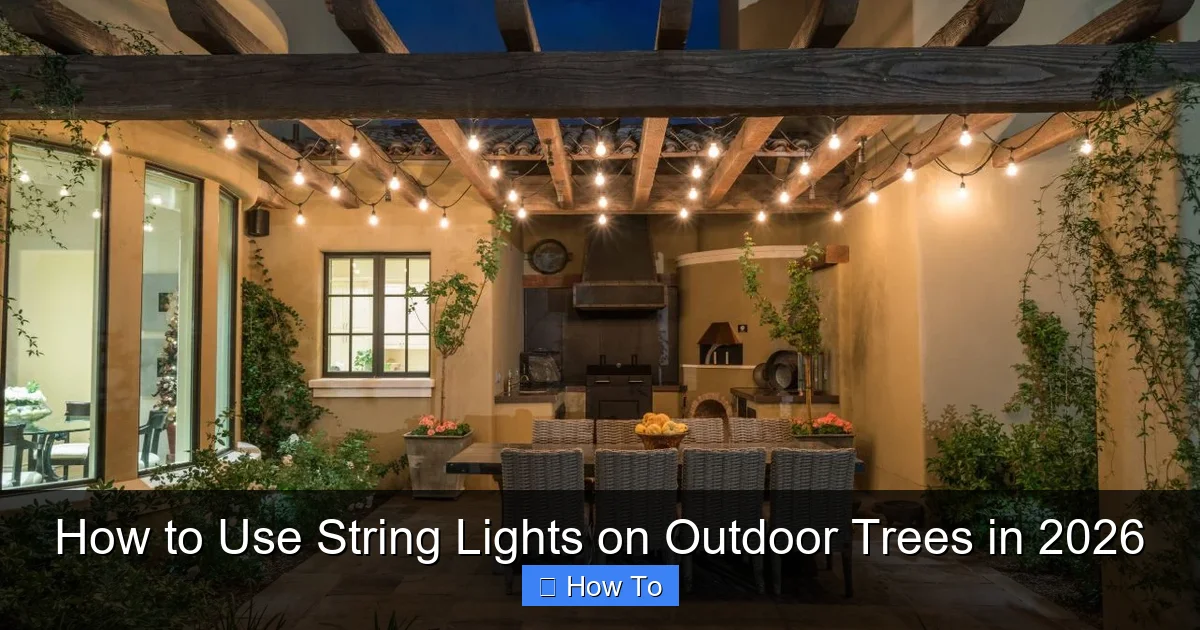
What You Need
Before we dive in, let’s get your toolkit ready. The good news? You don’t need anything fancy. But you *do* need the right gear to avoid headaches later.
Visual guide about how to use string lights on outdoor trees
Image source: cdn.homedit.com
- Outdoor-rated string lights: Look for IP44 or higher waterproof rating. LED is best—low heat, energy-efficient, and long-lasting.
- Extension cords (outdoor-rated): Use ones with GFCI protection. Never daisy-chain more than 3 cords.
- Light clips or outdoor adhesive hooks: Avoid nails or staples—they damage bark and can create entry points for pests.
- Measuring tape: To estimate how much lighting you’ll need.
- Timer or smart plug: For automatic on/off. Bonus: saves energy and prevents burnout.
- Zip ties (optional): For securing loose wires or bundling strands.
- Ladder (if needed): A stable, non-conductive fiberglass ladder for taller trees.
- Gloves: Protect your hands from branches and rough bark.
- Power source nearby: Ideally within 10–15 feet of the tree. If not, plan for a weatherproof extension cord.
Now, a quick note on types of lights:
- LED string lights: Best for most people. Cool to the touch, last 25,000+ hours, and use 80% less energy than incandescent.
- Solar-powered lights: Great if you have full sun during the day. But they’re less reliable in winter or shaded areas.
- Plug-in lights with remote control: Ideal for hard-to-reach trees or frequent on/off needs.
“I learned the hard way: never buy ‘indoor/outdoor’ lights unless they’re clearly labeled for *outdoor* use. One rainy night, my indoor-rated lights shorted out—and took my extension cord with them.”
Step-by-Step Guide to How to Use String Lights on Outdoor Trees in 2026
Step 1: Choose the Right Tree and Lighting Layout
Not all trees are created equal for lighting. Start by asking: What’s the goal? Do you want to highlight the trunk? Frame the canopy? Create a “glow ball” effect? Your answer will shape your layout.
For most people, the best approach is a vertical wrap—starting at the base and spiraling up the trunk to the lower branches. This creates depth and draws the eye upward. For wide-canopied trees (like oaks), consider branch draping—gently hanging lights across major limbs.
Here’s how to plan:
- Measure the trunk circumference and height to the lowest branches. Multiply by 2–3 for a full spiral.
- For draping, measure branch span (from trunk to tip) and add 20% for sag.
- Sketch a simple diagram. Label where each strand starts/ends. This saves time later.
Pro tip: Use painter’s tape to mark light positions *before* hanging. Step back and check from different angles. Adjust if it feels too sparse or overwhelming.
“I once hung lights on my maple without measuring. By the time I reached the second branch, I was out of lights—and had to buy more mid-project. Always measure first.”
Step 2: Test Your Lights and Power Source
Before climbing a ladder, plug in your lights—*all of them*. Check for:
- Dead bulbs (LEDs rarely fail, but it happens)
- Frayed wires or damaged insulation
- Flickering or dim sections
If you’re using multiple strands, plug them together and test. Some lights are “end-to-end” (one plug powers multiple strands), while others need separate power sources.
Now, test your power setup:
- Plug the first strand into the timer/smart plug.
- Turn it on. Confirm all lights work.
- Check that the cord reaches the tree base without tension.
Never run cords underfoot or across walkways without protection. If you must, use a cord cover or bury it under mulch (but only if it’s rated for burial).
“A friend once skipped testing. His lights worked—until a squirrel chewed the cord. The whole display went dark. Test early, test often.”
Step 3: Install Clips or Hooks (No Nails!)
This is where many people go wrong. Nails, staples, or screws damage tree bark, which can lead to rot, pests, or disease. Instead, use:
- Outdoor light clips: Designed for tree bark. They grip without piercing.
- Adhesive hooks: Use only on smooth-barked trees (like beech or birch). Avoid on rough or peeling bark.
- Velcro tree straps: Reusable and gentle. Great for thin or young trees.
Install clips every 8–12 inches along your planned path. For vertical wraps, space them evenly around the trunk. For draping, place hooks at branch joints.
Key rule: Never wrap lights directly around bark. The pressure can girdle the tree, cutting off nutrient flow. Always use a clip or hook as a buffer.
“I used zip ties once—big mistake. They tightened over time and cut into the bark. Now I only use clips. Trees are living things, not poles.”
Step 4: Hang the Lights (The Right Way)
Now for the fun part. Start at the base and work upward. For vertical wraps:
- Plug the first strand into the timer.
- Attach the first bulb (or socket) to the clip at the base.
- Wrap the strand around the trunk, moving upward. Keep tension loose—no pulling tight.
- Every 8–12 inches, secure the next bulb/socket to a clip.
- When you reach the end of the strand, plug in the next one (if needed).
- Continue until you hit the lowest branches.
For branch draping:
- Start at a central branch joint.
- Loop the strand gently across the branch, securing at intervals with clips.
- Let it sag slightly—about 6–8 inches—for a soft, natural look.
- Use a second strand for parallel draping (like “curtains” of light).
For tall trees, use a ladder—but never work alone. Have someone spot you. And always keep one hand on the ladder.
“I once tried to hang lights from a ladder while my dog barked at squirrels. Not my finest moment. Safety first—always.”
Step 5: Manage Cords and Avoid Tangles
This is where most installations go from “magical” to “messy.” Loose cords are tripping hazards, and tangled wires look unkempt.
Here’s how to fix it:
- Bundle extra cord with zip ties or Velcro straps. Hang it on a branch or clip it to the trunk.
- Use cord clips to guide wires along the trunk or fence.
- Hide the main cord behind mulch, rocks, or a plant. Or run it under a deck.
- For multiple trees, use a “hub” system: run one main cord to a central timer, then branch out to each tree.
Never let cords drape on the ground where kids or pets can chew them. And avoid running them over sharp edges (like metal fence posts).
“My first setup looked like a spiderweb. Now I use a ‘cord tree’—a small stake with hooks to organize wires. Game-changer.”
Step 6: Set a Timer or Smart Plug
You don’t want to run outside every night to turn lights on/off. A timer is a must.
- Set it for 5–6 hours—usually from dusk to midnight.
- For holidays, use a smart plug (like Kasa or TP-Link). Control lights from your phone.
- Use a sunset-to-sunrise sensor for automatic on/off (no programming needed).
Pro tip: Test the timer *before* finalizing your setup. Make sure it turns on at the right time and doesn’t flicker.
“I forgot to set my timer once. The lights stayed on all night. Woke up to a dead battery and a very confused squirrel.”
Step 7: Weatherproof and Maintain
Your lights are up—but the work isn’t over. Outdoor lighting needs care.
- Check monthly: Look for loose clips, frayed wires, or sagging strands.
- Trim branches that grow into the lights. Use clean, sharp tools.
- Clean bulbs with a dry cloth if dust builds up.
- Winter prep: In freezing climates, remove lights after the season. Store in a dry place.
For permanent setups (like year-round ambiance), use commercial-grade LED lights with UV-resistant cords. They cost more but last 5–10 years.
“I left my lights up all winter. The cold cracked the plastic sockets. Lesson learned: even ‘all-weather’ lights need care.”
Pro Tips & Common Mistakes to Avoid
After 15+ years of lighting trees, I’ve made (and learned from) every mistake. Here’s what you need to know:
Pro Tips
- Use 2700K–3000K color temperature: Warm white mimics candlelight. Avoid cool white (4000K+)—it feels sterile.
- Mix light types: Combine string lights with fairy lights or net lights for texture. Example: spiral string lights on the trunk, net lights on lower branches.
- Create depth: Hang lights at different levels. Lower strands glow brighter; upper ones add sparkle.
- Use a dimmer: Some LED lights are dimmable. Perfect for mood lighting.
- Light the ground too: Place solar path lights under the tree to enhance the glow.
Common Mistakes
- Overloading circuits: Never connect more than 3–5 standard strands. Check the manufacturer’s limit.
- Ignoring voltage drop: Long runs of cheap lights can dim at the end. Use thicker-gauge cords or shorter strands.
- Hanging in high-wind areas: Secure lights to strong, stable branches. Avoid thin or dead limbs.
- Skipping GFCI: Always use a GFCI outlet or extension cord. Prevents shocks and fire risks.
- Forgetting the “off” time: Lights left on all night waste energy and attract bugs. Use a timer.
“I once used 10 strands on one tree. The lights dimmed at the top, and the circuit tripped. Now I follow the ‘3-strand rule’—and it looks better anyway.”
FAQs About How to Use String Lights on Outdoor Trees in 2026
Q: Can I leave string lights on outdoor trees year-round?
It depends. If you live in a mild climate and use commercial-grade, weatherproof lights, yes—with maintenance. But in areas with freezing temps, snow, or high UV, remove them after the season. Even “all-weather” lights degrade over time. For how to use string lights on outdoor trees in 2026 long-term, invest in durable, UV-resistant models and check them monthly.
Q: How many strands do I need for my tree?
Measure first. For a vertical wrap: (trunk circumference x height) / 3. For draping: (branch length x 1.2) per strand. A 10-foot-tall tree with a 3-foot circumference? Start with 2–3 strands. Add more if it feels sparse. Remember: you can always add, but removing tangled lights is a pain.
Q: Are solar lights good for tall trees?
Not usually. Solar lights need direct sunlight to charge. If your tree is shaded, they’ll be dim or not work at all. For how to use string lights on outdoor trees in 2026 in shaded areas, stick to plug-in or battery-powered lights. Or use solar lights on lower branches that get sun.
Q: How do I avoid damaging the tree?
Never use nails, staples, or tight zip ties. Use tree-friendly clips, adhesive hooks, or Velcro straps. Keep lights off bark—use clips as a buffer. And avoid wrapping too tightly. Trees grow; lights should move with them.
Q: What if my lights stop working mid-season?
Check the basics: Is the timer on? Is the cord plugged in? Are bulbs loose? If all looks good, test the strand indoors. If it works, the issue is likely the cord or outlet. If not, replace the strand. Keep spare bulbs and a multimeter handy.
Q: Can I use smart lights with voice control?
Absolutely. Brands like Philips Hue, LIFX, and Nanoleaf offer outdoor-rated smart lights. Pair them with Alexa, Google Home, or Siri. You can say, “Hey Google, turn on the tree lights,” or schedule scenes. Just ensure your Wi-Fi reaches the tree.
Q: How do I remove lights without breaking them?
Start at the top. Unplug the strand, then gently unclip each bulb. Avoid yanking. Store lights in their original boxes or a plastic bin. Wrap cords loosely—no tight loops. Label boxes by tree or season.
Final Thoughts
Lighting up your outdoor trees isn’t just about decoration—it’s about creating a space that feels like *you*. A place where stories are shared, stars are admired, and ordinary evenings feel a little more special.
When you how to use string lights on outdoor trees in 2026, remember: it’s not about perfection. It’s about intention. Use the right tools, respect the tree, and don’t rush. A well-lit tree should look effortless—not like a project gone wrong.
Start small. Try one tree first. Use the steps here—measure, test, clip, hang, time, and maintain. Then step back. Watch the lights come on. Listen to the crickets. And smile.
And if you ever feel overwhelmed? Just remember: every expert was once a beginner with tangled lights and a ladder. You’ve got this.
Now go light up your world—one tree at a time.

