Featured image for how to use string lights outdoor
Image source: blitsy.com
Transform your outdoor space in 2026 with weather-resistant, energy-efficient string lights that elevate patios, gardens, and pathways with ease. Choose smart, solar-powered, or plug-in options with secure mounting techniques to ensure safety, style, and long-lasting ambiance all season long.
“`html
How to Use String Lights Outdoor in 2026 Ultimate Guide
Key Takeaways
- Plan your layout first: Map light placement for balanced, efficient coverage.
- Choose weatherproof lights: Opt for IP65-rated or higher for durability.
- Use smart controls: Automate on/off times and brightness via apps.
- Secure lights safely: Use clips or hooks to avoid damaging surfaces.
- Layer lighting effects: Combine string lights with spotlights for depth.
- Maintain seasonally: Clean and inspect lights to ensure long-term performance.
Why This Matters / Understanding the Problem
Remember that summer night when you sat on your porch, sipping tea, and the soft glow of string lights made everything feel magical? That’s the power of outdoor lighting. But here’s the catch: most people either overdo it with blinding LEDs or give up after their first tangled mess.
Using string lights outdoors isn’t just about hanging bulbs. It’s about creating a mood, extending your living space, and making memories. Yet, without the right approach, you risk short circuits, drooping wires, or a look that screams “college dorm” instead of “cozy retreat.”
This How to Use String Lights Outdoor in 2026 Ultimate Guide tackles those pain points. Whether you’re lighting up a patio, garden, or wedding venue, we’ll walk you through a system that’s safe, stylish, and built to last—even through 2026’s unpredictable weather.
We’ll cover everything from choosing the right lights to avoiding common pitfalls (like that one time I fried my entire setup with a cheap adapter). Let’s turn your outdoor space into a glowing oasis—without the stress.
What You Need
Before you start, gather your tools and materials. Think of this like prepping for a weekend project—having everything ready saves time and frustration.
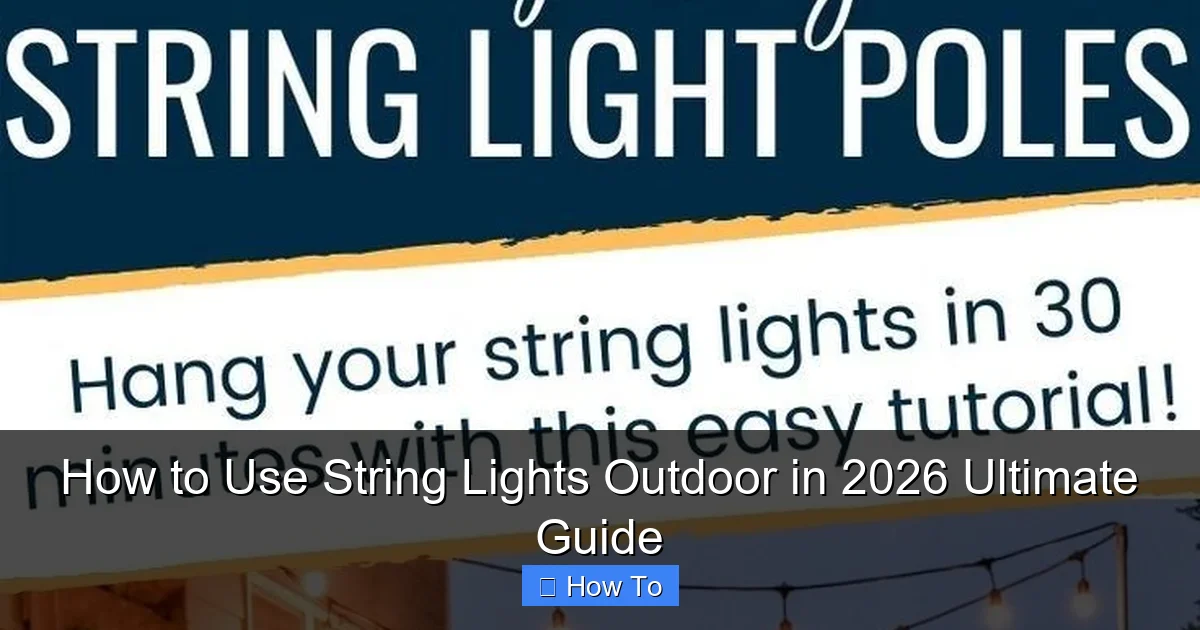
Visual guide about how to use string lights outdoor
Image source: i.pinimg.com
- String lights (LED, solar, or plug-in): LED is best for durability and energy efficiency. Solar works if you have shade-free zones. Plug-in is ideal for permanent setups.
- Measuring tape: Measure your space to avoid buying too few or too many strands.
- Extension cords (outdoor-rated, GFCI-protected): These prevent shocks and fires. Never use indoor cords outside.
- Hanging hardware: Options include:
- Outdoor-rated zip ties (for temporary setups)
- Eye hooks or screw-in hooks (for permanent installations)
- Adhesive hooks (for smooth surfaces, but test first!)
- Timer or smart plug: Saves energy and automates your lights.
- Weatherproof connectors (if connecting multiple strands): Prevents moisture damage.
- Ladder or step stool: For reaching high spots.
- Optional but helpful: Light clips, zip tie mounts, or a light strand tester.
Pro tip: Buy 10–15% more lights than you think you need. You’ll thank yourself when you hit a corner or need extra coverage.
Step-by-Step Guide to How to Use String Lights Outdoor in 2026 Ultimate Guide
Step 1: Plan Your Layout (The Foundation of a Great Setup)
Start with a sketch. Use chalk, painter’s tape, or even string to map where lights will go. This prevents “Oh no, I bought the wrong length!” moments.
Ask yourself: What’s the vibe? Do you want a cozy canopy over a dining table? A whimsical path through your garden? A dramatic arch at your entryway? Your goal shapes your layout.
- For patios: Hang lights overhead in a grid or zigzag pattern. Leave 12–18 inches between strands for even glow.
- For trees: Wrap lights around trunks or drape from branches. Use zip ties to secure, but avoid tight pressure.
- For railings or fences: Run lights horizontally or vertically. Use adhesive clips for a clean look.
Warning: Never drape lights over power lines or near flammable materials (like dry leaves or wooden structures). Safety first!
Step 2: Measure and Buy the Right Lights
Measure your space twice. For a 10-foot patio, you’ll need at least 12–15 feet of lights to account for sag and connections.
Choose lights based on your needs:
- LED lights: Energy-efficient, long-lasting (up to 50,000 hours), and cool to the touch. Look for IP65 or higher for water resistance.
- Solar lights: Eco-friendly but need 6+ hours of direct sunlight. Great for remote areas.
- Plug-in lights: Brightest and most reliable. Use with a timer for convenience.
Check the bulb spacing (6–12 inches apart is ideal for ambiance) and strand length (10–25 feet per strand to avoid voltage drop).
Pro tip: Buy lights with replaceable bulbs. If one burns out, you don’t lose the whole strand.
Step 3: Install Hanging Hardware (The Hidden Hero)
Your lights are only as strong as their anchors. Use the right hardware for your surface:
- Wood or vinyl siding: Screw in eye hooks or use zip tie mounts. Space them 2–3 feet apart for stability.
- Concrete or brick: Use masonry anchors or adhesive hooks (test with a small piece first).
- Metal railings: Magnetic clips or zip ties work well.
- Trees: Use soft zip ties or light clips. Avoid nails or wire that can harm bark.
For permanent setups, drill pilot holes first. This prevents cracking and makes installation smoother.
Warning: Never use staples or nails to hang lights. They can pierce wires and cause shorts or fires.
Step 4: Hang the Lights (The Fun Part!)
Start at the power source. This reduces cord clutter and makes troubleshooting easier.
- Attach the first strand to your starting point (e.g., an eye hook).
- Let the strand sag slightly (1–2 inches per 3 feet). This prevents tension on the wires.
- Secure each end with a hook or clip. For trees, loop lights around branches like a garland.
- Connect additional strands using weatherproof connectors. Don’t exceed the manufacturer’s recommended number of connected strands (usually 2–5).
For a grid pattern, run lights parallel, then perpendicular. For a zigzag, alternate hooks at different heights.
Pro tip: Use a light strand tester before hanging. Fix any issues now, not when you’re 10 feet up a ladder!
Step 5: Power and Protect (The Safety Net)
Use an outdoor-rated, GFCI-protected extension cord. Plug it into a GFCI outlet (or use a GFCI adapter). This cuts power instantly if there’s a short.
- Route cords along walls or railings. Avoid high-traffic areas.
- Use cord clips or zip ties to keep cords tidy.
- For solar lights, position the panel in direct sunlight.
Plug in the lights and test. If they don’t work, check connections and the outlet.
Warning: Never leave cords exposed on the ground. Use conduit or bury them in shallow trenches (with waterproof connectors).
Step 6: Automate and Customize (The Smart Upgrade)
Take your setup to the next level with automation:
- Timer: Turns lights on/off at set times. No more forgetting to switch them off.
- Smart plug: Control lights via an app or voice assistant (Alexa, Google Home).
- Dimmer: Adjust brightness for different moods (romantic dinner vs. party mode).
For solar lights, use a timer to conserve battery on cloudy days.
Step 7: Maintain and Store (The Long Game)
Outdoor lights last longer with care:
- Seasonal maintenance: Check connections, tighten hardware, and clean bulbs with a dry cloth.
- Storage: Coil lights around a cardboard tube or reel. Store in a dry place.
- Winter care: Remove lights if your area gets heavy snow or ice. For permanent setups, use heavy-duty, all-weather lights.
Inspect lights annually for frayed wires or water damage. Replace damaged strands promptly.
Pro Tips & Common Mistakes to Avoid
After years of trial and error (and one memorable fire incident), here’s what I’ve learned:
- Use a light meter: Test brightness before buying. Some “warm white” lights are actually blinding.
- Mix and match: Combine string lights with lanterns or fairy lights for depth.
- Embrace asymmetry: A perfectly straight line looks artificial. Let some strands drape naturally.
- Layer lighting: Pair string lights with path lights or spotlights for a dynamic look.
Common mistake #1: Overloading circuits. Most outdoor outlets can handle 1,800 watts. A 100-bulb LED strand uses ~20 watts, but add up all your devices!
Common mistake #2: Ignoring weather. Even “waterproof” lights can fail in heavy rain. Elevate connections off the ground.
Common mistake #3: Poor planning. Sketch your layout first. You’ll save time, money, and headaches.
Pro insight: For large spaces, use a central power hub (like a weatherproof junction box). It’s cleaner and safer than multiple extension cords.
FAQs About How to Use String Lights Outdoor in 2026 Ultimate Guide
Q: Can I leave outdoor string lights up year-round?
It depends. Heavy-duty, all-weather LED lights can stay up in most climates. But if you get heavy snow, ice, or extreme heat, take them down seasonally. For permanent setups, use commercial-grade lights (rated for 5+ years outdoors).
Q: How do I connect multiple light strands safely?
Use weatherproof connectors and follow the manufacturer’s limit (usually 2–5 strands). Never exceed the wattage rating of your outlet or extension cord. For long runs, use a voltage tester to check for drop.
Q: What’s the best way to hang lights on trees?
Wrap lights around trunks or drape from branches. Use soft zip ties or light clips—avoid nails or wire that can damage bark. For large trees, start at the base and work up, spacing strands 12–18 inches apart.
Q: Can I use indoor string lights outside?
No. Indoor lights lack UV protection and waterproofing. Even a light rain can cause shorts or fires. Always use lights rated for outdoor use.
Q: How do I fix a strand with a single burned-out bulb?
First, check if the strand has replaceable bulbs. If yes, swap the bad bulb. If not, use a bulb tester to find the culprit. For LED strands, a dead bulb often means the whole strand needs replacing (LEDs rarely fail individually).
Q: Are solar string lights worth it?
They’re great for eco-friendly, remote areas (like a garden path). But they’re dimmer and need 6+ hours of sun. For patios or decks near power outlets, plug-in LED lights are brighter and more reliable.
Q: How do I hide extension cords?
Route cords along walls or railings. Use cord clips or conduit. For ground-level cords, bury them in shallow trenches (with waterproof connectors) or run them under outdoor rugs.
Final Thoughts
Creating a glowing outdoor space with string lights is easier than you think. This How to Use String Lights Outdoor in 2026 Ultimate Guide gives you the tools to avoid common pitfalls and craft a setup that’s safe, stylish, and built to last.
Start small. Try a single strand over your dining table. Once you nail the basics, expand to trees, railings, or pathways. Remember: less is more. A few well-placed strands create more magic than a chaotic tangle.
Most importantly, have fun. Light isn’t just functional—it’s emotional. It’s the glow that says, “Stay a little longer.” So grab your lights, invite a friend, and light up your space. Your future self (and your guests) will thank you.
Now go make some memories under the stars—and the string lights.
“`

