
Featured image for how to wire iup led string lights
Image source: publicdomainpictures.net
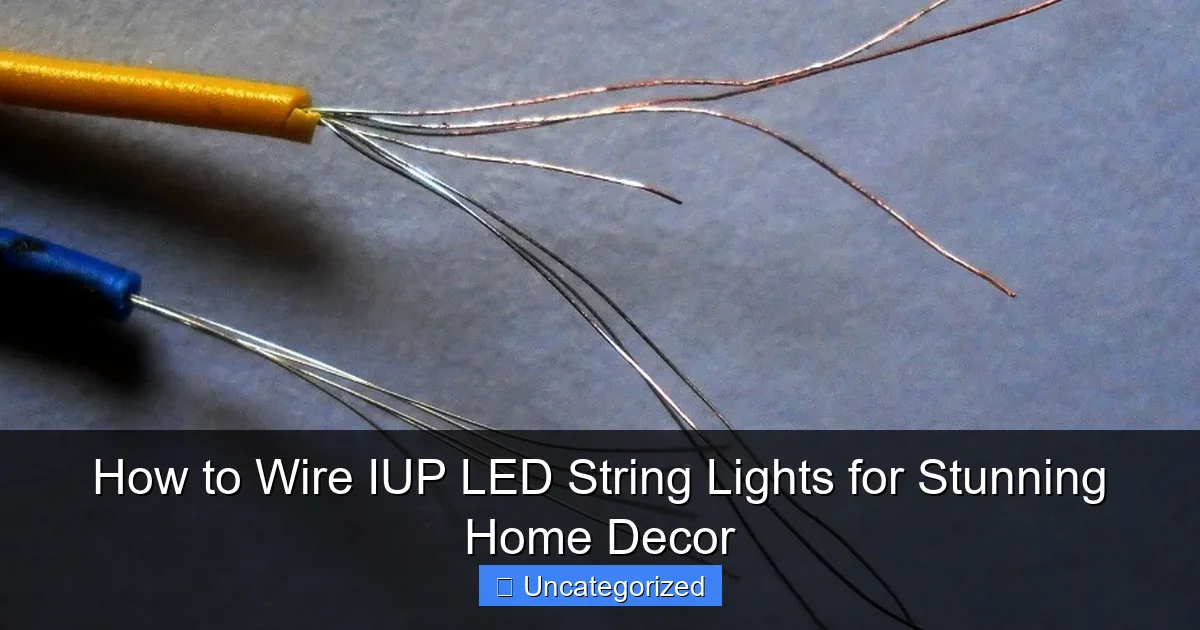
Wiring IUP LED string lights is a simple, plug-and-play process—just connect the male and female end connectors securely to ensure uninterrupted power flow. Always check for included power adapters and avoid overloading circuits to maintain brightness and safety. For custom setups, use compatible extension cables and follow polarity markings for a flawless, professional glow.
How to Wire IUP LED String Lights for Stunning Home Decor
Key Takeaways
- Plan your layout: Sketch the area to scale before installation.
- Measure carefully: Ensure lights reach power sources without tension.
- Use connectors: Securely join wires with waterproof, rated connectors.
- Test before finalizing: Check each section lights up during setup.
- Secure safely: Use insulated clips to avoid wire damage or hazards.
- Choose dimmers: Install compatible dimmers for adjustable ambiance.
Why This Matters / Understanding the Problem
Transforming your home with ambient lighting isn’t just about flipping a switch—it’s about creating mood, warmth, and personality. How to wire IUP LED string lights for stunning home decor is a question more homeowners are asking as they ditch harsh overheads for soft, customizable glows. Whether you’re draping lights across a patio, outlining a bedroom ceiling, or framing a mirror, IUP LED string lights offer energy efficiency, durability, and a clean, modern look.
But here’s the catch: many people skip the wiring step or do it poorly, leading to flickering lights, overloaded circuits, or even fire hazards. Poor installation can also ruin the visual effect you’re going for—lights sagging, uneven spacing, or tangled wires. The good news? With the right approach, you can safely and beautifully integrate IUP LED string lights into any space.
Whether you’re a DIY beginner or a seasoned home improver, mastering how to wire IUP LED string lights for stunning home decor means you get professional-looking results without hiring an electrician. This guide walks you through every step—from planning to powering—so your space shines safely and stylishly.
What You Need
Before you start, gather these tools and materials. Having everything on hand saves time and prevents mid-project trips to the hardware store.
Visual guide about how to wire iup led string lights
Image source: i.stack.imgur.com
- IUP LED string lights (check length, bulb count, and power requirements)
- Measuring tape (for accurate spacing and layout)
- Wire clips or adhesive mounting strips (non-damaging options for walls, ceilings, or railings)
- Zip ties or twist ties (for bundling excess wire or securing lights)
- Extension cords (outdoor-rated if used outside)
- Power strip with surge protection (to avoid overloading outlets)
- Voltage tester (for safety when connecting to existing wiring)
- Drill and screws (if mounting on wood or masonry)
- Level (to keep lines straight and even)
- Smart plug (optional) – for remote or timer control
- Weatherproof sealant (for outdoor installations)
- Electrical tape – for securing connections and preventing fraying
Pro Tip: Always check the wattage and amperage of your IUP LED string lights. Most are low-voltage (12V or 24V), but some are 120V plug-and-play. Match your power source accordingly to avoid burnout or tripped breakers.
Step-by-Step Guide to How to Wire IUP LED String Lights for Stunning Home Decor
Step 1: Plan Your Layout and Measure the Space
Before buying or hanging a single light, sketch out your design. Are you wrapping lights around a pergola? Outlining a window? Creating a canopy over a bed? Planning ensures you buy the right length and avoid awkward gaps or excess.
Use your measuring tape to calculate the total distance the lights will cover. Add 10–15% extra for overlaps, curves, or slack near power sources. For example, if your ceiling perimeter is 20 feet, buy a 23-foot strand or combine two shorter ones.
Mark key points where lights will start, end, or turn. Use painter’s tape to mock up the path on walls or ceilings. This helps you visualize spacing and avoid last-minute changes. Pro tip: Use a level to ensure straight lines—especially important for geometric or symmetrical designs.
Step 2: Choose the Right Mounting Method
How you attach the lights affects both appearance and safety. IUP LED string lights come with various mounting options—some have built-in clips, others need external hardware.
- Adhesive mounting strips: Best for smooth, indoor surfaces like drywall, glass, or painted wood. Use 3M or Command strips rated for the weight (usually under 5 lbs for LED strings).
- Wire clips or hooks: Ideal for outdoor use, railings, or textured surfaces. Use plastic or rubber-coated metal clips to avoid scratching.
- Zip ties: Great for wrapping around trees, beams, or furniture. Use UV-resistant zip ties outdoors to prevent brittleness.
- Drilled anchors: For permanent installations on masonry, brick, or heavy wood. Use plastic anchors and screws to secure clips.
For a clean look, hide the power cord behind trim, baseboards, or furniture. If you’re wiring across a ceiling, run the cord along a crown molding or inside a raceway (a small plastic channel).
Warning: Never staple or nail directly into the light wire. This damages insulation and creates a fire risk. Always use clips or mounts designed for string lights.
Step 3: Test the Lights Before Installing
Plug in your IUP LED string lights before hanging them. Check for:
- Even brightness across all bulbs
- No flickering or dim sections
- Proper color temperature (warm white, cool white, RGB, etc.)
If a section isn’t working, it could be a loose connection, a dead bulb, or a manufacturing defect. Fix or replace the strand before installation—it’s much harder to troubleshoot once it’s up.
For RGB or color-changing models, test the remote or app control. Ensure the controller pairs and cycles through colors smoothly. This avoids frustration later when you’re trying to set the mood.
Step 4: Install Mounting Hardware (If Needed)
For permanent or semi-permanent setups, install clips, hooks, or anchors first. Follow this order:
- Mark drill points with a pencil (use your layout plan).
- Drill pilot holes (especially in masonry or hardwood).
- Insert anchors (if needed) and screw in clips or hooks.
- Space clips 12–18 inches apart for even support. Closer spacing (8 inches) is better for heavy or long strands.
For adhesive strips, clean the surface with rubbing alcohol and press firmly for 30 seconds. Wait 1–2 hours before hanging lights to ensure full adhesion.
Outdoor setups? Use silicone sealant around screw heads or clips to prevent water intrusion. This protects both the hardware and the wire insulation.
Step 5: Hang the IUP LED String Lights
Now for the fun part—hanging the lights! Start at the power source and work outward. This reduces slack and makes it easier to manage the cord.
- Clip or tie the first bulb near the outlet or transformer.
- Follow your marked path, securing every 12–18 inches.
- For curves or corners, use extra clips to guide the wire without kinking.
- Keep bulbs upright (especially for globe or Edison-style LEDs) to avoid water pooling.
If combining multiple strands, connect them with a waterproof connector or junction box. Never splice wires with electrical tape alone—use heat-shrink tubing or a proper connector.
For ceiling installations, drape lights in a “wave” or “zigzag” pattern for depth. Use a step ladder and a helper to ensure even spacing and avoid sagging.
Step 6: Manage the Power Cord and Wiring
Exposed cords ruin the look and pose tripping hazards. Here’s how to hide them:
- Indoors: Run cords behind furniture, under rugs, or inside cord covers. Use baseboard channels or raceways for a polished finish.
- Outdoors: Bury cords in shallow trenches (6 inches deep) or run them under decking. Use conduit in high-traffic areas.
- Ceiling drops: Use a cord hider tube or paint the cord to match the ceiling.
Plug the transformer or plug into a surge-protected power strip. This protects your lights from voltage spikes, especially during storms.
Pro Tip: Use a smart plug to automate on/off times. Set it to turn on at dusk and off at midnight—perfect for holiday decor or ambient lighting.
Step 7: Connect to Power and Test
Once lights are hung and cords are secured, it’s time to power up. But first—double-check:
- All connections are tight and weatherproofed (if outdoors).
- No wires are pinched, kinked, or near sharp edges.
- The power strip is not overloaded (check total wattage).
Plug in the transformer. The lights should glow evenly. If one strand is dim, check for loose connectors or a faulty bulb.
For RGB models, test all color modes and brightness levels. Adjust the remote or app settings for your desired effect.
Step 8: Secure and Weatherproof (For Outdoor Use)
If your how to wire IUP LED string lights for stunning home decor project is outdoors, weatherproofing is non-negotiable.
- Seal all connectors with silicone or waterproof tape.
- Elevate plugs and transformers off the ground (use a weatherproof box or hang them).
- Use UV-resistant zip ties and clips to prevent sun damage.
- Trim excess wire and secure it with ties—no dangling loops.
For rainy or snowy climates, consider a drip loop: let the cord dip below the plug before rising to the outlet. This prevents water from running down the cord into the socket.
Step 9: Add Finishing Touches and Controls
Elevate your decor with smart controls:
- Smart plug: Control lights with Alexa, Google Home, or a phone app.
- Timer: Set automatic on/off for energy savings and convenience.
- Dimmer switch: Adjust brightness for different moods (romantic dinner vs. movie night).
For a professional touch, use decorative cord covers or paint the transformer to match your wall. Add small LED spotlights to highlight key areas, like a bookshelf or artwork.
Pro Tips & Common Mistakes to Avoid
Pro Tip 1: Use a Voltage Drop Calculator for Long Runs
If you’re wiring 50+ feet of IUP LED string lights, voltage drop can cause dimming at the far end. Use an online voltage drop calculator to determine if you need a higher-gauge wire (e.g., 16 AWG instead of 22 AWG) or a booster transformer.
Pro Tip 2: Layer Your Lighting for Depth
Don’t rely on string lights alone. Combine them with:
- Recessed ceiling lights (ambient)
- Floor lamps (task)
- Spotlights (accent)
This creates a layered lighting scheme that’s both functional and beautiful.
Pro Tip 3: Label Your Strands
If you use multiple strands, label each one with a tag or colored zip tie. This makes troubleshooting easier—no more guessing which plug controls which section.
Common Mistake 1: Overloading Outlets
Most household outlets are 15A circuits. A single IUP LED strand uses 0.5–2 amps, but daisy-chaining 10 strands can exceed the limit. Always check total amperage and use separate circuits for large installations.
Warning: Never plug LED lights into a circuit with high-draw appliances (microwaves, space heaters). This can trip the breaker or cause overheating.
Common Mistake 2: Ignoring Weather Ratings
Not all IUP LED string lights are weatherproof. Check the IP rating:
- IP44: Splash-resistant (good for covered patios)
- IP65: Dust-tight and water-resistant (for full outdoor use)
- IP67: Waterproof (can survive rain, snow, and brief submersion)
Using indoor-rated lights outside leads to short circuits and fire risks.
Common Mistake 3: Poor Cord Management
Dangling cords look messy and are a tripping hazard. Always plan the cord path during layout. Use clips, ties, or channels to keep everything tidy.
Common Mistake 4: Forgetting to Test Before Finalizing
It’s easy to skip testing once the lights are up—but a single faulty bulb can ruin the effect. Test after every 5–10 feet of installation, especially for long runs.
FAQs About How to Wire IUP LED String Lights for Stunning Home Decor
Q1: Can I cut IUP LED string lights to fit a shorter space?
It depends. Some IUP models are cuttable at designated points (marked with a scissor icon). Use a sharp cutter and seal the end with electrical tape or a cap. Never cut non-cuttable strands—this voids the warranty and can damage the circuit.
Q2: How many IUP LED string lights can I connect end-to-end?
Check the manufacturer’s manual. Most allow 2–5 strands, depending on wattage. For example, a 5W strand might let you connect 4, while a 20W strand only 2. Exceeding this limit causes dimming or burnout.
Q3: Are IUP LED string lights safe for indoor use near furniture?
Yes—if installed correctly. LEDs generate minimal heat, so they won’t scorch curtains or upholstery. However, keep wires away from high-traffic areas to prevent tripping or fraying.
Q4: Can I wire IUP LED string lights to a switch instead of a plug?
Yes, but it requires basic electrical skills. You can:
- Install a wall switch with a low-voltage transformer.
- Use a smart switch compatible with LED loads.
For safety, hire an electrician if you’re not comfortable working with live wires.
Q5: How do I clean IUP LED string lights?
Turn off and unplug first. Wipe bulbs with a dry microfiber cloth. For sticky residue, use a damp cloth (no soap). Never submerge the lights or spray cleaner directly.
Q6: What’s the best way to store IUP LED string lights?
Wrap them around a cardboard tube or cord reel. Store in a cool, dry place—avoid attics or garages with extreme temperatures. Label the box with bulb type and length for easy retrieval.
Q7: Can I use IUP LED string lights with a solar panel?
Only if they’re designed for solar use. Most IUP models are plug-in, but some have solar-compatible versions. Check the specs. For DIY solar, use a 12V solar panel with a charge controller and battery.
Final Thoughts
Mastering how to wire IUP LED string lights for stunning home decor is more than a DIY skill—it’s a way to transform your space with light, mood, and style. From planning your layout to hiding cords and weatherproofing, every step matters. The result? A professional-looking glow that feels warm, inviting, and uniquely yours.
Remember: safety first. Always test lights, avoid overloading circuits, and use weather-rated gear outdoors. With the right tools and a little patience, you’ll create lighting that wows guests and makes your home feel like a sanctuary.
Ready to shine? Grab your IUP LED string lights, follow this guide, and light up your world—one beautiful bulb at a time.

