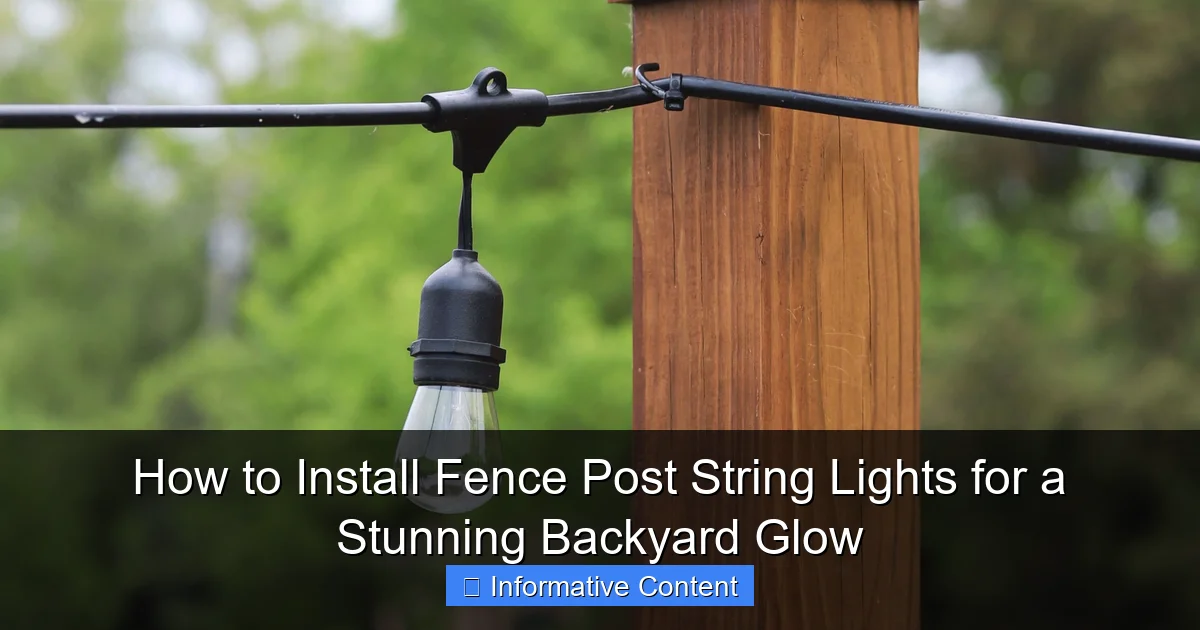
Featured image for instal fence post string lights
Image source: i.pinimg.com
Installing fence post string lights transforms your backyard into a captivating nighttime retreat with minimal effort. Secure durable, weather-resistant lights to your fence posts using zip ties or mounting clips, spacing them evenly for a balanced, professional glow. Perfect for patios, gardens, or pool areas, this simple DIY upgrade adds instant ambiance and elegance.
Key Takeaways
- Plan spacing first: Measure posts for even light distribution and symmetry.
- Use weatherproof lights: Choose outdoor-rated LEDs for safety and durability.
- Secure with clips: Attach lights with UV-resistant clips to avoid damage.
- Check power access: Ensure outlets are nearby or use solar-powered options.
- Test before installing: Verify lights work fully before mounting permanently.
- Hide cords neatly: Tuck wires behind posts for a clean, professional look.
📑 Table of Contents
- Why Fence Post String Lights Are the Ultimate Backyard Upgrade
- Choosing the Right Fence Post String Lights for Your Space
- Planning Your Installation: Mapping, Power, and Safety
- Step-by-Step Installation Guide: From Prep to Shine
- Creative Design Ideas to Elevate Your Backyard Glow
- Maintenance, Troubleshooting, and When to Upgrade
- Final Thoughts: Light Up Your Life, One Post at a Time
Why Fence Post String Lights Are the Ultimate Backyard Upgrade
Imagine stepping into your backyard at dusk. The air is warm, the birds are quieting down, and suddenly, a soft glow begins to shimmer along your fence line. Tiny bulbs twinkle like stars, casting a warm, inviting light across your patio, garden, or pool area. That’s the magic of fence post string lights—a simple, affordable, and transformative way to elevate your outdoor space.
I remember the first time I installed string lights on my own fence. I was skeptical—would they look tacky? Would they survive the rain? But after a single evening with them on, my entire backyard felt cozier, safer, and more welcoming. My guests didn’t want to leave. My dog even seemed to enjoy the extra visibility at night. What started as a small DIY project turned into a game-changer for how I use my outdoor space. Whether you’re hosting a summer barbecue, enjoying a quiet cup of coffee at sunset, or just trying to make your yard feel more like an extension of your home, fence post string lights can do wonders. And the best part? You don’t need to be an electrician or a handyman to pull it off.
Choosing the Right Fence Post String Lights for Your Space
Types of String Lights: What’s Available?
Before you start hammering or drilling, it’s important to pick the right kind of lights. Not all fence post string lights are created equal. Here’s a quick rundown of your main options:
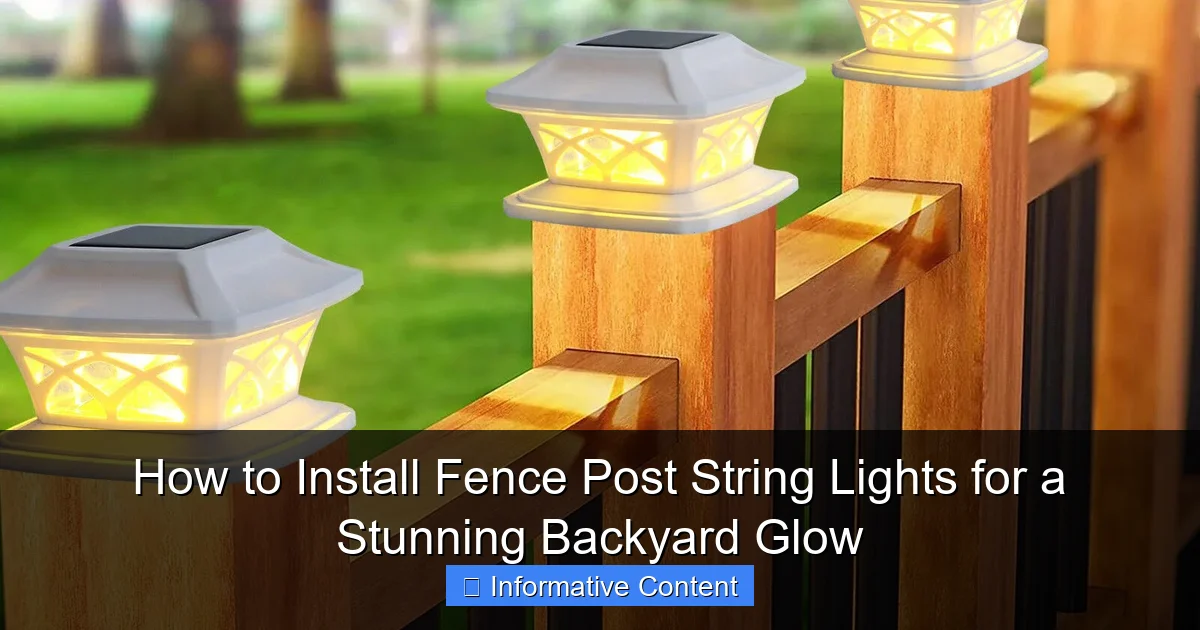
Visual guide about instal fence post string lights
Image source: storables.com
- Incandescent bulbs: Classic, warm glow. Affordable upfront, but less energy-efficient and shorter lifespan. Great for temporary setups.
- LED bulbs: Energy-efficient, long-lasting (up to 50,000 hours), cooler to the touch, and available in warm white, cool white, multicolor, or even color-changing options. Ideal for permanent installations.
- Edison-style bulbs: Vintage filament look with a rustic charm. Usually LED-based, so they’re efficient but stylish. Perfect for a farmhouse or industrial aesthetic.
- Fairy lights: Tiny bulbs on thin wire, great for wrapping or draping. Less bright, but magical for a delicate, whimsical effect.
- Solar-powered: No wiring needed. They charge during the day and turn on automatically at dusk. Best for areas without easy access to outlets, but may be dimmer or inconsistent on cloudy days.
Key Features to Consider
When shopping, keep these features in mind:
- Length: Measure your fence line and add 10–20% extra for draping or slack. Most string lights come in 25–100 foot lengths.
- Weather resistance: Look for an IP65 or higher rating for outdoor use. This means they can handle rain, wind, and UV exposure.
- Plug-in vs. solar: Plug-in gives you consistent, bright light. Solar is convenient but may not last all night or shine as brightly.
- Connectable strings: Some brands let you link multiple strands. Handy if your fence is long or you want to cover multiple sides.
- Timer or remote control: A built-in timer or remote lets you automate when the lights turn on and off—no more remembering to flip the switch.
- Bulb spacing: Closer bulbs (every 6 inches) create a brighter, denser glow. Wider spacing (every 12 inches) gives a more subtle, spaced-out look.
Pro tip: I once bought a 100-foot string without checking bulb spacing—ended up with lights that looked like distant fireflies. Not the cozy vibe I wanted. Now I always check the specs before buying.
Style and Aesthetic Matching
Your lights should complement your backyard’s vibe. For a modern patio, go for sleek, warm-white LEDs with clean lines. For a rustic garden, Edison bulbs on black wire add charm. If you’re going for a romantic or boho feel, try fairy lights draped over the fence or woven through planters.
Also, consider color temperature: 2700K–3000K is warm and inviting (think candlelight), while 4000K+ is cooler and more energizing (like daylight). Most people prefer the warmer end for outdoor ambiance.
Planning Your Installation: Mapping, Power, and Safety
Measure and Map Your Fence
Start by measuring the full length of the fence posts. Use a measuring tape and jot down the total in feet. Then, sketch a quick layout of your yard, noting where the lights will go. Will they run along the top of the posts? Wrap around each post? Drape between posts? This helps you visualize the final look and calculate how many strings you’ll need.
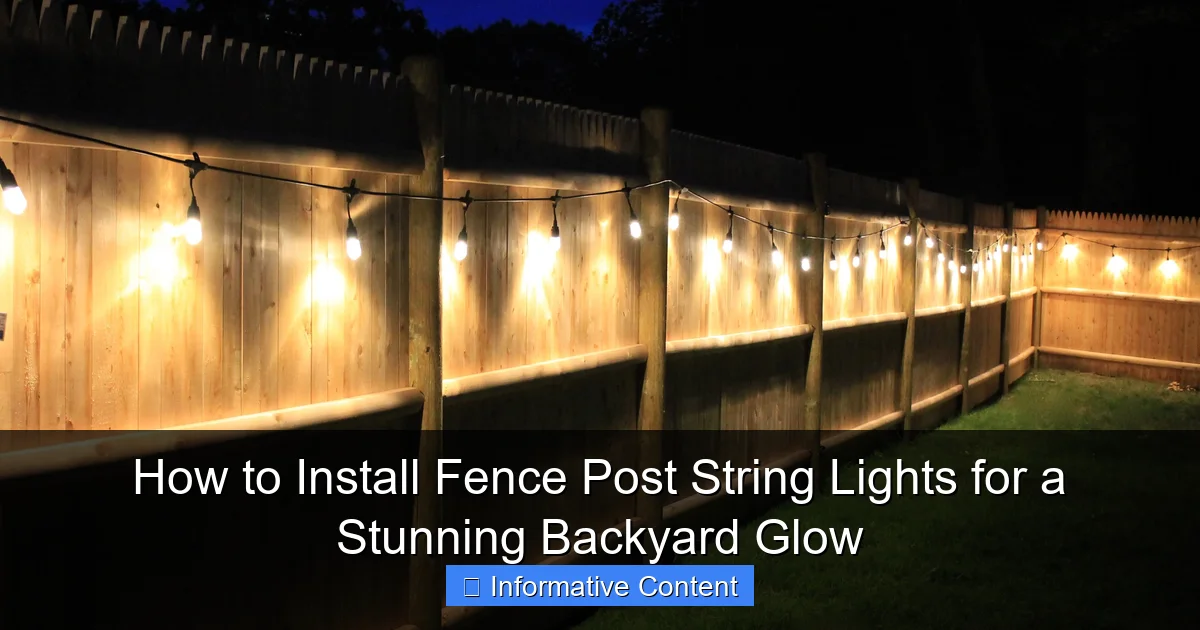
Visual guide about instal fence post string lights
Image source: i.pinimg.com
If your fence has uneven spacing or gaps, plan how you’ll handle those. For example, if one section is longer than others, you might need a longer string or a connector. Or, you could leave a small gap and use a separate strand for that section.
Power Source and Electrical Safety
This is crucial. Never run extension cords across walkways or lawns where people might trip. Instead, plan your layout so the plug end is close to a GFCI (ground fault circuit interrupter) outdoor outlet. If you don’t have one nearby, consider:
- Using a weatherproof outdoor extension cord with a built-in cover.
- Installing a dedicated outdoor outlet (hire an electrician if needed).
- Opting for solar-powered lights in areas far from power sources.
Safety note: Always turn off the power before plugging or unplugging lights. And never overload a circuit—check the wattage of your lights and make sure your outlet can handle it. Most standard outlets support up to 1,800 watts (about 15 amps).
Test Before You Install
Unpack your lights and plug them in to test them before you start mounting. Check for:
- All bulbs working
- No flickering or buzzing
- Proper timer or remote function (if included)
Nothing worse than finishing the installation and realizing half the strand is dark. I learned this the hard way after spending two hours stringing up a faulty set—only to have to take it all down again.
Consider Seasonal vs. Permanent Setup
Ask yourself: Are you installing these for year-round use or just for summer? If it’s seasonal, you might want easier-to-remove hardware (like zip ties or clips). For permanent setups, go with more durable mounting options like screws or brackets.
Step-by-Step Installation Guide: From Prep to Shine
Gather Your Tools and Materials
Here’s what you’ll need:
- String lights (tested and ready)
- Measuring tape
- Staple gun or outdoor-rated staples (for wood fences)
- Outdoor-rated zip ties or cable clips (for wood, vinyl, or metal)
- Drill and small screws (if using mounting brackets)
- Weatherproof sealant or silicone (for sealing holes)
- Extension cord (if needed) with outdoor rating
- Ladder or step stool (for taller fences)
- Gloves and safety glasses (basic safety)
For vinyl or metal fences, avoid staples—they can crack or damage the material. Use UV-resistant zip ties or adhesive clips instead.
Installation Methods by Fence Type
Wood Fence:
- Use a staple gun to secure the wire every 12–18 inches. Place staples just below the bulb sockets to avoid pinching the wire.
- For a cleaner look, use outdoor-rated cable clips that screw into the post. They’re more visible but last longer.
- Start at one end and work your way down. Leave a little slack between posts so the lights aren’t too tight.
Vinyl or PVC Fence:
- Staples can crack vinyl. Instead, use UV-resistant zip ties or adhesive-backed clips.
- Loop the zip tie through the fence post’s top rail or side, then secure the light wire.
- Trim excess tie with scissors—no jagged edges.
Metal Fence:
- Use magnetic clips or zip ties through pre-drilled holes.
- Avoid drilling into thin metal unless you’re confident—it can weaken the structure.
How to Run the Lights
Here’s a practical method I’ve used successfully:
- Start at the power source. Plug in the first strand and let it hang.
- Run the lights along the top of the fence posts, securing every 12–18 inches.
- At corners, bend the wire gently—don’t kink it. Use a clip or staple at the corner to guide the turn.
- If connecting multiple strands, plug them in as you go. Don’t exceed the manufacturer’s recommended number of connected strings (usually 2–4).
- For a “draped” look, leave extra slack between posts and use clips to create gentle curves.
- At the end, secure the final bulb with a clip or tie. Tuck the end plug safely out of the way.
Pro tip: If you’re going around a gate or obstacle, plan a detour. You can run the lights across a nearby wall or post, then reconnect to the fence on the other side.
Weatherproofing and Long-Term Care
Once installed, take a few minutes to protect your work:
- Seal any drilled holes with clear outdoor silicone to prevent water damage.
- Use weatherproof cord covers for extension cords crossing the ground.
- For solar lights, clean the panels monthly to maintain charging efficiency.
- Trim any loose wires or ties to prevent wind damage.
Creative Design Ideas to Elevate Your Backyard Glow
Go Beyond the Straight Line
Don’t limit yourself to a single line along the top. Try these creative layouts:
- Double or triple lines: Run two or three parallel strands at different heights for depth. Great for long fences.
- Zig-zag pattern: Alternate the lights from post to post, creating a dynamic, playful effect.
- Post-wrapping: Wrap each post like a candy cane. Use zip ties every few inches to hold the spiral.
- Canopy effect: Drape lights between posts to form a soft “tent” over your patio or seating area.
Mix and Match Light Types
Combine different styles for a layered look:
- Use bright LED strings along the fence for general illumination.
- Add fairy lights in planters or hanging baskets for a magical touch.
- Place path lights near walkways, then connect them to the fence lights for a cohesive glow.
Use Natural Elements
Weave lights through:
- Climbing vines or ivy (if safe for the plant)
- Hanging plants or flower boxes
- Wooden lattice or pergola
I once wrapped my string lights around a jasmine vine—the scent and glow together were unforgettable. Just make sure the bulbs aren’t touching wet leaves, which can cause shorts.
Color and Theme Ideas
- Warm white: Classic, cozy, works with any decor.
- Multicolor: Fun for holidays or parties. Use a remote to switch modes.
- Soft amber or gold: Romantic, perfect for date nights.
- Color-changing (RGB): Great for mood lighting. Set to slow fade for a dreamy effect.
Maintenance, Troubleshooting, and When to Upgrade
Routine Maintenance Tips
To keep your lights shining bright:
- Inspect monthly: Look for loose wires, broken bulbs, or damaged clips.
- Clean bulbs: Wipe with a dry cloth to remove dust and spider webs.
- Check connections: Make sure plugs aren’t loose or corroded.
- Trim vegetation: Keep plants from growing over the lights.
- Store properly (if seasonal): Coil lights neatly and store in a dry, cool place. Use a labeled bin to avoid tangles.
Common Problems and Fixes
| Issue | Likely Cause | Solution |
|---|---|---|
| Flickering lights | Loose connection or damaged wire | Unplug, check all connections, and replace damaged sections |
| Half the strand is dark | One bulb is loose or burned out | Test each bulb; tighten or replace as needed |
| Lights won’t turn on | Tripped breaker, bad outlet, or faulty timer | Check outlet with another device, reset breaker, test timer |
| Solar lights not charging | Dirty panel or shade | Clean panel, move to full sun |
| Wires sagging or coming loose | Insufficient clips or staples | Add more supports every 12 inches |
When to Upgrade or Replace
Even the best lights don’t last forever. Consider upgrading if:
- You’re replacing bulbs more than once a year (LEDs should last 5+ years).
- The wires are frayed or insulation is cracked.
- You want smart features (app control, voice commands, color syncing).
- Your aesthetic has changed—maybe you want a more modern or minimalist look.
I upgraded to smart LED string lights last year. Now I can control them from my phone, set schedules, and even sync them to music. It’s a small change, but it makes my backyard feel like a luxury resort.
Final Thoughts: Light Up Your Life, One Post at a Time
Installing fence post string lights isn’t just about adding light—it’s about creating an atmosphere. It’s about turning a dark, unused yard into a place where stories are shared, laughter echoes, and memories are made. And the best part? It’s one of the easiest, most rewarding DIY projects you can do.
You don’t need a huge budget or professional help. With a little planning, the right tools, and a few hours of your time, you can transform your outdoor space into something truly special. Whether you go for a simple, elegant line of warm-white LEDs or a playful, multicolor display, the glow will do more than light your yard—it’ll warm your heart.
So grab your lights, call a friend (or go solo—it’s totally doable), and get started. The first time you turn them on, you’ll understand why I’m so passionate about this project. There’s something magical about watching your backyard come alive with light, one post at a time. And trust me—once you’ve seen it, you’ll never want to go back to the dark.
Frequently Asked Questions
How do I install fence post string lights securely without damaging my fence?
Use removable hooks, zip ties, or specialized mounting clips designed for outdoor use to avoid drilling into wood. These methods keep your fence intact while ensuring the lights stay firmly in place.
What type of string lights work best for fence posts?
Solar-powered or low-voltage LED string lights are ideal for fence post string lights—they’re energy-efficient, weather-resistant, and easy to install without wiring. Choose shatterproof bulbs for added durability.
Can I leave fence post string lights up year-round?
Yes, if they’re rated for outdoor use and made with weatherproof materials. Check the IP rating (IP65 or higher) to ensure they can withstand rain, snow, and UV exposure.
How do I power string lights on a long fence without outlets nearby?
Solar-powered string lights are the easiest solution for remote areas. Alternatively, use an outdoor extension cord connected to a GFCI outlet for safe, reliable power.
How do I hide the wires when installing fence post string lights?
Run cords along the fence’s backside or use cord covers to blend them with the post. Zip ties or adhesive clips keep wires tidy and out of sight.
What’s the best spacing for fence post string lights to get even illumination?
Hang lights 6–12 inches apart for balanced brightness. Adjust spacing based on bulb density—fewer bulbs may need closer placement to avoid dark spots.

