Featured image for outdoor patio string light on cable
Image source: i2.wp.com
Transform your outdoor space with weather-resistant patio string lights on cable, delivering brilliant, even illumination perfect for patios, pergolas, and backyards. Easy to install and energy-efficient, these durable LED lights offer a warm, inviting glow that enhances ambiance and extends your outdoor enjoyment into the night.
Key Takeaways
- Choose weatherproof lights: Ensure durability for year-round outdoor use.
- Measure cable length first: Avoid gaps or excess for a seamless look.
- Opt for LED bulbs: Save energy and reduce replacement frequency.
- Install dimmers: Control brightness to match any mood or occasion.
- Hang strategically: Space bulbs evenly for balanced, inviting illumination.
- Use zip ties: Secure cables neatly and prevent sagging over time.
📑 Table of Contents
- Why Outdoor Patio String Lights on Cable Are a Game-Changer
- What Makes Cable-Mounted String Lights Different?
- Choosing the Right Outdoor Patio String Light on Cable
- Step-by-Step Installation Guide
- Styling Ideas to Transform Your Space
- Maintenance and Troubleshooting
- Final Thoughts: Why You’ll Love Cable-Mounted Lights
Why Outdoor Patio String Lights on Cable Are a Game-Changer
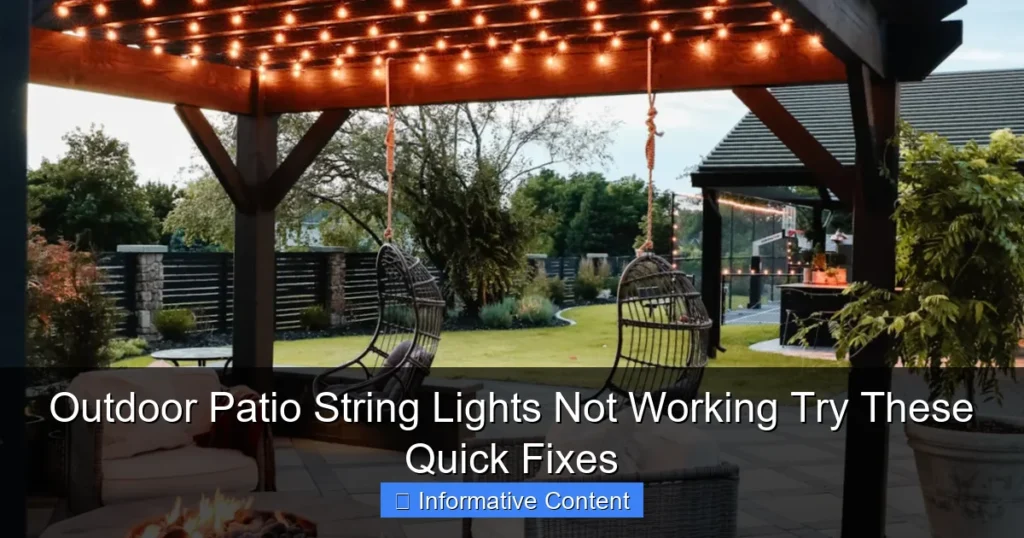
Imagine this: It’s a warm summer evening, and you’re lounging on your patio with friends, sipping a cool drink under a canopy of soft, twinkling lights. The atmosphere is magical, and it’s all thanks to your outdoor patio string light on cable setup. These lights aren’t just about aesthetics—they transform your outdoor space into a cozy, inviting retreat where memories are made.
But here’s the thing: Not all outdoor string lights are created equal. Some flicker out after a season, others tangle into knots that rival a bowl of spaghetti, and a few just don’t deliver the ambiance you’re after. That’s why the cable-mounted approach has become my go-to. It’s reliable, durable, and gives you that professional, polished look without the hassle. Whether you’re hosting a BBQ, enjoying a quiet night with a book, or throwing a birthday party, these lights elevate your space effortlessly.
What Makes Cable-Mounted String Lights Different?
Stability and Durability You Can Count On
Unlike traditional string lights that dangle from hooks or nails, outdoor patio string lights on cable use a tensioned wire (usually steel or vinyl-coated) to hold the bulbs in place. This means no sagging, no drooping, and no worrying about wind knocking them out of alignment. I learned this the hard way when my old lights sagged so much they looked like a sad, deflated balloon after just one season.
Visual guide about outdoor patio string light on cable
Image source: kingsoutdoorlighting.com
The cable acts as a backbone, keeping everything taut and evenly spaced. It’s like the difference between a flimsy clothesline and a sturdy steel cable bridge—one’s built to last, the other’s a temporary fix. For example, I installed my cable system with stainless steel wires and turnbuckles. Three years later, it’s still as straight as the day I put it up, even through harsh winters and summer storms.
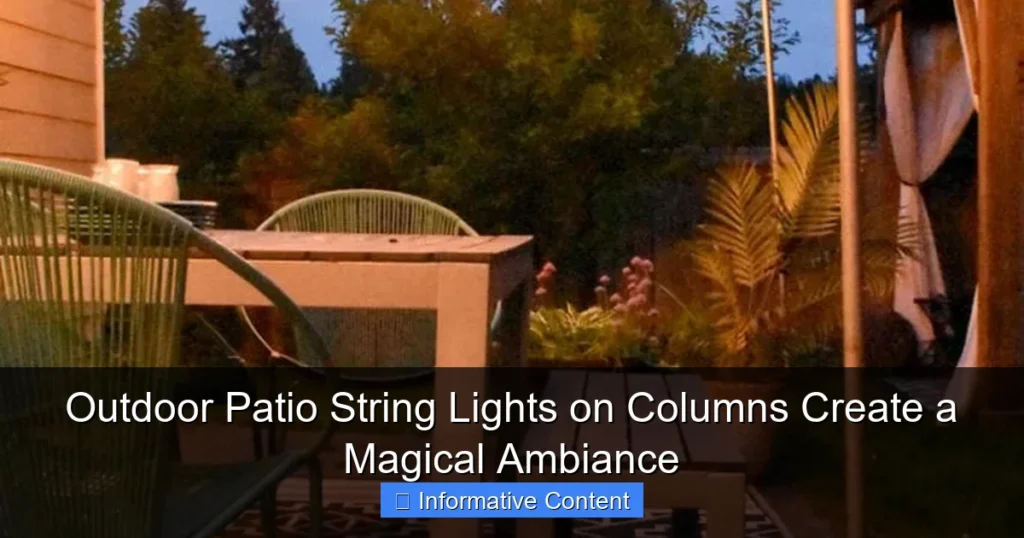
Customizable Layouts for Any Space
One of the best parts? You’re not stuck with a one-size-fits-all design. With cable-mounted lights, you can:
- Create straight lines across a patio, pergola, or deck.
- Form zigzags or crisscross patterns for a dynamic look.
- Wrap them around trees or railings for a whimsical touch.
I once helped a friend install a zigzag pattern across her backyard for a wedding reception. The result? A stunning, Instagram-worthy backdrop that felt both intimate and grand. The cable system made it easy to adjust the tension and spacing to fit the exact dimensions of her space.
Weather Resistance That Lasts
Outdoor lighting needs to withstand the elements, and cable-mounted systems deliver. Most kits come with UV-resistant bulbs and weatherproof cables, so you don’t have to worry about rust, fading, or short-circuiting. I’ve had mine through three rainy seasons, and they still look brand new. Pro tip: Opt for LED bulbs—they’re energy-efficient, last 10x longer than incandescent, and handle temperature swings better.
Choosing the Right Outdoor Patio String Light on Cable
Key Features to Look For
Before you buy, keep these features in mind:
- Cable Material: Stainless steel or vinyl-coated cables resist rust and UV damage. Avoid bare steel—it’ll corrode over time.
- Bulb Type: LED is a no-brainer (see above). Edison-style bulbs add vintage charm, while globe or fairy lights create a softer glow.
- Bulb Spacing: Closer spacing (6-12 inches) gives a denser look; wider spacing (24+ inches) works for a minimalist vibe.
- Plug Type: Some kits plug into standard outlets, while others are hardwired. If you’re not comfortable with electrical work, stick with plug-and-play.
When I upgraded my setup, I chose a kit with 12-inch spacing and Edison bulbs. The warm, amber glow is perfect for evening hangouts, and the bulbs are spaced just enough to avoid overwhelming the space.
Size and Scale Matters
Measure your space before buying! A common mistake is underestimating how much cable you’ll need. Here’s a quick guide:
- For a 10×10 ft patio, aim for 20-30 ft of cable.
- For larger areas (e.g., a 20×20 ft backyard), plan for 40+ ft.
- Always buy 10-20% extra cable to account for turns, anchors, and slack.
My patio is 15×12 ft, so I used a 40-ft cable kit with turnbuckles at each end. The extra length let me create a gentle arc, which looks way more polished than a straight line.
Budget-Friendly vs. Premium Options
You don’t have to break the bank for quality lighting. Here’s what to expect at different price points:
| Price Range | What You Get | Best For |
|---|---|---|
| $20-$50 | Basic LED bulbs, vinyl-coated cable, plug-in power | Small patios, temporary setups |
| $50-$100 | Weatherproof stainless steel cable, dimmable LEDs, remote control | Mid-sized spaces, frequent entertaining |
| $100+ | Smart bulbs (color-changing, app-controlled), heavy-duty cables, lifetime warranty | Large backyards, year-round use |
I started with a $40 kit and loved it, but upgraded to a $75 model with a remote control for dimming. The extra cost was worth it for the flexibility—especially during movie nights when I want softer lighting.
Step-by-Step Installation Guide
Prep Work: Planning Your Layout
Before you start drilling holes, sketch your design. Ask yourself:
- Where will the lights go? (Across the patio? Around a pergola?)
- How will you anchor the cables? (Eaves, trees, posts, or ground stakes?)
- Where’s the nearest power source?
I used painter’s tape to mark my cable path on the patio. This let me visualize the final look and make adjustments before committing. Pro tip: Use a laser level to ensure your cables stay straight—it’s a game-changer for avoiding wonky lines!
Tools and Hardware You’ll Need
Here’s my go-to toolkit:
- Cable: Stainless steel or vinyl-coated (10-12 gauge).
- Turnbuckles: For adjusting tension.
- Anchors: Eye hooks, lag screws, or ground stakes (depending on your surface).
- Wire cutters: To trim excess cable.
- Drill and screws: For mounting anchors.
- Zip ties or clips: To secure bulbs to the cable.
My first install took me 2 hours, but now I can do it in 45 minutes. The key? Having everything organized and ready to go.
Installation Tips for a Flawless Finish
- Anchor the cables first: Attach turnbuckles to your starting and ending points (e.g., eaves or posts). Leave the cable loose for now.
- Thread the cable through the bulbs: Most kits have clips or hooks. If not, use zip ties to secure each bulb every 12-18 inches.
- Tighten the cable: Use the turnbuckles to create tension. The cable should be taut but not overly tight—think of a guitar string.
- Test the lights: Plug them in and check for gaps or uneven spacing. Adjust as needed.
- Secure the power cord: Run it along the cable or wall, and use clips to hide it from view.
One mistake I made early on? Over-tightening the cable. It snapped after a week! Now I stop tightening when the cable feels firm but still has a tiny bit of give.
Styling Ideas to Transform Your Space
Create a Cozy Dining Area
Hang lights above your patio table at 7-8 ft high for a restaurant-style glow. I love using warm white LEDs here—they make food look appetizing without being too bright. Add a dimmer switch to adjust the mood from lively dinner parties to quiet date nights.
Frame Your Outdoor Seating
Use cables to outline a seating area or fire pit. For example:
- Run lights along the edges of a conversation pit.
- Wrap them around a gazebo’s posts for a “floating canopy” effect.
- Create a “light wall” behind a lounge area for a dramatic backdrop.
My friend used this trick to turn her cramped backyard into a chic lounge. The lights made the space feel larger and more intentional.
Add Whimsy with Creative Shapes
Cable systems let you get creative! Try:
- Heart or star shapes (great for weddings).
- Overlapping circles for a modern look.
- “Floating” bulbs in the center of a patio (use a central anchor point).
I made a simple crisscross pattern over my deck, and it’s now my favorite spot for stargazing. The lights mimic the night sky—without the mosquitoes!
Maintenance and Troubleshooting
Cleaning and Storage
Keep your lights shining bright:
- Clean bulbs annually: Wipe them with a damp cloth to remove dust and grime.
- Check cables for fraying: Replace if you see rust or wear.
- Store properly: If you take them down in winter, coil them loosely and keep them in a dry place.
I once left my lights up during a snowstorm, and the weight of the snow caused the cable to sag. Lesson learned: Even “weatherproof” lights need occasional TLC!
Fixing Common Issues
Here’s how to handle hiccups:
- Flickering lights: Check the power source and connections. Loose bulbs? Tighten them.
- Sagging cable: Adjust the turnbuckles or add a middle anchor point.
- Dead bulbs: Most LED strands have replaceable bulbs. If not, replace the entire strand—it’s often cheaper than troubleshooting.
My lights flickered once after a storm. Turns out, a loose bulb was the culprit. A quick twist, and they were back to normal.
Final Thoughts: Why You’ll Love Cable-Mounted Lights
Let’s be real: Outdoor lighting isn’t just about function—it’s about creating a vibe. And outdoor patio string lights on cable deliver that vibe in spades. They’re durable, customizable, and easier to install than you might think. Plus, they’ve got that “wow factor” that makes guests say, “Your patio is *so* cozy!”
After years of testing different setups, I’ve found that cable-mounted lights are the sweet spot between affordability and professional quality. They’ve turned my once-boring backyard into a go-to hangout spot, and I’ve used them for everything from solo reading nights to 50-person parties. The best part? They’re low-maintenance and built to last. So if you’re ready to transform your outdoor space, grab a cable kit, sketch your design, and start stringing. Trust me—the effort is 100% worth it.
Frequently Asked Questions
How do I install outdoor patio string lights on a cable?
To install outdoor patio string lights on a cable, first secure the cable between two sturdy anchor points using turnbuckles or hooks for tension. Then, clip or loop the string lights onto the cable, ensuring they’re evenly spaced and weatherproof for long-term use.
Are outdoor patio string lights on cable weather-resistant?
Yes, most high-quality outdoor patio string lights on cable are designed with weather-resistant materials like rubberized sockets and waterproof seals. Look for an IP65 or higher rating to ensure durability against rain, wind, and UV exposure.
What’s the best way to power my string lights on a cable?
You can power your outdoor patio string lights on cable using a nearby outdoor-rated outlet with a GFCI protector. For longer setups, consider using an outdoor extension cord or solar-powered options for energy efficiency.
Can I connect multiple string lights on one cable?
Yes, you can connect multiple string lights on a cable, but check the manufacturer’s recommended maximum wattage or string count to avoid overloading. Always use a cable strong enough to support the combined weight.
How do I maintain my outdoor patio string lights on cable?
Clean bulbs and cables periodically with a damp cloth and inspect for loose connections or frayed wires. Store lights in a dry place during off-seasons to extend their lifespan.
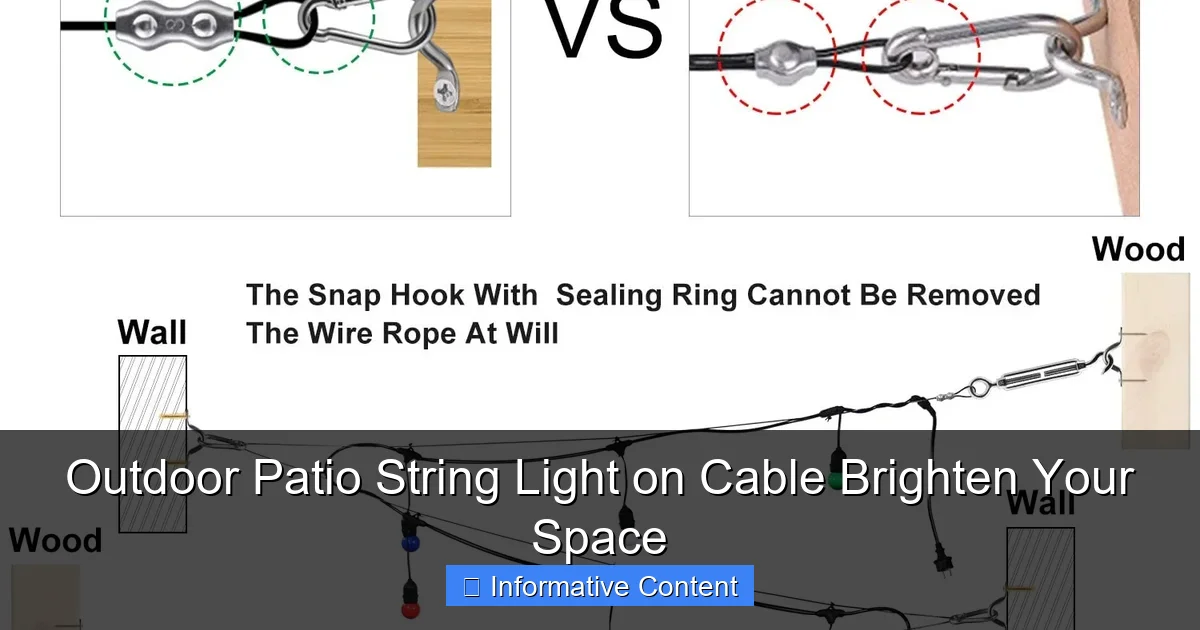
What type of cable should I use for hanging string lights outdoors?
Use a galvanized steel or stainless-steel aircraft cable (1/8″ to 3/16″ thickness) for hanging outdoor patio string lights. These cables resist rust and provide the necessary strength to support lights and withstand wind.