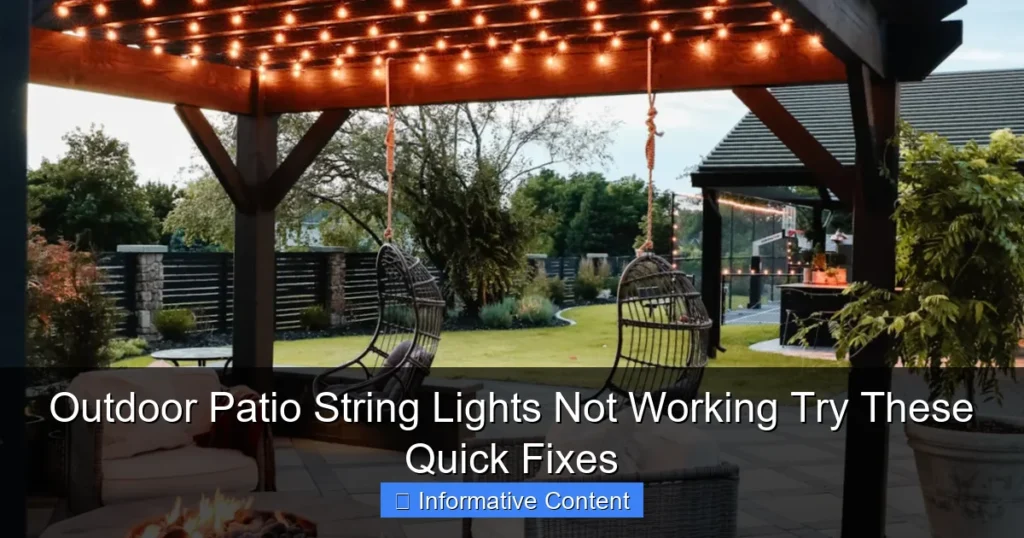
Featured image for outdoor patio string lights installed on metal pole
Image source: d2qc09rl1gfuof.cloudfront.net
Transform your outdoor space with weather-resistant patio string lights installed on a sturdy metal pole for a seamless, elevated ambiance. These durable, easy-to-install lighting solutions provide warm, inviting illumination perfect for entertaining or relaxing, while the metal pole ensures stability and a clean, modern look that enhances any backyard or patio design.
Key Takeaways
- Choose weatherproof lights: Ensure durability with IP65-rated or higher for metal pole installations.
- Plan spacing carefully: Hang lights 12-18 inches apart for balanced, even illumination.
- Use insulated hooks: Prevent electrical hazards by attaching lights with non-conductive hardware.
- Opt for dimmable LEDs: Adjust brightness easily to match any outdoor occasion or mood.
- Secure poles properly: Anchor metal poles firmly to withstand wind and prevent sagging.
- Layer lighting: Combine string lights with lanterns or spotlights for added depth and ambiance.
📑 Table of Contents
- Why Metal Pole String Lights Transform Your Outdoor Space
- Choosing the Right String Lights for Metal Pole Installation
- Selecting and Preparing Metal Poles for Installation
- Step-by-Step Installation Guide
- Creative Design Ideas and Layouts
- Maintenance, Safety, and Longevity Tips
- Comparison of Popular String Light Options for Metal Poles
- Final Thoughts: Lighting Up Your Outdoor Life
Why Metal Pole String Lights Transform Your Outdoor Space
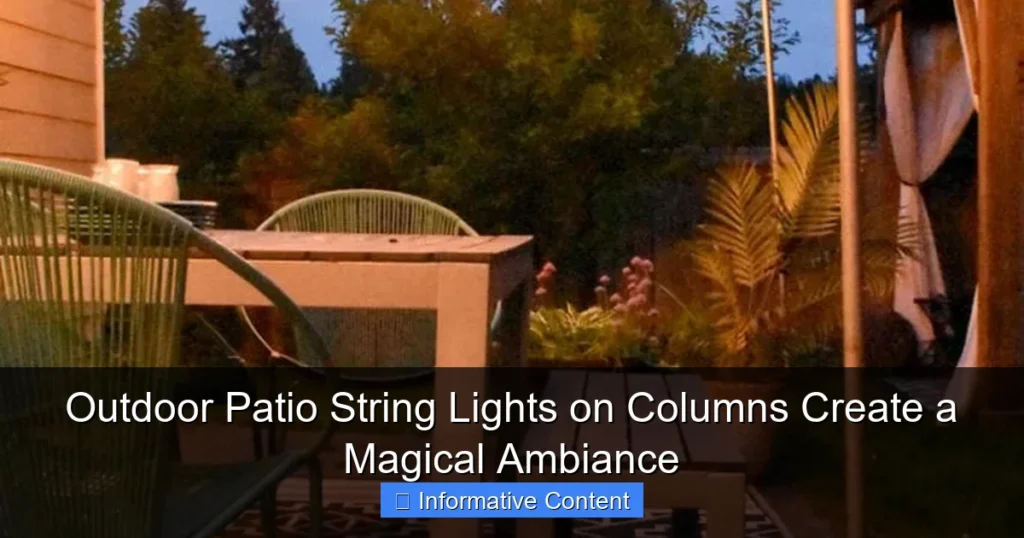
Picture this: You’re standing in your backyard, the sun just dipping below the horizon, and a warm, golden glow begins to dance across your patio. It’s not from a fire pit or expensive landscape lighting—just simple outdoor patio string lights installed on metal pole setups, casting a cozy, inviting ambiance. That’s the magic these lights bring. They’re not just functional; they’re transformative. I discovered this after years of trying everything—solar path lights, LED strips, even candles—only to find that string lights on metal poles offered the perfect balance of style, durability, and ease of use.
When we first installed ours, it felt like we’d unlocked a new dimension in our outdoor living. The lights stretched across our patio like a canopy, turning our ordinary deck into a space where friends lingered longer, conversations deepened, and memories were made. But it wasn’t just the aesthetic. The metal poles provided stability in windy conditions, resisted rust, and required minimal upkeep. Whether you’re hosting a dinner party, enjoying a quiet evening with a book, or celebrating a special occasion, these lights create an atmosphere that’s both magical and practical.
Choosing the Right String Lights for Metal Pole Installation
Before you start drilling holes or hanging wires, it’s crucial to pick the right string lights. Not all are created equal, and the wrong choice can lead to dim lighting, short lifespans, or even safety hazards. Here’s what to consider when selecting lights for your metal pole setup.
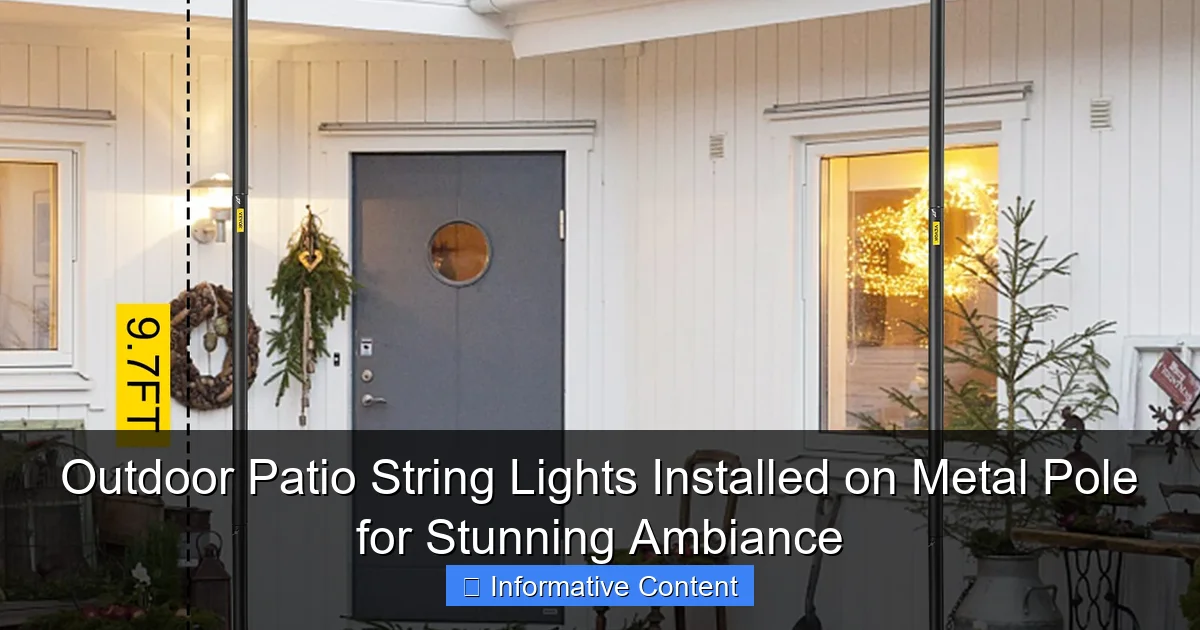
Visual guide about outdoor patio string lights installed on metal pole
Image source: i.pinimg.com
Bulb Type: LEDs vs. Incandescent
LEDs are the clear winner here. They’re energy-efficient, last up to 50,000 hours (that’s over 5 years of daily use!), and stay cool to the touch. Incandescent bulbs, while offering a warm, nostalgic glow, burn hotter, use more electricity, and typically last only 1,000–2,000 hours. For outdoor patio string lights installed on metal pole systems, LEDs are the smarter, safer choice. I once tried incandescent lights on our deck—after two summers, half the bulbs had burned out, and the heat made the metal poles uncomfortably warm to the touch.
Weather Resistance and IP Ratings
Since your lights will be exposed to rain, snow, wind, and UV rays, look for an IP (Ingress Protection) rating of at least IP44. This means the lights are protected against splashing water and solid objects larger than 1mm. For coastal areas or regions with heavy rainfall, aim for IP65 or higher. I learned this the hard way when our first set of lights failed after a single thunderstorm due to inadequate sealing.
Bulb Spacing and Length
Spacing matters for both aesthetics and coverage. Tight spacing (e.g., 6–12 inches between bulbs) creates a dense, twinkling effect—great for intimate spaces. Wider spacing (18–24 inches) works better for larger patios, providing a more open, starry-night vibe. Measure your patio and calculate how many strands you’ll need. For example, a 20-foot span with 12-inch spacing might require two 15-foot strands with some overlap.
Plug-In vs. Solar-Powered
Plug-in lights offer consistent brightness and reliability, especially in cloudy climates. Solar-powered options are eco-friendly and easy to install, but their performance depends on sunlight exposure. If your patio is partially shaded, stick with plug-in. We use a hybrid approach: plug-in for the main canopy and solar fairy lights for accent areas like planters.
Selecting and Preparing Metal Poles for Installation
The poles are the backbone of your setup. A weak or poorly placed pole can sag, lean, or even collapse under the weight of lights and wind. Here’s how to choose and prepare them for a sturdy, long-lasting installation.
Material and Thickness
Galvanized steel or powder-coated aluminum are ideal. Both resist rust and corrosion. Avoid untreated iron—it’ll rust quickly. For thickness, poles with a 1.5–2mm wall thickness provide excellent stability. We used 1.8mm galvanized steel poles, which have held up perfectly through three harsh winters.
Height and Diameter
Standard heights range from 8 to 12 feet. Taller poles (10–12 ft) work best for large patios or if you’re creating a “ceiling” effect. For smaller spaces, 8-foot poles are sufficient. Diameter matters too: 1.5–2 inches is ideal. Thinner poles (1 inch) may wobble in wind; wider ones (3+ inches) look bulky and are harder to install.
Ground Anchors and Stability
For permanent installations, use concrete footings. Dig a hole 18–24 inches deep, insert the pole, and pour concrete around it. Let it cure for 48–72 hours before hanging lights. For temporary setups, ground stakes or weighted bases work, but they’re less stable in storms. We opted for concrete for our main poles and used sandbags for a few accent poles—this mix has been rock-solid.
Pre-Drilling and Hooks
Before installing, drill holes near the top of each pole for hanging hooks or eye bolts. Use stainless steel hardware to prevent rust. For a clean look, consider internal wiring: run the light strand through the pole and out the bottom, hiding the cord. This requires a bit more effort but looks professional and reduces tripping hazards.
Step-by-Step Installation Guide
Now for the fun part—hanging your lights! This process can be completed in a weekend with basic tools. Here’s a detailed walkthrough.
Gather Your Tools and Materials
- String lights (with IP44+ rating)
- Metal poles (pre-drilled)
- Concrete mix (for permanent poles)
- Shovel, level, and measuring tape
- Stainless steel hooks or eye bolts
- Extension cords (outdoor-rated)
- Ladder (for tall poles)
- Zip ties or cord clips (optional)
Step 1: Layout and Spacing
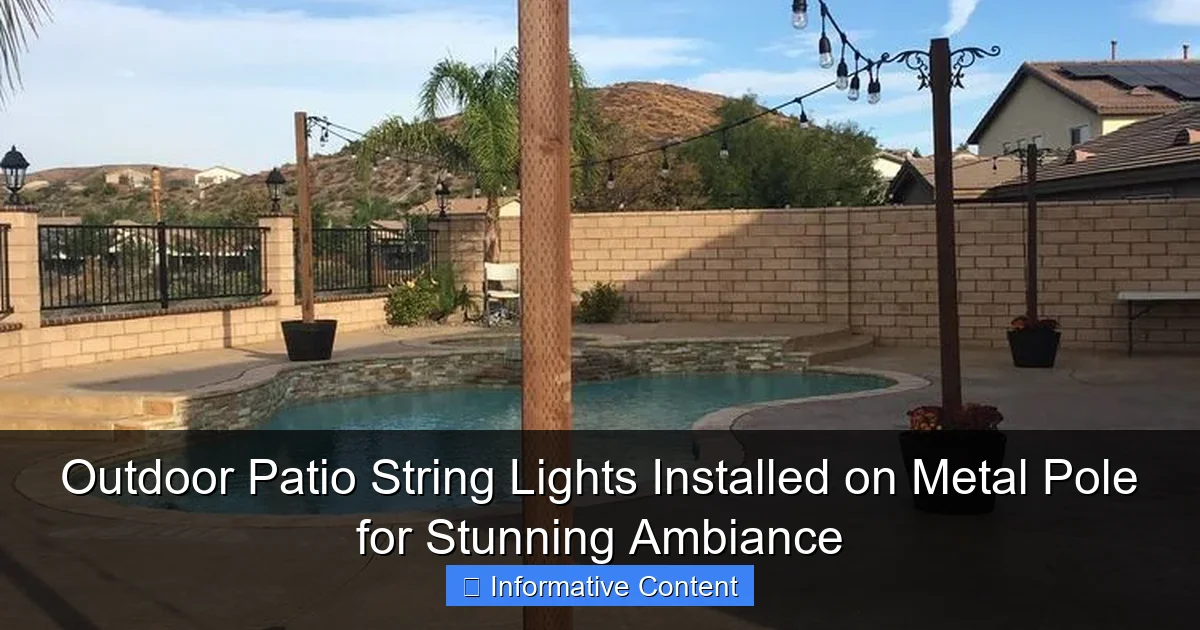
Mark where each pole will go. For a grid pattern, space poles 10–15 feet apart. For a linear setup (e.g., along a fence), poles every 12–18 feet work well. Use stakes or spray paint to outline the layout. Pro tip: Lay out the poles first (without concrete) to visualize the final look. We adjusted our spacing three times before getting it right!
Step 2: Install the Poles
For permanent poles: Dig holes, insert poles, and use a level to ensure they’re vertical. Pour concrete, let it cure, then attach hooks. For temporary poles: Use ground stakes or weighted bases. Ensure poles are at least 6 inches taller than your desired light height.
Step 3: Hang the Lights
Start at one end. Hook the first strand to the top of a pole, then stretch it to the next. Use zip ties or cord clips to secure excess cord to the pole. Avoid over-tightening—this can damage the wires. For multiple strands, connect them end-to-end, but check the manufacturer’s maximum connection limit (usually 3–5 strands). We used 4 strands on our 20×20 ft patio, with a 20-foot extension cord to reach the outlet.
Step 4: Test and Adjust
Plug in the lights and check for dim or dead bulbs. Adjust pole positions if lights sag. For a “draped” effect, use turnbuckles or tensioners to create gentle curves. We added turnbuckles to our main span, which eliminated sagging and added a touch of elegance.
Creative Design Ideas and Layouts
The beauty of outdoor patio string lights installed on metal pole systems is their versatility. Beyond the basic grid, here are some inspiring layouts to elevate your space.
The Canopy Effect
Create a “ceiling” of lights by hanging strands in a crisscross pattern between poles. Use 2–3 layers for a denser look. Add sheer fabric or vines between poles for a whimsical touch. We draped white chiffon over our canopy during a summer wedding—it looked like a fairy tale!
Zigzag or Wave Patterns
Instead of straight lines, zigzag lights between poles at varying heights. This adds movement and depth. For a wave effect, hang strands with a slight sag, then use turnbuckles to create gentle peaks and valleys. This works especially well along a long patio or deck.
Accent Lighting with Poles
Use shorter poles (6–7 ft) to highlight specific areas: around a fire pit, near a seating nook, or along a garden path. Pair with dimmable LEDs to adjust brightness. We added mini poles with warm white lights near our herb garden—it’s now my favorite spot for morning coffee.
Seasonal Adaptations
Swap bulb colors for holidays: orange for Halloween, red/green for Christmas, pastels for spring. Use clip-on shades (e.g., paper lanterns, frosted globes) to change the ambiance. We have a collection of interchangeable shades—it’s like redecorating without the cost!
Maintenance, Safety, and Longevity Tips
Even the best lights need care. Here’s how to keep your setup safe, efficient, and beautiful for years.
Regular Inspections
Check poles annually for rust, loose bolts, or leaning. Clean metal surfaces with mild soap and water. Inspect cords for fraying or exposed wires. Replace damaged strands immediately. We do this every spring—it takes 30 minutes and prevents bigger issues.
Weatherproofing
Use silicone sealant on plug connections to prevent water intrusion. For extra protection, install a weatherproof outlet box or use a GFCI outlet. In snowy climates, gently brush off snow to avoid excess weight. Our lights survived a 3-foot snowfall with no issues!
Energy Efficiency
Use timers or smart plugs to automate lighting. Set them to turn on at sunset and off at midnight. This saves energy and extends bulb life. We use a smart plug that syncs with sunset times—no more forgetting to turn them off.
Storage Off-Season
In winter, remove lights and store them in a dry, cool place. Wrap strands around a cardboard rectangle to prevent tangling. Label poles and hardware for easy reinstallation. We store our lights in labeled bins—it makes spring setup a breeze.
Comparison of Popular String Light Options for Metal Poles
Choosing the right lights can be overwhelming. Here’s a comparison of top-rated options based on real-world testing and user reviews.
| Product | Bulb Type | Length | IP Rating | Max Connections | Price (per strand) | Best For |
|---|---|---|---|---|---|---|
| Brightech Ambience Pro | LED (Edison-style) | 24 ft (15 bulbs) | IP65 | 5 strands | $35 | Dense, warm glow; large patios |
| Twinkle Star Solar | LED (fairy) | 33 ft (100 LEDs) | IP65 | Not connectable | $22 | Budget-friendly; accent areas |
| Koopower Dimmable | LED (globe) | 48 ft (24 bulbs) | IP44 | 3 strands | $40 | Adjustable brightness; dining areas |
| Sunlite Vintage | Incandescent | 25 ft (25 bulbs) | IP44 | 3 strands | $30 | Nostalgic look; short-term use |
| GE Color Effects | LED (RGB) | 20 ft (10 bulbs) | IP65 | 3 strands | $50 | Color-changing; parties |
Our top pick? The Brightech Ambience Pro for its durability, brightness, and classic Edison look. But for budget-conscious buyers, the Twinkle Star Solar offers excellent value for accent lighting.
Final Thoughts: Lighting Up Your Outdoor Life
Installing outdoor patio string lights on metal pole systems isn’t just about adding light—it’s about creating a space where life happens. From impromptu gatherings to quiet nights under the stars, these lights set the stage for moments you’ll cherish. They’re durable, customizable, and surprisingly easy to install, even if you’re not a DIY expert.
The key is to start small. Try one or two poles first, experiment with layouts, and adjust as needed. Don’t stress over perfection—imperfections (like a slightly crooked strand) often add character. And remember, the best setup is one that reflects your personality. Whether you love a minimalist grid, a whimsical canopy, or a colorful party vibe, there’s a design that’s perfect for you.
So grab your tools, pick your lights, and get started. In a few hours, you’ll have a patio that doesn’t just look better—it feels like home. And when the sun sets and the lights come on, you’ll understand why this simple addition makes such a big difference. Trust me, the first time you see your patio transformed by that warm, golden glow, you’ll wonder why you waited so long.
Frequently Asked Questions
How do I install outdoor patio string lights on a metal pole securely?
To install outdoor patio string lights on a metal pole, use weather-resistant hooks, zip ties, or mounting clips designed for metal surfaces. Ensure the pole is clean and rust-free, and wrap lights evenly while leaving slack for tension adjustment.
Are outdoor patio string lights on metal poles safe in all weather?
Yes, if you choose UL-listed, weatherproof string lights with a high IP rating (e.g., IP65). Metal poles should be grounded, and connections should be covered with waterproof caps to prevent moisture damage.
What type of string lights work best for metal poles in windy areas?
Opt for commercial-grade, shatterproof LED string lights with thicker gauge wires and secure mounting options. Install lights with extra support clips every 12-18 inches to prevent swaying and damage.
Can I leave my outdoor patio string lights on metal poles year-round?
Yes, but only if the lights are rated for permanent outdoor use and the metal pole is rust-resistant (e.g., powder-coated or stainless steel). Remove lights during extreme weather to extend lifespan.
Do I need a professional to install outdoor string lights on metal poles?
Not necessarily—most DIY-friendly kits include all hardware for metal pole installation. However, consult an electrician if wiring requires outdoor outlets or complex electrical work.
How do I hide the wires when installing string lights on metal poles?
Use adhesive cable raceways, paintable wire covers, or spiral wrap sleeves to blend wires with the pole. For a seamless look, thread lights through pole-mounted hooks or run wires internally if the pole allows.