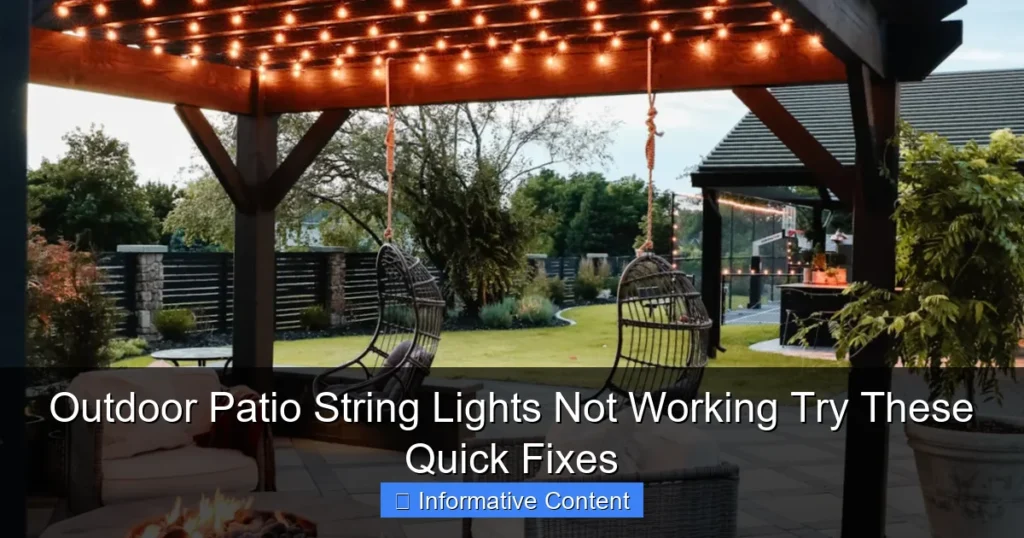
Featured image for outdoor patio string lights installed on poles
Image source: h2obungalow.com
Transform your outdoor space with patio string lights installed on poles for a stunning, elevated ambiance. These versatile, weather-resistant lights provide even, warm illumination perfect for dining, entertaining, or relaxing after dark. Ideal for backyards, patios, and pool areas, pole-mounted string lights offer a clean, professional look without complex wiring or permanent changes.
Key Takeaways
- Plan spacing carefully: Ensure poles are 8–10 feet apart for optimal light distribution.
- Choose weatherproof lights: Use UL-rated outdoor string lights for durability and safety.
- Secure poles properly: Anchor poles in concrete or ground sleeves for long-term stability.
- Use dimmers or timers: Control ambiance effortlessly with smart or manual dimming options.
- Mix bulb styles: Combine LED and incandescent for a layered, inviting glow.
- Check local codes: Verify permits or restrictions before permanent pole installation.
📑 Table of Contents
- Outdoor Patio String Lights Installed on Poles for Perfect Ambiance
- Why Choose Pole-Mounted String Lights for Your Patio?
- Choosing the Right Poles for Your Patio Setup
- Step-by-Step Guide to Installing Your String Lights on Poles
- Creative Design Ideas to Elevate Your Patio Lighting
- Common Mistakes (and How to Avoid Them)
- Data Comparison: Popular Pole and Light Options
- Final Thoughts: Lighting Up Your Outdoor Life
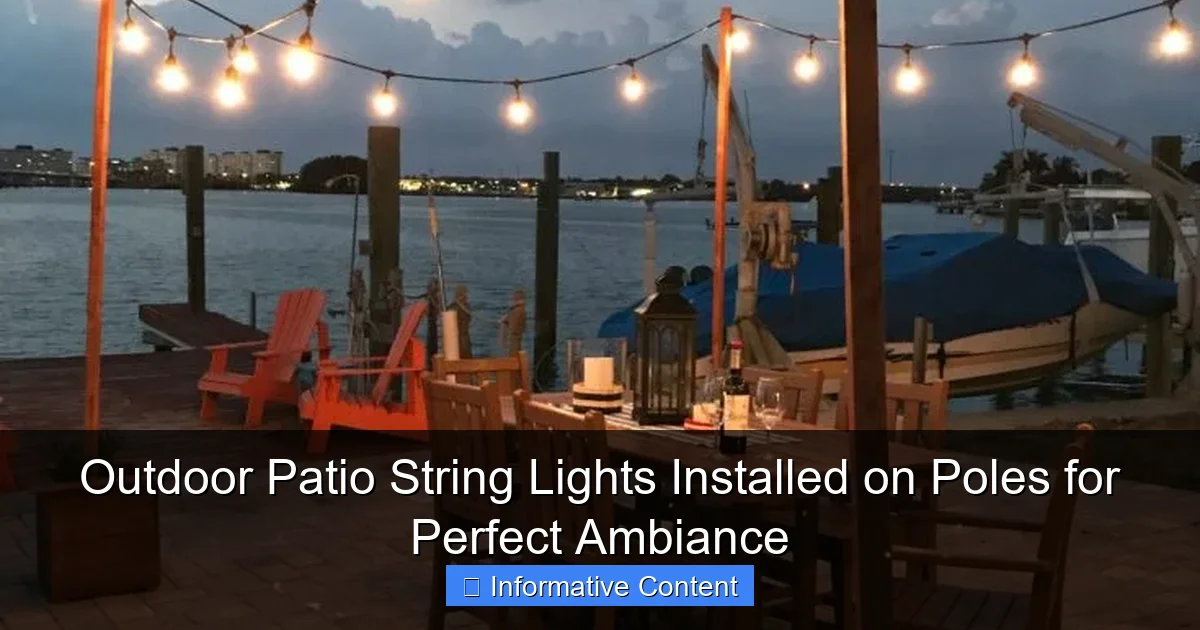
Outdoor Patio String Lights Installed on Poles for Perfect Ambiance
Picture this: it’s a warm summer evening, the sun has just dipped below the horizon, and your backyard transforms into a cozy, glowing retreat. The soft, golden light from string lights strung across your patio casts a warm glow over your outdoor furniture, making it feel like you’ve stepped into a scene from a movie. The ambiance is just right—not too bright, not too dim—just perfect for sipping a glass of wine with friends or sharing a quiet moment with your partner under the stars.
But here’s the catch: getting that perfect ambiance isn’t always easy. Many of us struggle with where to hang the lights, how to secure them, and how to avoid that awkward “half-lit” effect. That’s where outdoor patio string lights installed on poles come in. By mounting your lights on sturdy poles, you can create a professional, polished look that’s both functional and beautiful. Whether you’re hosting a summer barbecue or just want to enjoy your outdoor space after dark, this setup can elevate your patio game in no time.
Why Choose Pole-Mounted String Lights for Your Patio?
Let’s be honest—hanging string lights from trees or gutters can be a bit of a headache. Trees might not be tall enough, gutters can sag under the weight, and you’re often left with a patchy, uneven glow. That’s why more and more homeowners are turning to outdoor patio string lights installed on poles for a more reliable and visually pleasing solution.
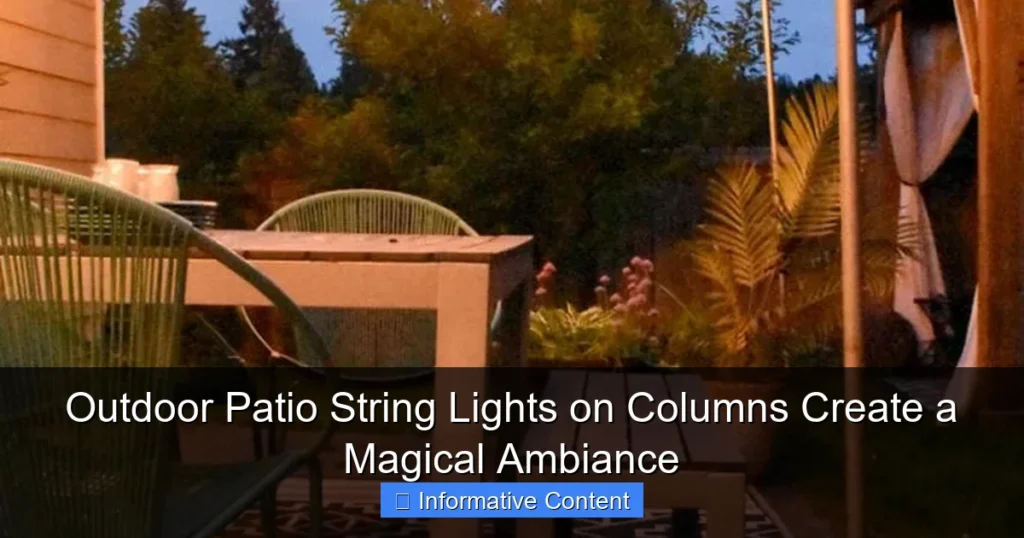
Visual guide about outdoor patio string lights installed on poles
Image source: h2obungalow.com
Stability and Durability
One of the biggest advantages of using poles is stability. Unlike trees, which sway in the wind, or gutters, which can’t always handle the weight, poles are designed to stand strong. Whether you opt for metal, wood, or PVC, a well-installed pole can support your string lights for years—even in harsh weather. I once tried hanging lights from a tree in my backyard, only to find them tangled and drooping after a single storm. Lesson learned: stability matters.
Flexibility in Design
Poles give you total control over the height, spacing, and layout of your lights. Want a crisscross pattern? No problem. Need to cover a wide area? Easy. You can even adjust the height to suit different activities—lower for intimate gatherings, higher for larger parties. For example, I set up my poles about 10 feet apart and 8 feet high, which created a cozy canopy without feeling claustrophobic. The flexibility is a game-changer.
Enhanced Aesthetics
Let’s not forget the visual appeal. Poles add structure to your outdoor space, turning a simple string of lights into a deliberate design feature. They can be painted to match your patio furniture, wrapped with climbing plants, or even fitted with decorative finials for a touch of elegance. My neighbor installed black metal poles with white string lights, and it instantly gave their patio a modern, café-like vibe. It’s amazing how much a small detail can transform the space.
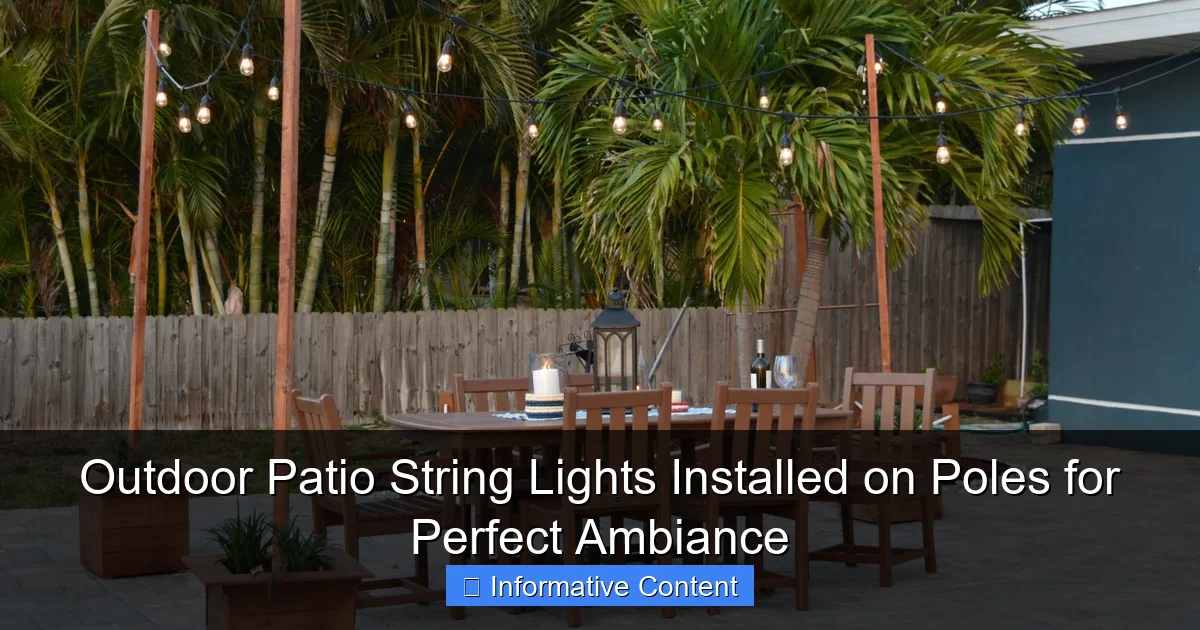
Choosing the Right Poles for Your Patio Setup
Not all poles are created equal. The type you choose will depend on your patio’s layout, your aesthetic preferences, and how permanent you want the installation to be. Here’s a breakdown of the most popular options—and what to consider before making a decision.
Material Matters: Metal, Wood, or PVC?
- Metal poles (like steel or aluminum) are the most durable and weather-resistant. They’re ideal for long-term installations, especially if you live in an area with strong winds or heavy snowfall. The downside? They can be pricey, and some require professional installation.
- Wooden poles (such as cedar or pressure-treated pine) offer a natural, rustic look. They’re easier to customize (paint, stain, or wrap with vines), but they do require occasional maintenance to prevent rot or warping.
- PVC poles are lightweight and affordable, making them a great choice for temporary setups or renters. They’re not as sturdy as metal or wood, but they’re easy to install and move around. Just avoid using them in extreme weather.
When I was deciding, I went with powder-coated steel poles for their durability and sleek finish. They cost a bit more, but I knew they’d last through seasons of rain, wind, and sun.
Height and Spacing
The ideal height for your poles depends on your patio’s size and how you plan to use the space. For most residential setups, poles between 7 and 10 feet tall work well. Here’s a quick rule of thumb: if you’re using the lights for dining or conversation, aim for 7–8 feet so the light isn’t too high. For larger areas or dramatic effects, go up to 10 feet.
Spacing is just as important. Too close, and the lights can look cluttered; too far, and you’ll have dark patches. I recommend spacing poles 8–12 feet apart for even coverage. If you’re creating a grid (like a checkerboard pattern), keep the distance consistent for a clean, professional look.
Permanent vs. Temporary Installation
Ask yourself: are you planning to keep these lights up year-round, or do you want the option to take them down? If you’re going permanent, consider setting poles in concrete or using ground sleeves for easy removal. For a temporary setup, look for freestanding poles with weighted bases—they’re perfect for renters or seasonal decorators.
Step-by-Step Guide to Installing Your String Lights on Poles
Ready to get your hands dirty? Installing outdoor patio string lights on poles might sound intimidating, but with the right tools and a little patience, it’s totally doable. Here’s a step-by-step guide to help you through the process.
Step 1: Plan Your Layout
Start by sketching your patio and deciding where the poles will go. Use painter’s tape or stakes to mark the spots. Consider:
- How many poles you’ll need (based on spacing).
- Where the lights will connect to power (you might need an outdoor outlet or extension cord).
- Whether you want a straight line, grid, or crisscross pattern.
Pro tip: Measure your string lights beforehand to ensure they’ll reach between poles. Nothing’s worse than realizing you’re short by a few feet!
Step 2: Install the Poles
For permanent poles, dig holes 18–24 inches deep (about one-third the pole’s height). Place the pole in the hole, level it, and fill with concrete. Let it cure for 24–48 hours before hanging lights.
For temporary setups, assemble freestanding poles according to the manufacturer’s instructions. Make sure the base is stable—no one wants a pole toppling over mid-dinner.
Step 3: Attach the Lights
Most string lights come with hooks, clips, or built-in loops for easy hanging. Here’s how to attach them:
- Start at the power source and work outward.
- Use carabiners or zip ties to secure lights to the poles (avoid nails, which can damage the wiring).
- For a crisscross pattern, use guide wires or tension cables to keep the lights taut.
I used stainless steel carabiners for my setup—they’re rust-resistant and easy to adjust if I ever want to change the layout.
Step 4: Test and Adjust
Plug in the lights and check for even brightness. If some bulbs are dim or flickering, check the connections or replace the bulbs. Adjust the tension if the lights sag (a common issue with longer runs).
Bonus tip: Install a timer or smart plug so you can turn the lights on and off without fumbling with outlets.
Creative Design Ideas to Elevate Your Patio Lighting
Now that your lights are up, it’s time to get creative! Pole-mounted string lights are versatile, and a little imagination can take your patio from “nice” to “wow.” Here are some ideas to inspire you.
Create a Canopy Effect
For a truly magical vibe, install poles in a grid pattern (like a checkerboard) and run lights in both directions. The overlapping glow creates a canopy that feels both cozy and spacious. Add sheer curtains or hanging planters for an extra touch of elegance.
I tried this for a friend’s wedding reception, and the photos turned out stunning—soft, diffused light that flattered everyone.
Highlight Key Areas
Use your lights to draw attention to specific zones, like:
- A dining area (with lights hung low over the table).
- A fire pit (with a circular arrangement around it).
- A lounge nook (with lights draped between poles and nearby trees).
This technique is perfect for larger patios where you want to define different “rooms.”
Mix and Match Light Types
Don’t be afraid to combine different styles of lights. Try:
- Edison bulbs for a vintage feel.
- Color-changing LEDs for a playful touch.
- Fairy lights for a delicate, twinkling effect.
Just make sure the colors and brightness complement each other. I once mixed warm white and cool blue lights—it looked chaotic, not chic. Stick to one dominant color temperature for a cohesive look.
Add Decorative Touches
Your poles don’t have to be plain! Try:
- Wrapping them with ivy or fairy lights.
- Attaching small shelves for candles or plants.
- Hanging wind chimes or ornaments for movement and sound.
Common Mistakes (and How to Avoid Them)
Even the best-laid plans can go awry. Here are some common pitfalls I’ve encountered—and how to steer clear of them.
Overloading the Poles
It’s tempting to hang as many lights as possible, but too much weight can cause poles to bend or collapse. Stick to one or two strands per pole, and check the manufacturer’s weight limits. If you’re using heavy bulbs (like Edison-style), consider using lighter-weight poles or adding support cables.
Ignoring Weatherproofing
Outdoor lights need to withstand rain, wind, and UV rays. Look for:
- UL-rated outdoor lights.
- Weatherproof sockets (no exposed wiring).
- Waterproof connections (like silicone-sealed plugs).
I learned this the hard way when a summer storm fried my non-weatherproof lights. Lesson: always read the label.
Forgetting About Maintenance
Even the best setup needs upkeep. Check your lights seasonally for:
- Burnt-out bulbs (replace promptly to avoid overloading the circuit).
- Loose connections (tighten carabiners or zip ties).
- Faded or damaged wiring (replace if frayed).
Pro tip: Keep spare bulbs and fuses on hand for quick fixes.
Data Comparison: Popular Pole and Light Options
| Type | Pros | Cons | Best For |
|---|---|---|---|
| Steel Poles | Durable, weather-resistant, sleek | Expensive, heavy | Permanent installations |
| Wooden Poles | Rustic look, customizable | Requires maintenance | Natural, cozy spaces |
| PVC Poles | Lightweight, affordable | Less sturdy | Temporary setups |
| Edison Bulbs | Vintage charm, warm glow | Heavy, fragile | Entertaining areas |
| LED String Lights | Energy-efficient, long-lasting | Can look too modern | Everyday use |
Final Thoughts: Lighting Up Your Outdoor Life
There’s something special about stepping outside and seeing your patio bathed in soft, inviting light. Outdoor patio string lights installed on poles aren’t just a practical solution—they’re a way to create memories, host unforgettable gatherings, and enjoy your outdoor space long after the sun goes down.
Whether you’re going for a rustic, modern, or whimsical vibe, the right setup can transform your patio into a personal oasis. And the best part? It’s not as hard as it looks. With a little planning, the right materials, and a touch of creativity, you can achieve that perfect ambiance you’ve always dreamed of.
So grab your poles, string up those lights, and get ready to light up your life—one glowing evening at a time.
Frequently Asked Questions
How do I install outdoor patio string lights on poles without damaging my yard?
Use ground-mounted poles with stakes or weighted bases for stability, avoiding permanent digging. This method keeps your yard intact while securely supporting your outdoor patio string lights installed on poles.
What type of poles work best for hanging string lights in a patio?
Steel, aluminum, or powder-coated metal poles are ideal for durability and weather resistance. Ensure they’re at least 7–8 feet tall for proper clearance and optimal light spread.
Can I leave patio string lights on poles up year-round?
Yes, if you choose weatherproof, commercial-grade lights and poles designed for all seasons. Check connections regularly to prevent moisture damage during winter or heavy rain.
How far apart should poles be placed for even lighting?
Space poles 8–10 feet apart to avoid sagging and ensure balanced illumination. Adjust based on your string light length and the ambiance you want to create.
Do I need special hardware to attach string lights to poles?
Most kits include hooks, zip ties, or carabiners for easy attachment. For added security, use eye bolts or stainless steel cables to anchor the lights to the poles.
How do I power outdoor patio string lights installed on poles?
Use outdoor-rated extension cords connected to a GFCI outlet for safety. For a cleaner look, bury the cords or use solar-powered lights to avoid visible wiring.