Featured image for patio string lights pole ideas
Image source: i1.wp.com
Transform your patio into a magical retreat with creative string lights pole ideas that elevate both ambiance and style. From repurposed wooden posts and sleek metal stands to DIY ladder frames and hanging shepherd’s hooks, these versatile lighting solutions add height, dimension, and warmth to any outdoor space—without permanent installation. Perfect for renters and homeowners alike, these ideas blend function and flair for unforgettable evening gatherings.
Key Takeaways
- Use sturdy materials: Choose weather-resistant metals or treated wood for long-lasting poles.
- Maximize height: Install poles 7–9 feet high for optimal light spread and ambiance.
- Anchor securely: Use concrete footings or ground sleeves to prevent wobbling in wind.
- Mix lighting styles: Combine string lights with lanterns or LED strips for layered effects.
- Space evenly: Place poles 6–8 feet apart to avoid sagging and ensure balanced illumination.
- Add greenery: Wrap poles with vines or ivy for a natural, decorative touch.
📑 Table of Contents
- Why Patio String Lights Pole Ideas Matter
- Choosing the Right Pole for Your Patio
- Creative Pole Designs to Inspire You
- Lighting Layouts and Configurations
- Weatherproofing and Maintenance Tips
- Table: Pros and Cons of Popular Pole Materials
- Putting It All Together: A Step-by-Step Example
- Final Thoughts: Light Up Your Life
Why Patio String Lights Pole Ideas Matter
There’s something magical about stepping onto your patio at night and being greeted by a warm, inviting glow. String lights have this uncanny ability to transform even the simplest outdoor space into a cozy retreat. But here’s the thing: if you just drape them across trees or attach them to your house, you might be missing out on the full potential. That’s where patio string lights pole ideas come in. They’re not just about holding up lights—they’re about creating a mood, defining your space, and adding a touch of personality to your backyard.
I learned this the hard way. A few summers ago, I tried to string up some lights across my patio using zip ties on my fence. It looked great for a week. Then a storm came, and my lights sagged, tangled, and eventually gave up. It wasn’t just the weather—it was the lack of proper support. That’s when I started researching patio string lights pole ideas. What I found was a world of creativity: from sleek metal poles to rustic wooden beams, there’s a pole style for every taste and budget. Whether you want to create a romantic bistro vibe or a lively party atmosphere, the right pole can make all the difference.
Choosing the Right Pole for Your Patio
Material Matters: Wood, Metal, or PVC?
When it comes to patio string lights pole ideas, the first decision is what material to use. Each has its own pros and cons, and your choice will depend on your climate, style, and how permanent you want the setup to be.
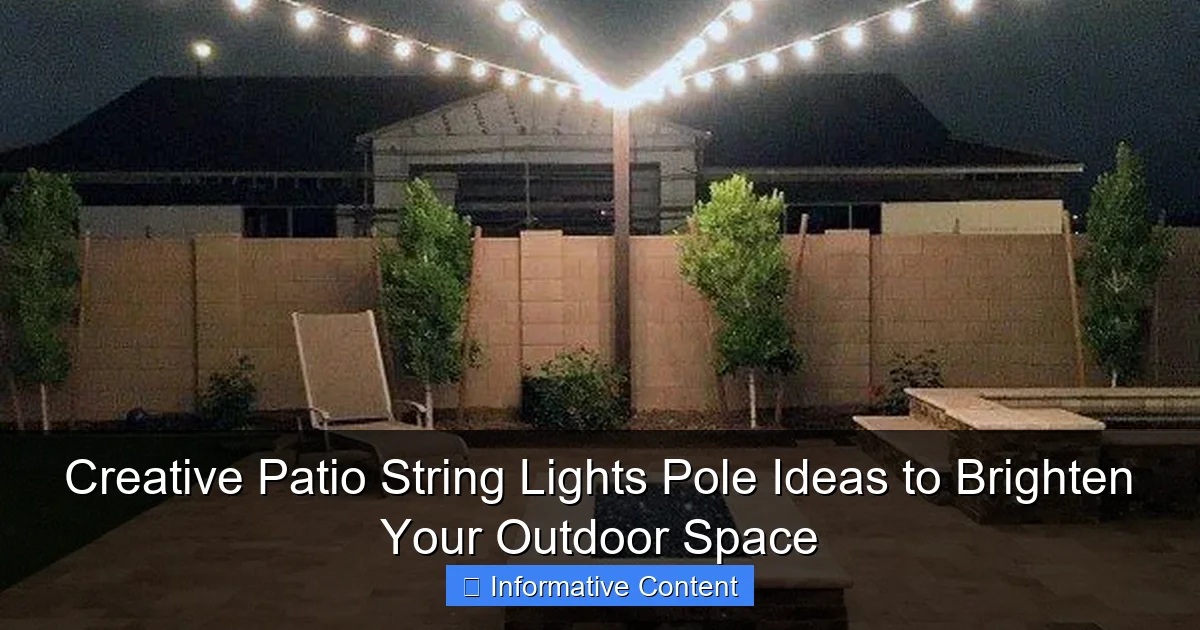
Visual guide about patio string lights pole ideas
Image source: i.pinimg.com
- Wood: Cedar or pressure-treated pine are popular for a natural, rustic look. They’re sturdy and blend well with gardens, but they need sealing or staining to last through rain and sun. I once used a reclaimed wooden beam from an old fence—it gave my patio a farmhouse charm, but I had to reseal it every spring.
- Metal: Aluminum or galvanized steel poles are durable and weather-resistant. They’re great for modern or industrial styles. A friend of mine installed a black powder-coated steel pole, and it still looks brand new after three years. Just be careful—metal can get hot in direct sunlight.
- PVC: Lightweight and affordable, PVC poles are easy to assemble and won’t rust. They’re perfect for renters or temporary setups. I used PVC for my first pole, and it survived a mild winter, but I wouldn’t trust it in high winds.
Height and Spacing: Finding the Sweet Spot
Too low, and your lights might get in the way. Too high, and they lose their cozy glow. The ideal height for most patio string lights pole ideas is between 7 and 9 feet. This keeps the lights at eye level when sitting, creating an intimate atmosphere. For spacing, aim for poles every 8–12 feet. If your lights sag, you can always add a third pole in the middle.
Pro tip: If you’re hanging lights between two poles, use a tension wire or fishing line to prevent sagging. I once skipped this step, and my lights looked like a hammock. A simple wire behind the lights fixed it instantly.
Anchoring: Keeping Your Pole Steady
No one wants their lights crashing down mid-dinner. For permanent poles, concrete footings are the gold standard. Dig a hole 2–3 feet deep, set the pole, and pour concrete. It’s a bit of work, but it’s worth it. For temporary setups, use ground stakes (for grass) or weighted bases (for patios). I’ve used sandbags with PVC poles—they’re not pretty, but they hold up in light winds.
Creative Pole Designs to Inspire You
Classic T-Pole: Simple and Versatile
The T-pole is the workhorse of patio string lights pole ideas. Just a vertical pole with a crossbar at the top. It’s easy to build, and you can adjust the crossbar width to fit your space. I made mine from a 2×4 and a 4-foot metal rod. It took an afternoon, and now I can hang lights, wind chimes, or even a small flag.
For extra flair, paint the pole to match your patio furniture. My neighbor did hers in navy blue, and it looks so sharp with her white string lights.
Tripod Pole: Stability Meets Style
If you’re dealing with soft soil or windy areas, a tripod pole is a smart choice. Three legs spread the weight, making it more stable than a single pole. You can buy ready-made tripods (like those used for photography) or build one from PVC pipes. I saw a DIY version at a friend’s house—three 8-foot PVC pipes tied together at the top with a rope. It looked rustic and held up through a storm.
Freestanding Frame: A Mini Gazebo
For larger patios, a freestanding frame is a game-changer. Think of it as a mini version of a pergola. Use four poles at the corners, connect them with beams, and hang lights across the top. This works especially well with Edison-style bulbs, which cast a warm, industrial glow. I built one using pressure-treated wood, and it became the centerpiece of my backyard. The best part? It doubles as a shade structure in the day.
Hanging Pole: Lights from the Ceiling (or Tree)
Not all poles need to be vertical. If your patio has an overhang or a tree, consider a hanging pole. Attach a horizontal beam to the ceiling or tree branches, then hang lights from it. This is perfect for covered patios or balconies. I used a metal rod with eye hooks on each end, and it looked like something from a Parisian café.
Lighting Layouts and Configurations
Grid Pattern: Even and Bright
For a clean, modern look, try a grid pattern. Hang your lights in a crisscross formation between poles. This works best with smaller bulbs (like fairy lights) and gives even coverage. I did this in my backyard, and it felt like dining under a starry sky. Just make sure your poles are sturdy—the crisscrossing adds tension.
Canopy Effect: Soft and Dreamy
Want a romantic vibe? Create a canopy by draping lights in a zigzag pattern between poles. Start high, dip low, then go high again. This mimics the look of a tent or a wedding reception. My sister used this for her outdoor wedding, and it was magical. For best results, use dimmable bulbs and add sheer fabric between the poles.
Zigzag or “S” Curve: Dynamic and Fun
If you want something playful, try an “S” curve or zigzag layout. This breaks the monotony of straight lines and adds visual interest. I once used this for a backyard movie night—the lights followed the shape of the seating area, and it felt like we were in a cozy cocoon. Just be careful not to overdo it. Too many curves can make the space feel cluttered.
Weatherproofing and Maintenance Tips
Protecting Your Poles
Outdoor poles take a beating. Rain, sun, and wind can wear them down over time. Here’s how to keep yours looking great:
- Seal wooden poles: Use a waterproof sealant every year. I learned this after my first wooden pole turned gray in just one summer.
- Paint metal poles: A fresh coat of rust-resistant paint every few years keeps them shiny. My friend’s black pole looked dull after five years—until we repainted it.
- Inspect PVC poles: Check for cracks or warping. I once ignored a small crack, and it split during a windstorm.
Maintaining Your Lights
String lights are low-maintenance, but a little care goes a long way:
- Check connections: Loose wires can cause flickering. I once spent an hour troubleshooting a light string—only to find a loose plug.
- Clean bulbs: Dust and bugs can dim your lights. Wipe them down with a damp cloth every few months.
- Store properly: If you take your lights down for winter, store them in a dry place. I use a labeled bin so I can find them easily in the spring.
Winter-Proofing (If You Leave Lights Up)
If you live in a cold climate, leaving lights up all year is possible—but you’ll need to prepare. Use LED bulbs (they’re more energy-efficient and handle cold better). For poles, consider removable bases so you can take them down during heavy snow. My neighbor leaves his up year-round, but he takes the lights down in December and rehangs them in March.
Table: Pros and Cons of Popular Pole Materials
| Material | Pros | Cons |
|---|---|---|
| Wood | Natural look, easy to customize, blends with gardens | Requires sealing, can rot or warp if untreated |
| Metal | Durable, weather-resistant, modern style | Can get hot, may rust if not painted |
| PVC | Lightweight, affordable, won’t rust | Less sturdy in high winds, can crack in cold weather |
| Concrete | Extremely stable, permanent solution | Hard to move, requires digging |
| Reclaimed materials (barn wood, pipes) | Eco-friendly, unique look | May need reinforcement, inconsistent quality |
Putting It All Together: A Step-by-Step Example
Step 1: Plan Your Layout
Measure your patio and decide how many poles you need. For a 12×12 foot area, two poles might be enough. For a 20×20 foot space, you’ll likely need four. Sketch your layout on paper, noting pole positions and light patterns.
Step 2: Gather Materials
For a simple T-pole setup, you’ll need:
- 2 metal or wooden poles (8 feet tall)
- 2 crossbars (4 feet long)
- Concrete mix (for permanent poles) or sandbags (for temporary)
- String lights (100–200 bulbs, depending on length)
- Tools: drill, level, measuring tape
Step 3: Install the Poles
For permanent poles:
- Dig holes 2 feet deep, 1 foot away from your patio edges.
- Place poles in holes, use a level to make sure they’re straight.
- Pour concrete, let it cure for 24–48 hours.
For temporary poles:
- Use ground stakes or weighted bases. My sandbag trick: fill a heavy-duty bag with sand and tie it around the pole’s base.
Step 4: Hang the Lights
Start at one pole, attach lights to the crossbar with zip ties or hooks. Run them to the second pole, keeping tension even. For a grid pattern, add horizontal strings between the main lines. Test the lights as you go—I once missed a dead bulb and had to re-hang half the string.
Step 5: Finishing Touches
Add dimmers for ambiance, or timers to save energy. I use a smart plug so I can turn my lights on with my phone. For extra magic, hang sheer fabric or paper lanterns between the poles.
Final Thoughts: Light Up Your Life
At the end of the day, patio string lights pole ideas are about more than just illumination. They’re about creating a space where you want to linger—whether it’s for a quiet evening with a book or a lively barbecue with friends. The right pole can turn your patio into a personal oasis, and the best part is, you don’t need a big budget or fancy tools to make it happen.
My own journey with string lights started with a failed zip-tie setup, but it led to a love affair with outdoor lighting. Now, my patio is my favorite room in the house. Every time I turn on the lights, I’m reminded of the time, care, and creativity that went into it. And that’s what makes it special.
So go ahead—experiment with different pole styles, play with light patterns, and don’t be afraid to make mistakes. Some of my best ideas came from “oops” moments (like the time I accidentally hung my lights upside down and loved the look). Your patio is a blank canvas. Let your lights be the brushstroke that brings it to life.
Frequently Asked Questions
What are some creative patio string lights pole ideas for small spaces?
For compact patios, consider slim, vertical poles like repurposed garden stakes, wall-mounted brackets, or foldable tripod stands. These save floor space while still providing sturdy support for your string lights. DIY options like painted PVC pipes or copper tubing also add a stylish touch.
Can I use existing structures instead of dedicated poles for patio string lights?
Absolutely! Fences, pergolas, trees, or even balcony railings can double as natural patio string lights pole ideas without extra hardware. Wrap lights around columns or use removable hooks for a damage-free solution.
How do I install poles for string lights on a concrete patio?
Use weighted base stands (like umbrella stands) or ground sleeves for temporary setups. For permanent installation, drill into the concrete and anchor metal or wooden poles with epoxy for stability. Always check for underground utilities first.
What materials work best for DIY patio light poles?
Durable options include galvanized steel, cedar wood, or powder-coated aluminum—all weather-resistant and long-lasting. For a rustic look, try repurposed broom handles or bamboo; just seal them with waterproof varnish.
Are there portable pole options for renters or temporary setups?
Yes! Freestanding shepherd’s hooks, magnetic poles, or clamp-on designs work well for renters. Inflatable or telescoping poles are also great for quick setup and storage, especially for events or seasonal use.
How can I hide unsightly poles for patio string lights?
Wrap poles with ivy, faux vines, or fabric sleeves to blend them into your decor. Paint them to match your patio furniture or surround the base with planters for a natural disguise.

