
Featured image for pergola canopy with string lights diy
Image source: pascorentals.com
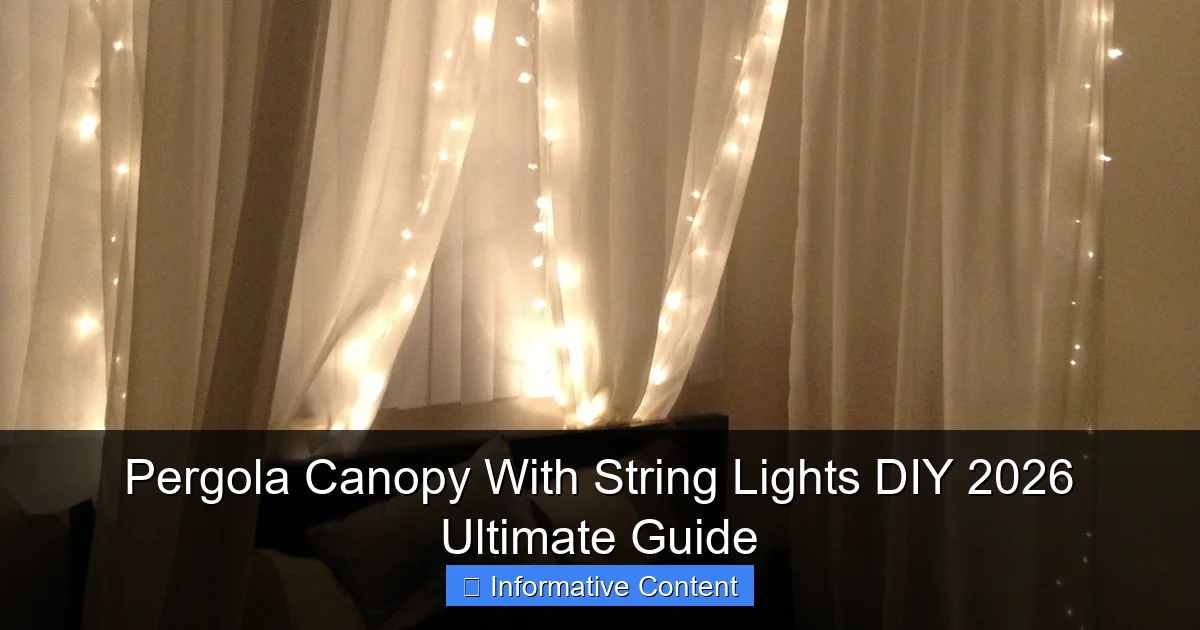
Transform your outdoor space with a stunning pergola canopy with string lights DIY project—perfect for ambiance, style, and year-round entertaining. This 2026 ultimate guide walks you through every step, from selecting weather-resistant materials to installing energy-efficient LED string lights with pro-level flair. Elevate your backyard in just a weekend with customizable, budget-friendly solutions that blend function and magic.
Key Takeaways
- Plan carefully: Measure your pergola and sketch a lighting layout before buying materials.
- Choose durable fabric: Opt for UV-resistant, waterproof canopies to ensure long-term use.
- Use LED string lights: They’re energy-efficient, safe, and perfect for evening ambiance.
- Secure lights properly: Attach with clips or hooks to avoid sagging and damage.
- Layer lighting: Combine string lights with uplighting for a dynamic outdoor glow.
- Test before final install: Check lights and canopy tension to prevent mid-project issues.
📑 Table of Contents
- Transform Your Backyard with a Pergola Canopy With String Lights DIY
- Why a DIY Pergola Canopy With String Lights Is Worth the Effort
- Planning Your Pergola Canopy With String Lights DIY Project
- Step-by-Step Installation Guide
- Common Pitfalls and How to Avoid Them
- Styling Tips and Creative Ideas
- Cost Breakdown and Time Investment
- Final Thoughts: Your Pergola Oasis Awaits
Transform Your Backyard with a Pergola Canopy With String Lights DIY
There’s something magical about stepping into your backyard at dusk, where the air is warm, the stars are beginning to twinkle, and soft light spills from above like a secret invitation. I remember the first time I draped string lights over our old wooden pergola—it wasn’t perfect. The canopy sagged a bit on one side, and I nearly tripped over a rogue extension cord. But when the lights flickered on, my partner looked up and whispered, “It feels like we’re dining in a fairy tale.” That moment sparked my obsession with creating a pergola canopy with string lights DIY—a project that’s equal parts practical and dreamy.
Whether you’re hosting a summer BBQ, enjoying a quiet evening with a book, or just craving a cozy nook to unwind, a DIY pergola canopy with string lights can turn your outdoor space into an oasis. The best part? It’s more achievable than you think. With the right materials, a little patience, and some creative flair, you can build a stunning setup that’s both functional and Instagram-worthy. This guide will walk you through every step, from planning to plugging in the last bulb, with tips to avoid common pitfalls (like sagging canopies or tangled wires).
Why a DIY Pergola Canopy With String Lights Is Worth the Effort
Cost-Effective vs. Professional Installations
Let’s be real: hiring a contractor to install a pergola canopy and lighting can cost anywhere from $2,000 to $10,000. That’s a hefty sum for something you can tackle yourself for a fraction of the price. A basic pergola canopy with string lights DIY project typically costs $200–$800, depending on materials. For example, a 10×12-foot retractable canopy might run $150, while premium outdoor string lights with smart features could be $100–$200. The rest goes to hardware, tools, and maybe a celebratory beverage post-installation.
Visual guide about pergola canopy with string lights diy
Image source: i.pinimg.com
But it’s not just about saving money. DIY gives you control. Want to angle the lights just so to highlight your rose garden? Need the canopy to retract on sunny days? You can tailor every detail. One friend, Sarah, used zip ties to create a “starburst” pattern with her lights, which now casts beautiful shadows on her patio. “It’s like having a custom art installation,” she says.
Enhancing Outdoor Ambiance and Functionality
A pergola canopy isn’t just about shade—it’s about creating layers of comfort. During the day, the canopy provides UV protection (look for UV-blocking fabrics with SPF 50+). At night, string lights add warmth and depth. Think of it as your outdoor “room” with adjustable lighting and weather protection. For instance, you can:
- Use dim-to-warm string lights for a cozy, candlelit vibe.
- Add a retractable canopy to let in sunlight when you want it.
- Install motion-sensor lights along the pergola edges for safety.
One couple, Mark and Lisa, told me their pergola became their “go-to spot” for morning coffee and evening wine. “It’s where we decompress,” Mark said. “The lights make it feel like we’re on vacation, even on a Tuesday.”
Boosting Property Value (Subtly but Surely)
Outdoor living spaces are a hot commodity. A 2025 Houzz survey found that 78% of homeowners prioritize outdoor upgrades when selling, with pergolas ranking in the top 5. While a DIY project won’t skyrocket your home’s value, it signals care and attention to detail. A well-lit, shaded area is a selling point—especially if you document the process (hello, curb appeal!).
Planning Your Pergola Canopy With String Lights DIY Project
Assessing Your Space and Needs
Before buying a single screw, ask: What’s the purpose of this space? Is it for dining? Relaxing? Hosting? Measure your pergola’s dimensions (length, width, height) and note any quirks—like a sloped roof or nearby trees. For example:
- A 10×12-foot pergola needs a canopy at least that size (add 6–12 inches for overhang).
- String lights should cover the perimeter and cross the center for even light.
- If your pergola has a roof, you may need hooks or clips instead of drilling.
Pro tip: Use painter’s tape to outline the canopy area on the ground. This helps visualize scale. One reader, James, skipped this step and ended up with a canopy that blocked his kitchen window—oops.
Choosing the Right Canopy Material
Not all canopies are created equal. Here’s a quick breakdown:
- Polyester with PU coating: Affordable, water-resistant, and blocks 90% of UV rays. Great for beginners.
- Retractable canopies: More expensive ($300–$800) but offer flexibility. Look for motorized options if you’re lazy (like me).
- Natural fabrics (canvas, cotton): Eco-friendly but less durable. Best for dry climates.
- Shade sails: Modern, geometric look. Requires precise tensioning—not for the faint-hearted.
One couple, Priya and Tom, chose a polyester canopy with a retractable track. “We wanted shade during the day but open sky at night,” Priya explained. “The track system was easy to install, and now we can control it with a remote.”
Selecting String Lights: Types and Features
String lights aren’t just “twinkle” or “steady.” Consider:
- Bulb type: LED (energy-efficient, lasts 25,000+ hours) vs. incandescent (warmer glow, but hotter and less durable).
- Light color: Warm white (2700K–3000K) for coziness; cool white (4000K+) for a modern look.
- Smart features: Wi-Fi-enabled lights let you control color, brightness, and schedules via an app (e.g., Philips Hue, LIFX).
- Length and spacing: Measure your pergola’s perimeter and add 20% extra. Spacing depends on coverage—5–8 inches apart for a soft glow.
Sarah, the starburst designer, used 200-foot LED string lights with 12-inch spacing. “I wanted it to feel ‘full’ but not overwhelming,” she said. “The 2700K color temperature is perfect—like golden hour, but at midnight.”
Step-by-Step Installation Guide
Preparing the Pergola Structure
Safety first! Before attaching anything, ensure your pergola is sturdy. Check for:
- Wobbly posts or loose beams.
- Rot or insect damage in wood (replace if needed).
- Clearance from power lines (if using electrical tools).
For wooden pergolas, sand rough edges and seal with a weatherproof stain. For metal, wipe down with soapy water to remove rust. One installer, Carlos, told me: “A clean, solid base is 50% of the battle. Skipping this step can lead to sagging or even collapse.”
Installing the Canopy: Fixed vs. Retractable
Fixed Canopy (Simplest Option):
- Attach canopy clips or grommets to the pergola beams (use stainless steel screws to resist rust).
- Drape the canopy over the frame, aligning the edges.
- Secure with bungee cords or zip ties. For a snug fit, pull the fabric taut—but not so tight it warps the frame.
Retractable Canopy (Intermediate Skill):
- Install a track system along the pergola’s top edges (follow manufacturer instructions).
- Attach the canopy to the track’s roller mechanism.
- Test the retraction manually before adding lights.
Pro tip: For retractable canopies, add a wind sensor to automatically close it during storms. James, the window-blocker, now has a sensor that saves his canopy from sudden downpours.
Hanging String Lights: Patterns and Techniques
Here’s where the magic happens. Avoid a “draped mess” with these strategies:
- Perimeter + Crosshatch: Wrap lights around the pergola’s edges, then run lines across the center. This ensures even coverage.
- Starburst (Sarah’s Favorite): Attach lights to a central hook, then fan them outward. Use zip ties to secure.
- Layered Look: Hang two sets—one high (on the canopy) and one lower (on beams) for depth.
Tools you’ll need:
- Outdoor-rated hooks (screw-in or adhesive).
- Zip ties (black for blending in).
- Extension cords (rated for outdoor use).
- Timer or smart plug to automate on/off times.
One reader, Emma, used adhesive hooks for her rental-friendly setup. “No drilling, no damage,” she said. “The lights stay put, even in wind.”
Common Pitfalls and How to Avoid Them
Sagging Canopies and Uneven Light
A sagging canopy isn’t just ugly—it traps water and weakens the fabric. To prevent this:
- Use a tensioning system (e.g., bungee cords, turnbuckles).
- Install a center support pole for large pergolas (15+ feet wide).
- Choose a canopy with reinforced grommets at the edges.
For uneven light, measure spacing before hanging. Use a laser level to keep lines straight. Carlos, the installer, recommends: “Test the lights before finalizing. Adjust spacing by 1–2 inches until it ‘feels’ right.”
Weatherproofing and Durability
Mother Nature doesn’t care about your DIY dreams. To protect your setup:
- Use UV-resistant canopy fabric (look for SPF 50+ ratings).
- Seal all electrical connections with waterproof tape or outdoor-rated boxes.
- Store lights and cords in a dry, ventilated shed during winter.
One couple, Priya and Tom, lost their first canopy to a hailstorm. “Lesson learned,” Tom said. “Now we have a quick-release system to take it down in bad weather.”
Electrical Safety and Code Compliance
Never daisy-chain extension cords or overload circuits. Follow these rules:
- Use outdoor-rated extension cords (marked “SJTW” or “STW”).
- Keep all connections off the ground (use hooks or clips).
- If using a transformer (for low-voltage lights), place it in a weatherproof enclosure.
Carlos warns: “One bad connection can fry your lights or start a fire. When in doubt, hire an electrician for the hardwiring part.”
Styling Tips and Creative Ideas
Layering Light and Texture
Don’t stop at string lights! Add depth with:
- Fairy lights in glass jars (place on tables or hang from beams).
- Lanterns with LED candles (safe and flicker-free).
- Outdoor rugs and throw pillows in coordinating colors.
Emma, the renter, hung sheer curtains from her canopy to diffuse light. “It feels like a boho lounge,” she said. “Plus, the curtains add privacy.”
Seasonal Adjustments
Your pergola can evolve with the seasons:
- Summer: Use a light-colored canopy to reflect heat.
- Fall: Add warm-toned lights (3000K) and cozy blankets.
- Winter: Remove the canopy (if retractable) to let in sunlight; use battery-powered lights.
James, the window-blocker, swaps out his canopy fabric seasonally. “I’ve got a sunshade for summer, a waterproof one for fall, and a sheer one for winter,” he said. “It’s like having three pergolas in one.”
Smart Upgrades for the Tech-Savvy
Want to geek out? Try:
- Motion-sensor lights for security.
- Color-changing LEDs for parties (sync with music via app).
- Solar-powered lights to cut energy costs.
Mark and Lisa added a smart plug to their setup. “We set it to turn on at sunset and off at midnight,” Mark said. “No more fumbling for switches.”
Cost Breakdown and Time Investment
Here’s a realistic estimate for a 10×12-foot pergola canopy with string lights DIY project:
| Item | Cost Range | Time Required | Notes |
|---|---|---|---|
| Retractable canopy (10×12 ft) | $300–$600 | 3–5 hours | DIY-friendly kits include tracks and fabric. |
| LED string lights (200 ft) | $80–$150 | 2–3 hours | Choose warm white (2700K) for ambiance. |
| Hardware (hooks, zip ties, etc.) | $30–$50 | 1 hour | Buy outdoor-rated stainless steel. |
| Extension cords & timers | $20–$40 | 30 mins | Use “SJTW” rated cords for safety. |
| Miscellaneous (tools, ladder) | $0–$100 | — | Rent tools if you don’t own them. |
| Total | $430–$940 | 6–9 hours | — |
Time estimates assume a weekend warrior pace. If you’re a beginner, budget 10–12 hours. Pro tip: Work with a friend—it’s safer and more fun. Sarah said her husband “saved her sanity” by holding the ladder while she hung the starburst lights.
Final Thoughts: Your Pergola Oasis Awaits
Building a pergola canopy with string lights DIY isn’t just about adding shade or light—it’s about crafting a space where memories happen. Whether it’s your child’s first outdoor birthday party, a romantic date night, or a solo moment of peace, your pergola becomes a backdrop for life’s little joys. And while the process might feel daunting at first (I still remember my first tangled extension cord), the reward is worth it. You’re not just installing a canopy; you’re building a sanctuary.
As you start this project, remember: perfection isn’t the goal. It’s about progress. Maybe your lights aren’t perfectly aligned, or your canopy has a slight sag. That’s okay. What matters is that you tried, you learned, and you created something uniquely yours. After all, the best DIY projects are the ones that reflect your story—imperfections and all. So grab those string lights, take a deep breath, and let your backyard shine. The fairy tale is waiting.
Frequently Asked Questions
How do I install a pergola canopy with string lights DIY?
Start by measuring your pergola and selecting a weather-resistant canopy. Secure the canopy to the pergola frame using zip ties, hooks, or ropes, then weave string lights along the beams or edges for even illumination.
What type of string lights work best for a pergola canopy with string lights DIY project?
Opt for LED string lights with a warm white or soft glow, as they’re energy-efficient and weatherproof. Solar-powered or dimmable options add extra ambiance and functionality for your outdoor space.
Can I leave my DIY pergola canopy and string lights up year-round?
Only if both the canopy and lights are rated for all-weather use. Remove delicate string lights during harsh winters or storms to extend their lifespan, and store them properly.
How do I power my pergola canopy with string lights without nearby outlets?
Use solar-powered string lights or install a weatherproof outdoor extension cord with a GFCI outlet. For larger setups, consider a low-voltage transformer connected to a nearby indoor power source.
Are there budget-friendly ideas for a pergola canopy with string lights DIY?
Yes! Use a retractable shade sail or repurposed curtains as a canopy, paired with affordable fairy lights. Shop end-of-season sales or use smart plugs to control lighting costs.
How can I make my pergola canopy with string lights look more professional?
Hide cords by running them through PVC pipes or fabric channels, and use zip ties or adhesive clips to secure lights evenly. Layer lights with sheer fabric or greenery for a polished, designer touch.

