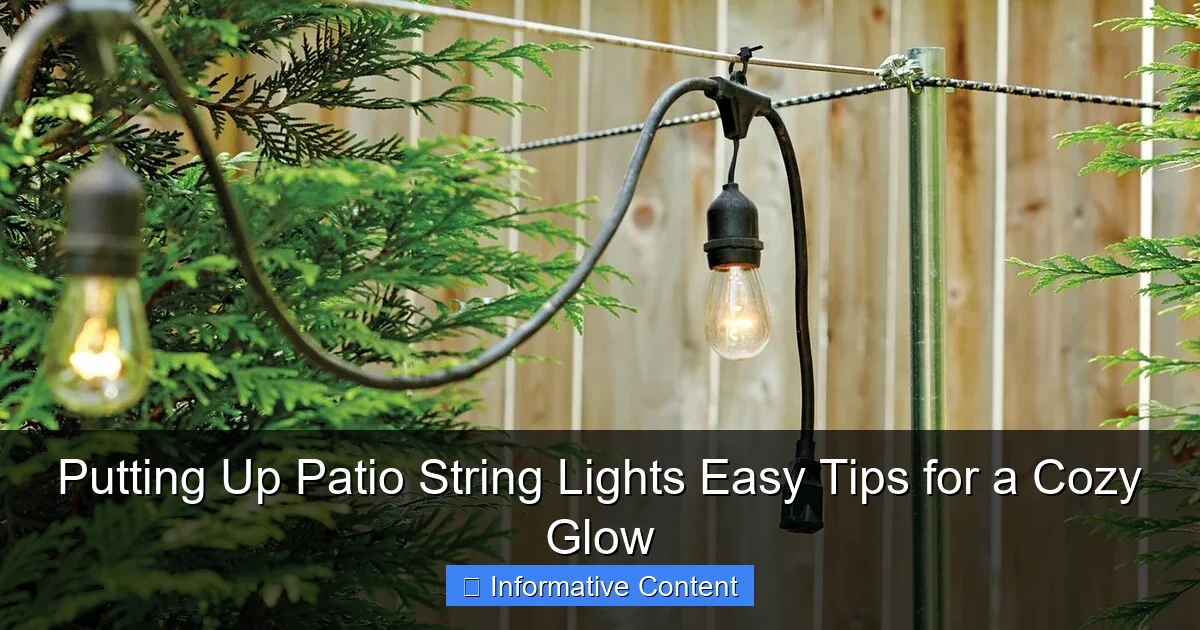
Featured image for putting up patio string lights
Image source: storables.com
Transform your outdoor space effortlessly with patio string lights by choosing durable, weather-resistant bulbs and spacing them evenly for a balanced, inviting glow. Use removable hooks, zip ties, or guide wires to secure lights safely without damaging surfaces—ensuring a cozy ambiance perfect for entertaining or relaxing.
Key Takeaways
- Plan your layout first: Measure space and sketch light placement for balanced coverage.
- Use durable hardware: Opt for hooks, screws, or zip ties that withstand weather and weight.
- Choose LED bulbs: They last longer, use less energy, and emit a cozy glow.
- Test lights before installing: Check for dead bulbs or wiring issues to avoid rework.
- Secure connections safely: Use outdoor-rated extension cords and keep plugs off the ground.
- Create ambiance with spacing: Hang lights 2-3 feet apart for optimal brightness and charm.
📑 Table of Contents
- Why String Lights Are the Secret to a Cozy Patio
- Planning Your String Light Layout: Start with a Vision
- Choosing the Right String Lights: Types, Styles, and Features
- Hanging Techniques: Tools, Hardware, and Pro Tips
- Power Solutions: Staying Lit Without the Hassle
- Maintenance and Troubleshooting: Keep the Glow Alive
- Creative Ideas to Elevate Your Patio Lighting
Why String Lights Are the Secret to a Cozy Patio
There’s something magical about stepping onto your patio after sunset and being greeted by the soft, warm glow of string lights. It’s not just about lighting up the space—it’s about transforming it into a sanctuary. Whether you’re hosting friends for a summer barbecue, enjoying a quiet evening with a book, or sharing a romantic dinner under the stars, patio string lights instantly create an inviting atmosphere. I remember the first time I hung mine—what started as a simple DIY project turned into a nightly ritual of turning on the lights and feeling my stress melt away. That’s the power of good lighting.
But here’s the thing: putting up patio string lights isn’t always as simple as it sounds. I’ve learned through trial and error that a little planning goes a long way. From choosing the right type of lights to figuring out the best hanging method, there are plenty of small decisions that can make or break the final look. The good news? With the right tips and a few practical tricks, you can achieve that cozy glow without breaking a sweat—or the bank. In this guide, I’ll walk you through everything you need to know, from planning and setup to maintenance and creative ideas. Let’s get started!
Planning Your String Light Layout: Start with a Vision
Before you even unbox your lights, take a step back and think about what you want to achieve. Are you aiming for a romantic, intimate vibe? Or do you want to illuminate the whole patio for lively gatherings? Your goal will shape every decision, from the type of lights to where you hang them. I once rushed into a setup without a clear plan and ended up with lights that were too bright, too dim, and awkwardly spaced—less cozy, more chaotic.
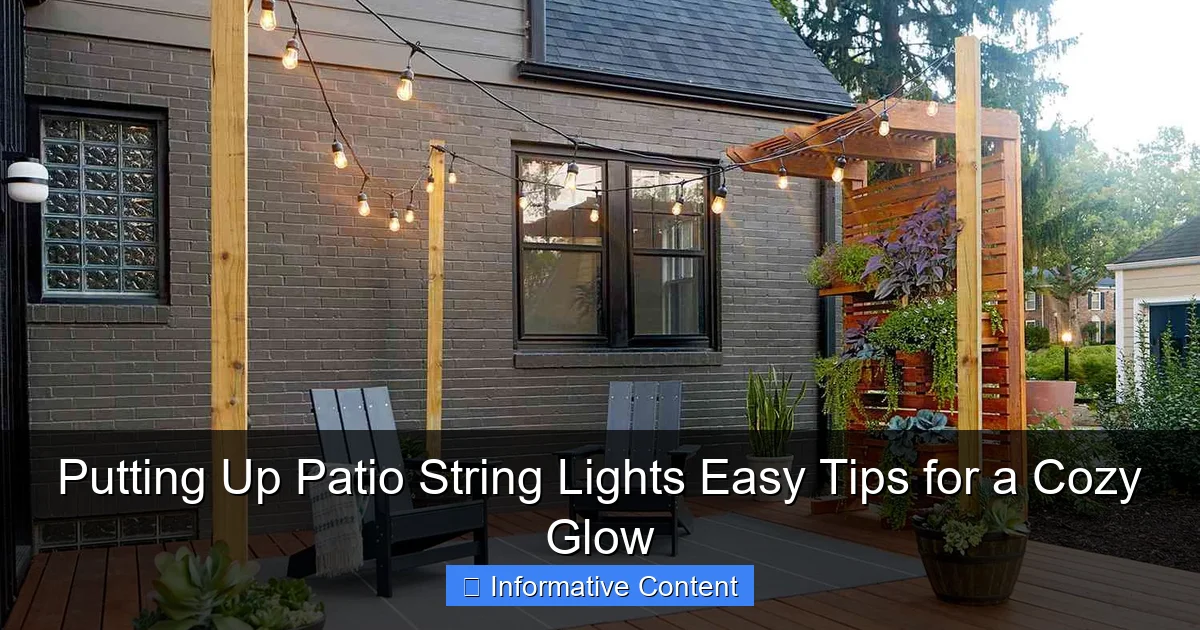
Visual guide about putting up patio string lights
Image source: bhg.com
Map Out Your Space
Grab a measuring tape and jot down the dimensions of your patio. Note where you’ll place furniture, plants, and any architectural features like railings or pergolas. This helps you visualize where the lights will go and how many strands you’ll need. For example, if your patio is 12 feet long and you want to hang lights in a zigzag pattern from one end to the other, you’ll need about 15–18 feet of lights to account for the diagonal lines. Pro tip: Use painter’s tape to mark anchor points on walls or posts before hanging—this lets you test the layout without making holes.
Decide on the Pattern
The way you arrange the lights affects the ambiance. Here are a few popular patterns to consider:
- Straight lines: Simple and classic. Hang lights parallel to each other between two points (e.g., a wall and a tree).
- Zigzag: Adds visual interest. Great for larger patios or when you want to cover more area with fewer anchor points.
- Canopy: Creates a “ceiling” effect. Hang lights in a crisscross pattern overhead for a starry-night vibe.
- Clustered: Group lights in one area (like a dining nook) to focus the glow where it’s needed most.
For example, if you have a small patio with a dining table, a clustered pattern above the table might be perfect. But if you have a sprawling space with a fire pit and lounge area, a canopy or zigzag could tie it all together.
Consider Power Sources
Will your lights be plug-in or solar? Plug-in lights offer consistent brightness but require an outdoor outlet. Solar lights are eco-friendly and easy to install, but they may not shine as brightly on cloudy days. If you’re using plug-in lights, check the distance to the nearest outlet—extension cords are fine for short distances, but for longer runs, consider a weatherproof outlet box or a professional electrician’s help.
Choosing the Right String Lights: Types, Styles, and Features
Not all string lights are created equal. The right choice depends on your patio’s size, style, and how you plan to use the lights. I’ve tried everything from cheap dollar-store strands to high-end Edison bulbs, and the differences are night and day—literally.
Bulb Types: Warm vs. Cool Light
- Incandescent: The classic warm, golden glow. Cozy and inviting, but less energy-efficient. Best for occasional use.
- LED: Energy-efficient, long-lasting, and available in warm or cool tones. Warm LED (2700K–3000K) mimics incandescent light, while cool LED (4000K+) feels more modern and crisp.
- Edison bulbs: Vintage-style bulbs with visible filaments. Perfect for a rustic or industrial look.
For a cozy patio, I almost always recommend warm LED lights. They’re bright enough to see by but soft enough to feel relaxing. I learned this the hard way when I bought cool-white lights for my first setup—they looked like a hospital hallway, not a retreat.
Length, Spacing, and Connectability
Measure your patio’s perimeter or the area you want to cover, then add 20% extra for slack. Lights are sold in various lengths (e.g., 25 ft, 50 ft), and many are connectable—meaning you can plug multiple strands together. But be careful: most manufacturers recommend connecting no more than 2–3 strands to avoid overloading the circuit. For example, if your patio needs 100 ft of lights, buy two 50-ft strands instead of four 25-ft ones.
Bulb spacing matters too. Lights with bulbs 6–12 inches apart provide even coverage, while 18-inch spacing creates a more “twinkly” effect. For a dining table, I prefer closer spacing so the light is functional; for ambient lighting, wider spacing works fine.
Weather Resistance and Durability
Outdoor lights must be rated for wet conditions (look for “UL Wet Listed” or “IP44” or higher). Check the cord thickness—thicker cords handle wind and rain better. And if you live in a snowy climate, choose lights with sturdy sockets that won’t crack in freezing temperatures. I once bought cheap lights that lasted one winter—lesson learned!
Hanging Techniques: Tools, Hardware, and Pro Tips
Now for the fun part: actually putting up the lights. The right hardware makes all the difference. I’ve seen people try to hang lights with duct tape or flimsy hooks—don’t do that! A little effort upfront ensures your lights stay put for years.
Essential Tools and Supplies
- Measuring tape: For precise spacing.
- Pencil or marker: To mark anchor points.
- Drill and drill bits: For wood, stucco, or brick.
- Hammer: For nails or hooks.
- Level: To keep lines straight.
- Extension ladder: For high areas.
- Hardware: See the table below for recommendations.
| Surface Type | Recommended Hardware | Pros and Cons |
|---|---|---|
| Wooden fence or post | Cup hooks or eye screws | Pros: Easy to install, holds well. Cons: May loosen over time. |
| Stucco or concrete wall | Masonry anchors and screws | Pros: Very secure. Cons: Requires drilling; harder to remove. |
| Metal railing | Zip ties or magnetic hooks | Pros: No drilling; removable. Cons: Less stable in wind. |
| Tree branches | Tree-safe hooks or zip ties | Pros: Natural look. Cons: Avoid tight ties that damage bark. |
Step-by-Step Hanging Process
1. Mark your anchor points: Use a pencil to mark where you’ll install hooks or screws. Space them 3–5 feet apart for even support.
2. Install hardware: Drill pilot holes for screws, then twist in cup hooks or anchors. For stucco, use a masonry bit and anchors.
3. Test the layout: Hang the lights loosely with zip ties or temporary hooks to check spacing and pattern.
4. Secure the lights: Once you’re happy, attach the lights permanently. Use light clips (sold at hardware stores) for a clean look—they grip the cord without damaging it.
5. Hide the cords: Run cords behind furniture or use cord covers to keep things tidy.
Creative Hanging Ideas
Don’t be afraid to think outside the box! I once hung lights in a spiral around my pergola’s posts—it looked like a fairytale. Other ideas:
- Weave lights through a trellis or lattice.
- Suspend them from a retractable clothesline for easy removal.
- Hang them in a “U” shape around a fire pit to create a cozy nook.
Power Solutions: Staying Lit Without the Hassle
Nothing ruins a cozy vibe like a dead strand of lights. Power issues are common, but they’re easy to avoid with a little foresight.
Plug-in vs. Solar: Pros and Cons
- Plug-in lights:
- Pros: Bright, consistent light; dimmable options.
- Cons: Need an outlet; cords can be unsightly.
- Solar lights:
- Pros: No cords; eco-friendly; easy to install.
- Cons: Less bright; may not charge on cloudy days.
For my patio, I use a mix: plug-in lights for the dining area and solar lights for the lounge zone. This way, I get the best of both worlds.
Extension Cords and Outlets
If your outlet is far away, use a weatherproof extension cord rated for outdoor use. Avoid daisy-chaining too many cords—this can cause voltage drop, making lights dim. For long runs, a GFCI outlet (with ground fault protection) is essential for safety.
Smart Lights and Timers
Want lights that turn on automatically at sunset? Smart plugs or timers are a game-changer. I use a simple mechanical timer that plugs into my outlet—set it once, and the lights come on at 7 PM every night. For more control, try Wi-Fi-enabled smart plugs (like TP-Link Kasa) or lights with built-in timers.
Maintenance and Troubleshooting: Keep the Glow Alive
Good news: once your lights are up, maintenance is minimal. But a little care goes a long way in keeping them looking great.
Seasonal Care
- Spring: Check for damage from winter storms. Replace any burnt-out bulbs or frayed cords.
- Summer: Wipe bulbs with a damp cloth to remove dust or pollen. This improves brightness.
- Fall: Trim back branches or vines that might snag the lights.
- Winter: In snowy areas, consider taking lights down or covering them with clear plastic bags to protect sockets.
Common Issues and Fixes
- One bulb out, the whole strand dark? Check if it’s a shunted vs. unshunted socket. LED lights often have shunted sockets—replace the dead bulb, and the strand will work again.
- Lights flickering? Loose connection. Tighten the bulb or check the plug.
- Hanging hardware loosening? Add a dab of outdoor-rated caulk to the screw threads for extra grip.
Storage Tips
If you take lights down in winter, store them properly. Wrap each strand around a piece of cardboard or a reel to prevent tangles. Keep them in a cool, dry place—not the garage, where temperature swings can damage bulbs.
Creative Ideas to Elevate Your Patio Lighting
String lights are just the beginning. With a few extra touches, you can turn your patio into a showstopper.
Layer Your Lighting
Combine string lights with other sources for depth:
- Path lights for walkways.
- Spotlights to highlight plants or art.
- Lanterns or candles for a softer glow.
I love placing battery-powered fairy lights inside glass jars—it adds sparkle without the hassle of cords.
Color and Theme
Stick to warm white for a timeless look, or add color for holidays (e.g., red and green for Christmas, purple for Halloween). Some lights even have color-changing modes—perfect for parties.
DIY Accents
Get crafty! Wrap lights around a wire wreath for a glowing centerpiece. Or hang them inside a sheer curtain for a dreamy, floating effect.
Putting up patio string lights is one of the easiest ways to add magic to your outdoor space. With the right planning, hardware, and a few creative touches, you can create a cozy glow that transforms your patio into a year-round retreat. Remember, it’s not about perfection—it’s about the feeling. So take your time, enjoy the process, and don’t be afraid to experiment. The best part? Every time you flip that switch, you’ll know it was worth the effort. Now go light up the night!
Frequently Asked Questions
How do I hang patio string lights without drilling holes?
Use adhesive hooks, tension rods, or wrap lights around existing structures like fences or railings. This method works great for renters or temporary setups while still achieving a cozy glow.
What’s the best way to secure string lights for long-term outdoor use?
Use weather-resistant hooks, zip ties, or specialized mounting clips designed for outdoor use. Ensure connections are protected with silicone covers to prevent water damage and extend the life of your patio string lights.
Can I connect multiple strands of patio string lights together?
Yes, but check the manufacturer’s guidelines for maximum recommended strands. Overloading circuits can cause overheating or damage, so use a power strip with a built-in circuit breaker for safety.
How far apart should I space hooks when installing string lights?
Space hooks 2–4 feet apart, depending on the weight of the lights and desired sag. For a balanced look, aim for a gentle dip between supports without overstretching the wires.
Do I need special bulbs for outdoor patio string lights?
Yes, choose LED bulbs rated for outdoor use with weatherproof or shatterproof casings. These are energy-efficient, last longer, and safely withstand rain, wind, and temperature changes.
How do I keep my patio string lights from tangling during setup?
Use a light reel or cardboard template to unroll the strand as you go. Always test the lights before hanging and work with a partner to keep the string taut and tangle-free.

