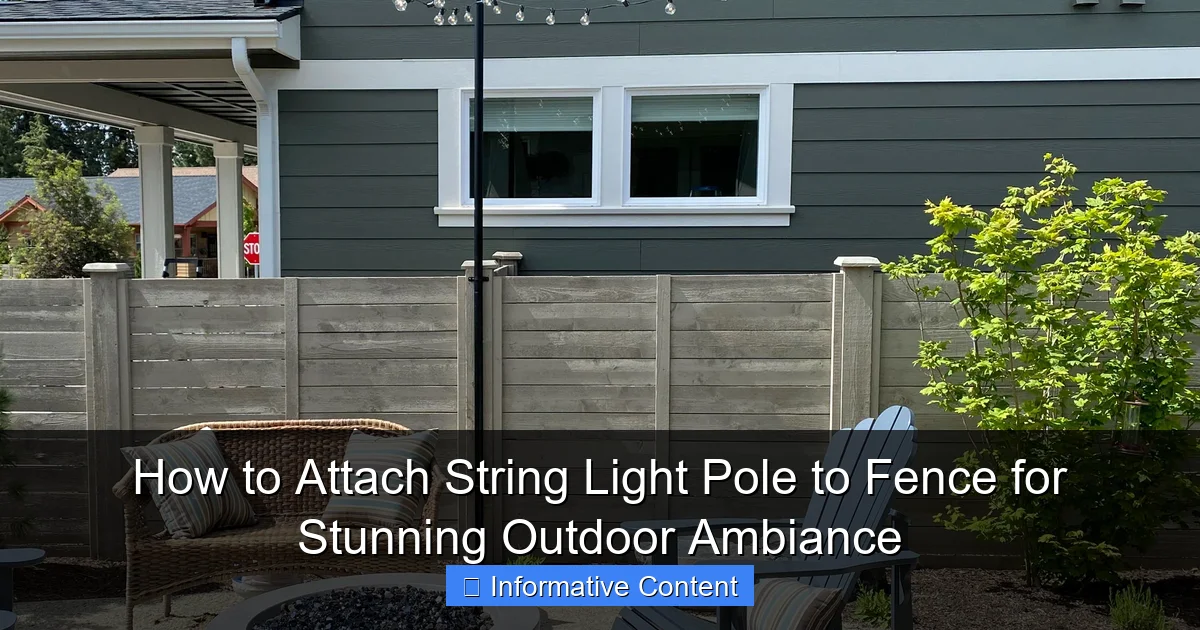
Featured image for string light pole attach to fence
Image source: cdn.shopify.com
Transform your backyard into a captivating retreat by securely attaching string light poles to your fence using durable brackets, zip ties, or specialized mounting hooks designed for outdoor stability. Ensure proper spacing and tension for a professional, droop-free glow that enhances ambiance while enduring the elements—simple, stylish, and instantly magical.
Key Takeaways
- Choose durable materials: Opt for weather-resistant poles and hardware to ensure longevity.
- Secure mounting is key: Use sturdy brackets or hooks to prevent sagging or detachment.
- Plan spacing carefully: Position poles 6-8 feet apart for balanced, even lighting.
- Check fence strength: Reinforce weak sections before attaching poles to avoid damage.
- Use adjustable fixtures: Allow for height and angle customization to perfect your ambiance.
- Test lights before install: Ensure all bulbs work to avoid rework later.
📑 Table of Contents
- Why String Lights and Fences Make the Perfect Pair
- Understanding Your Fence and String Light Setup
- Step-by-Step Guide to Attaching String Light Pole to Fence
- Creative Design Ideas for Maximum Ambiance
- Maintenance and Long-Term Care
- Common Mistakes to Avoid
- Final Thoughts: Light Up Your Outdoor Oasis
Why String Lights and Fences Make the Perfect Pair
Picture this: It’s a warm summer evening. The sun has just dipped below the horizon, painting the sky in soft hues of orange and pink. You’re sitting in your backyard, sipping your favorite drink, surrounded by the soft, warm glow of string lights. They’re not just hanging from trees or draped over your pergola — they’re elegantly suspended above your fence, casting a magical ambiance across your entire outdoor space. That’s the power of attaching string light pole to fence — a simple upgrade that transforms your yard into a cozy, inviting sanctuary.
String lights have become a staple in outdoor decor, and for good reason. They’re affordable, versatile, and instantly elevate the mood of any space. But here’s the catch: if you don’t have trees or a covered patio, finding a way to hang them can be tricky. That’s where your fence comes in. It’s not just a boundary — it’s a blank canvas. With the right setup, you can turn it into a stunning backdrop for your lights. In this guide, I’ll walk you through everything you need to know about how to attach string light pole to fence safely, stylishly, and without damaging your fence. Whether you’re a DIY newbie or a seasoned pro, you’ll walk away with practical tips and real-world solutions to create that dreamy outdoor ambiance.
Understanding Your Fence and String Light Setup
Assessing Fence Type and Material
Before you start drilling holes or buying hardware, take a good look at your fence. Not all fences are created equal, and the material will determine what kind of mounting method you can use. Here’s a quick breakdown:
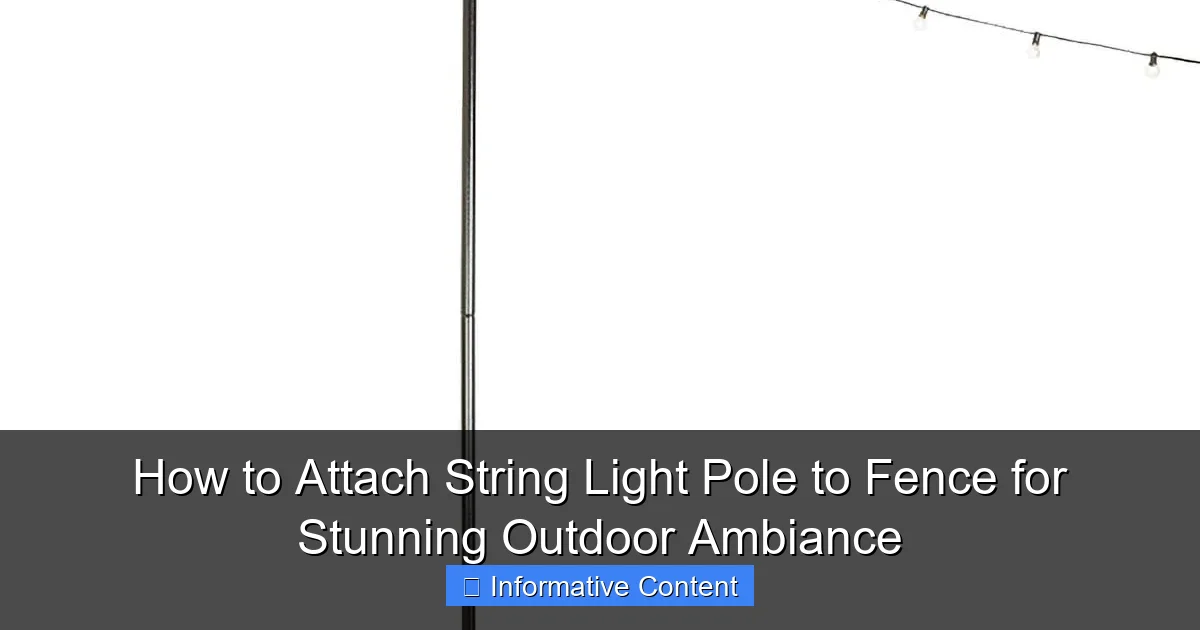
Visual guide about string light pole attach to fence
Image source: hardypartyrentals.com
- Wooden fences: The most common and easiest to work with. You can screw in hooks, brackets, or even drill through posts for poles. Just avoid over-tightening to prevent splitting.
- Vinyl/PVC fences: Lightweight and low-maintenance, but not as strong. Avoid heavy-duty screws or anchors. Use adhesive mounts or lightweight brackets instead.
- Metal (aluminum or steel): Durable but tricky. Drilling requires metal-specific bits, and rust can be an issue if not sealed properly. Magnetic hooks or clamps work well here.
- Chain-link fences: Not ideal for permanent installations, but you can use zip ties, S-hooks, or tension rods to attach poles temporarily.
When I first tried installing string lights on my vinyl fence, I made the mistake of using regular wood screws. The result? Cracks and frustration. Lesson learned: always match your hardware to your fence material. If you’re unsure, take a small piece of your fence (or a photo) to your local hardware store — they’ll help you pick the right fasteners.
Choosing the Right String Light Poles
Now, let’s talk poles. These are the vertical supports that hold your lights above the fence. You’ve got several options:
- Freestanding poles: These sit in ground sleeves or weighted bases. Great for renters or if you don’t want to modify your fence. They’re stable but require space behind the fence.
- Fence-mounted poles: Attached directly to fence posts using brackets or clamps. Ideal for permanent setups. They keep the lights close to the fence and save space.
- Adjustable tension poles: Use spring-loaded tension to grip between the fence and ground or a nearby structure. No drilling needed — perfect for temporary use.
- DIY metal or PVC poles: You can buy pre-made kits or build your own using conduit, rebar, or PVC pipes. More affordable, but requires some handiwork.
I’ve used freestanding poles for years because I rent my home and didn’t want to damage the fence. But after seeing how sleek fence-mounted poles looked at a friend’s house, I decided to try a hybrid approach: lightweight aluminum poles clamped to the fence with removable brackets. Best of both worlds — stable and fence-friendly.
Lighting Considerations: Spacing and Height
How high should your lights be? How far apart should the poles go? These questions matter more than you think. Here’s my rule of thumb:
- Height: Aim for 7–8 feet above ground level. This keeps lights above head height and ensures even illumination. If your fence is 6 feet tall, your poles should add 1–2 feet of height.
- Spacing: Place poles every 6–8 feet along the fence. Too close, and it looks cluttered. Too far, and the lights sag or look sparse. For a continuous glow, use poles at both ends and one in the middle.
- Bulb spacing: Most string lights have bulbs every 6–12 inches. For a balanced look, match pole spacing to bulb density. If your lights are dense, you can space poles a bit farther apart.
One summer, I spaced my poles 10 feet apart because I wanted fewer supports. The result? The lights sagged in the middle and looked messy. After adjusting to 7-foot spacing, the difference was night and day. Don’t skip this step — it’s the difference between “meh” and “wow.”
Step-by-Step Guide to Attaching String Light Pole to Fence
Gathering the Right Tools and Materials
Before you start, make sure you have everything on hand. Nothing’s worse than being halfway through a project and realizing you’re missing a key tool. Here’s my go-to list:
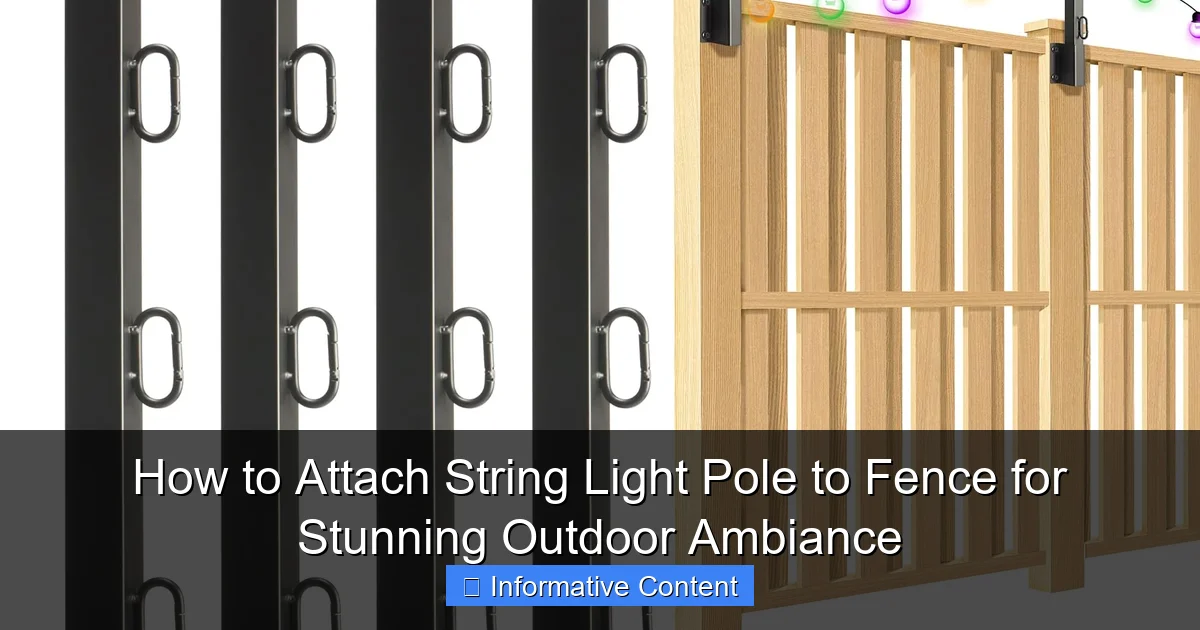
Visual guide about string light pole attach to fence
Image source: m.media-amazon.com
- Poles: 8-foot aluminum or fiberglass poles (lightweight but sturdy).
- Mounting brackets or clamps: Fence-specific brackets for wood or metal, or adjustable pipe clamps for vinyl.
- Fasteners: Stainless steel screws (for wood), self-tapping metal screws (for aluminum), or heavy-duty zip ties (for temporary setups).
- Drill and bits: Cordless drill with wood/metal bits. A level is also helpful.
- Measuring tape and marker: For precise pole placement.
- String lights: Choose weather-resistant LED lights with a plug on one end and a loop or hook on the other.
- Extension cords and timers (optional): For convenience and energy savings.
Pro tip: Buy a few extra screws and brackets. You never know when one might strip or break. I once lost a screw in the grass and spent 20 minutes searching — not fun in the dark!
Installation Methods for Different Fence Types
For Wooden Fences
Wooden fences are the easiest. Here’s how I do it:
- Measure and mark pole locations (every 6–8 feet).
- Use a level to ensure vertical alignment.
- Attach brackets to the fence posts with 2–3 screws per bracket. Don’t overtighten.
- Slide the pole into the bracket and secure with a set screw or locking pin.
- Test stability by gently wiggling the pole. It shouldn’t move more than an inch.
I like to use L-brackets with rubber padding to protect the wood. If you’re worried about rot, apply a small bead of exterior caulk around the screw holes.
For Vinyl Fences
Vinyl is more fragile. Avoid drilling if possible. Instead:
- Use adhesive-backed mounting clips (rated for outdoor use).
- Or, use adjustable pipe clamps that grip the fence post without screws.
- For a stronger hold, attach a wooden backing board to the fence with construction adhesive, then mount the bracket to the board.
I used the backing board method on my vinyl fence, and it’s held up through two winters. The key is using a high-quality exterior adhesive (like PL Premium).
For Metal Fences
Metal requires care to avoid rust. Here’s my approach:
- Use magnetic hooks or clamps designed for metal surfaces.
- If drilling, use a metal-cutting bit and apply anti-rust coating to exposed edges.
- Attach brackets with self-tapping screws, then seal the holes with silicone.
One thing I learned the hard way: never use steel screws on aluminum — they corrode faster due to galvanic reaction. Stick to stainless or aluminum screws.
Attaching the String Lights
Now for the fun part — hanging the lights! Here’s how:
- Start at the power source. Plug in the lights to test them (you don’t want to hang dead lights).
- Attach the end with the plug to the first pole using a carabiner, hook, or zip tie.
- Run the lights to the next pole, leaving a slight sag (about 6–8 inches) for a relaxed look.
- Secure the light string to each pole with a hook or zip tie. Don’t pull too tight — it can strain the wires.
- Repeat until all lights are up.
I like to use S-hooks for easy removal. They let me take the lights down in winter without removing the poles. Also, leave a little extra cord at the end for adjustments.
Ensuring Stability and Safety
Your setup should be safe, especially in windy areas. Here’s how to reinforce it:
- Anchor poles: For freestanding poles, use ground stakes or weighted bases. For fence-mounted poles, add diagonal braces to prevent leaning.
- Check connections: Ensure all screws and clamps are tight. Re-tighten every few months.
- Weatherproofing: Use outdoor-rated extension cords and GFCI outlets. Cover plug connections with electrical tape or a weatherproof box.
- Inspect regularly: Look for frayed wires, loose bulbs, or rusted hardware. Replace damaged parts promptly.
I once ignored a frayed wire on my string lights — bad idea. It shorted out during a storm and tripped the breaker. Now, I inspect my setup every spring and fall.
Creative Design Ideas for Maximum Ambiance
Linear Layouts for Clean, Modern Looks
If you love simplicity, go for a straight line of lights along the fence. It’s elegant and easy to maintain. Try these variations:
- Single row: Hang one strand at 7–8 feet for a classic look.
- Double row: Add a second strand 12–18 inches below the first for more brightness.
- Alternating height: Stagger poles to create a zigzag effect. Great for long, straight fences.
I used a double row on my back fence, and it doubled the ambiance. The lower row adds depth without overwhelming the space.
Canopy and Crisscross Patterns for Drama
Want something bolder? Create a canopy by running lights diagonally between poles. Or, use crisscross patterns for a starry-night effect. Here’s how:
- Install poles at both ends of the fence and one in the center.
- Run lights from the end poles to the center pole, crossing at the top.
- For a canopy, add more poles along the fence and connect them with diagonal lines.
This works best with clear or warm white bulbs. I tried it with multicolor lights once — looked like a carnival. Stick to one color for sophistication.
Incorporating Greenery and Other Decor
Don’t stop at lights! Combine them with other elements for a layered look:
- Foliage: Weave lights through ivy or climbing roses. The plants hide the wires and add texture.
- Planters: Place potted plants at the base of each pole. Use trailing plants like petunias to soften the look.
- Art: Hang outdoor mirrors or metal wall art behind the lights for a reflective glow.
I added a few potted lavender plants around my poles — not only do they look great, but they smell amazing at night!
Maintenance and Long-Term Care
Seasonal Storage Tips
To extend the life of your lights, store them properly:
- Remove lights before winter. Cold and moisture can damage wires.
- Coil them loosely and store in a dry place. I use cardboard tubes to prevent tangles.
- Label each set so you know which goes where next season.
One year, I left my lights up all winter. The bulbs cracked, and the wires frayed. Now, I take them down every October.
Cleaning and Repairing String Lights
Keep your lights looking fresh:
- Wipe bulbs with a damp cloth to remove dust and grime.
- Check for broken bulbs and replace them promptly. Most LED sets have replaceable bulbs.
- Inspect wiring for cracks or exposed copper. Wrap damaged sections with electrical tape or replace the set.
I keep a small repair kit with extra bulbs, tape, and zip ties. It saves me from buying new lights every year.
Upgrading Your Setup Over Time
As your tastes evolve, so can your lighting:
- Switch to smart lights for color-changing or scheduling options.
- Add dimmers for adjustable brightness.
- Replace poles with taller ones for a grander effect.
I started with basic white lights, then upgraded to smart RGB LEDs. Now I can change the color with my phone — perfect for holidays!
Common Mistakes to Avoid
Overloading the Fence
Fences aren’t designed to hold heavy loads. Too many lights or thick poles can bend or break the fence. Stick to lightweight poles and don’t exceed 10–15 pounds per pole.
Ignoring Weatherproofing
Outdoor lights need protection. Use weatherproof connectors and avoid leaving plugs exposed. If you live in a rainy area, consider a covered outlet box.
Poor Pole Placement
Spacing poles too far apart causes sagging. Too close, and it looks cluttered. Use the 6–8 foot rule for balance.
Using the Wrong Fasteners
Wood screws on vinyl? Metal screws on aluminum? It’s a recipe for damage. Match your hardware to your fence material.
| Fence Type | Recommended Mounting Method | Max Weight per Pole | Best for |
|---|---|---|---|
| Wood | Screwed brackets | 15 lbs | Permanent, heavy-duty setups |
| Vinyl | Adhesive clips or backing board | 8 lbs | Lightweight, temporary use |
| Metal | Magnetic clamps or sealed brackets | 12 lbs | Durability, windy areas |
| Chain-link | Tension rods or S-hooks | 5 lbs | Temporary, renters |
Final Thoughts: Light Up Your Outdoor Oasis
Attaching string light pole to fence isn’t just about hanging lights — it’s about creating a mood. It’s the difference between a dark, unused yard and a welcoming space where you want to spend every evening. Whether you’re hosting a barbecue, enjoying a quiet night, or celebrating a special occasion, the right lighting makes all the difference.
Remember, the key is to match your setup to your fence, plan your layout carefully, and prioritize safety. Don’t rush the process — take your time to measure, level, and test. And don’t be afraid to experiment! Try different patterns, heights, and bulb colors until you find what feels right for your space.
When I first started, I was intimidated by the idea of modifying my fence. But now, I see it as an opportunity to personalize my home. Every time I turn on those lights, I’m reminded of the effort it took — and how worth it it was. So grab your tools, pick a warm weekend, and get started. Your dreamy outdoor ambiance is just a few steps away.
Frequently Asked Questions
How do I attach a string light pole to a fence without damaging it?
Use non-invasive methods like heavy-duty zip ties, adjustable straps, or clamp-on brackets designed for fences. These options securely hold the pole while protecting your fence from drilling or permanent modifications.
What type of string light pole works best for fence attachment?
Lightweight yet sturdy poles made of aluminum or PVC are ideal for fence mounting. Ensure the pole has a mounting base compatible with clamps or straps to simplify the attachment process.
Can I install a string light pole on a wooden fence without drilling?
Yes! Opt for adjustable tension rods, fence hooks, or S-hooks that grip the fence securely without nails or screws. These solutions work well for temporary or seasonal setups.
How high should I place a string light pole when attaching it to a fence?
Mount the pole 7–8 feet above ground level for optimal light spread and safety. Adjust slightly lower if you’re using shorter poles or want a more intimate ambiance.
What tools do I need to attach a string light pole to a fence?
Most installations require only basic tools like a measuring tape, zip ties, or a wrench for clamp-on brackets. For wooden fences, a drill may be optional if using no-damage methods.
How do I ensure my string light pole stays stable in windy conditions?
Anchor the pole with double straps or cross-bracing against the fence, and use weighted bases if freestanding. For extra security, attach guy wires or stakes alongside the fence.

