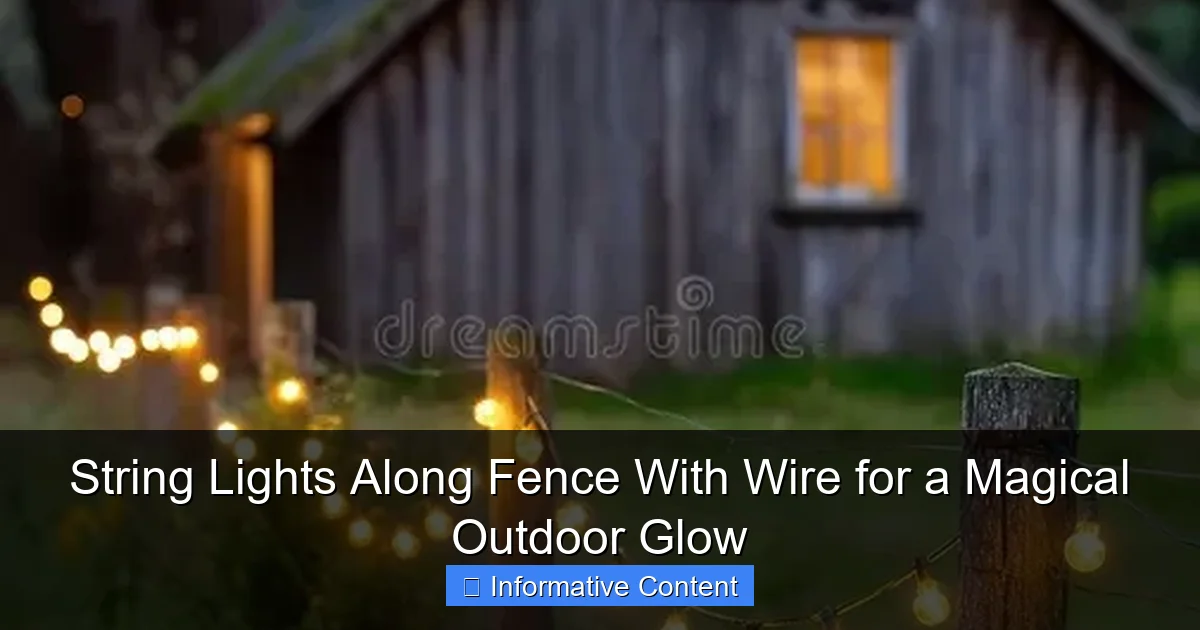
Featured image for string lights along fence with wire
Image source: thumbs.dreamstime.com
Transform your backyard into a mesmerizing retreat by installing string lights along fence with wire for a secure, professional-looking glow. Durable wire support ensures even spacing and prevents sagging, creating a magical ambiance perfect for entertaining or quiet evenings outdoors.
Key Takeaways
- Plan spacing first: Measure fence length to evenly distribute lights and avoid gaps.
- Use sturdy wire: Opt for weather-resistant wire to secure lights safely and last longer.
- Choose LED lights: They’re energy-efficient, cool, and perfect for outdoor durability.
- Anchor lights properly: Use clips or hooks to prevent sagging and wind damage.
- Add timers: Automate on/off times for effortless, consistent ambiance every night.
- Layer lighting: Combine string lights with path lights for enhanced depth and glow.
📑 Table of Contents
- Why String Lights Along Fence With Wire Transform Your Outdoor Space
- Choosing the Right String Lights and Wire for Your Fence
- Planning Your Layout: Measure, Map, and Test
- Installation Tips: How to Hang String Lights Along Fence With Wire
- Power and Safety: Running Wires Safely and Efficiently
- Maintenance and Longevity: Keeping Your Lights Glowing for Years
- Real-World Examples: Inspiration and Ideas
- Final Thoughts: Your Magical Outdoor Glow Awaits
Why String Lights Along Fence With Wire Transform Your Outdoor Space
Imagine stepping into your backyard after sunset and being greeted by a soft, golden glow that dances along your fence line. String lights along fence with wire aren’t just a trend—they’re a simple, affordable way to turn an ordinary outdoor area into something magical. Whether you’re hosting a summer BBQ, enjoying a quiet evening with a book, or just want to feel safer walking around at night, these lights add charm, warmth, and function in one fell swoop.
I first tried string lights along my own fence a few years ago after a friend’s garden party left me in awe. The way the lights shimmered between the posts, casting gentle shadows on the grass, made me feel like I was in a scene from a movie. But I’ll be honest—my first attempt wasn’t perfect. I tangled the wires, the lights sagged, and one section kept flickering. After a few trial runs and a lot of trial-and-error, I learned how to do it right. And that’s what I want to share with you today: how to hang string lights along fence with wire for a truly magical outdoor glow—without the headaches.
Choosing the Right String Lights and Wire for Your Fence
Not all string lights are created equal. The key to a successful installation starts with picking the right lights and wire for your space, needs, and budget. Here’s what to consider before you hit “add to cart.”

Visual guide about string lights along fence with wire
Image source: img.grouponcdn.com
Types of String Lights: LED vs. Incandescent
LED string lights are the clear winner for most outdoor setups. They’re energy-efficient, last 25,000–50,000 hours (that’s 10+ years with nightly use!), and stay cool to the touch. Incandescent lights, while warm and nostalgic, use more energy, burn out faster, and get hot—making them less ideal for long-term outdoor use.
For example, I used incandescent bulbs for my first project. They looked pretty, but after two summers, half the strand was dead, and I had to replace them entirely. Switching to LED saved me time, money, and frustration.
Bulb Shapes and Spacing
Bulb shape affects the mood. Globe bulbs give a soft, diffused glow perfect for cozy gatherings. Edison-style bulbs add vintage charm and work well in rustic or farmhouse-style yards. Mini bulbs are great for subtle accent lighting, while larger bulbs (like 25mm or 35mm) make a bold statement.
Spacing matters too. Lights spaced 2–4 inches apart create a dense, twinkling effect. Wider spacing (6+ inches) gives a more minimalist look. I recommend 3–4 inches for most fences—dense enough to glow, but not so tight that it feels cluttered.
Choosing the Right Wire
When hanging string lights along fence with wire, the wire itself is just as important as the lights. Look for weather-resistant, insulated copper wire rated for outdoor use. Gauge matters: 18-gauge is standard for most string lights, but if you’re running a long line (over 50 feet), go with 16-gauge to reduce voltage drop.
Pro tip: If your lights come with a thin, flimsy wire, consider replacing it with a heavier-duty outdoor-rated extension cord or splicing in a stronger wire. I once used a cheap strand with thin wire—after a rainy season, it shorted out. Lesson learned: invest in quality.
Smart vs. Dimmable vs. Standard
Want to control your lights with your phone or voice? Go for smart string lights. They’re pricier, but the convenience is worth it. I use smart LED lights with a timer and dimmer—set them to turn on at dusk and fade out by midnight. Dimmable lights (without smart features) are a great mid-tier option, letting you adjust brightness with a remote.
Standard non-dimmable lights are fine for basic use, but they’re either “on” or “off”—no mood control.
Planning Your Layout: Measure, Map, and Test
Before you start hammering or drilling, take time to plan. A little prep prevents a lot of frustration later.
Visual guide about string lights along fence with wire
Image source: clipart-library.com
Measure Your Fence
Grab a tape measure and calculate the total length of your fence where you want lights. Don’t forget corners, gates, and any breaks in the fence line. Add 10–15% extra length to account for slack, turns, and connections.
For example: My L-shaped backyard fence is 60 feet total. I added 10 feet extra for slack and turns, so I bought a 70-foot strand. It was just enough—no wasted money on an extra pack.
Map Your Light Path
Use painter’s tape or chalk to mark where you want the lights. Decide if you want them:
- Straight along the top rail (classic and clean)
- Zigzagged between posts (playful and dynamic)
- Wrapped around posts (great for square or wide posts)
- Hanging below the rail (creates a floating effect)
I tried a zigzag first—looked great on paper, but the lights sagged between posts. Switching to a straight line along the top rail fixed the issue and looked just as beautiful.
Test Before You Mount
Unpack your lights, plug them in, and run them along your planned path. Check for:
- Dead bulbs or flickering
- Voltage drop (dim lights at the end of long runs)
- Weather resistance (if it rains, do they stay on?)
- Color temperature (warm white vs. cool white—see below)
I once bought a 100-foot strand and didn’t test it. The last 20 feet were barely lit. Had to buy a second strand and splice them—waste of time and money. Test early, test often.
Color Temperature: Warm White vs. Cool White
Color temperature is measured in Kelvin (K). For outdoor ambiance:
- 2700K–3000K: Warm white (cozy, golden glow—my favorite)
- 4000K+: Cool white (bright, clinical—better for task lighting)
Stick with 2700K–3000K for fences. It feels inviting, not like a parking lot. I tried cool white once—looked harsh and uninviting. Switched back to warm white, and my guests immediately noticed the difference.
Installation Tips: How to Hang String Lights Along Fence With Wire
Now for the fun part: putting them up! With the right tools and techniques, you can have your lights glowing in an afternoon.
Tools You’ll Need
- Measuring tape
- Painter’s tape or chalk
- Outdoor-rated hooks, clips, or screws
- Drill with masonry bit (if your fence is brick or concrete)
- Zip ties (optional, for extra support)
- Extension cord (if not plugging into an outlet nearby)
- Voltage tester (safety first!)
Step-by-Step Installation
- Turn off power if working near outlets or wiring.
- Attach mounting hardware every 12–18 inches. Use:
- Cup hooks for wooden or vinyl fences (screw in gently)
- Adhesive clips for smooth surfaces (great for vinyl or metal)
- Staple guns for wooden fences (use insulated staples to avoid wire damage)
- Drill pilot holes for brick or stone fences (use plastic anchors)
- Hang the lights starting at the power source. Leave 6–12 inches of slack at the beginning and end for connections.
- Secure the wire to each hook or clip. Don’t pull too tight—allow a slight sag (like a clothesline) to prevent tension on bulbs.
- Connect multiple strands if needed. Use outdoor-rated extension cords or splice connectors. I use waterproof wire nuts for splices—no corrosion.
- Test the lights again. Fix any issues before finalizing.
Pro Tips for a Flawless Finish
- Use zip ties to bundle excess wire or secure loose ends.
- Hide cords behind the fence or run them along the ground (use cord covers if visible).
- For zigzag patterns, use longer hooks or eye screws to create anchor points.
- On uneven fences, adjust hook height slightly to keep lights level.
- For gates, use a flexible conduit or leave a 2-foot gap so the gate can swing freely.
I once installed lights on a wavy wooden fence. Instead of forcing them straight, I let the lights follow the curve—looked organic and beautiful.
Power and Safety: Running Wires Safely and Efficiently
Electricity and water don’t mix. Keep your setup safe and code-compliant with these tips.
Outdoor Outlets and GFCI Protection
Always plug into a Ground Fault Circuit Interrupter (GFCI) outlet. These shut off power if they detect a ground fault—critical for outdoor use. If your outdoor outlet isn’t GFCI, install one or use a GFCI adapter.
I learned this the hard way when a storm shorted my old outlet. The GFCI tripped, preventing a fire. Now I won’t use outdoor lights without it.
Extension Cords and Power Distribution
Use only outdoor-rated extension cords with thick insulation (look for “SJTW” on the label). Avoid daisy-chaining more than two cords—this can cause voltage drop and overheating.
For long runs, consider a power distribution box or outdoor-rated power strip to split power safely. I use a weatherproof box with multiple outlets—keeps everything organized and dry.
Weatherproofing Connections
Seal all connections with:
- Electrical tape (wrap tightly)
- Heat-shrink tubing (best for permanent splices)
- Silicone sealant (around plugs and connectors)
- Waterproof wire nuts (for splices)
I use a combination: heat-shrink for splices, silicone around plug ends, and tape for added protection. After 3 years, zero corrosion.
Solar-Powered Alternatives
If you don’t have an outlet nearby, solar string lights are a great option. They charge during the day and turn on automatically at dusk. Downsides:
- Less bright than plug-in lights
- Shorter lifespan (5,000–10,000 hours)
- Performance drops on cloudy days
I use solar lights on a garden path—perfect for accent lighting. But for my main fence, I stick with plug-in for brightness and reliability.
Maintenance and Longevity: Keeping Your Lights Glowing for Years
With proper care, your string lights can last a decade or more. Here’s how to extend their life.
Seasonal Care
- Spring: Clean lights and check for damage. Replace any dead bulbs or frayed wires.
- Summer: Trim overhanging branches that could snag wires.
- Fall: Remove debris (leaves, spider webs) that can trap moisture.
- Winter: If you live in a snowy area, consider removing lights or covering them with a tarp. Ice and snow can weigh down wires and cause sagging.
Cleaning Tips
- Use a soft cloth and mild soap for bulb surfaces.
- For stubborn dirt, a toothbrush works well.
- Never use abrasive cleaners or high-pressure sprayers—they can crack bulbs.
I clean my lights every spring. Takes 20 minutes, and they look brand new.
Storage (If Removing Seasonally)
- Coil lights loosely (no tight kinks).
- Store in a breathable bag or box—not plastic (traps moisture).
- Keep in a dry, cool place.
I use a canvas bag labeled “fence lights.” Easy to grab when spring rolls around.
When to Replace
Replace lights if:
- More than 20% of bulbs are dead
- Wire insulation is cracked or frayed
- Flickering persists after bulb replacement
- Smart features stop working
My first set lasted 7 years. When the wire started cracking, I replaced it—better safe than sorry.
Real-World Examples: Inspiration and Ideas
Let’s look at how others have used string lights along fence with wire to create stunning outdoor spaces.
| Style | Fence Type | Light Placement | Result |
|---|---|---|---|
| Modern Minimalist | Metal rail | Straight line, 3-inch spacing, warm white | Clean, elegant glow—perfect for city patios |
| Romantic Garden | Wooden picket | Zigzag pattern, globe bulbs, 2700K | Soft, twinkling ambiance—ideal for weddings |
| Rustic Farmhouse | Split rail | Wrapped around posts, Edison bulbs | Warm, inviting vibe—great for fall gatherings |
| Coastal Chic | Vinyl | Below rail, mini bulbs, 3000K | Subtle, floating effect—like fireflies at dusk |
One of my favorite setups is a client’s backyard in Austin. They used a mix of straight lines and gentle curves, with warm white LEDs and smart controls. The lights turn on at 7 PM, dim to 50% by 10 PM, and off at midnight. They told me it’s become their favorite spot to unwind—even on weeknights.
Another idea: pair your fence lights with uplighting (ground lights pointing up at trees or shrubs). The combination creates depth and drama. I added uplights to my oak tree last year—looks like a forest glade at night.
Final Thoughts: Your Magical Outdoor Glow Awaits
Hanging string lights along fence with wire is one of the easiest, most impactful ways to elevate your outdoor space. It’s not just about looks—it’s about creating a place where you want to spend time. A place where laughter echoes, stories are shared, and quiet moments feel a little more special.
Start small. Pick a 20-foot section and try it. Once you see how the light transforms your yard, you’ll be hooked. And remember: perfection isn’t the goal. A little sag, a slight curve, a bulb that flickers—it’s all part of the charm. The magic isn’t in flawless execution. It’s in the glow, the warmth, and the feeling of home.
So grab your lights, your hooks, and a friend (or a glass of wine). Step outside. Hang those lights. And when the sun sets, turn them on. Let the magic begin.
Frequently Asked Questions
How do I install string lights along a fence with wire securely?
To install string lights along a fence with wire, use durable outdoor-rated clips or hooks spaced every 12-18 inches to support the weight. Ensure the wire is taut and anchored at both ends to prevent sagging or damage from wind.
What type of wire is best for hanging string lights along a fence?
Use galvanized steel or aircraft wire for maximum durability, especially in outdoor conditions. These materials resist rust and provide strong support for long-term string lights along fence with wire setups.
Can I leave string lights on a wire fence year-round?
Yes, but opt for weatherproof LED string lights with UV-resistant wire coatings. Regularly inspect connections and the wire tension to prevent wear from snow, rain, or temperature shifts.
How do I power string lights along a long fence with wire?
Use an outdoor-rated extension cord or install a weatherproof outlet nearby. For extended runs, choose low-voltage LED lights or a transformer to reduce power loss and overheating risks.
Are there solar-powered options for string lights along a fence with wire?
Solar-powered string lights are a great energy-efficient choice, but ensure the solar panel receives direct sunlight. Pair them with a sturdy wire to maintain even spacing and visibility.
How do I hide the wires when using string lights along a fence?
Paint the wire to match your fence color or use discreet cable clips to tuck it behind rails. For a seamless look, weave the lights through foliage or lattice panels attached to the fence.

