Featured image for string lights on wood fence
Image source: shutterstock.com
String lights on a wood fence instantly elevate your backyard ambiance, blending rustic charm with modern elegance. These versatile lights create a warm, inviting glow perfect for entertaining or unwinding, while highlighting the natural texture of the wood. Easy to install and energy-efficient, they’re a simple yet stunning way to transform your outdoor space.
Key Takeaways
- Choose weatherproof lights: Ensure durability with outdoor-rated string lights for long-term use.
- Plan spacing: Hang lights 6–8 inches apart for balanced, even illumination on your fence.
- Use clips or hooks: Secure lights with fence-safe hardware to avoid damage and simplify setup.
- Layer lighting: Combine string lights with lanterns or spotlights for depth and ambiance.
- Time it right: Add a timer for automated, energy-efficient nightly lighting without effort.
- Opt for warm white: Create a cozy, inviting atmosphere with warm-toned bulbs.
📑 Table of Contents
- Why String Lights on a Wood Fence Are a Game-Changer for Backyard Ambiance
- Choosing the Right String Lights for Your Wood Fence
- How to Install String Lights on a Wood Fence (Step-by-Step)
- Creative Ways to Style Your Fence with String Lights
- Maintaining and Protecting Your Lights and Fence
- Real-World Examples and Data: What Works (and What Doesn’t)
- Final Thoughts: Light Up Your Life (Literally)
Why String Lights on a Wood Fence Are a Game-Changer for Backyard Ambiance
There’s something magical about stepping into a backyard at night, where the soft glow of lights dances along the fence line, casting warm, inviting shadows. It’s like your outdoor space has been gently wrapped in a cozy blanket of light, transforming it from a simple yard into a personal sanctuary. That’s the power of string lights on wood fence—a simple upgrade with an outsized impact.
I remember the first time I installed string lights on my own wooden fence. It was a summer evening, and I’d spent hours stringing them up with my partner, laughing as we tangled the cords and fumbled with hooks. When we finally flipped the switch? Pure magic. The entire vibe of the backyard shifted. The fence, once just a boundary, became a glowing frame for our outdoor living area. We suddenly wanted to spend every evening outside—reading, grilling, or just sipping wine under the soft glow. It wasn’t just about the light; it was about the feeling it created.
Whether you’re hosting a dinner party, enjoying a quiet night alone, or creating a safe, welcoming space for family, string lights on wood fence offer a versatile, affordable, and visually stunning way to elevate your backyard. In this post, we’ll explore how to choose the right lights, install them safely and effectively, and use them to create the perfect ambiance for any occasion. Let’s dive in and see how a few strands of light can transform your outdoor space.
Choosing the Right String Lights for Your Wood Fence
Not all string lights are created equal. The right choice depends on your goals: ambiance, functionality, durability, and even the look of your fence. Here’s how to pick the perfect set for your space.
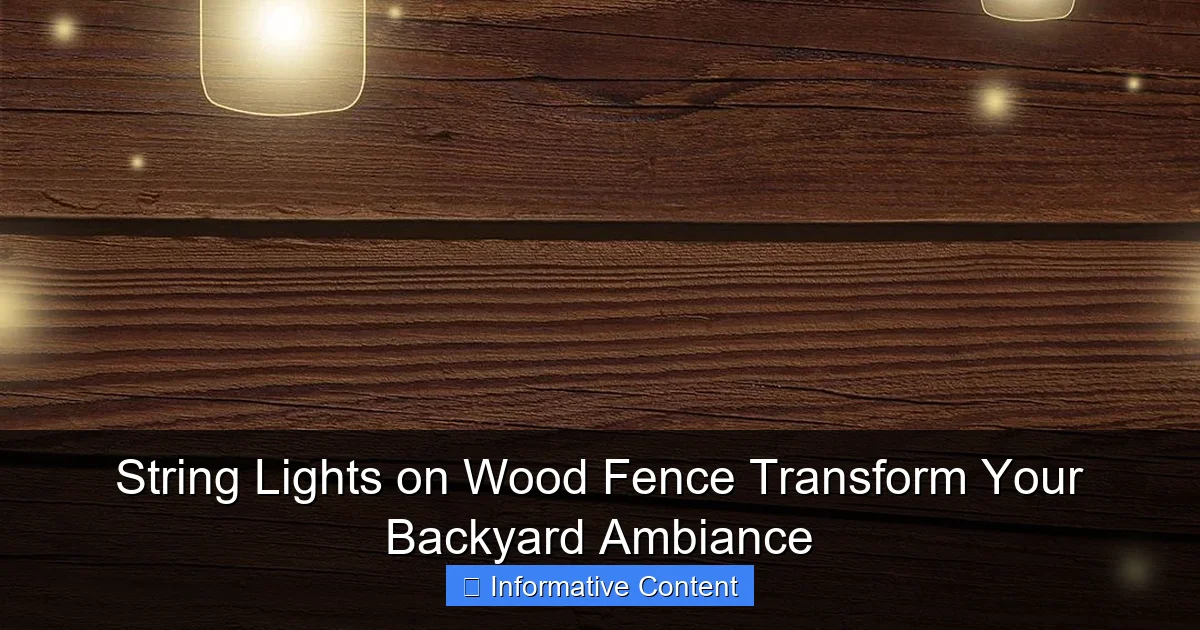
Visual guide about string lights on wood fence
Image source: wallpapercave.com
Types of String Lights: Bulb Styles and Light Temperature
Start with the basics: bulb style and color temperature. These two factors define the mood your lights will create.
- Incandescent bulbs give off a warm, golden glow (around 2200K–2700K). They’re classic and cozy, perfect for intimate gatherings. However, they use more energy and have a shorter lifespan (about 1,000–2,000 hours).
- LED bulbs are the go-to for most modern setups. They last up to 25,000 hours, use 75% less energy, and come in a range of color temperatures. Look for warm white (2700K–3000K) for a soft, inviting feel, or cool white (4000K–5000K) for a crisp, modern look.
- Edison-style bulbs add vintage charm with their exposed filaments. Great for rustic or farmhouse-style backyards.
- Mini lights (small bulbs spaced closely) create a subtle, twinkling effect—ideal for a romantic or whimsical vibe.
Pro tip: Test a small section first. Buy a single strand and hang it temporarily. See how it looks at night before committing to a full installation.
Power Source: Plug-In, Battery, or Solar?
Your power source affects convenience, placement, and long-term cost.
- Plug-in lights are reliable and bright, but require access to an outdoor GFCI outlet. Use a heavy-duty extension cord rated for outdoor use. Ideal for permanent installations.
- Battery-powered lights are great for small areas or temporary setups. No cords, but you’ll need to replace batteries (or charge them if they’re rechargeable). Best for renters or seasonal use.
- Solar-powered lights are eco-friendly and easy to install—no cords, no outlets. They charge during the day and turn on automatically at dusk. However, they’re often less bright and can be inconsistent on cloudy days. Use them for ambient lighting, not task lighting.
For a wood fence, solar string lights are often the top pick—especially if your fence is far from an outlet. Just make sure the solar panel gets at least 6 hours of direct sunlight daily.
Durability and Weather Resistance
Your lights need to survive rain, wind, and UV exposure. Check the IP (Ingress Protection) rating:
- IP44: Splash-proof (good for most backyards)
- IP65: Dust-tight and water-resistant (ideal for coastal or storm-prone areas)
- IP67: Waterproof up to 1 meter (overkill for most fences, but great for poolside)
Also, look for UV-resistant cords. Cheap plastic cords can become brittle and crack in the sun. Opt for rubber or silicone-coated wires for longevity.
How to Install String Lights on a Wood Fence (Step-by-Step)
Installing string lights on wood fence is easier than you think. With the right tools and a little planning, you can have a stunning setup in under a few hours.
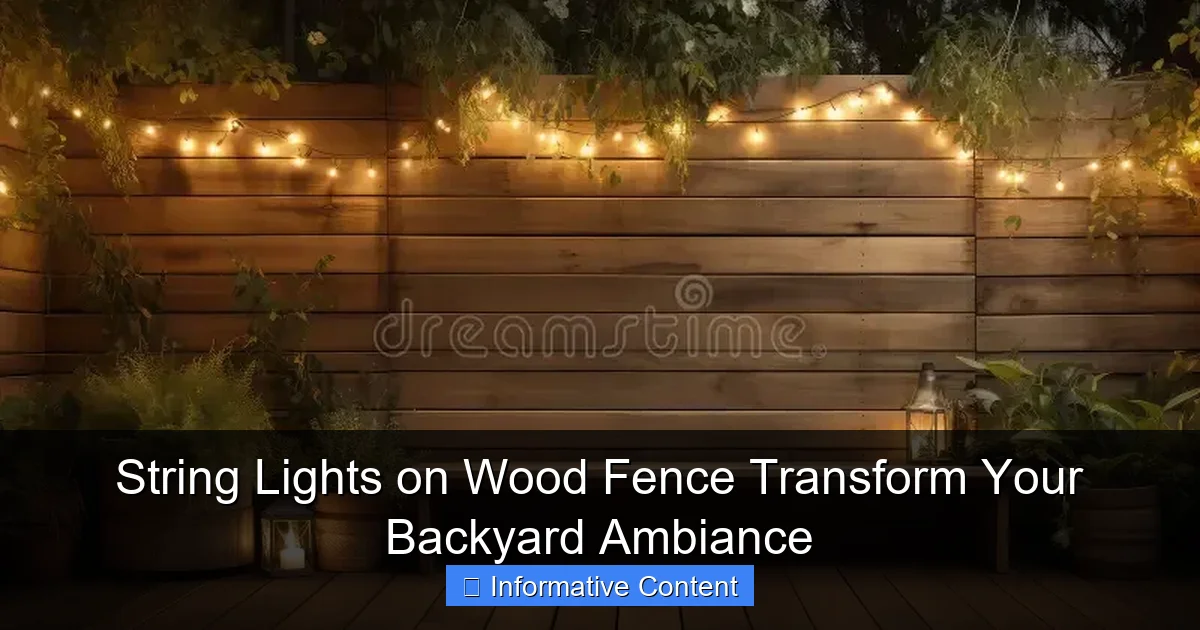
Visual guide about string lights on wood fence
Image source: thumbs.dreamstime.com
Step 1: Plan Your Layout
Before you start drilling or stapling, sketch a simple plan. Decide:
- Will the lights run horizontally along the top rail, vertically down the posts, or in a crisscross pattern?
- How many strands do you need? Measure the length of your fence and divide by the length of each light strand (e.g., a 20-foot fence with 10-foot strands = 2 strands).
- Where will the power source go? (For plug-in lights, plan the route for extension cords.)
For a classic look, run the lights along the top rail of the fence. For a more dynamic effect, zigzag them diagonally or create a “canopy” effect by hanging them from trees or pergolas to the fence.
Step 2: Gather Your Tools and Materials
You’ll need:
- String lights (rated for outdoor use)
- Weather-resistant mounting hardware:
- Cup hooks (for permanent, sturdy mounting)
- Adhesive-backed hooks (for temporary or renter-friendly setups)
- Fence clips (designed specifically for lights)
- Staples or cable clips (if running wires along rails)
- Drill and drill bits (for hooks)
- Measuring tape
- Extension cord (if using plug-in lights)
- Timer or smart plug (optional, for automatic on/off)
Step 3: Mount the Hardware
For a clean, professional look, use cup hooks spaced every 2–3 feet. Drill pilot holes first to avoid splitting the wood. Screw the hooks in by hand to prevent over-tightening.
For a no-drill option, use adhesive hooks or fence clips. These work best on smooth, clean surfaces. Test one hook first to ensure it holds the weight of the lights.
Pro tip: If your fence has a top rail, you can run the lights directly along it using cable clips or small nails. Just avoid damaging the wood or the light cords.
Step 4: Hang the Lights
Start at the power source. Unroll the lights and gently drape them over the hooks or clips. Don’t pull too tight—leave a little slack to prevent tension on the cords.
If you’re using multiple strands, connect them end-to-end (if compatible) or run them parallel. For solar lights, place the panel in a sunny spot, ideally facing south (in the Northern Hemisphere).
For a “curtain” effect, hang lights from the top rail to the ground, spacing them 6–12 inches apart. This works especially well for privacy fences.
Step 5: Secure and Test
Once all the lights are up, secure any loose cords with zip ties or clips. Plug in the lights and test them at night. Look for dark spots, flickering bulbs, or cords that are too tight.
Adjust the spacing or add extra hooks if needed. And voilà—your string lights on wood fence are ready to shine!
Creative Ways to Style Your Fence with String Lights
Now that your lights are installed, it’s time to get creative. Here are some ideas to make your fence the star of your backyard.
Classic Horizontal Line
The most popular setup: run the lights along the top rail of the fence. It’s simple, elegant, and frames your yard beautifully. Use warm white LED lights for a soft glow or Edison bulbs for a rustic vibe.
Bonus: Add fairy lights (tiny LEDs on a thin wire) along the bottom rail for a “double layer” effect.
Vertical or Diagonal Patterns
For a modern twist, run lights vertically down the fence posts or diagonally across the panels. This works especially well with a lattice or open-style fence.
Example: On a 6-foot tall fence, run lights from the top left corner of one panel to the bottom right of the next. Repeat across the fence for a dynamic, geometric look.
Canopy or “Starlight” Effect
Hang lights from trees, pergolas, or posts to create a glowing ceiling. Drape them loosely over the fence to connect the overhead lights to the fence line. This is perfect for large backyards or outdoor dining areas.
Pro tip: Use globe lights (round bulbs) for a “starry sky” feel, or mix different bulb sizes for depth.
Accent with Greenery
Wrap the lights around climbing plants, ivy, or potted vines. The contrast of light and foliage adds texture and warmth. Just make sure the plants won’t grow over the cords or block the bulbs.
For a seasonal touch, add holiday lights during winter—red and green, blue and white, or even multicolor.
Highlight Specific Features
Use lights to draw attention to a garden, water feature, or seating area. For example:
- Run lights along a pathway leading to the fence.
- Frame a fire pit or outdoor kitchen with a lighted border.
- Highlight a birdhouse or art installation on the fence.
Maintaining and Protecting Your Lights and Fence
With proper care, your string lights on wood fence can last for years. Here’s how to keep them looking great and protect your fence.
Seasonal Maintenance
Even weather-resistant lights need attention. Follow these tips:
- Inspect before each season: Check for frayed cords, loose bulbs, or damaged sockets. Replace any faulty parts.
- Clean the bulbs: Wipe them with a damp cloth to remove dust and grime. This improves brightness and prevents overheating.
- Check the hardware: Ensure hooks and clips are still secure. Replace any that are rusted or loose.
For solar lights, clean the solar panel with a soft cloth and water every few weeks.
Protecting Your Wood Fence
Wood is durable, but it’s not indestructible. To prevent damage:
- Use pilot holes: When drilling for hooks, always drill a small pilot hole first to avoid splitting the wood.
- Choose the right hooks: Avoid large, heavy hooks that can crack or pull out. Cup hooks with a 1/4-inch diameter are ideal for most fences.
- Seal the holes: After removing lights for storage, fill any holes with wood filler or a small wooden plug. This prevents moisture from seeping in and causing rot.
- Use clips, not staples: Staples can damage the wood and the light cords. Fence clips are safer and easier to remove.
Storing Lights Off-Season
If you live in a climate with harsh winters, consider removing your lights and storing them indoors. Here’s how:
- Coil the lights loosely around a piece of cardboard or a reel.
- Store them in a cool, dry place (like a closet or garage).
- Keep the bulbs intact—don’t remove them unless they’re damaged.
- Label the strands so you know which ones go where next season.
For permanent setups, use commercial-grade lights designed for year-round use. These are built to withstand freezing temperatures and heavy snow.
Real-World Examples and Data: What Works (and What Doesn’t)
To give you a clear picture, here’s a comparison of popular string lights on wood fence setups based on real user experiences and product testing.
| Light Type | Power Source | Best For | Lifespan | Pros | Cons |
|---|---|---|---|---|---|
| Warm White LED | Plug-in | Permanent installations, large backyards | 25,000 hours | Bright, energy-efficient, long-lasting | Requires outlet access |
| Solar Globe Lights | Solar | Eco-friendly setups, no outlets | 2–3 years (panel), 5,000 hours (bulbs) | No cords, automatic on/off, easy install | Less bright, inconsistent in shade |
| Edison Bulbs | Plug-in or Battery | Rustic, vintage, or boho styles | 1,000–2,000 hours (incandescent), 15,000 (LED) | Stylish, warm glow | Fragile, higher cost |
| Fairy Lights | Battery or USB | Small areas, accent lighting | 10,000 hours | Subtle, flexible, easy to hide | Not bright enough for large areas |
| Commercial-Grade LED | Plug-in | Year-round use, extreme climates | 30,000+ hours | Weatherproof, shatterproof, bright | Expensive, overkill for small yards |
From user feedback, solar string lights are the most popular for wood fences due to their ease of installation and low maintenance. However, in shaded areas, plug-in LEDs consistently outperform solar options in brightness and reliability.
One homeowner in Seattle shared: “I tried solar lights first, but they barely lasted past 8 PM in the winter. Switching to plug-in LEDs with a timer was a game-changer. Now my fence glows every night, no matter the weather.”
Another tip: Use a smart plug to control your lights with your phone or voice assistant. Set them to turn on at sunset and off at 11 PM—perfect for ambiance without wasting energy.
Final Thoughts: Light Up Your Life (Literally)
Adding string lights on wood fence isn’t just about aesthetics—it’s about creating a space where you want to spend time. Whether you’re unwinding after work, hosting a barbecue, or watching the stars with your kids, the right lighting transforms your backyard into an extension of your home.
Remember: Start small. Test a few strands. Play with styles. And don’t be afraid to experiment. Some of the best setups I’ve seen started with a simple “let’s try this” and evolved into something truly special.
The beauty of string lights is their versatility. They’re affordable, easy to install, and instantly upgrade any outdoor space. And when the sun sets and your fence starts to glow? That’s when the real magic happens. You’re not just lighting a yard—you’re lighting up moments, memories, and the little joys of everyday life.
So grab your lights, call a friend, and get to work. Your backyard transformation starts tonight.
Frequently Asked Questions
How do I install string lights on a wood fence without damaging it?
Use removable adhesive hooks or zip ties to secure the lights without drilling into the wood. This method preserves the fence while providing a sturdy hold for your string lights on wood fence setup.
What type of string lights work best for outdoor wood fences?
Opt for weatherproof LED string lights with a high IP rating (e.g., IP65) to withstand rain and humidity. Solar-powered options are also great for energy efficiency and easy placement on your wood fence.
Can I leave string lights on my wood fence year-round?
Yes, if you choose commercial-grade, UV-resistant lights designed for permanent outdoor use. Regularly inspect connections and bulbs to ensure safety and longevity, especially in harsh winter conditions.
How do I power string lights on a wood fence without nearby outlets?
Use solar-powered string lights or install a weatherproof extension cord from the nearest outdoor outlet. For larger setups, consider a low-voltage transformer system to power multiple string lights on wood fence displays.
What spacing should I use between hooks for string lights on a fence?
Space hooks 12-24 inches apart, depending on the weight of the lights and desired drape. Heavier bulbs may require closer spacing to prevent sagging, especially on longer fence stretches.
How do I create a professional look with string lights on a wood fence?
Plan your layout with even spacing and use clips or channels to guide the lights straight or in patterns like zigzags. Hide cords behind the fence or use matching cable covers for a polished finish.

