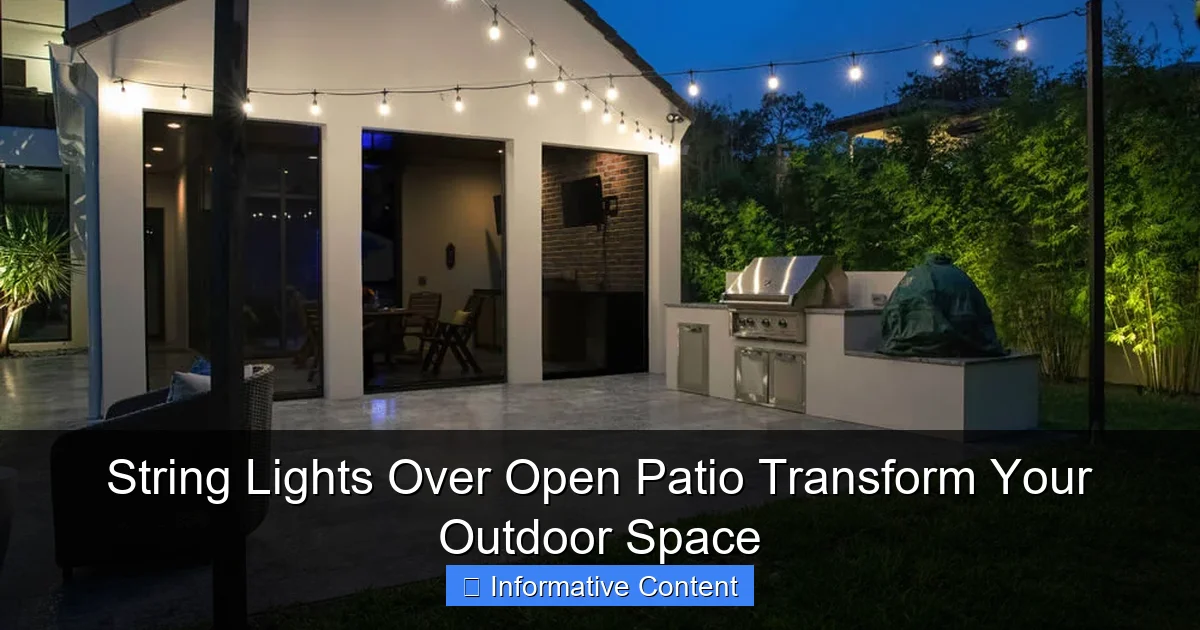
Featured image for string lights over open patio
Image source: outdoorlights.com
String lights over an open patio instantly elevate your outdoor ambiance, blending style and function for year-round enjoyment. These versatile lights create a warm, inviting glow that defines dining areas, frames gathering spaces, and enhances nighttime curb appeal with minimal effort. From bistro-style bulbs to solar-powered options, the right string lighting transforms your patio into a magical retreat after sunset.
Key Takeaways
- Choose durable, weather-resistant lights for long-lasting patio ambiance.
- Plan spacing and layout first to avoid uneven or tangled installations.
- Use dimmers or smart controls to adjust brightness for any mood.
- Mix string lights with other fixtures to create layered lighting effects.
- Anchor securely to withstand wind and prevent sagging over time.
- Opt for warm white LEDs to enhance coziness and visibility.
📑 Table of Contents
- Why String Lights Over Open Patio Are a Game-Changer
- Choosing the Right String Lights for Your Patio
- Creative Ways to Hang String Lights Over Open Patio
- Installation Tips: Safety, Tools, and Pro Secrets
- Design Ideas to Elevate Your Patio Ambiance
- Maintenance and Longevity: Keeping Your Lights Bright
- Conclusion: Light Up Your Life
Why String Lights Over Open Patio Are a Game-Changer
Imagine stepping onto your open patio after sunset and being greeted by a warm, golden glow that feels like a hug from the night sky. That’s the magic of string lights over open patio—they don’t just light up a space; they transform it into a sanctuary. I remember the first time I strung up lights in my backyard. I’d just moved into a new house with a wide-open patio, and while it was great for daytime barbecues, it felt cold and uninviting at night. A few evenings of squinting at my phone flashlight while trying to find my wine glass was all it took to convince me to invest in some outdoor string lights. What started as a practical solution quickly became the heart of my outdoor space.
Now, I host dinners under a canopy of lights, and even my neighbors have started asking for advice on how to do the same. String lights aren’t just about illumination—they’re about atmosphere. Whether you’re curling up with a book, sharing a meal with friends, or stargazing with your partner, the right lighting sets the mood. And when it comes to open patios, which often lack natural cover or built-in lighting, string lights are the perfect fix. They’re affordable, easy to install, and surprisingly versatile. In this guide, we’ll explore how to use string lights over open patio to create a space that’s both functional and enchanting.
Choosing the Right String Lights for Your Patio
Not all string lights are created equal. Picking the right ones for your open patio depends on your goals, the size of your space, and how you plan to use it. Let’s break it down.
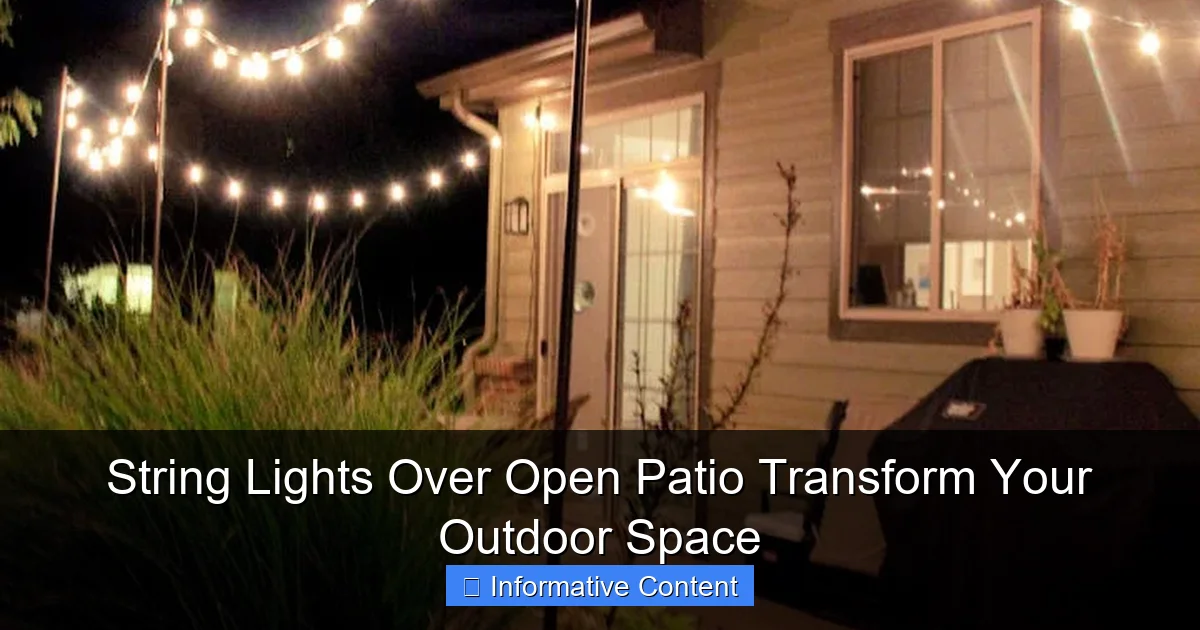
Visual guide about string lights over open patio
Image source: blitsy.com
Types of String Lights: What’s Available?
- Edison-style bulbs: These have that vintage, exposed-filament look. They’re warm and inviting, perfect for a rustic or farmhouse aesthetic. I used these for my patio, and they give off a cozy, candle-like glow. Just note: they’re usually brighter than other options, so they’re better for entertaining than intimate reading.
- Mini LED lights: Tiny, energy-efficient, and often battery-powered. These are great if you want subtle twinkle without overwhelming brightness. I’ve used them along railings or draped over planters for a “starry night” effect.
- Commercial-grade lights: These are heavy-duty, weatherproof, and designed for long-term outdoor use. They’re a bit pricier, but they’re worth it if you want a permanent setup. I upgraded to these after my first set (a cheaper brand) gave out after one rainy season.
- Smart string lights: Want to change colors or dim the lights with your phone? Smart lights connect to apps or voice assistants. I haven’t tried these myself, but I’ve heard good things from friends who love the flexibility.
Key Features to Consider
- Weather resistance: Look for IP65 or higher ratings. This means they can handle rain, snow, and humidity. My first mistake? Buying lights labeled “outdoor” that weren’t actually waterproof. Lesson learned.
- Power source: Solar-powered lights are eco-friendly and easy to install (no outlets needed), but they’re dimmer and less reliable in cloudy climates. Plug-in lights offer consistent brightness but require access to an outlet. Battery-operated lights are portable but need frequent battery changes.
- Bulb spacing: Closer spacing (6–8 inches) creates a dense, glowing effect. Wider spacing (12+ inches) is more subtle. For my patio, I chose 10-inch spacing—enough to feel cozy without looking cluttered.
- Length and coverage: Measure your patio’s dimensions. A 25-foot string might sound long, but if your patio is 20×20 feet, you’ll need multiple strands. I recommend buying 20% more than you think you need for seamless coverage.
Color Temperature: Warm vs. Cool
This is a personal preference, but here’s a rule of thumb:
- Warm white (2700K–3000K): Feels inviting and natural. It mimics candlelight, which is why I use this for dinners and gatherings.
- Cool white (4000K+): Brighter and more modern. It’s better for task lighting (e.g., grilling) but can feel sterile for relaxation.
- Multicolor or RGB: Fun for holidays or parties, but I’d avoid them for everyday use. They can feel gimmicky unless you’re going for a playful vibe.
Creative Ways to Hang String Lights Over Open Patio
Now that you’ve chosen your lights, how do you hang them? The key is to create a cohesive design that feels intentional, not haphazard. Here are some of my favorite (and tested) methods.
The Classic Canopy (Most Popular)
This is what most people think of when they picture string lights over open patio: a grid or crisscross pattern across the ceiling. It’s simple, effective, and works for almost any patio shape.
- How to do it: Anchor lights to opposite sides of your patio (e.g., house and fence, or two posts). Use turnbuckles or hooks for tension, and space strands 1–2 feet apart. For a grid, add perpendicular strands.
- Pro tip: Use a laser level to ensure your strands are straight. My first attempt was a wobbly mess because I eyeballed it. A $20 level saved my second try.
- Best for: Rectangular or square patios. It creates a “room” effect, which makes the space feel cozier.
Hanging from Trees or Posts (For Natural Charm)
If your patio has trees, columns, or pergola posts, use them! This method feels organic and works well for irregularly shaped patios.
- How to do it: Drape lights from tree branches to posts, or wrap them around trunks. For a “floating” look, suspend strands between trees using zip ties or hooks.
- Pro tip: Avoid wrapping lights too tightly around trees. It can damage bark. Instead, use soft loops or tree-friendly straps.
- Best for: Patios with existing vertical features. I used this in a friend’s backyard, and it looked like the lights were part of the landscape.
Starry Night Effect (Subtle and Magical)
For a softer glow, skip the grid and go for a random, “constellation” pattern. This works well for smaller patios or if you prefer ambient light.
- How to do it: Hang individual strands in zigzags or loose clusters. Think of it like drawing with light. I used this for my reading nook, and it feels like sitting under a tree at night.
- Pro tip: Use mini LED lights for this. They’re less obtrusive and easier to maneuver.
- Best for: Intimate spaces or patios with low ceilings.
DIY Structures (For Custom Looks)
No pergola? No problem. Build your own frame with PVC pipes, metal conduit, or even repurposed wood.
- How to do it: Create a simple rectangle with 4 posts and crossbeams. Attach lights to the beams, or run them diagonally for a dynamic look.
- Pro tip: Paint your structure to match your patio’s decor. I used white PVC for a modern look, but black would work for industrial style.
- Best for: Renters or temporary setups. You can dismantle it when needed.
Hanging from a Ceiling or Eaves (For Covered Patios)
If your patio has a roof or overhang, this is the easiest method. Just make sure your lights can handle the height.
- How to do it: Use hooks or adhesive clips to attach strands to the ceiling. For eaves, hang lights from the edge in a curtain-like pattern.
- Pro tip: Use extension cords with outdoor-rated outlets. I once used an indoor cord—don’t make that mistake. It’s a fire hazard.
- Best for: Covered patios or porches with existing structures.
Installation Tips: Safety, Tools, and Pro Secrets
Installing string lights over open patio is usually simple, but a few mistakes can turn a fun project into a headache. Here’s how to do it right.
Tools You’ll Need
- Measuring tape: To plan your layout.
- Ladder or step stool: For reaching high spots.
- Drill and screws: For permanent installations.
- Turnbuckles or hooks: To secure lights and adjust tension.
- Zip ties or clips: For temporary or lightweight setups.
- Extension cords (outdoor-rated): To reach outlets safely.
Step-by-Step Installation
- Plan your layout: Sketch your patio and mark where lights will go. Consider obstacles (e.g., plants, furniture).
- Test your lights: Plug them in before hanging. I once spent an hour installing a strand only to realize a bulb was burned out.
- Install anchors: For permanent setups, drill pilot holes and screw in hooks. For temporary, use adhesive clips or zip ties.
- Hang the lights: Start at one end and work your way across. Use turnbuckles to tighten strands if needed.
- Adjust for tension: Lights should be taut but not stretched. Loose strands can sag or tangle.
- Connect to power: Use outdoor-rated extension cords. Avoid daisy-chaining too many strands—it can overload the circuit.
Safety First
- Check for overhead power lines: Never hang lights near them. I learned this from a neighbor who got fined after a close call.
- Use GFCI outlets: These cut power if they detect moisture, reducing the risk of shocks. Most outdoor outlets have them, but test yours with a plug-in tester.
- Inspect cords regularly: Look for fraying or exposed wires. Replace damaged cords immediately.
- Don’t overload circuits: Most outdoor circuits can handle 15–20 amps. Use a circuit calculator to avoid tripping breakers.
Pro Secrets
- Use a remote timer: Automate your lights to turn on at sunset. I use a $15 timer, and it’s a game-changer.
- Mix bulb styles: Combine Edison and mini lights for texture. I did this for a party, and guests loved the layered look.
- Hide cords: Run them along walls or under furniture. I used white cord covers to blend them into my house.
Design Ideas to Elevate Your Patio Ambiance
String lights are just the start. Pair them with other elements to create a space that feels curated, not cluttered.
Layer Your Lighting
Don’t rely on string lights alone. Combine them with:
- Fairy lights in planters: I wrapped mini lights around my herb garden, and it looks magical.
- Floor lamps or lanterns: These add task lighting for cooking or reading.
- Uplighting for plants: Shine lights upward from the ground to highlight trees or sculptures.
Incorporate Furniture and Decor
- Outdoor rugs: Define seating areas and add color. I chose a jute rug for a natural look.
- Cushions and throws: Use warm tones to complement the lights. My mustard-yellow cushions pop against the golden glow.
- String light “rooms”: Create zones (e.g., dining, lounge) by hanging lights in clusters over each area.
Seasonal Touches
- Summer: Add citronella candles to keep bugs away. I use glass lanterns with LED tea lights for safety.
- Winter: Hang lights in a “frosted” pattern (draped low) for a cozy feel. I add battery-powered fairy lights to my wreaths.
- Holidays: Swap in colored bulbs for Christmas or Halloween. My kids love the “spooky” purple and orange lights.
Color and Texture Play
- Metallic accents: Gold or copper planters reflect light beautifully.
- Glass or crystal decor: These catch and refract light, adding sparkle. I hung glass orbs from my tree branches.
- Greenery: Vines or ivy draped over lights create a lush, romantic look.
Maintenance and Longevity: Keeping Your Lights Bright
Good news: string lights over open patio are low-maintenance, but a little care goes a long way.
Cleaning Your Lights
- Wipe bulbs: Use a soft cloth to remove dust or cobwebs. I do this every 2–3 months.
- Check connections: Look for corrosion or loose wires. A little electrical tape can fix minor issues.
- Store properly: If you take them down, wrap strands loosely in a box or bag. Avoid tangling!
Weatherproofing Tips
- Seal connections: Use electrical tape or silicone to waterproof plug joints. I learned this after a rainy season ruined my first set.
- Use conduit for cords: Run cords through PVC pipes to protect them from moisture and pests.
- Inspect after storms: High winds can loosen anchors. Check your setup after bad weather.
When to Replace
- Flickering bulbs: Often a sign of loose connections or dying bulbs. Tighten or replace as needed.
- Faded colors: LEDs last 10–20 years, but cheaper models may degrade faster. I replaced my first set after 3 years.
- Damaged cords: If insulation is cracked or wires are exposed, toss them. Safety first!
Data Table: String Light Comparison
| Type | Lifespan (Years) | Cost (Per 25ft) | Weather Resistance | Best For |
|---|---|---|---|---|
| Edison (LED) | 15–20 | $20–$40 | IP65 | Entertaining |
| Mini LED | 10–15 | $15–$30 | IP65 | Subtle ambiance |
| Commercial-grade | 20+ | $50–$100 | IP67 | Permanent setups |
| Solar-powered | 5–10 | $25–$50 | IP65 | Eco-friendly use |
| Smart lights | 10–15 | $60–$120 | IP65 | Tech lovers |
Conclusion: Light Up Your Life
Transforming your open patio with string lights over open patio isn’t just about aesthetics—it’s about creating a space where you love to spend time. I’ve hosted countless dinners, read dozens of books, and even had a few impromptu dance parties under my lights. They’ve turned my patio from an afterthought into my favorite room in the house. And the best part? It’s a project anyone can tackle. Whether you’re a DIY newbie or a seasoned pro, the right lights and a little creativity can make all the difference.
So grab a ladder, pick your favorite bulbs, and start stringing. Your perfect outdoor oasis is just a few strands away. And when you’re sitting under that warm glow, sipping a drink and laughing with friends, you’ll wonder why you didn’t do it sooner. After all, life’s too short for boring patios—let there be light!
Frequently Asked Questions
How do I hang string lights over an open patio without drilling holes?
Use freestanding poles, tension cables anchored to trees or railings, or weighted bases to avoid drilling. These methods securely install string lights over open patio areas while preserving your space’s aesthetics.
What type of string lights are best for an open patio?
Weatherproof LED string lights with shatterproof bulbs are ideal for open patios, offering durability and energy efficiency. Look for commercial-grade options with dimmable features for customizable ambiance.
Can I leave string lights over my open patio up year-round?
Yes, but only if the lights are explicitly rated for permanent outdoor installation. Ensure they’re connected to a GFCI outlet and use protective covers on connections to prevent weather damage.
How far apart should poles be for string lights over an open patio?
For most string lights over open patio setups, place poles 8–12 feet apart to prevent sagging. Use stronger cables or intermediate supports for longer spans to maintain tension and safety.
Do solar-powered string lights work well for open patios?
Solar lights are great for open patios with ample sunlight but may dim faster than plug-in versions. Opt for high-lumen solar bulbs with backup batteries for consistent evening brightness.
How do I power string lights over a large open patio?
Use outdoor-rated extension cords connected to multiple outlets, or install a weatherproof power box at one end. For large spaces, consider a transformer with low-voltage wiring to power the entire setup.

