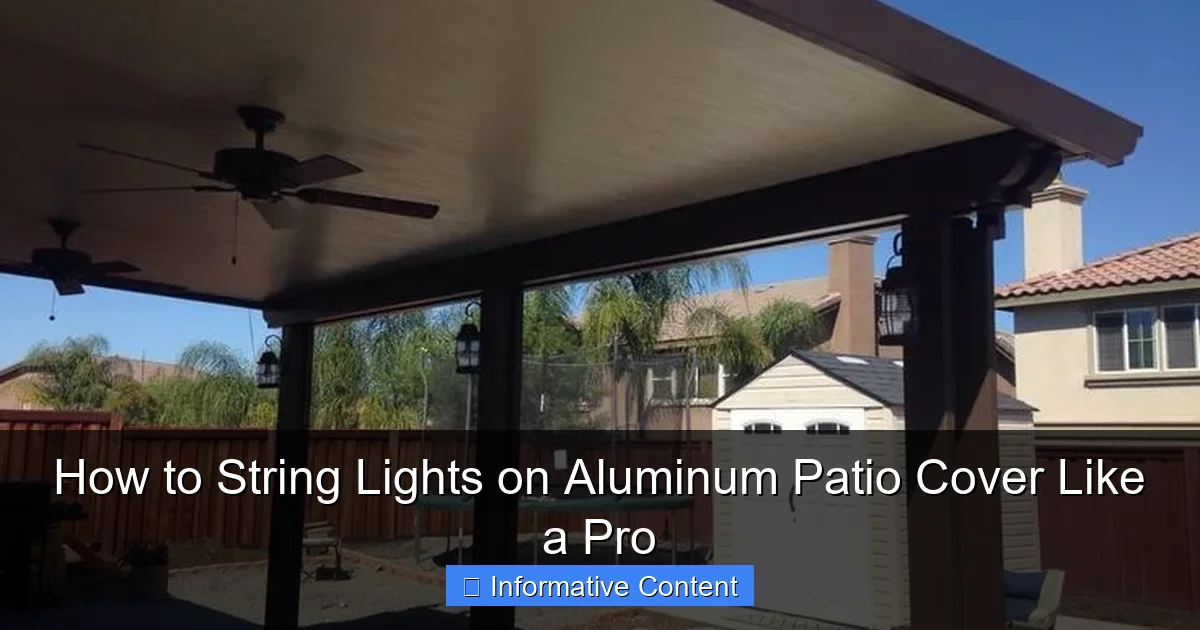
Featured image for stringing lights on aluminum patio cover
Image source: i.pinimg.com
Transform your aluminum patio cover into a stunning nighttime oasis by securely attaching string lights with the right tools and techniques—no drilling required. Use UV-resistant zip ties, adhesive hooks, or aluminum-compatible mounting clips to ensure a clean, professional look that withstands weather and time. Follow a strategic layout plan to highlight architectural features and create inviting ambiance effortlessly.
Key Takeaways
- Plan your layout: Sketch light placement before installing to ensure even spacing and avoid gaps.
- Use adhesive clips: Secure lights with outdoor-rated clips designed for aluminum surfaces to prevent damage.
- Check power source: Position lights near an outlet or use a weatherproof extension cord for safety.
- Opt for LED lights: Choose energy-efficient, weather-resistant LEDs to reduce heat and save power.
- Test before securing: Plug in lights to confirm functionality before final installation.
- Weatherproof connections: Seal plugs and connections with silicone to prevent water damage.
- Trim excess: Neatly tuck or cut loose cords to maintain a clean, professional look.
📑 Table of Contents
- Why Stringing Lights on Your Aluminum Patio Cover Is Worth the Effort
- Understanding Your Aluminum Patio Cover: The Foundation of a Great Setup
- Choosing the Right Lights for Your Aluminum Patio Cover
- Planning Your Lighting Layout: Design Like a Pro
- Installing Lights on Aluminum: Tools, Techniques, and Safety
- Maintenance, Troubleshooting, and Longevity Tips
- Final Thoughts: Enjoy Your Glowing Oasis
Why Stringing Lights on Your Aluminum Patio Cover Is Worth the Effort
There’s something magical about stepping outside after dusk and being greeted by a warm, glowing canopy of string lights. Whether you’re hosting a summer barbecue, enjoying a quiet evening with a book, or just trying to extend your outdoor living space, lighting can completely transform your patio. And if you have an aluminum patio cover, you’re in luck—this material is not only durable and low-maintenance, but also surprisingly easy to work with when it comes to installing outdoor lighting.
I’ll never forget the first time I strung lights across my own aluminum pergola. It was a balmy July evening, and I was determined to create that “cozy backyard oasis” vibe I’d seen on Pinterest. I had a box of string lights, a ladder, and zero idea what I was doing. After a few tangled cords, a near-fall, and a lot of trial and error, I finally got it right. Now, after years of refining my technique and helping friends with their setups, I can confidently say: stringing lights on an aluminum patio cover doesn’t have to be stressful. In fact, with the right tools, a little planning, and some pro tips, you can do it quickly, safely, and beautifully.
Understanding Your Aluminum Patio Cover: The Foundation of a Great Setup
Before you grab your lights and start wrapping them around every beam, it’s important to understand the structure and features of your aluminum patio cover. Unlike wood or vinyl, aluminum is lightweight, rust-resistant, and non-porous—but it also has unique characteristics that affect how you install lights. Knowing these will help you avoid damage, ensure longevity, and get the best visual effect.
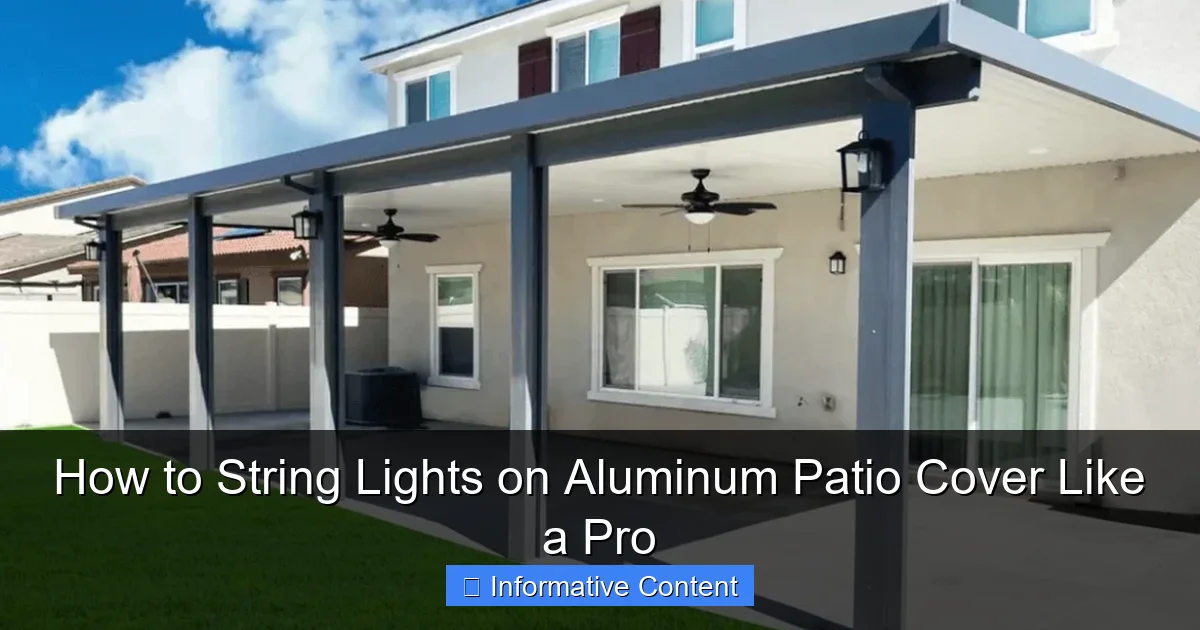
Visual guide about stringing lights on aluminum patio cover
Image source: southernhomeimprovement.com
Types of Aluminum Patio Covers
Not all aluminum covers are the same. Here are the most common types you might have:
- Solid panel covers: These provide full shade and weather protection. Great for year-round use, but limit light placement since they block direct overhead mounting.
- Pergola-style (lattice) covers: Open beams with slats that allow dappled light and ventilation. Ideal for wrapping or hanging lights along the beams.
- Insulated covers: Thicker panels with foam core for temperature control. These are sturdier but may require special hardware for mounting.
- Retractable covers: Motorized or manual systems that open and close. Be cautious with permanent installations—avoid anything that could interfere with movement.
Key Features That Affect Lighting
- Beam thickness: Thicker beams (2×4 or larger) can support heavier lights and mounting hardware. Thinner ones may need lighter options or adhesive solutions.
- Surface finish: Smooth, powder-coated aluminum won’t snag lights, but textured or matte finishes can help hold clips or adhesive strips better.
- Height and span: Measure the distance between supports and the height of the cover. This helps you choose the right length of lights and plan for power sources.
- Drainage channels: Many aluminum covers have built-in gutters or channels to direct water. Avoid blocking these—water damage is a real risk if you’re not careful.
Pro Tip: Inspect Before You Install
Take 10 minutes to walk around your patio cover and look for:
- Any loose or corroded screws
- Sharp edges that could cut cords
- Existing holes or anchor points (great for reusing!)
- Nearby power outlets or GFCI-protected circuits
Addressing small issues now prevents big headaches later. And trust me—once the lights are up, you don’t want to be climbing up and down to fix a loose bracket.
Choosing the Right Lights for Your Aluminum Patio Cover
Not all string lights are created equal. The right choice depends on your goals: ambiance, brightness, energy efficiency, and durability. Here’s how to pick lights that work with your aluminum cover, not against it.
Types of String Lights: Pros and Cons
| Type | Best For | Lifespan | Energy Use | Weather Resistance |
|---|---|---|---|---|
| LED Edison Bulbs | Ambiance, vintage look | 25,000+ hours | Low (5–10W per 25 ft) | IP65 or higher (outdoor rated) |
| LED Globe Lights | Uniform glow, modern feel | 20,000+ hours | Low (4–8W per 25 ft) | IP67 (waterproof) |
| Incandescent (Traditional) | Warm, nostalgic glow | 1,000–2,000 hours | High (60W per 25 ft) | IP44 (splash resistant) |
| Solar-Powered | Eco-friendly, no wiring | 10,000+ hours | None | IP65 (depends on model) |
| Net or Curtain Lights | Even coverage, quick install | 20,000+ hours (LED) | Low | IP65+ (outdoor use) |
What to Look for When Buying
- Outdoor-rated (IP65 or higher): Essential for rain, humidity, and UV exposure. Check the packaging—don’t assume “outdoor” means truly weatherproof.
- Plug type: Choose lights with a male plug at one end and female at the other if you plan to connect multiple strands. This avoids dead ends.
- Bulb spacing: 4–6 inches is ideal for a balanced look. Too close = harsh; too far = patchy.
- Color temperature: 2700K–3000K for warm white (cozy), 4000K for bright white (functional). Avoid cool blue unless you want a modern, crisp vibe.
- Smart features: Dimmable, timer, or app-controlled lights are great for flexibility—but make sure they’re compatible with your aluminum structure (e.g., no metal interference with wireless signals).
How Many Lights Do You Need?
A common mistake? Buying too many or too few. Here’s a simple formula:
- Measure the total length of all beams you plan to light.
- Divide by 4 (for 4-inch spacing) or 6 (for 6-inch spacing).
- Add 10% extra for overlaps, turns, or future repairs.
Example: Your pergola has 4 beams, each 12 feet long. Total = 48 feet. At 6-inch spacing, you need about 96 bulbs (48 ft × 12 in / 6 in). A 25-ft strand with 50 bulbs gives you two full beams with a little to spare. Buy three strands to be safe.
Solar vs. Plug-In: A Personal Take
I used solar lights for my first setup. They’re great for low-maintenance zones, but in my shaded backyard, they only lasted 2–3 hours after sunset. Now I use plug-in LED lights with a timer. The upfront cost is higher, but the reliability and brightness are worth it. If you go solar, place the panel in direct sun—even a few hours of morning light makes a difference.
Planning Your Lighting Layout: Design Like a Pro
You wouldn’t paint a room without sketching it first—same goes for lighting. A thoughtful layout prevents tangles, ensures even coverage, and creates the mood you want. Here’s how to plan like a pro.
Step 1: Define Your Zones
Think of your patio cover as a room. Where do you sit? Where do people gather? Where should light be brighter (dining table) vs. softer (lounge area)?
- Task lighting: Over dining or cooking areas. Use brighter, focused lights (e.g., globe or pendant-style).
- Ambient lighting: General glow for the whole space. String lights along beams work best.
- Accent lighting: Highlight plants, art, or architectural features. Use spotlights or small LED strips.
Step 2: Choose a Pattern
Don’t just wrap lights randomly. Here are five popular (and effective) patterns:
- Parallel lines: Run lights straight across beams, evenly spaced. Clean, modern, and easy to install.
- X-pattern: Crisscross lights diagonally between beams. Adds visual interest and full coverage.
- Zigzag: Alternate lights up and down each beam. Great for pergolas—creates a “draped” effect.
- Cluster (or “bouquet”): Bundle lights at key points (corners, center) and let them drape. Romantic and low-effort.
- Curtain/net: Hang net lights vertically from the cover to the ground. Perfect for defining space and blocking wind.
Pro tip: For aluminum covers, the zigzag and parallel patterns work best—they’re secure, don’t sag, and show off the structure.
Step 3: Map Power Sources
This is where many people get stuck. You don’t want cords running across the yard or tripping hazards.
- Use outdoor-rated extension cords: Look for “SJTW” or “SJTO” labels—rated for moisture and temperature changes.
- Hide cords under rugs or with cord covers: Use adhesive clips or cable raceways to keep them tidy.
- Install a weatherproof outlet: If possible, add a GFCI outlet under the cover. No more daisy-chaining!
- Use a timer: Automate on/off times. Saves energy and means you never forget to turn them off.
Step 4: Test Before You Commit
Before drilling or clipping, lay the lights out on the ground. Use painter’s tape to mark beam positions. Walk around, turn them on, and see how the light spreads. Adjust spacing or add/remove strands based on what looks best. I once thought I needed 6 strands—turned out 4 was perfect. Saved me $50 and a lot of clutter.
Installing Lights on Aluminum: Tools, Techniques, and Safety
Now for the fun part: putting the lights up. With the right tools and techniques, this can be a one-person job that takes under two hours. Safety first, though—aluminum can be slippery, and heights are no joke.
Essential Tools & Materials
- Ladder (preferably a step ladder with a tool tray)
- Measuring tape
- Outdoor-rated string lights
- Aluminum-safe mounting clips (more on these below)
- Extension cords and timers
- Work gloves (to avoid sharp edges)
- Helper (optional but recommended for long spans)
Best Mounting Methods for Aluminum
Never use nails, screws, or glue on aluminum—they can damage the finish, void warranties, or cause leaks. Here are the only safe options:
1. Adhesive Clips or Strips
- Use outdoor-rated, removable adhesive (e.g., 3M Command Outdoor Strips).
- Ideal for smooth, flat surfaces. Holds up to 3 lbs per clip.
- Apply in dry, warm conditions (50°F+). Remove by gently pulling the tab—no residue.
- Tip: Test on a small area first. Some adhesives don’t stick to powder-coated finishes.
2. Clamp-Style Clips
- Rubber-padded clamps that grip beams without drilling.
- Perfect for pergola-style covers with 1–2 inch beams.
- Reusable and adjustable. Look for ones with UV-resistant plastic.
- Pro tip: Buy clips with built-in cord guides—they keep lights tidy and prevent sagging.
3. Zip Ties (With Caution)
- Use UV-resistant, outdoor-rated zip ties (not the cheap office kind).
- Only for temporary setups or very light lights (e.g., LED fairy lights).
- Cut flush with scissors to avoid sharp edges.
- Never use metal zip ties—they can scratch or corrode aluminum.
4. Magnets (For Metal-Frame Covers)
- If your cover has a steel frame (check with a magnet), use strong neodymium magnets with hooks.
- Holds up to 10 lbs. Great for heavy lights or netting.
- Easy to reposition. No damage.
Step-by-Step Installation Guide
- Start at the power source: Plug in the first strand and work outward. Avoid mid-span connections.
- Attach clips every 12–18 inches: More for heavy lights, less for lightweight LEDs.
- Run lights along your planned path: Use the zigzag or parallel pattern. Keep tension even—don’t pull too tight.
- Connect strands with male-to-female plugs: Use waterproof connector caps to protect joints.
- Secure cords under clips or with zip ties: Prevent sagging and tripping.
- Test all lights: Turn them on. Replace any dead bulbs before finalizing.
- Set your timer: Aim for sunset to 10 or 11 PM. Adjust as needed.
Safety First
- Always use a GFCI outlet or extension cord. Prevents shocks in wet conditions.
- Don’t overload circuits. Check wattage limits on your breaker.
- Wear non-slip shoes and gloves. Aluminum gets hot in the sun and cold at night.
- Have a spotter if using a tall ladder.
Maintenance, Troubleshooting, and Longevity Tips
You’ve done the hard work—now keep your lights looking great for years. A little maintenance goes a long way, especially with aluminum’s exposure to sun, rain, and wind.
Monthly Checks
- Inspect clips and cords: Look for loose mounts, frayed wires, or UV damage.
- Clean bulbs: Wipe with a dry microfiber cloth. Avoid water—aluminum covers can trap moisture.
- Check timer settings: Adjust for seasonal changes in sunset times.
Seasonal Care
- Summer: Trim overhanging branches that could rub against lights.
- Fall: Remove leaves from gutters and light strands. Clogged drains can cause water damage.
- Winter: If you live in a snowy area, consider taking down lights or using snow-resistant models. Heavy snow can bend aluminum beams or break bulbs.
- Spring: Do a full inspection. Replace any damaged strands before the season starts.
Troubleshooting Common Issues
- Lights won’t turn on: Check the outlet, timer, and connections. Test with a lamp.
- Flickering bulbs: Often a loose bulb or bad connection. Tighten or replace.
- Sagging strands: Add more clips or use a center support (e.g., a thin wire across the cover).
- Adhesive clips falling off: Reapply in dry, warm weather. Use clamps as backup.
- Water in connectors: Dry thoroughly, then use dielectric grease to seal.
Extending Lifespan
- Store lights properly: When not in use, coil them loosely and keep in a dry place. Use a cord reel.
- Choose quality over quantity: Spend a little more on durable lights. They’ll pay for themselves.
- Rotate patterns: Change your layout every few years. Keeps things fresh and reduces wear on one area.
Final Thoughts: Enjoy Your Glowing Oasis
Stringing lights on an aluminum patio cover isn’t just about illumination—it’s about creating a space where memories happen. I’ve shared meals under mine, read books, celebrated birthdays, and even had a surprise proposal (my sister’s boyfriend nailed it). The lights aren’t just decor; they’re part of the experience.
The best part? It’s totally doable. Whether you’re a DIY newbie or a seasoned pro, you can achieve a professional look with a little planning and the right tools. Remember: choose weatherproof lights, use aluminum-safe mounts, plan your layout, and prioritize safety. And don’t be afraid to experiment—sometimes the most beautiful setups come from happy accidents.
So grab your lights, a ladder, and a friend. Turn off the inside lights, step outside, and let your aluminum patio cover shine. You’ve earned it. And trust me—once you see that warm glow spreading across your backyard, you’ll wonder why you didn’t do it sooner.
Frequently Asked Questions
How do you attach string lights to an aluminum patio cover without drilling holes?
Use adhesive hooks, magnetic clips, or tension rods designed for aluminum surfaces to avoid damaging the structure. These options provide secure hold while keeping installation tool-free and reversible.
What type of string lights work best for aluminum patio covers?
Opt for LED string lights with lightweight, weather-resistant cords and plastic or rubberized sockets to prevent electrical hazards. Their flexibility makes them ideal for wrapping around beams or hanging from rafters.
How do you string lights on an aluminum patio cover evenly for a professional look?
Plan your layout with a tape measure and mark hook positions before hanging. Use zip ties or clips to secure lights at consistent intervals, ensuring no sagging or uneven spacing.
Can you use command hooks for string lights on an aluminum patio cover?
Yes, heavy-duty Command™ hooks work well on smooth aluminum surfaces. Just ensure the hooks are rated for outdoor use and the lights’ weight to avoid slipping.
How do you power string lights on an aluminum patio cover safely?
Use outdoor-rated extension cords with GFCI outlets and route them along the cover’s edges to minimize tripping hazards. Consider solar-powered lights as a cord-free alternative.
How do you string lights on an aluminum patio cover with a sloped roof?
Adjust the light placement by hanging them from the highest points first, using adjustable hooks or zip ties to accommodate the slope. This ensures uniform lighting without straining the wires.

