
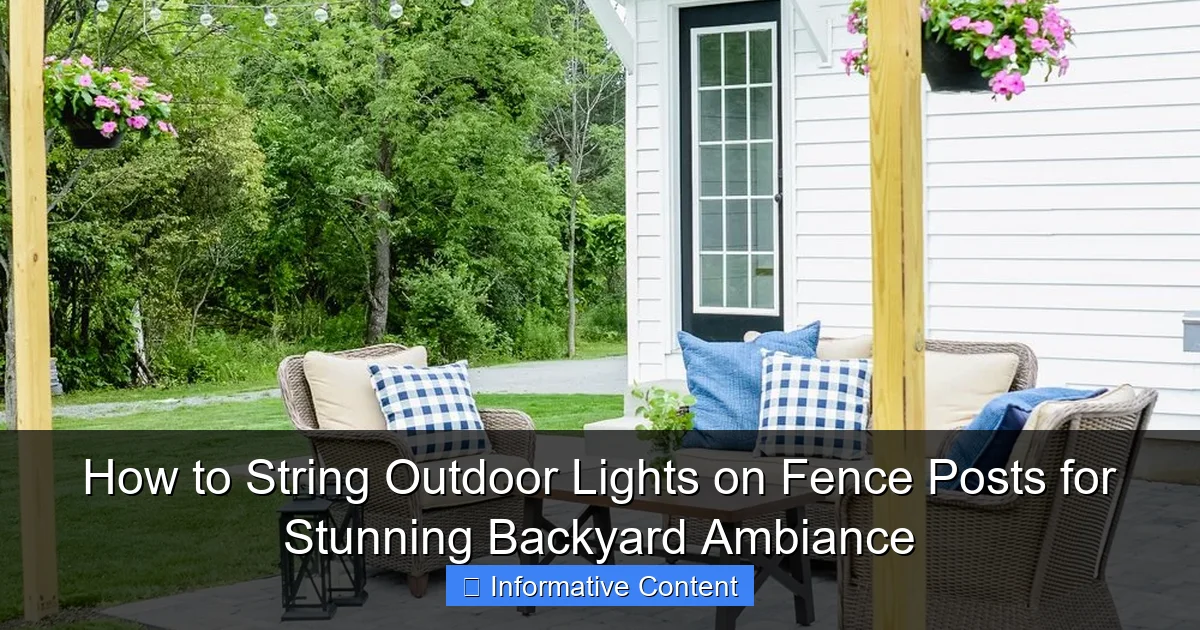
Featured image for stringing outdoor lights on fence posts
Image source: i.ytimg.com
Transform your backyard into a captivating retreat by stringing outdoor lights along fence posts for instant ambiance and style. With the right spacing, secure mounting, and weather-resistant fixtures, you can achieve a professional, enchanting glow that highlights your outdoor space year-round. Follow a simple, step-by-step approach to ensure safety, durability, and stunning visual impact.
Key Takeaways
- Plan spacing first: Measure fence posts to evenly space lights for balanced illumination.
- Choose durable lights: Opt for weatherproof, commercial-grade string lights to withstand outdoor conditions.
- Use secure fasteners: Install hooks or clips to prevent sagging and damage over time.
- Hide power sources: Conceal extension cords and timers for a clean, professional look.
- Layer lighting: Combine string lights with path lights for depth and ambiance.
- Test before installing: Check all bulbs and connections to avoid mid-project fixes.
📑 Table of Contents
- How to String Outdoor Lights on Fence Posts for Stunning Backyard Ambiance
- Why Fence Posts Are Perfect for Outdoor Lighting
- Choosing the Right Outdoor Lights for Your Fence
- Planning Your Light Layout: Design Tips and Tricks
- Step-by-Step Installation Guide
- Maintenance and Safety Tips
- Data Table: Comparing Outdoor Lighting Options
How to String Outdoor Lights on Fence Posts for Stunning Backyard Ambiance
Imagine stepping into your backyard at dusk. The sun dips below the horizon, and suddenly, a soft, warm glow begins to dance along your fence line. String lights twinkle above, casting gentle shadows and creating a space that feels both magical and inviting. It’s not just about lighting—it’s about transforming your outdoor area into a personal retreat. Stringing outdoor lights on fence posts is one of the simplest, most effective ways to elevate your backyard’s ambiance, whether you’re hosting a summer barbecue, enjoying a quiet evening with a book, or stargazing with loved ones.
I remember the first time I tried this. I was skeptical—would the lights look tacky? Would they stay up in the wind? But after a few hours of work and a string of warm white Edison bulbs, my fence became the centerpiece of my yard. The transformation was instant. Suddenly, my outdoor space felt cozy, intentional, and full of character. The best part? This project is surprisingly doable, even if you’re not a DIY expert. With the right tools, a bit of planning, and a few clever tricks, you can achieve the same stunning effect. Whether you’re a seasoned DIYer or a first-timer, this guide will walk you through everything you need to know to string outdoor lights on fence posts like a pro.
Why Fence Posts Are Perfect for Outdoor Lighting
Fence posts offer a unique opportunity when it comes to outdoor lighting. Unlike trees or pergolas, they’re typically uniform in height, evenly spaced, and already anchored into the ground. This makes them ideal for creating a clean, symmetrical look. Plus, they’re often the boundary of your yard, so lighting them draws attention to your space’s edges and enhances the feeling of enclosure—like wrapping your backyard in a soft, glowing hug.
Visual guide about stringing outdoor lights on fence posts
Image source: oldsaltfarm.com
The Aesthetic Benefits
There’s something inherently cozy about lights running along a fence line. They create a sense of intimacy, making even a large yard feel warm and welcoming. Think of it as a visual border that says, “This is where the magic happens.” Whether you opt for classic white bulbs, colorful LEDs, or vintage-style lanterns, the effect is always inviting. I’ve seen fences lit with fairy lights that look like fireflies and warm Edison bulbs that give off a rustic, farmhouse vibe. The key is matching the style to your outdoor decor.
Practical Advantages
Beyond aesthetics, fence posts are practical. They’re sturdy, so you don’t have to worry about branches sagging under the weight of the lights (a common issue with tree installations). They’re also easy to access, which means installing, adjusting, or storing your lights is a breeze. And since most fences are straight or gently curved, you can create clean, uninterrupted lines of light—something that’s harder to achieve with uneven natural structures.
Versatility for Any Backyard
No matter the size or shape of your yard, fence posts can be adapted to your needs. A small urban patio? String lights along the back fence for a cozy nook. A sprawling rural property? Wrap lights around multiple sections for a grand, welcoming entrance. You can even use the fence to guide the eye—leading guests from the patio to a fire pit or garden path. The possibilities are endless, and the results are always stunning.
Choosing the Right Outdoor Lights for Your Fence
Not all outdoor lights are created equal. The type you choose will depend on your style, budget, and how much effort you’re willing to put into installation and maintenance. Here’s a breakdown of the most popular options, along with their pros and cons.
Visual guide about stringing outdoor lights on fence posts
Image source: i5.walmartimages.com
String Lights (Bulb Type)
These are the classic choice for fence lighting. Think of the warm, inviting glow of Edison bulbs or the twinkle of mini incandescent or LED bulbs. String lights come in various lengths, bulb shapes, and colors. I prefer warm white or soft yellow for a cozy feel, but colored lights (like red, blue, or multi-color) can add a festive touch for holidays or parties.
- Pros: Affordable, easy to find, widely available in different styles.
- Cons: Some models aren’t as weatherproof; incandescent bulbs use more energy and burn out faster than LEDs.
- Tip: Look for “outdoor-rated” string lights with waterproof sockets and shatterproof bulbs. I once used indoor-rated lights—let’s just say it didn’t end well after the first rainstorm.
LED Rope Lights
These are flexible tubes filled with tiny LED bulbs. They’re great for outlining the fence or creating a continuous glow. I’ve used them to highlight the top rail of a wooden fence, and the effect was like a glowing ribbon.
- Pros: Energy-efficient, long-lasting, very flexible, excellent for outlining shapes.
- Cons: Less “twinkle” than string lights; can look a bit modern or industrial.
- Tip: Use rope lights for a minimalist, modern look or combine them with string lights for a layered effect.
Fairy Lights (Micro LED Strings)
These are tiny, delicate strings of LEDs—perfect for a whimsical, magical vibe. I’ve seen them draped over picket fences, creating a “fairy garden” feel. They’re especially great for smaller spaces or adding subtle sparkle.
- Pros: Ultra-bright, energy-efficient, easy to drape or wrap.
- Cons: Can look too delicate for large or rustic fences; batteries may need frequent replacement (unless hardwired).
- Tip: Use battery-powered fairy lights for temporary installations or solar-powered ones for eco-friendly lighting.
Solar-Powered Lights
Solar lights are a game-changer for low-maintenance setups. They charge during the day and turn on automatically at dusk. I’ve used solar string lights on a south-facing fence, and they worked great—no extension cords, no outlets needed.
- Pros: No wiring, energy-free, easy to install.
- Cons: Less bright than plug-in lights; performance varies with sunlight exposure.
- Tip: Place solar lights on a sunny part of the fence for best results. Avoid shaded areas or north-facing sides.
Planning Your Light Layout: Design Tips and Tricks
Before you start hammering in hooks or wrapping lights, take time to plan your layout. A well-designed lighting plan can make the difference between “meh” and “wow.” Here’s how to get it right.
Measure Your Fence
Grab a tape measure and calculate the total linear feet of your fence. This will help you buy the right length of lights. I always add 10-20% extra to account for overlaps, curves, or mistakes. For example, if your fence is 50 feet long, get a 60-foot string or multiple 20-foot strands.
Decide on the Height
Most people string lights at eye level (around 5-6 feet) or along the top of the fence. The top is easier to install and creates a dramatic, floating effect. For a more intimate feel, go lower—just make sure they’re out of the way of pets, kids, or mowing equipment.
Choose Your Pattern
There are a few popular patterns, each with a different vibe:
- Straight Line: The classic look—lights run straight along the fence. Simple, clean, and effective.
- Zigzag: Lights go up and down between posts. Adds movement and visual interest. Great for picket or chain-link fences.
- Weave: Lights crisscross between posts, creating a diamond or lattice pattern. Works well with wooden or metal fences.
- Swag: Lights hang in gentle curves or loops. Perfect for a romantic, bistro-style feel.
I once did a zigzag pattern on a white picket fence, and it looked like a scene from a fairy tale. But it took twice as long as a straight line—plan accordingly!
Test the Lights First
Always plug in your lights indoors before installing them. There’s nothing worse than spending hours hanging them only to find a section doesn’t work. I keep a spare set of batteries and a small ladder handy for testing.
Consider Power Sources
Where will your lights plug in? If you’re using extension cords, make sure they’re rated for outdoor use and run them along the ground (not across walkways). For a cleaner look, consider installing an outdoor GFCI outlet near the fence. Or go solar to avoid cords altogether.
Step-by-Step Installation Guide
Now for the fun part—installing your lights! This is where your planning pays off. With the right tools and a bit of patience, you’ll have a stunning setup in a few hours.
Tools and Materials You’ll Need
- Outdoor-rated string lights (or your chosen type)
- Measuring tape
- Outdoor hooks, eye screws, or zip ties (depending on your fence)
- Hammer or drill
- Extension cords (if not using solar)
- Ladder (for tall fences)
- Work gloves (optional, but recommended)
Step 1: Mark Your Spots
Use a measuring tape to mark where you’ll install hooks or attachment points. For straight lines, mark every 2-3 feet along the top rail. For zigzag or weave patterns, mark both top and bottom rails. I like to use chalk or masking tape so I can adjust as I go.
Step 2: Install the Hooks
For wooden fences, screw in outdoor eye hooks or cup hooks. For metal or vinyl fences, use heavy-duty zip ties or adhesive hooks (make sure they’re rated for outdoor use). Avoid nails—they can rust and damage the fence. I’ve learned this the hard way after a few rainy seasons.
Step 3: String the Lights
Start at the end with the plug. Hang the first bulb or socket on the first hook, then work your way down the line. For zigzag or weave patterns, loop the lights around each hook. Don’t pull too tight—leave a little slack so the lights can move in the wind. I once pulled them taut, and a gust of wind snapped the cord. Not fun.
Step 4: Secure and Adjust
Once all the lights are up, go back and adjust any loose sections. Use zip ties or clips to secure excess cord or prevent sagging. For a swag pattern, gently pull sections downward to create soft curves. Stand back and look at the overall effect—make sure it’s even and balanced.
Step 5: Test and Enjoy
Plug in your lights and turn them on. Walk around your yard and check the view from different angles. Do the lights shine where you want them? Is the brightness right? Make any final adjustments, then sit back and enjoy your handiwork.
Maintenance and Safety Tips
Good news: once your lights are up, they’re low-maintenance. But a few simple steps will keep them looking great for years.
Weatherproofing
Even “outdoor-rated” lights need protection. If your lights have plugs, cover them with a waterproof outlet cover or place them under a covered area (like a porch overhang). I use silicone sealant around the plug connections for extra protection.
Regular Checks
Inspect your lights at the start of each season. Look for frayed cords, loose bulbs, or damaged sockets. Replace any broken bulbs immediately—one dead bulb can affect the whole strand. I keep a small repair kit with spare bulbs and wire nuts.
Seasonal Removal
If you live in a cold climate, consider removing your lights in winter. Snow and ice can damage cords and sockets. Store them in a dry, cool place (like a garage or basement). Wrap them loosely around a cardboard tube or storage reel to prevent tangling.
Safety First
Always use outdoor-rated extension cords and avoid overloading circuits. Keep cords away from walkways to prevent tripping. If you’re using a ladder, make sure it’s stable and never work in wet or windy conditions. And remember: electricity and water don’t mix. If it’s raining, wait for dry weather.
Data Table: Comparing Outdoor Lighting Options
| Light Type | Best For | Weather Resistance | Energy Use | Lifespan | Cost (per 20 ft) |
|---|---|---|---|---|---|
| String Lights (LED) | Classic, cozy look | High (if outdoor-rated) | Low | 25,000+ hours | $20-$40 |
| String Lights (Incandescent) | Warm, vintage glow | Medium | High | 3,000-5,000 hours | $10-$25 |
| LED Rope Lights | Modern, clean lines | High | Very Low | 50,000+ hours | $30-$60 |
| Fairy Lights | Whimsical, delicate | Medium | Very Low | 10,000-20,000 hours | $15-$35 |
| Solar String Lights | No wiring, eco-friendly | High | Zero | 3-5 years (batteries) | $25-$50 |
Stringing outdoor lights on fence posts isn’t just a DIY project—it’s a way to create memories. Every time you step outside, you’ll be greeted by a warm, inviting glow that turns your backyard into a sanctuary. Whether you’re sipping coffee at dawn, hosting a dinner party, or just watching the stars, the right lighting can make every moment feel special.
Remember, the best outdoor lighting is the kind that feels natural and effortless. Don’t overthink it. Start small, experiment with styles, and let your personality shine through. Maybe you’ll fall in love with the soft flicker of Edison bulbs, or maybe you’ll prefer the clean lines of rope lights. Whatever you choose, the goal is to create a space that feels like home.
And don’t forget: this isn’t a one-time thing. You can change your lights with the seasons—add red and green for the holidays, swap to blue for summer nights, or go minimalist in the fall. The beauty of outdoor lighting is that it’s always evolving, just like your yard.
So grab your lights, your tools, and a cup of tea. It’s time to turn your fence into a glowing work of art. Your backyard—and your future self—will thank you.
Frequently Asked Questions
How do I string outdoor lights on fence posts without damaging them?
Use removable hooks, zip ties, or adhesive clips designed for outdoor use to avoid drilling into wood or metal. These options provide secure hold while preserving your fence’s integrity. Always check weather resistance to ensure longevity.
What type of outdoor lights work best for fence post stringing?
LED string lights or solar-powered options are ideal for fence posts due to their durability, energy efficiency, and weather resistance. Choose warm white or color-changing bulbs to enhance the ambiance of your backyard.
Can I string outdoor lights on fence posts year-round?
Yes, but opt for weatherproof, commercial-grade lights rated for all seasons. Secure connections with silicone sealant and inspect wires regularly to prevent damage from moisture or temperature shifts.
How do I hide the wires when stringing outdoor lights on fence posts?
Use cable clips or raceways to discreetly route cords along the fence line. For a cleaner look, tuck wires under railings or behind greenery, ensuring they don’t create tripping hazards.
Do I need a timer or smart plug for my outdoor fence lights?
Yes, a timer or smart plug automates lighting schedules, saving energy and enhancing safety. Look for outdoor-rated models with dusk-to-dawn sensors for effortless operation.
How far apart should I space lights when stringing them on fence posts?
Space bulbs 6–12 inches apart for even illumination, adjusting based on fence length and desired brightness. For a dramatic effect, cluster lights at post tops or along curves.

