Featured image for stringing patio lights
Image source: shunshelter.com
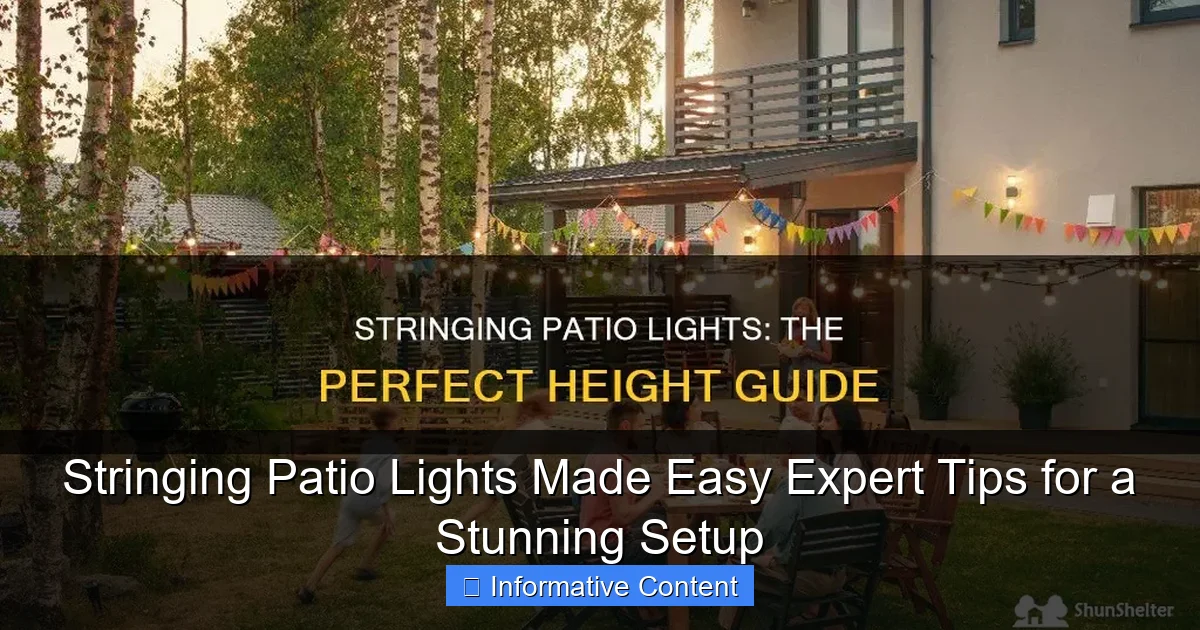
Transform your outdoor space with perfectly strung patio lights by following expert tips that ensure a safe, stunning, and weather-resistant setup. Choose durable, commercial-grade lights and use tension wires or hooks to maintain even spacing and prevent sagging for a professional look. With the right tools and a little planning, you can create a magical ambiance effortlessly.
Key Takeaways
- Plan your layout first: Sketch the area to avoid overbuying or gaps in coverage.
- Use durable, outdoor-rated lights: Ensure longevity and safety in all weather conditions.
- Anchor lights securely: Use hooks or clips to prevent sagging and damage over time.
- Measure spacing accurately: Keep bulbs evenly spaced for a polished, professional look.
- Test lights before installation: Confirm functionality to avoid rework after mounting.
- Layer lighting for depth: Combine string lights with lanterns or LEDs for ambiance.
📑 Table of Contents
- Stringing Patio Lights Made Easy: Expert Tips for a Stunning Setup
- Choosing the Right Patio Lights for Your Space
- Planning Your Layout: Design Tips for Maximum Impact
- Installation Methods: Hooks, Clips, and No-Drill Options
- Smart Tips for a Professional-Looking Finish
- Troubleshooting Common Patio Light Problems
- Data Table: Recommended Patio Lighting Setup by Space Size
- Final Thoughts: Enjoy Your Glowing Oasis
Stringing Patio Lights Made Easy: Expert Tips for a Stunning Setup
Remember that first summer evening when you sat outside with friends, wrapped in a blanket as the sun set and the stars blinked to life? You probably wished you could capture that magic and stretch it into the night. That’s where stringing patio lights comes in. It’s not just about lighting up a space—it’s about creating an atmosphere, a vibe, a place where memories are made.
But let’s be real: the idea of stringing patio lights can feel overwhelming. Are you supposed to drill into your house? How high should they go? What kind of lights won’t die in a storm? And how do you avoid that tangled mess in the storage bin come winter? I’ve been there. My first attempt looked like a spiderweb gone wrong. But after years of trial, error, and a few too many trips to the hardware store, I’ve cracked the code. In this guide, I’ll walk you through everything you need to know—from choosing the right lights to hanging them like a pro—so you can transform your patio into a cozy, inviting retreat without the stress.
Choosing the Right Patio Lights for Your Space
Before you start hammering hooks into your eaves, take a breath. The foundation of a great patio lighting setup starts with picking the right lights. Not all string lights are created equal, and choosing the wrong ones can lead to frustration, wasted money, or even safety issues.
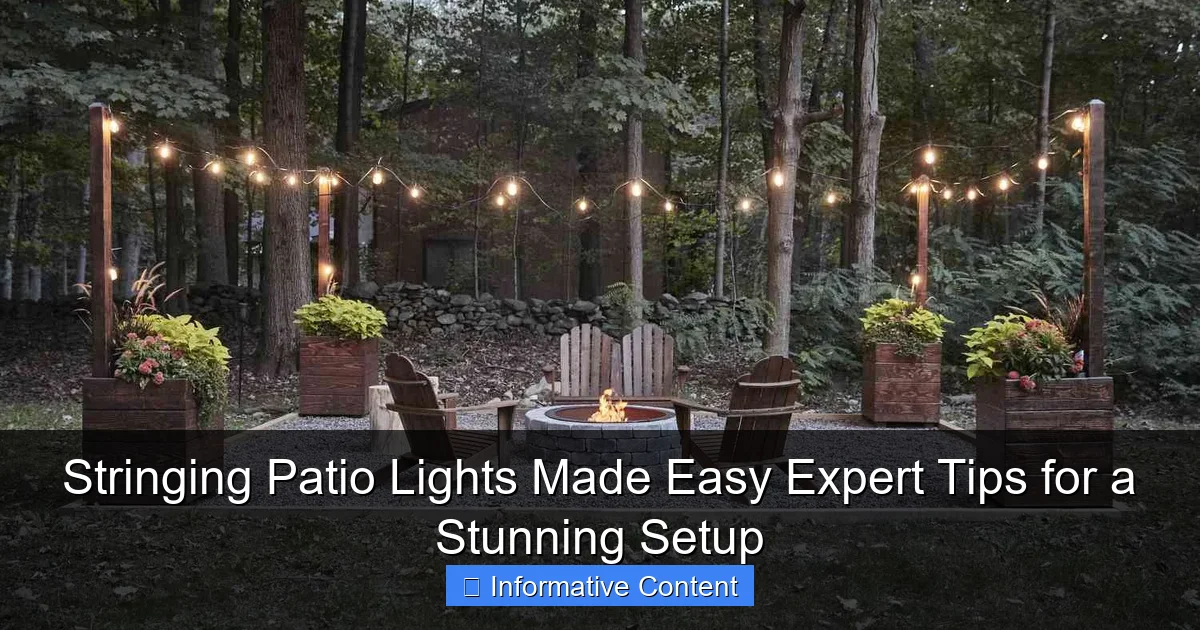
Visual guide about stringing patio lights
Image source: thespruce.com
Types of Patio String Lights
There are a few main types of patio lights, and each has its pros and cons:
- LED String Lights: These are the gold standard for outdoor use. They’re energy-efficient, long-lasting (some last up to 50,000 hours), and produce less heat. Plus, many are dimmable and come in warm white, cool white, or color-changing options. I use LED Edison-style bulbs on my deck, and they’ve survived three rainy Pacific Northwest winters.
- Incandescent String Lights: These give off that classic, warm glow you might remember from childhood. But they use more energy, get hot, and burn out faster. I tried them once and replaced half the bulbs by the end of the season. Not worth the hassle.
- Fairy Lights (Mini LEDs): Tiny, delicate, and perfect for wrapping around railings, trees, or pergolas. They’re subtle but magical. I use them to outline my pergola for a starry-night effect.
- Net Lights: Great for covering large areas like awnings or hedges. They’re pre-arranged in a grid, so installation is faster. I used them on my front porch last year, and my neighbor thought I’d hired a pro.
- Path Lights or Ground Stakes: While not “string” lights, these add depth and safety. I use solar-powered ones along my patio steps to avoid tripping in the dark.
Weather Resistance and Safety Ratings
Outdoor lights need to survive rain, wind, and temperature swings. Look for an IP rating (Ingress Protection). For patio use, aim for IP44 or higher—this means the lights are protected against splashes and small objects. If you’re near the coast or in a storm-prone area, go for IP65 or IP67 for extra protection.
Also, check for UL or ETL certification. These labels mean the lights have been tested for electrical safety. I once bought cheap “outdoor” lights from a discount store—they shorted out in the first rainstorm. Learned my lesson.
Power Source: Plug-In vs. Solar vs. Battery
- Plug-in lights: Most reliable. You’ll need outdoor-rated extension cords and GFCI outlets (which cut power if there’s a fault). I use a timer so my lights turn on at dusk and off at 11 p.m.
- Solar lights: Eco-friendly and easy to install (no cords!). But they need 6–8 hours of direct sunlight to charge fully. My north-facing patio gets little sun, so I avoid solar there. They’re great for sunny spots, though.
- Battery-operated: Flexible but require battery changes. I use these for small accent areas where I don’t want cords, like around my fire pit.
Style and Bulb Shape
Think about the mood you want. Edison bulbs (with visible filaments) give a vintage, cozy vibe. Globe bulbs are more modern and diffuse light evenly. Twinkling or color-changing lights work for parties, but I find them too busy for everyday use.
Pro tip: Buy extra bulbs (or a replacement pack) when you purchase the lights. It’s frustrating to find a single dead bulb and realize the whole string is useless.
Planning Your Layout: Design Tips for Maximum Impact
Now that you’ve chosen your lights, it’s time to plan where they’ll go. A well-thought-out layout makes all the difference between a cluttered mess and a professional-looking glow.
Measure Your Space (and Add 10%)
Measure the perimeter of your patio, pergola, or fence. Then add 10% extra length to account for draping, loops, or unexpected gaps. I once cut it too close and had to splice two strings together—looked messy. Now I always round up.
Use painter’s tape or chalk to mark where lights will go. This helps you visualize spacing and avoid over-lighting one area.
Create Layers of Light
Great outdoor lighting has depth. Think in layers:
- Overhead (Ambient): String lights across the ceiling or eaves for general illumination.
- Accent: Wrap trees, railings, or pillars for visual interest.
- Task: Under-cabinet lights or step lights for safety.
- Decorative: Fairy lights in planters or along a path.
On my patio, I use Edison bulbs overhead, fairy lights on the railing, and solar path lights along the steps. It feels warm, not blinding.
Use the “Rule of Thirds” for Hanging Height
Hang lights 8–10 feet high for a balanced look. Too low, and they’ll feel oppressive. Too high, and they won’t illuminate the space. If you’re using a pergola, hang lights 1–2 feet below the beams. I hang mine at 9 feet—high enough to walk under, low enough to feel cozy.
Plan for Power Sources
Map out where outlets are. You’ll want to minimize extension cords. If your patio is far from a GFCI outlet, consider:
- Installing a weatherproof outdoor outlet (hire an electrician for this).
- Using a long, outdoor-rated extension cord (look for “SJTW” rating).
- Using solar or battery lights in areas far from power.
I have a GFCI outlet under my eaves, so I run a heavy-duty 25-foot extension cord from there. No tripping hazards!
Sketch Your Design
Draw a simple sketch of your patio, noting where lights will go and how they’ll connect. This helps avoid “light gaps” or overlapping strings. I use a napkin sketch—nothing fancy, but it keeps me organized.
Installation Methods: Hooks, Clips, and No-Drill Options
Now comes the fun part: hanging the lights! But how you attach them matters. The wrong method can damage your home, look sloppy, or fall down in a storm.
Outdoor-Grade Hooks and Eye Screws
For permanent or semi-permanent setups, use stainless steel or galvanized steel hooks. These resist rust and hold up to wind. I use these on my eaves:
- Cup hooks: Small, discreet. Great for wood or vinyl siding. I screw them into my eaves with a hand drill.
- Eye hooks: Larger, stronger. Ideal for heavy-duty strings or pergola beams.
- Adhesive hooks: Use with caution. Only choose outdoor-rated, heavy-duty adhesive hooks (like 3M VHB tape). I’ve had them fail in heat, so I avoid them for long-term use.
Pro tip: Pre-drill holes for hooks to avoid splitting wood. Use a countersink bit so the hook sits flush.
Clips and Hangers for No-Damage Hanging
If you rent or don’t want to drill, these are lifesavers:
- Alligator clips: Clamp onto gutters, railings, or fence posts. I use them on my metal pergola—no drilling needed.
- Spring clips: Great for vinyl siding. They snap onto the edge without nails.
- Fence hangers: Hook over the top of a fence. I use these on my backyard fence for a “glowing border” effect.
Using Trees and Natural Supports
Trees add a magical, organic feel. But avoid wrapping lights tightly around trunks—this can damage bark. Instead:
- Use tree-safe clips or soft wire ties (like garden tape).
- Loop lights around branches, not trunks.
- For tall trees, use a fishing line to hoist lights up. Tie one end to a rock, throw it over a branch, then tie the lights to the line and pull them up.
My neighbor wrapped his tree trunk with lights. A year later, the bark started cracking. Don’t do that!
Hanging from Pergolas, Awnings, and Roofs
For pergolas, use S-hooks or zip ties to attach lights to beams. I hang mine in a crisscross pattern for a “canopy” effect. For awnings, use gutter hooks or adhesive clips (if rated for outdoor use).
If you’re attaching to a roof, use roof hooks (designed for gutters) or hanging hooks that clamp onto the roof edge. Never nail into shingles—this can cause leaks.
Securing Cords and Avoiding Tripping Hazards
Extension cords should be:
- Outdoor-rated (SJTW).
- Placed along walls or under rugs (use cord covers).
- Elevated off the ground (use cord clips or hooks).
I run my extension cord along the edge of my deck, clipped every 3 feet with outdoor-rated cord clips. No tripping, no damage.
Smart Tips for a Professional-Looking Finish
Even the best lights can look amateurish if the details aren’t right. Here’s how to get that “hired a pro” look without the cost.
Use Connectors and Extensions Wisely
Most string lights have end-to-end connectors. Use them to create a continuous run—no visible gaps. But don’t connect more than 3 strings unless the manufacturer says it’s safe. Overloading can burn out the circuit.
I have a 40-foot run, so I use a 25-foot and a 15-foot string with a connector. Looks seamless.
Create Drapes and Loops
For a relaxed, elegant look, hang lights in gentle drapes or loops. Space hooks 3–4 feet apart and let the string hang 6–12 inches between them. This adds visual interest and softens the light.
My pergola lights have a “wave” pattern—higher at the ends, lower in the middle. It feels dynamic, not static.
Balance Light Distribution
Don’t hang all the lights on one side. Balance them to avoid dark spots. Use a light meter app (like Light Meter on iOS/Android) to check evenness.
Use Dimmers and Timers
A dimmer lets you adjust brightness for different moods (romantic dinner vs. party). A timer automates on/off times. I set mine to turn on at dusk and off at 11 p.m.—no fumbling in the dark.
Hide Cords and Clips
Use cord covers, paint clips to match your home’s color, or tuck them behind trim. I paint my hooks the same color as my eaves—barely visible.
Test Before Final Installation
Plug in your lights and check for dead bulbs or dim areas before securing them. Replace faulty bulbs or adjust spacing as needed.
Troubleshooting Common Patio Light Problems
Even with perfect planning, things can go wrong. Here’s how to fix the most common issues.
Dead or Flickering Bulbs
If one bulb dies, the whole string might go out (if they’re in series). Check for:
- Loose bulbs (re-seat them).
- Corroded sockets (clean with rubbing alcohol).
- Faulty wiring (replace the string).
For LED strings, many have “fail-safe” circuits—if one bulb dies, the rest stay on. Look for this feature when buying.
Weather Damage and Corrosion
After a storm, check for:
- Water in sockets (dry with a towel, then let air-dry).
- Rust on metal parts (replace or coat with rust-proof spray).
- Frayed cords (cut and re-splice with waterproof tape).
I store my lights in a dry, ventilated container (not airtight—traps moisture).
Overheating or Burning Out
Incandescent lights can overheat if enclosed. Keep them in open areas. For LEDs, ensure they’re rated for outdoor use—indoor LEDs can overheat in sun.
Cords Tangling or Sagging
Use zip ties or cord clips to keep cords tidy. For sagging, add more support hooks.
Timer or Dimmer Malfunctions
Check batteries (for digital timers) or reset the device. If it’s old, replace it.
Data Table: Recommended Patio Lighting Setup by Space Size
| Patio Size (sq ft) | Recommended Light Type | Length of String Lights (ft) | Number of Support Hooks | Power Source | Special Tips |
|---|---|---|---|---|---|
| 100–200 (small balcony) | LED fairy lights + 1–2 string lights | 10–20 | 4–6 | Battery or solar | Use adhesive hooks; focus on railings and corners. |
| 200–400 (medium patio) | LED Edison bulbs + fairy lights | 30–50 | 6–10 | Plug-in with timer | Layer overhead and accent lights; use dimmer. |
| 400–600 (large deck) | LED string + net lights + path lights | 60–80 | 10–14 | Plug-in + solar path lights | Use a crisscross pattern; add step lighting. |
| 600+ (entertainment area) | Mixed: strings, net, spotlights, fairy | 80–120 | 15+ | Plug-in (multiple outlets) | Create zones (dining, lounge, bar); use smart controls. |
Final Thoughts: Enjoy Your Glowing Oasis
Stringing patio lights isn’t just a DIY project—it’s an act of love for your outdoor space. When done right, it transforms your patio into a sanctuary. I’ll never forget the first night I flipped the switch on my setup. My kids gasped. My partner smiled. Even the dog seemed to approve.
Remember: start simple. You don’t need a 100-foot extravaganza. A few well-placed lights can make all the difference. Use quality materials, plan your layout, and pay attention to the details. And if something goes wrong? That’s part of the journey. My first attempt looked like a disaster, but now I get compliments every summer.
So grab your lights, a friend (or a glass of wine), and start stringing. Before you know it, you’ll be sitting under a canopy of stars—both real and artificial—savoring the magic of your own making. Happy lighting! ✨
Frequently Asked Questions
How do I choose the right type of patio lights for my space?
Consider the ambiance you want—warm white LEDs for cozy vibes or colorful bulbs for festive occasions. Make sure to measure your patio area to determine the length of string lights needed for proper coverage. Weather-resistant, patio lights are ideal for year-round outdoor use.
Can I install stringing patio lights without drilling into my walls or fence?
Absolutely! Use adhesive hooks, removable tension rods, or clip-on brackets to hang lights without permanent damage. For freestanding options, try shepherd’s hooks or install poles specifically designed for stringing patio lights.
What’s the safest way to connect multiple strands of patio lights?
Always check the manufacturer’s guidelines for maximum connected strands to avoid overloading circuits. Use outdoor-rated extension cords and power strips with built-in surge protection for safety and reliability.
How do I keep my patio lights from sagging or drooping?
Plan your layout with support points every 4–6 feet using hooks or poles to maintain tension. For long runs, use a guide wire beneath the lights to prevent sagging and evenly distribute weight.
Are solar-powered patio lights worth it?
Solar-powered patio lights are energy-efficient and easy to install, with no wiring required. However, they work best in sunny climates and may dim over time if batteries aren’t replaced periodically.
How do I maintain and store my patio lights after the season?
Turn off and gently remove lights, then wipe them clean with a dry cloth to prevent dirt buildup. Store them in a cool, dry place, ideally in a reel or original packaging to avoid tangling.

