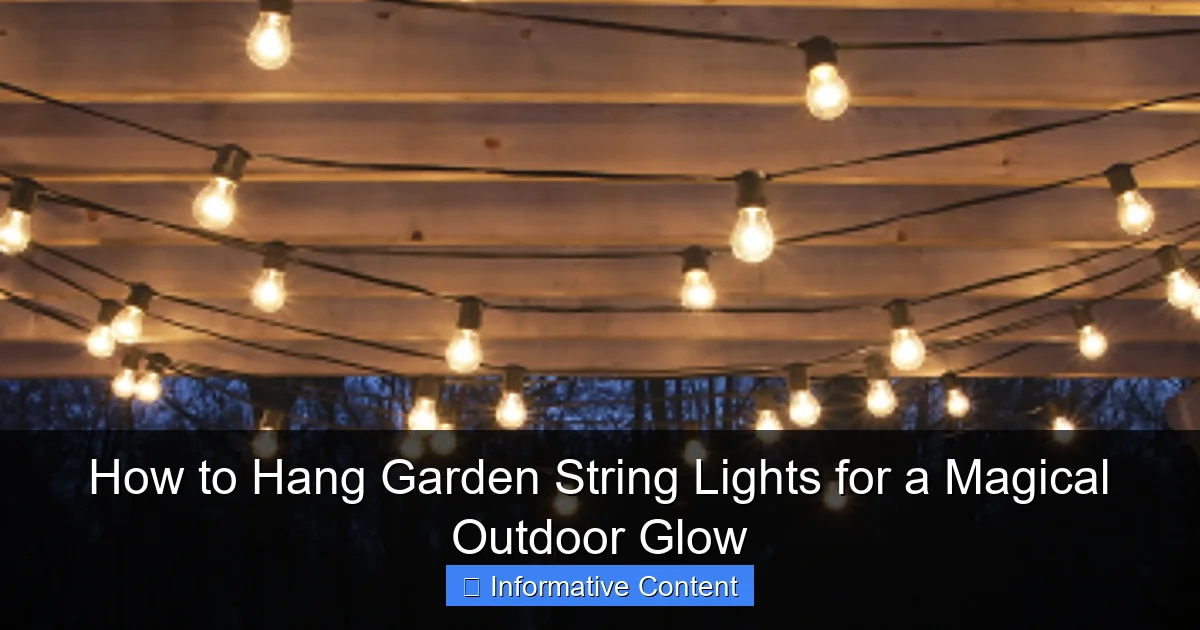
Featured image for how to hang garden string lights
Image source: houseilove.com
Transform your outdoor space into a magical retreat by strategically hanging garden string lights along fences, trees, or pergolas using durable hooks or zip ties for a secure, professional look. Ensure even spacing and a safe power source to create a warm, inviting glow that enhances ambiance without overwhelming the space.
Key Takeaways
- Plan your layout first: Sketch light placement to avoid over- or under-lighting key areas.
- Use durable anchors: Install hooks, eye screws, or zip ties rated for outdoor use.
- Maintain even spacing: Keep bulbs 6–12 inches apart for a balanced, professional look.
- Test lights before hanging: Ensure all strands work to avoid mid-installation surprises.
- Elevate power sources: Keep plugs and timers off the ground to prevent water damage.
- Create layers: Combine overhead and ground-level lights for depth and ambiance.
📑 Table of Contents
- How to Hang Garden String Lights for a Magical Outdoor Glow
- 1. Choose the Right String Lights for Your Garden
- 2. Plan Your Layout: Design the Perfect Lightscape
- 3. Gather the Right Tools and Materials
- 4. Step-by-Step Installation Guide
- 5. Maintain and Protect Your Lights Year-Round
- 6. Creative Ideas and Pro Tips for Maximum Impact
How to Hang Garden String Lights for a Magical Outdoor Glow
Picture this: It’s a warm summer evening. The air is soft, the stars are starting to peek through, and your garden is bathed in a gentle, golden glow. Laughter floats through the air as friends and family linger over dinner or a glass of wine, all thanks to the simple magic of garden string lights. There’s something undeniably enchanting about twinkling lights strung across trees, along fences, or over a pergola. They don’t just illuminate your space—they transform it into a cozy, inviting retreat.
If you’ve ever tried hanging outdoor string lights, you know it’s not always as simple as it looks. One wrong knot, a sagging wire, or a poorly placed hook can quickly turn your dreamy ambiance into a frustrating chore. But don’t worry—this guide is here to help. Whether you’re lighting up a small balcony, a sprawling backyard, or a cozy patio nook, I’ll walk you through every step of hanging garden string lights like a pro. From choosing the right lights to creative placement ideas, we’ll cover it all—so you can focus on enjoying that magical glow.
1. Choose the Right String Lights for Your Garden
Before you start hanging anything, it’s essential to pick the right kind of string lights. Not all outdoor lights are created equal, and the wrong choice can lead to flickering, short circuits, or even safety hazards. Let’s break it down so you can make a smart, lasting investment.
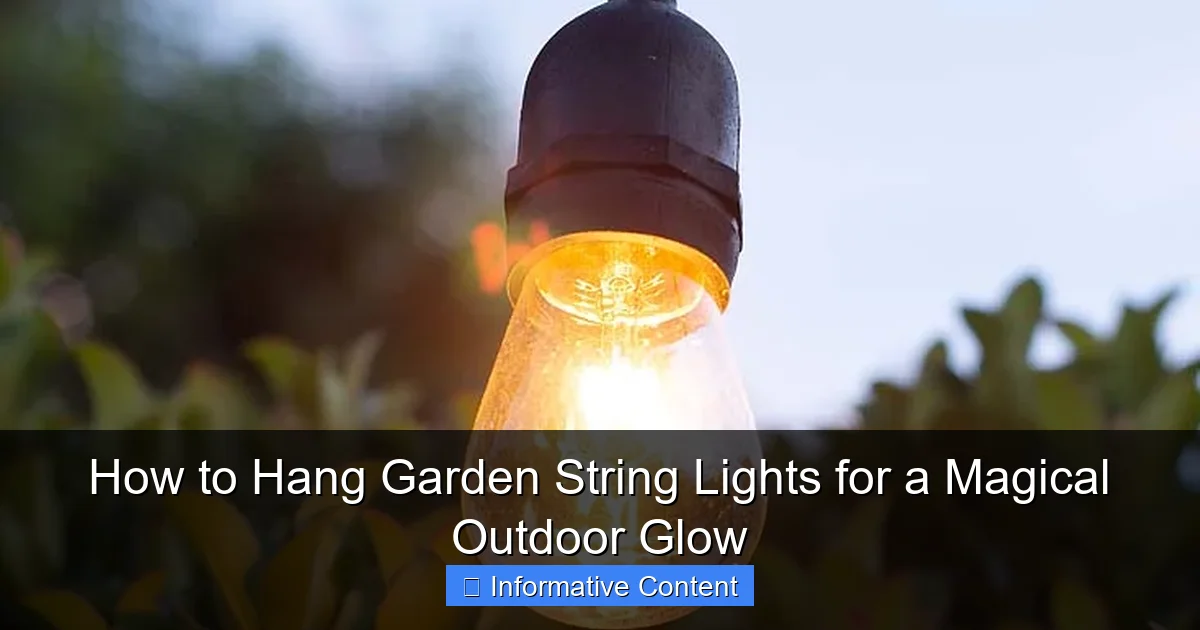
Visual guide about how to hang garden string lights
Image source: happyhappynester.com
LED vs. Incandescent: What’s the Difference?
LED lights are the clear winner for most outdoor setups. They’re energy-efficient, last up to 25,000 hours (that’s over 6 years if used 10 hours a night!), and run cool—so they’re safer around kids, pets, and dry plants. Plus, modern LEDs come in a wide range of colors and brightness levels, from warm white (my personal favorite) to multicolor and even color-changing options.
Incandescent lights, on the other hand, use more power, burn hotter, and typically last only 1,000 to 2,000 hours. They do have a classic, nostalgic glow, but they’re not ideal for long-term outdoor use, especially if you’re planning to leave them up year-round.
Indoor vs. Outdoor-Rated Lights
This one’s non-negotiable: always use outdoor-rated string lights. Indoor lights aren’t built to handle moisture, UV rays, or temperature swings. Look for an IP (Ingress Protection) rating of at least IP44, which means they’re splash-proof and dust-resistant. For areas with heavy rain or snow, aim for IP65 or higher.
Outdoor-rated lights often have thicker, weatherproof rubber or silicone insulation around the wires and bulbs, and their sockets are sealed to prevent water from seeping in. I learned this the hard way after a spring storm fried my first set of “outdoor” lights—only to find they were actually rated for covered porches, not open gardens.
Bulb Shape, Spacing, and Length
Consider the bulb style: globe, Edison, fairy, or lantern-style. Edison bulbs give a vintage, café-like vibe, while globe lights offer a softer, more diffused glow. Fairy lights are perfect for wrapping around branches or railings and add a whimsical touch.
Spacing matters too. Lights spaced 4–6 inches apart give a full, bright look. For a more subtle effect, 8–12 inches works well. Measure your space before buying—don’t assume a 20-foot string will reach. I once bought a string that looked long on the box, only to realize it was 20 feet including the plug and end cap, leaving just 16 feet of actual lighting.
Pro tip: Buy 10–15% extra length to account for curves, overlaps, and future adjustments. It’s much easier to trim or tuck extra than to scramble for an extension.
2. Plan Your Layout: Design the Perfect Lightscape
Great lighting isn’t just about hanging lights—it’s about creating atmosphere. A well-thought-out layout enhances your garden’s natural features and guides the eye (and the feet) through your space. Here’s how to plan like a designer.
Map Your Space and Identify Anchor Points
Start by sketching a simple diagram of your garden or patio. Note existing structures: trees, pergolas, fences, posts, railings, or even your house. These are your anchor points—the spots where you’ll attach the lights.
For example, in my backyard, I have two tall maple trees on either side of the patio, a wooden pergola, and a stone wall. I use the trees and pergola as primary anchors, with the wall for secondary support. This creates a layered look without overloading any one point.
Choose a Hanging Pattern
Different patterns create different moods. Here are a few popular options:
- Linear (straight lines): Simple and clean—ideal for patios or along fences. Use for a modern, minimalist look.
- Crisscross (X-pattern): Great for open spaces. Creates depth and visual interest. I use this between my pergola posts to make the ceiling feel higher.
- Canopy (overhead grid): String lights in a grid pattern over seating areas. Feels like dining under a starry sky.
- Wrapped (trees, columns): Wrap lights around tree trunks, pillars, or railings for a cozy, intimate feel.
- Floating (between trees or poles): Create a “light bridge” between two distant points. Works well in larger gardens.
Consider Height and Visibility
Hang lights at a height where they’re visible but not obstructive. For overhead canopies, aim for 7–9 feet above the ground. This keeps them out of the way of tall guests but low enough to feel intimate.
For wrapped lights, start at 4–5 feet and spiral upward. Avoid wrapping too tightly—this can damage bark or restrict tree growth over time. I leave a 2-inch gap between the wire and the trunk to allow for growth.
Also, think about sightlines. Don’t hang lights directly in front of windows or doors where they’ll block views or create glare. Instead, frame the space—like outlining a patio with lights along the edges.
3. Gather the Right Tools and Materials
You don’t need a full toolbox, but having the right gear makes the job safer, faster, and more durable. Here’s what I keep in my “garden lighting kit.”
Essential Tools and Hardware
- Outdoor-rated hooks or screw-in anchors: Use stainless steel or galvanized steel hooks for durability. I prefer cup hooks for trees and eye screws for wood structures.
- Plastic zip ties (UV-resistant): Great for temporary or lightweight setups. Look for black ties—they blend in better than white.
- Light clips or adhesive mounts: For fences or railings. Some have built-in hooks; others stick with strong outdoor adhesive.
- Measuring tape and chalk line: To mark straight lines and spacing.
- Drill and drill bits: For installing permanent anchors in wood or masonry.
- Extension cords (outdoor-rated): Make sure they’re GFCI-protected for safety.
- Timer or smart plug: Automate your lights to turn on at dusk and off at bedtime.
- Ladder (if needed): Use a stable, non-slip ladder—preferably with a spotter.
Optional but Helpful Extras
- String light hangers or tension wires: For long runs, these prevent sagging. I use a thin steel cable (like a clothesline) with turnbuckles to keep lights taut.
- Zip tie mounts: Small plastic bases you screw into wood or masonry, then attach zip ties to. Keeps wires organized and off the ground.
- Weatherproof electrical tape: For securing plugs or covering exposed connections.
- Spray paint (optional): Paint hooks or clips to match your fence or pergola for a seamless look.
One thing I’ve learned: never rely solely on nails or staples. They can damage the wire insulation and create fire hazards. Always use hooks, clips, or ties designed for outdoor lights.
4. Step-by-Step Installation Guide
Now for the fun part—hanging the lights! Follow these steps for a safe, secure, and beautiful installation.
Step 1: Test Your Lights First
Before you climb any ladders, plug in your string lights and check every bulb. Replace any dead bulbs or faulty strings. There’s nothing worse than hanging 50 feet of lights only to find a section doesn’t work.
Step 2: Install Anchor Points
Start with your main anchor points. For trees, pre-drill a small pilot hole (¼ inch) and screw in a cup hook. Don’t overtighten—you want it snug but not cracking the bark. For wooden pergolas or fences, use eye screws or light clips. For masonry (stone or brick), use plastic anchors with screws.
Spacing depends on your pattern. For straight lines, place anchors every 3–5 feet. For crisscross or canopy patterns, space them 4–6 feet apart. Use a chalk line to keep everything straight.
Step 3: Hang the Lights
Start at the power source (usually an outlet or extension cord). Hang the first light socket on the nearest hook, then work your way out. For long runs, unroll the string as you go to avoid tangles.
For overhead canopies, use a “daisy chain” method: connect multiple strings end-to-end (if they’re rated for it), then hang them across the grid. Use zip ties or hooks to secure the middle sections and prevent sagging.
For wrapped lights, start at the base and spiral upward, using zip ties every 12–18 inches to hold the wire in place. Again, don’t wrap too tightly.
Step 4: Secure and Conceal Wires
Use zip tie mounts or clips to keep excess wire off the ground. Tuck plugs into protected areas—under eaves, behind furniture, or in a weatherproof box. If you have a long run, consider using a conduit or raceway (a plastic channel) to hide and protect the wire.
For a clean look, run the main power cord along the edge of your patio or fence, then use small clips to hold it in place. I like to paint the cord to match the surface—gray for stone, brown for wood.
Step 5: Add a Timer or Smart Control
Plug your lights into an outdoor timer or smart plug. Set it to turn on at sunset and off after 4–6 hours. This saves energy, extends bulb life, and means you never forget to turn them off.
Bonus: Smart plugs let you control lights from your phone or voice assistant. I use mine to turn on the lights when I get home from work—instant mood booster!
5. Maintain and Protect Your Lights Year-Round
Outdoor lights face sun, rain, wind, and critters. A little maintenance keeps them shining bright for years.
Seasonal Care Tips
- Spring: Inspect for damage from winter. Replace burnt-out bulbs, tighten loose hooks, and clean dust or debris from sockets.
- Summer: Trim back overgrown vines or branches that could snag lights. Check for fraying wires—especially near anchor points.
- Fall: Remove leaves and debris that could trap moisture. Consider taking down lights in areas with heavy snowfall.
- Winter: If leaving lights up, cover plugs and connections with weatherproof tape or caps. Avoid using lights in freezing rain or ice storms.
Storage (If You Take Them Down)
If you store lights seasonally, avoid tangles by wrapping them around a cardboard tube or a light reel. Store in a cool, dry place—not the garage, where temperature swings can damage electronics. I keep mine in a sealed plastic bin with a silica gel packet to prevent moisture.
Repair and Troubleshooting
Most issues are simple fixes:
- One section not working? Check the fuse in the plug (most outdoor lights have one). Replace with the correct amperage.
- Flickering bulbs? Tighten loose bulbs or replace them. Sometimes, a single bad bulb can affect the whole string.
- Sagging lights? Add more support clips or use a tension wire for long runs.
Pro tip: Keep a spare set of bulbs and a fuse on hand. They’re cheap and save a lot of frustration.
6. Creative Ideas and Pro Tips for Maximum Impact
Now that you’ve mastered the basics, let’s level up. Here are some creative ways to make your garden lights truly magical.
Layer Your Lighting
Don’t rely on string lights alone. Combine them with other light sources for depth:
- Path lights: Line walkways with solar-powered stakes.
- Spotlights: Highlight trees, statues, or architectural features.
- Tabletop lanterns: Add ambient light to dining or lounge areas.
I love placing a few Moroccan lanterns on the table with string lights above—it creates a cozy, layered glow.
Use Nature as Your Canvas
Wrap lights around tree trunks, drape them over branches, or weave them through climbing roses or wisteria. The natural curves add softness and movement. Just avoid wrapping too tightly—trees grow!
For a dramatic effect, hang lights from the highest branch down to the ground in a “waterfall” pattern. It’s stunning at night.
Try Themed or Color-Changing Lights
For special occasions, swap in colored or color-changing LEDs. Red and green for holidays, blue for a poolside vibe, or rainbow for a birthday party. Many smart lights let you program scenes and music sync.
Create a “Light Room”
Use string lights to define a seating area. Hang a canopy over your dining table, then add side lighting along the fence. It feels like a private outdoor room—perfect for intimate gatherings.
Data Table: Popular String Light Types and Best Uses
| Light Type | Best For | Pros | Cons |
|---|---|---|---|
| LED Globe | Patios, pergolas, canopies | Soft glow, energy-efficient, long-lasting | Can look busy if spaced too close |
| Edison Bulb | Café style, vintage look | Warm, inviting, great for dining | Bulbs are larger; spacing matters |
| Fairy Lights | Trees, railings, small spaces | Whimsical, easy to wrap, very bright | Can tangle easily; not for large areas |
| Lantern-Style | Pathways, fences, rustic gardens | Decorative, weather-resistant | Heavier; may need extra support |
| Color-Changing | Parties, holidays, themed events | Versatile, fun, mood-setting | More expensive; shorter lifespan |
Hanging garden string lights isn’t just a DIY project—it’s an invitation to spend more time outside, to slow down, and to enjoy the simple joy of light in the dark. Whether you’re hosting a dinner party or sipping tea alone under the stars, those soft, twinkling bulbs make every moment feel special.
Remember: it’s not about perfection. A slightly crooked line or a bulb that flickers occasionally won’t ruin the magic. What matters is the feeling—the warmth, the comfort, the quiet beauty of a space transformed. So grab your lights, take your time, and don’t be afraid to experiment. With the right tools, a little planning, and a lot of heart, you’ll create an outdoor glow that feels like home. Now go make some magic.
Frequently Asked Questions
How do I hang garden string lights without damaging my outdoor space?
Use non-invasive methods like zip ties on fences, gutter hooks, or freestanding shepherd’s hooks to hang garden string lights without nails or screws. These options preserve your walls, trees, and landscaping while still creating a secure setup.
What’s the best way to hang string lights in a large garden?
For large gardens, create a grid or crisscross pattern using poles, pergolas, or trees to evenly distribute the lights. Anchor lights with tension cables or use commercial-grade garden string lights with longer spans to reduce visible connection points.
Can I hang string lights on trees without harming them?
Yes! Wrap lights loosely around branches or drape them over limbs using soft clips or zip ties—avoid nails or staples. Remove lights after the season to prevent girdling as the tree grows.
How high should I hang garden string lights for safety and visibility?
Hang lights 7–10 feet off the ground to avoid head bumps and ensure visibility. For dining areas, aim for 8–9 feet so lights are above table height but still create an intimate glow.
Do I need special hardware to hang string lights on a patio or deck?
Use outdoor-rated hooks, screw-in eye bolts, or adhesive clips designed for patios. For wood surfaces, stainless steel hooks work best; for metal railings, magnetic hooks or zip ties offer a no-drill solution.
How do I keep garden string lights tangle-free when installing them?
Unroll and lay out the lights straight before hanging, or use a reel to unwind them as you go. Secure the first end, then work methodically in one direction to avoid twists and knots.

