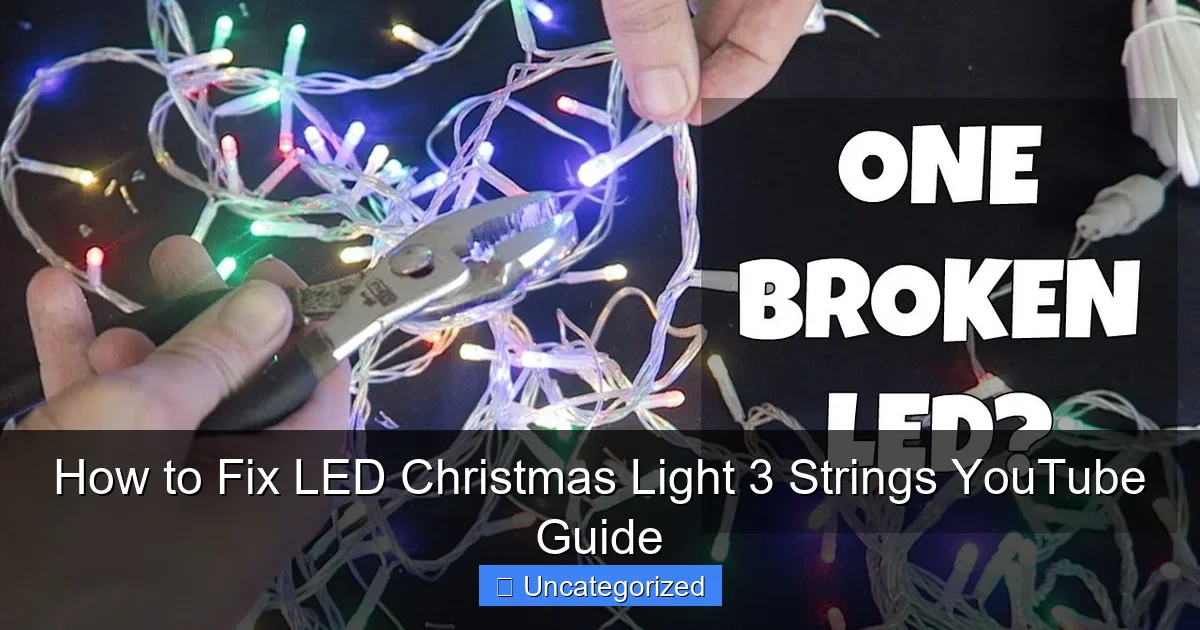
Featured image for how to fix led christmas light 3 strings youtube
Image source: i.ytimg.com
Discover how to quickly fix LED Christmas light 3-string issues with our step-by-step YouTube guide—designed to help you identify burnt-out bulbs, repair broken circuits, and troubleshoot power problems in minutes. Save time and money by mastering simple DIY fixes that restore your holiday display without needing to replace entire sets.
How to Fix LED Christmas Light 3 Strings YouTube Guide
Key Takeaways
- Diagnose first: Use the guide’s method to identify the faulty string or bulb.
- Check connections: Ensure all plugs and sockets are clean and tightly linked.
- Test with tools: Use a multimeter to pinpoint voltage issues quickly.
- Replace smartly: Swap only defective bulbs or fuses, not entire strings.
- Prevent future issues: Store lights properly to avoid tangling and damage.
- Follow safety steps: Always unplug before inspecting or repairing lights.
Why This Matters / Understanding the Problem
It’s the most wonderful time of the year—until your LED Christmas lights go dark. You plug in your favorite set, only to find that one or more of the three strings isn’t lighting up. Instead of tossing them out or spending hours guessing, there’s a smarter way: a How to Fix LED Christmas Light 3 Strings YouTube Guide can walk you through the process with real-time visuals.
Unlike incandescent bulbs, LED Christmas lights are energy-efficient and long-lasting, but they’re also more complex. A single faulty connection, a dead bulb, or a wiring issue in one string can cause the whole set to fail. And because many LED sets are wired in series or series-parallel, one bad bulb can shut down an entire string—or even all three.
This guide is designed for anyone who wants to save money, reduce waste, and enjoy their holiday decor without stress. Whether you’re a DIY beginner or a seasoned decorator, learning how to troubleshoot and repair your 3-string LED lights using a How to Fix LED Christmas Light 3 Strings YouTube Guide means you’ll never have to rely on replacements again.
Real-life scenario: Sarah from Ohio had three identical LED light strings on her porch. One string went out, then another. Instead of buying new sets, she watched a YouTube video and found a loose wire in the second string—fixed it in 10 minutes. Now she keeps her lights for years.
What You Need
Before you start, gather these essential tools and materials. Most are likely already in your garage or toolbox. Having the right supplies saves time and prevents frustration.
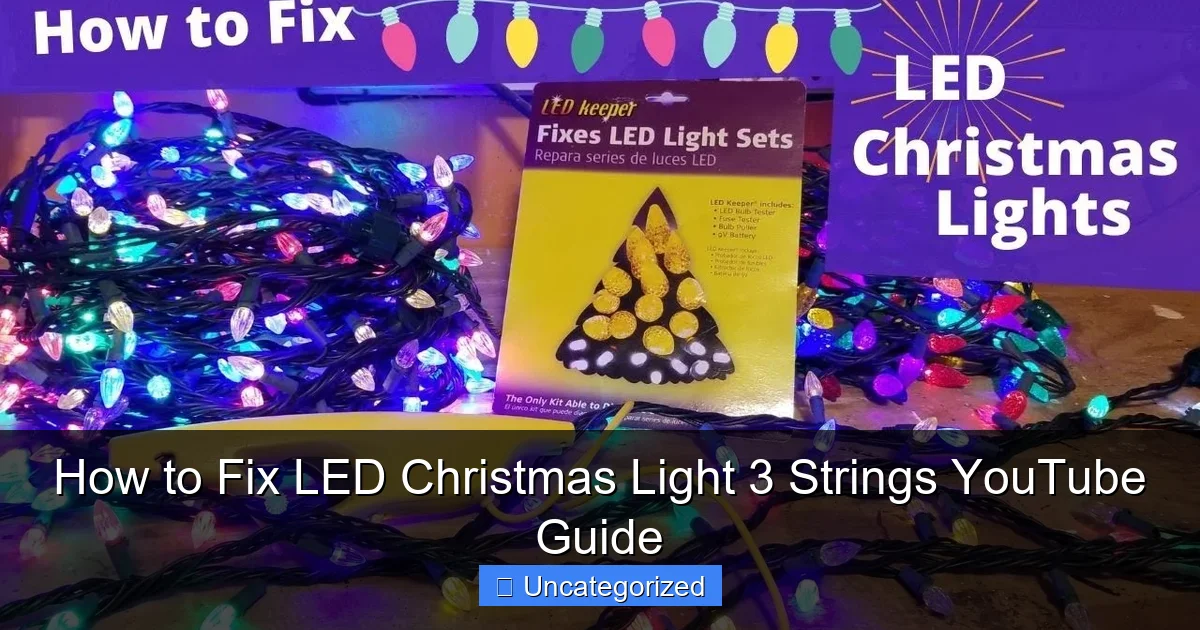
Visual guide about how to fix led christmas light 3 strings youtube
Image source: i.ytimg.com
- Multimeter (digital or analog): To test voltage and continuity. A $15 model from any hardware store works fine.
- Small flathead and Phillips screwdrivers: For opening bulb sockets and inspecting connectors.
- Needle-nose pliers: For gripping tiny wires or removing stubborn bulbs.
- Replacement LED bulbs: Match the voltage (usually 3V) and base type (C7, C9, or mini). Keep a few extras.
- Electrical tape or heat-shrink tubing: For insulating repaired wires.
- Wire strippers: If you need to splice or reconnect broken wires.
- Small flashlight or headlamp: To see inside sockets and under trees.
- Smartphone or tablet: To follow along with a How to Fix LED Christmas Light 3 Strings YouTube Guide in real time.
- Work gloves (optional): Protect your hands from sharp edges or cold weather.
- Labeling tape or sticky notes: To mark which string you’re working on (String 1, 2, or 3).
Pro tip: Use a labeled plastic bin to store your tools and lights while working. It keeps everything organized and prevents lost parts.
Step-by-Step Guide to How to Fix LED Christmas Light 3 Strings YouTube Guide
Step 1: Unplug and Inspect the Power Source
Always start with safety. Unplug the lights from the outlet—no exceptions. Even if you think it’s off, assume it’s live until confirmed.
Check the power cord, plug, and any inline fuses. Look for:
- Frayed or chewed wires
- Cracked plug housing
- Burnt smell or discoloration
Many LED sets have a small fuse compartment in the plug. Use a screwdriver to open it. Inside, you’ll find two tiny fuses. Test them with your multimeter on the continuity setting. If they don’t beep, they’re blown.
Replace fuses with the same rating (usually 3A or 5A). Never use a higher-amp fuse—it can overheat the wiring. This is one of the most common fixes in a How to Fix LED Christmas Light 3 Strings YouTube Guide, and it takes less than 5 minutes.
Warning: Never bypass a blown fuse. Doing so risks fire or damaging the entire set.
Step 2: Identify Which String(s) Are Affected
With three strings, you need to know which one is the problem. Plug the set back in briefly—just long enough to see which strings light up.
Use sticky notes or tape to label each string: “String 1 – Working,” “String 2 – Out,” etc. This helps you focus on the right section and avoids confusion.
If one string is out, the issue is likely isolated. If all three are out, the problem is probably at the power source, main connector, or fuse.
For multi-string sets with a central control box (common in animated or color-changing lights), check the box for loose wires, corrosion, or burnt components. A How to Fix LED Christmas Light 3 Strings YouTube Guide often shows how to open and test these boxes safely.
Step 3: Check the Main Connector Between Strings
Many 3-string sets use a series-parallel design. That means String 1 connects to String 2, which connects to String 3. If the connector between String 1 and 2 fails, String 2 and 3 may not work.
Inspect each connector (usually a plastic male-female plug) for:
- Corrosion or green buildup (clean with isopropyl alcohol and a cotton swab)
- Loose or bent pins
- Cracks or melted plastic
Unplug each connector and wiggle it gently. If lights flicker, the connection is loose. Re-seat the plug firmly. If it’s cracked, you may need to replace the entire connector or splice the wires.
For permanent repairs, cut the damaged connector and use a waterproof wire nut or heat-shrink butt connector. Wrap with electrical tape for extra protection.
Real-life fix: Mark from Colorado had flickering lights every time he touched the middle connector. After cleaning the pins and re-plugging, the problem vanished—no tools needed.
Step 4: Test Each Bulb Socket and LED Bulb
Now comes the detailed work. Start with the first string that’s not working. Unplug the set again.
Remove each LED bulb and inspect the socket. Look for:
- Burnt or blackened contacts
- Loose or broken wires
- Corrosion (especially if lights were outdoors)
Use your multimeter on the continuity setting. Touch one probe to the center contact in the socket, the other to the side contact. If there’s no beep, the socket is broken.
For the bulb itself, insert it into a known-working socket from a good string. If it lights, the bulb is fine. If not, replace it.
LED bulbs rarely burn out, but they can fail due to voltage spikes or water damage. Replace with an exact match—same voltage (e.g., 3V), same base (e.g., E12), and same polarity (LEDs are directional).
Pro tip: In a How to Fix LED Christmas Light 3 Strings YouTube Guide, you’ll often see creators using a bulb tester—a small device that checks if a bulb works without plugging it in. These cost $10 and are worth it if you fix lights often.
Step 5: Use the “Bulb-by-Bulb” Method to Find the Break
If the string still doesn’t work after checking connectors and sockets, it’s time for the “bulb-by-bulb” method.
LED strings are often wired in series, meaning electricity flows through each bulb in sequence. If one bulb or socket fails, the whole string goes dark.
Start at the first bulb in the string. Remove it. Plug the string in. If the rest of the string lights up, the first bulb was the problem. If not, move to the second bulb.
Repeat until you find the bulb that, when removed, allows the rest of the string to light. That’s your culprit.
But here’s the catch: some LED sets have a “shunt” system. A shunt is a tiny bypass wire that lets electricity flow around a dead bulb. If the shunt is broken, removing the bulb won’t fix the string. In that case, you’ll need to repair the socket or replace the bulb with a shunt-equipped LED.
Watch a How to Fix LED Christmas Light 3 Strings YouTube Guide to see how to identify shunt vs. non-shunt bulbs. Most modern LEDs have shunts, but older models may not.
Warning: Don’t leave bulbs out for more than a few seconds. Without a bulb, voltage can build up and damage the string.
Step 6: Inspect and Repair Wiring Harnesses
If the entire string is dead and bulbs/sockets seem fine, the issue may be in the wiring harness—the main wire that runs between bulbs.
Unplug the lights. Use your fingers to gently squeeze the wire every few inches. Look for:
- Soft spots (indicating internal break)
- Kinks or sharp bends
- Chewed areas (common with rodents)
Use your multimeter in continuity mode. Clip one probe to the wire at the start of the string, the other at the end. Move along the wire while testing. When the beep stops, you’ve found a break.
Cut out the damaged section. Strip the ends. Splice them with a wire nut or soldered connection. Cover with heat-shrink tubing or electrical tape.
For outdoor sets, use weatherproof connectors to prevent future corrosion. A How to Fix LED Christmas Light 3 Strings YouTube Guide will show you how to seal splices properly for long-term durability.
Step 7: Test the Repaired String and Reconnect
Once you’ve fixed the issue—whether it’s a bulb, socket, wire, or connector—it’s time to test.
Plug the string in by itself (disconnect others). If it lights up, great! If not, double-check your repair. Use your multimeter to trace voltage from the plug to the end of the string.
When the string works, reconnect it to the other two strings. Make sure all connectors are snug. Plug the full set in.
Watch for flickering, dim lights, or partial illumination. These are signs of a weak connection or mismatched bulbs.
If everything works, label the repaired string with a tag or colored tape. This helps you remember which one needed work, so next year you can check it first.
Step 8: Prevent Future Issues (Proactive Maintenance)
Now that your lights are working, keep them that way. Prevention is the best part of any How to Fix LED Christmas Light 3 Strings YouTube Guide.
After the holidays, unplug and inspect all three strings. Look for:
- Loose bulbs
- Frayed wires
- Corroded connectors
Store lights in a dry, cool place. Avoid plastic bags—they trap moisture. Use cardboard boxes or resealable containers with silica gel packs.
When installing next year, use outdoor-rated extension cords and weatherproof covers for outlets. Elevate plugs off the ground to avoid puddles.
Consider using smart plugs to control lights remotely. Some even have surge protection to prevent voltage spikes.
Pro tip: Take a photo of your light setup each year. Note which strings are where and any repairs made. It’s a simple way to track issues over time.
Pro Tips & Common Mistakes to Avoid
Even with a great How to Fix LED Christmas Light 3 Strings YouTube Guide, mistakes happen. Here’s what to watch for:
- Using the wrong bulb: LED bulbs must match voltage, base, and polarity. A 2.5V bulb in a 3V socket may not light or could damage the circuit.
- Ignoring polarity: LEDs have positive and negative leads. If a bulb doesn’t light, flip it 180 degrees in the socket.
- Over-tightening bulbs: LED bases are plastic. Tighten gently—snug, not forceful.
- Testing with power on: Never touch wires or sockets while the set is plugged in. Use a multimeter on the correct setting (AC voltage for powered tests, continuity for unplugged).
- Skipping the fuse check: It’s the fastest fix and often overlooked. Always check fuses first.
- Using duct tape for repairs: It degrades in cold weather. Use electrical tape or heat-shrink instead.
- Forgetting to label strings: Without labels, you’ll waste time retesting working strings.
Pro tip: If you’re unsure about a repair, pause and watch a How to Fix LED Christmas Light 3 Strings YouTube Guide that matches your light model. Search “[your brand] + repair + 3 strings + YouTube” for best results.
Another smart move: keep a repair kit with spare bulbs, fuses, wire nuts, and tape. Store it with your holiday decorations. You’ll save time and stress every year.
And don’t be afraid to ask for help. Many YouTube creators offer live Q&A or comment replies. A quick message like “My String 2 won’t light—what should I check?” can get you a fast answer.
FAQs About How to Fix LED Christmas Light 3 Strings YouTube Guide
Q1: Why do LED Christmas lights go out even when the bulbs look fine?
LEDs can fail internally without visible damage. A broken shunt, cracked solder joint, or water intrusion can stop the circuit. Also, a single bad socket can break the entire string. Use a multimeter to test bulbs and sockets—don’t rely on looks.
Q2: Can I use regular incandescent bulbs in an LED string?
No. Incandescent bulbs have different voltage and current needs. They can overheat LED sockets or cause the entire string to fail. Always use LED-specific replacements. A How to Fix LED Christmas Light 3 Strings YouTube Guide will show you how to identify the right bulb.
Q3: What if only half of a string lights up?
This usually means a break in the wiring or a dead bulb in the first half. Use the “bulb-by-bulb” method to isolate the issue. Also check for a damaged socket or loose wire near the midpoint.
Q4: Are YouTube guides safe to follow?
Most are, but check the creator’s credentials. Look for channels with high engagement, clear explanations, and safety disclaimers. Avoid videos that show unsafe practices (e.g., working with live wires). A good How to Fix LED Christmas Light 3 Strings YouTube Guide emphasizes safety first.
Q5: Can I repair lights that were damaged by rain or snow?
Sometimes. Dry them completely (24+ hours indoors). Clean corrosion with isopropyl alcohol. Test before plugging in. If wires are corroded or insulation is cracked, replace the string. Water damage can create hidden hazards.
Q6: How long should LED Christmas lights last?
Quality LED sets last 10–20 years. But poor storage, voltage spikes, or physical damage can shorten that. With proper care and occasional repairs, you can extend their life. A How to Fix LED Christmas Light 3 Strings YouTube Guide helps you get the most out of your investment.
Q7: What’s the fastest way to find a reliable YouTube guide?
Search: “[your light brand] + 3-string + repair + fix + YouTube.” Sort by “Most Recent” and check views, likes, and comments. Look for videos with clear close-ups, labeled tools, and step-by-step narration. Avoid overly edited or vague tutorials.
Final Thoughts
Fixing your LED Christmas lights isn’t just about saving money—it’s about keeping the magic of the season alive. With a How to Fix LED Christmas Light 3 Strings YouTube Guide, you gain a visual, hands-on teacher who shows you exactly what to do, step by step.
Remember: start with the simplest fix (fuses), then work your way to the more complex (wiring). Label your strings, use the right tools, and don’t rush. Most repairs take 15–30 minutes. And once you’ve fixed one set, you’ll be ready for the next.
Next time your lights flicker or go dark, don’t throw them out. Grab your multimeter, fire up your tablet, and follow a trusted How to Fix LED Christmas Light 3 Strings YouTube Guide. You’ll not only restore your lights—you’ll gain confidence, reduce waste, and maybe even impress your neighbors.
Your action plan: This year, after decorating, take 10 minutes to inspect all three strings. Note any issues. Then, bookmark 2–3 reliable YouTube guides. When a problem hits, you’ll be ready—no stress, no guesswork.
Happy holidays—and happy fixing!

