Featured image for how to string orbit led lights
Image source: cdn.shopify.com
Transform your outdoor space with orbit LED lights by securely mounting them in a circular or orbital pattern around trees, pergolas, or railings for maximum visual impact. Use durable, weather-resistant string clips or hooks and maintain even spacing to ensure a professional, balanced glow. Plug into a timer or smart controller to automate lighting and enhance ambiance effortlessly.
“`html
How to String Orbit LED Lights for Stunning Outdoor Ambiance
Key Takeaways
- Plan your layout: Sketch the design before hanging to avoid mistakes.
- Measure carefully: Ensure lights reach power sources with minimal slack.
- Use durable hooks: Secure mounting hardware for long-lasting installations.
- Test lights first: Check functionality before and after installation.
- Space evenly: Maintain consistent gaps for a professional look.
- Weatherproof connections: Use outdoor-rated covers to protect wiring.
Why This Matters / Understanding the Problem
Imagine hosting a backyard dinner under a soft, glowing canopy—no harsh bulbs, just warm, inviting light that wraps around your patio like a hug. That’s the magic of how to string Orbit LED lights for stunning outdoor ambiance. These flexible, weather-resistant lights are perfect for creating a cozy, Instagram-worthy space, but without proper planning, your dream setup can turn into a tangled mess.
Many people struggle with uneven spacing, overloaded circuits, or lights that sag in the middle. Others buy the wrong type of lights or install them in ways that damage their home or shorten the lights’ lifespan. The good news? With the right approach, you can avoid these headaches and create a lighting display that’s both beautiful and long-lasting.
Whether you’re decorating for a party, holiday, or just everyday relaxation, learning how to string Orbit LED lights for stunning outdoor ambiance ensures your outdoor space becomes a true extension of your home. Let’s fix the common issues and turn your yard into a luminous retreat.
What You Need
Before you start, gather the right tools and materials. Skipping this step leads to frustration—and wasted time. Here’s your checklist:
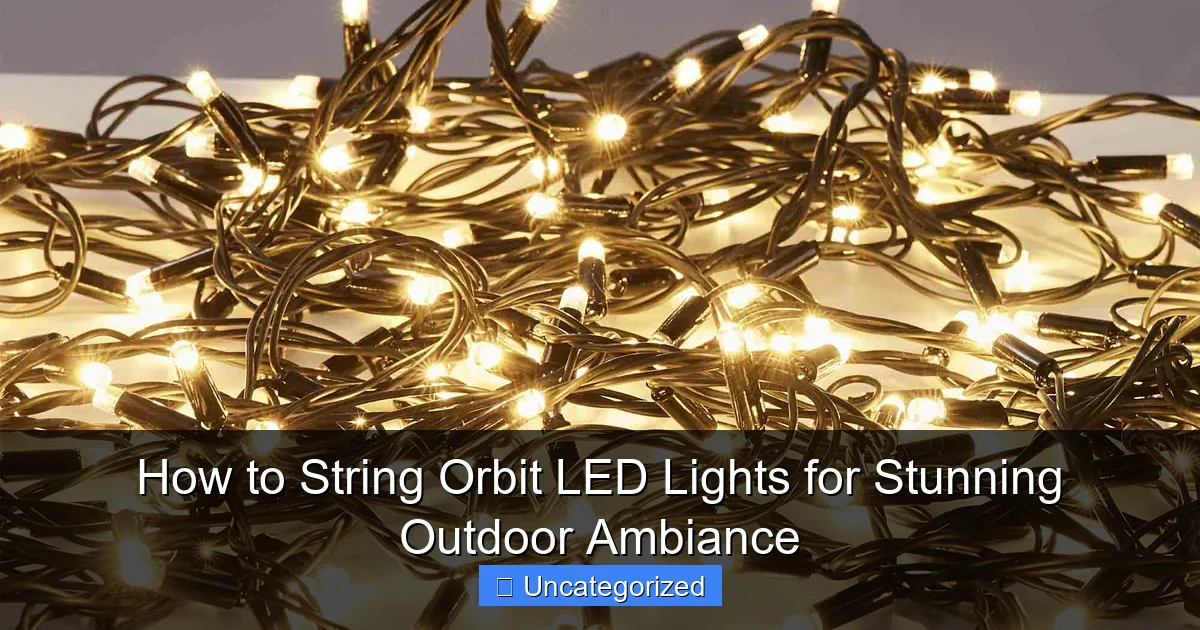
Visual guide about how to string orbit led lights
Image source: orbitlighting.co.nz
- Orbit LED light strands (choose warm white, multicolor, or color-changing, depending on your vibe)
- Outdoor-rated extension cords (GFCI-protected for safety)
- Light clips or mounting hardware (adhesive, screw-in, or magnetic—match your surface)
- Measuring tape (for accurate spacing)
- Drill and screws (if needed) (for permanent installations)
- Ladder (safety first!)
- Timer or smart plug (optional, but great for automatic on/off)
- Zip ties or cable clips (for managing cords)
- Scissors or wire cutters (if trimming zip ties or cords)
- Weatherproof electrical tape (for sealing connections)
Pro tip: Buy 10–15% more lights than you think you’ll need. It’s easier to hide extra than to scramble for more mid-installation. Always check the IP rating (e.g., IP65) to confirm the lights are truly weatherproof.
Step-by-Step Guide to How to String Orbit LED Lights for Stunning Outdoor Ambiance
Now that you’re equipped, let’s walk through a foolproof method. This guide works for patios, pergolas, fences, eaves, and even trees. We’ll focus on creating balanced, safe, and visually stunning lighting.
Step 1: Plan Your Layout (The Foundation of Great Ambiance)
Before touching a single light, sketch your space. Use graph paper or a free app like MagicPlan to map out where lights will go. Decide on a pattern:
- Linear: Straight lines across a patio or fence.
- Grid: Crisscrossing lines for a starry-sky effect (great for pergolas).
- Swag: Gentle curves between two anchor points (ideal for trees or posts).
Measure the distance between mounting points. For Orbit LED lights, space clips every 12–18 inches to prevent sagging. If you’re using a grid, plan for 2–3 feet between parallel lines. Mark anchor points with painter’s tape so you can visualize the layout.
Example: For a 10-foot pergola with a grid, you might run 5 horizontal lines, each 10 feet long, spaced 2 feet apart. That’s ~50 feet of lights. Buy two 30-foot strands (with connectors) for flexibility.
Pro Tip: Avoid running lights over sharp edges or near heat sources (like grills). This can damage wires and reduce lifespan.
Step 2: Choose the Right Mounting Method (Match Your Surface)
How you attach lights depends on your surface. Here’s how to pick the best method:
- Wood (fences, pergolas, deck rails): Use outdoor screw-in clips or small nails. Drill pilot holes first to avoid splitting wood.
- Vinyl or aluminum (siding, gutters): Use adhesive clips or magnetic clips. Avoid nails or screws—they can crack or void warranties.
- Concrete or brick (walls, pillars): Use heavy-duty adhesive clips or masonry screws with anchors.
- Trees (branches, trunks): Use zip ties or tree-safe clips. Never use nails or wire—they harm the tree.
For a temporary setup (e.g., a party), adhesive clips work great. For permanent installations, screw-in clips are more durable. Always test clips on a small area first to ensure they hold.
Warning: Never staple or nail through LED wires. This breaks circuits and creates fire hazards.
Step 3: Install Mounting Hardware (Even Spacing = Even Light)
Time to put up the clips. Start at one end and work your way to the other. Here’s how:
- Use a measuring tape to mark clip positions every 12–18 inches. For swag patterns, mark anchor points first (e.g., two trees 15 feet apart).
- Attach clips to your marks. For screw-in clips, drill a pilot hole, then screw in the clip. For adhesive clips, clean the surface with rubbing alcohol first for better stickiness.
- For swag patterns, install clips at both ends, then add a few in the middle to support the curve.
Example: On a wooden pergola, install 15 screw-in clips spaced 12 inches apart for a 15-foot linear run. For a grid, install clips in rows and columns.
Double-check alignment with a level if you’re running straight lines. Crooked clips = crooked lights.
Step 4: Test and Connect Your Lights (Safety First!)
Before installing, plug in your lights to test them. Check for:
- Brightness (no dim spots)
- Color consistency (if using color-changing)
- Flickering or dead sections
Now, connect strands if needed. Most Orbit LED lights have end-to-end connectors. But never exceed the manufacturer’s max wattage (usually 3–5 strands). Overloading causes overheating and fire risk.
Use weatherproof electrical tape to seal connections. Wrap each plug tightly—this keeps moisture out. For extra protection, use a waterproof connector box (available at hardware stores).
Pro Tip: Plug all lights into a GFCI outlet or use a GFCI extension cord. This cuts power instantly if a short occurs—critical for outdoor safety.
Step 5: Hang the Lights (Start from the Power Source)
Always hang lights starting at the power source. This prevents pulling on the plug. Here’s how:
- Plug the first strand into the outlet. Let the cord drape loosely to the first clip.
- Hook the light strand into each clip. For swag patterns, gently curve the lights between anchor points. Avoid over-stretching.
- For grid patterns, run lights horizontally first, then vertically. Connect strands at intersections using connectors (sealed with tape).
- At the end of each run, leave a few extra inches of cord. This gives you room to adjust or add more lights later.
Example: On a 10-foot fence, hang a 25-foot strand with 5 feet of extra cord coiled and secured at the end. This lets you reposition the plug if needed.
Use zip ties to secure loose cords to the mounting surface. Keep cords off the ground to avoid tripping and water damage.
Step 6: Manage Cords and Power (Clean & Safe)
Exposed cords are ugly and dangerous. Tidy them up:
- Run cords along the mounting surface (e.g., fence rails, eaves).
- Use cable clips or zip ties to secure cords every 1–2 feet.
- For long runs, hide cords behind plants, under decking, or inside PVC conduit.
- Plug cords into a timer or smart plug to automate on/off. Set it to turn on at dusk and off at midnight.
Label your cords with tape (e.g., “Pergola,” “Fence”) if you have multiple circuits. This helps during troubleshooting.
Warning: Never bury cords under mulch or soil. Moisture and pests can damage them. Use conduit if you must run cords underground.
Step 7: Fine-Tune for Ambiance (The Magic Touch)
Now for the fun part—making it look amazing! Adjust lights for the best effect:
- For warmth: Use warm white (2700K–3000K) lights. Avoid cool white (4000K+)—it feels harsh.
- For depth: Layer lights. Add ground-level path lights or lanterns to complement the string lights.
- For drama: Use color-changing lights in “slow fade” mode. Or add a spotlight to a tree or sculpture.
- For even glow: Gently adjust clips to eliminate dark spots. Slight sagging is okay—it adds softness.
Example: On a pergola, pair string lights with a few hanging lanterns. The mix of overhead and ambient light creates a cozy, layered look.
Step back and view your setup from different angles. Fix any uneven sections.
Pro Tips & Common Mistakes to Avoid
Even experienced decorators make these errors. Here’s how to avoid them:
- Don’t overload circuits: A single 15-amp outlet can handle ~1,800 watts. Most Orbit LED strands use 20–50 watts each. Max 10–15 strands per outlet.
- Avoid daisy-chaining too many strands: Stick to 3–5 max. Use a power strip with multiple outlets instead.
- Skip the cheap clips: Flimsy clips fall off in wind. Invest in quality ones.
- Don’t ignore weather: Remove lights in extreme storms (hurricanes, blizzards). Even weatherproof lights can fail.
- Never leave cords on the ground: Pets chew them, and rain pools around plugs. Elevate cords with hooks or clips.
- Test before full installation: A dead section is easier to fix before the lights are hung.
- Use a timer: Saves energy and prevents lights from staying on all night.
Pro Tip: For a “starry sky” effect, use micro LED strands with tiny bulbs. They create a subtle, twinkling glow—perfect for intimate spaces.
Warning: Never use indoor lights outdoors. They’re not rated for moisture, UV rays, or temperature swings. Stick to outdoor-rated Orbit LED lights.
FAQs About How to String Orbit LED Lights for Stunning Outdoor Ambiance
Q: Can I leave Orbit LED lights up year-round?
A: Yes, if they’re rated for permanent outdoor use (IP65 or higher). But in harsh climates, remove them during extreme weather. Store them in a dry, temperature-controlled space.
Q: How do I fix a dead section of lights?
A: First, check connections and fuses (in the plug). If one bulb is dead, it might be a loose wire. For LED strands, never replace individual bulbs—replace the whole strand. Use a multimeter to test voltage if you’re comfortable.
Q: What’s the best way to hang lights on a metal roof?
A: Use magnetic clips or adhesive clips. Avoid nails or screws—they can damage roofing and create leaks. For a secure hold, clean the surface first.
Q: How far apart should I space the lights?
A: For even glow, space clips 12–18 inches apart. For a “swag” look, go up to 24 inches. Closer spacing = brighter light; farther = softer, more spread-out.
Q: Can I cut Orbit LED strands to size?
A: Only if the packaging says “cuttable.” Most are not. Cutting breaks the circuit and voids the warranty. Buy the right length instead.
Q: How do I create a “glowing canopy” over a patio?
A: Use a grid pattern. Run lights in parallel lines (2–3 feet apart), then crisscross them. Use a mix of warm white and soft yellow for depth.
Q: Are smart LED lights worth it?
A: Yes! Smart Orbit LEDs let you control brightness, color, and timing from your phone. Great for parties or changing the mood instantly.
Final Thoughts
Creating how to string Orbit LED lights for stunning outdoor ambiance isn’t just about hanging lights—it’s about crafting an experience. With proper planning, the right tools, and attention to detail, you can transform any outdoor space into a warm, inviting haven.
Remember: Start with a layout, use the right clips for your surface, test lights first, and never overload circuits. A little extra effort now means years of beautiful, safe lighting.
Ready to get started? Grab your tools, sketch your space, and let the glow begin. Your backyard oasis is just a few clips away. And when you’re done, share a photo—you’ve earned the bragging rights!
For lasting ambiance, maintain your lights: Check connections yearly, clean dust off bulbs, and replace any damaged strands. With care, your Orbit LED lights will shine for seasons to come.
“`

