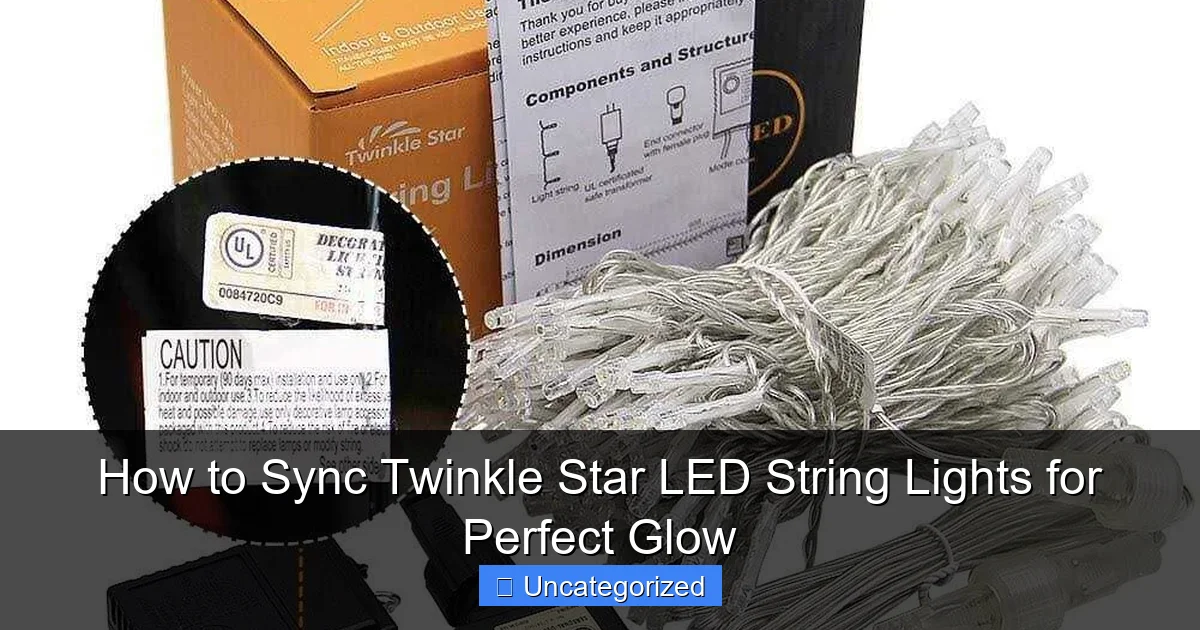
Featured image for how to sync twinkle star led string lights
Image source: inzoshop.com
Sync your Twinkle Star LED string lights effortlessly by using the built-in RF remote to pair multiple strands on the same frequency—ensuring a seamless, coordinated glow. Simply power on all lights, press the “SYNC” button on the remote, and watch as they instantly harmonize for a professional, twinkling display. Perfect for holidays, parties, or ambient decor, this quick setup eliminates flickering or timing mismatches.
How to Sync Twinkle Star LED String Lights for Perfect Glow
Key Takeaways
- Use the remote control: Ensure both lights are paired to the same frequency for seamless syncing.
- Check power sources: Connect all strings to one power outlet to avoid timing delays.
- Enable sync mode: Press the “Sync” button on the remote to activate synchronized twinkling.
- Test before installation: Verify the lights’ sync performance on the ground before hanging them.
- Replace batteries: Fresh batteries ensure consistent signal transmission and lighting effects.
- Follow manufacturer instructions: Adhere to brand-specific steps for optimal syncing results.
Why This Matters / Understanding the Problem
Imagine setting up your holiday lights, only to find that one strand flickers out of rhythm while another stays stubbornly still. Frustrating, right? If you’re trying to how to sync Twinkle Star LED string lights for perfect glow, you’re not alone. These popular lights are loved for their soft shimmer, warm ambiance, and energy efficiency—but they only shine at their best when perfectly synchronized.
Without proper syncing, your display can look messy, uneven, or even broken. Whether you’re decorating a tree, a patio, or your bedroom for a cozy vibe, getting your Twinkle Star lights to pulse, twinkle, or fade in unison creates a magical effect. The good news? It’s easier than you think.
Syncing isn’t just about aesthetics. It also helps prevent power overloads, extends bulb life, and ensures your controller settings apply evenly across all strands. In this guide, we’ll walk you through how to sync Twinkle Star LED string lights for perfect glow—step by step—so your space looks professionally lit, no electrician needed.
What You Need
Before diving in, gather these tools and materials. Most are probably already in your holiday box. If not, they’re easy to find at hardware stores or online.
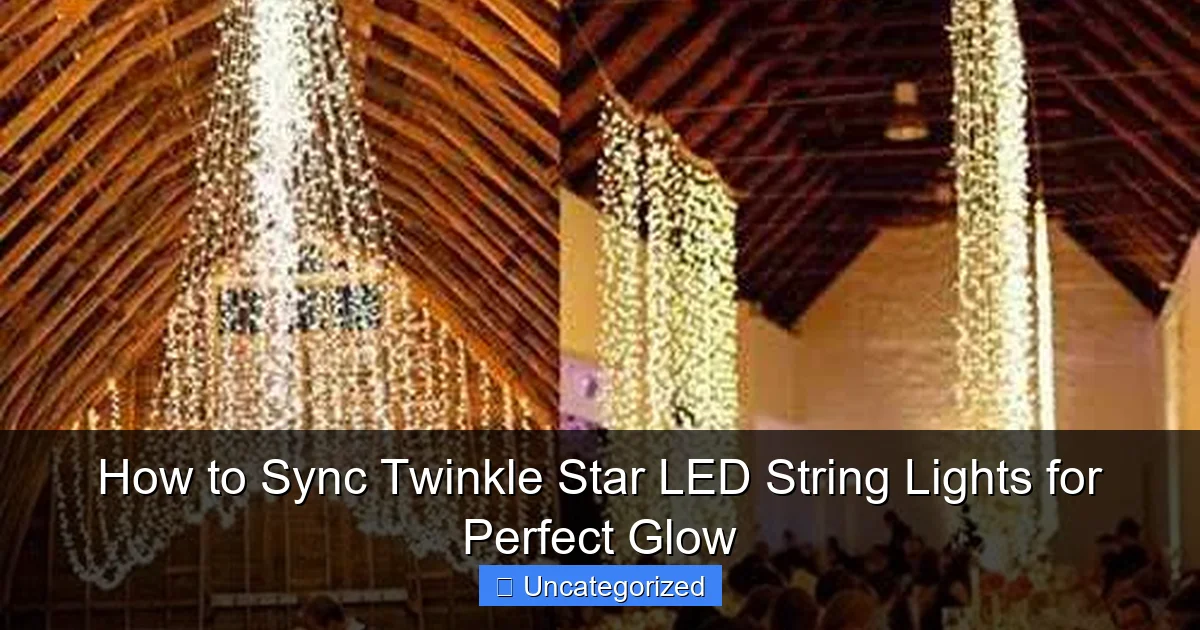
Visual guide about how to sync twinkle star led string lights
Image source: inzoshop.com
- Twinkle Star LED string lights (multiple strands, if connecting)
- Controller unit (usually included with the first strand)
- Extension cords or power strips (rated for outdoor use if applicable)
- Zip ties, light clips, or adhesive hooks (for mounting and organizing)
- Smart plug or timer (optional, for automation)
- Multimeter (optional, for troubleshooting)
- User manual (check for model-specific sync settings)
- Patience and a ladder (if installing overhead)
Most Twinkle Star lights use a daisy-chain system—meaning you plug one strand into the next. This makes syncing easier than with older plug-and-play models. Just make sure all strands are the same voltage (120V or 240V) and compatible with the same controller.
Pro Tip: Always check the packaging or product listing for “syncable” or “daisy-chain compatible.” Some cheaper knockoffs don’t support multi-strand control, which ruins the glow effect.
Step-by-Step Guide to How to Sync Twinkle Star LED String Lights for Perfect Glow
Step 1: Unpack and Inspect All Components
Start by laying out all your Twinkle Star LED strands on a clean, flat surface. Look for any visible damage—frayed wires, loose bulbs, or cracked sockets. Even minor damage can disrupt the sync and cause flickering.
Check the controller: it should have labeled buttons (Twinkle, Steady, Fade, etc.) and an input/output port. Most Twinkle Star controllers have a male plug on one end and a female socket on the other, allowing you to daisy-chain.
Test each strand individually by plugging it into a power source and running through the modes. This ensures no strand is defective before you begin the sync process.
Warning: Never connect a damaged strand to your system. It can short the circuit and disable the entire display. Better to replace one strand now than redo your whole setup later.
Step 2: Plan Your Layout and Power Source
Before you start hanging lights, sketch a rough layout. Decide where each strand will go—around a tree, along a roofline, or across a fence. This helps you estimate how many strands you need and where to place extension cords.
Always plug the controller into the power source first, then connect the first light strand to the controller. This ensures the signal starts from the brain (controller) and flows outward.
Keep power sources centralized. For example, if you’re decorating a backyard tree, run a heavy-duty outdoor-rated extension cord from a nearby outlet to the base. Avoid daisy-chaining too many extension cords—this can cause voltage drop, which leads to dim or unsynced lights.
Use a smart plug if you want to schedule your lights to turn on at sunset or sync with music. Many smart plugs integrate with Alexa or Google Home for voice control.
Step 3: Connect the Strands in Daisy-Chain Sequence
Now comes the core of how to sync Twinkle Star LED string lights for perfect glow: daisy-chaining. This method links all strands into one continuous circuit, so the controller sends the same signal to every bulb.
- Plug the controller into the power source (wall outlet or smart plug).
- Connect the first light strand to the controller’s output port.
- Take the second strand and plug its input into the output of the first strand.
- Repeat until all strands are connected.
Most Twinkle Star kits support up to 5–6 strands in a single chain. Check your manual—some models can handle up to 10, but exceeding the limit can overload the controller.
Pro Tip: Use zip ties to secure connections. A loose plug can wiggle free in wind, breaking the sync. Tie the plug and socket together so they move as one unit.
Step 4: Test the Sync Before Mounting
Before you climb any ladders, test the full chain on the ground. Power it on and cycle through all modes: Twinkle, Fade, Steady, Wave, etc.
Watch closely: all strands should change at the same time. If one lags or skips a mode, there’s a connection issue. Unplug and reseat each link, then test again.
Listen too—some controllers emit a faint click when switching modes. If only some strands react, the signal isn’t reaching the end of the chain.
This step saves time. Fixing a sync issue after mounting is a pain. Think of it like checking your car before a road trip—better to catch a flat now than halfway up a tree.
Step 5: Mount the Lights with Care
Now that your system is synced, it’s time to install. Use light clips (not nails or staples) to secure the strands. These clips grip the wire without piercing insulation, which prevents shorts.
For trees, wrap the lights evenly around the trunk and branches. Avoid over-tightening—Twinkle Star LEDs are delicate. Use adhesive hooks on walls or railings for a clean, damage-free look.
Keep the controller accessible. Don’t bury it in leaves or hang it upside down. Moisture and dirt can ruin the electronics. If outdoors, place it in a small waterproof box or hang it under an eave.
For large displays, consider using light hangers or track systems that keep strands aligned and reduce sagging.
Step 6: Power On and Fine-Tune the Glow
Plug in the controller and select your favorite mode. Most people love the “Twinkle” setting for a magical, star-like effect. But experiment—“Fade” creates a slow, dreamy pulse, while “Wave” gives a gentle ripple across the chain.
If the lights are too bright, try dimming the room or angling the strands away from direct view. You can also use frosted covers (sold separately) to soften the glow.
For outdoor use, check for shadows or dark spots. Add a second strand behind a bush or under an awning to balance the light. The goal is even, seamless coverage—no hotspots or gaps.
Use a timer to automate the on/off cycle. Set it to turn on at dusk and off at 10 PM to save energy and avoid light pollution.
Step 7: Troubleshoot Sync Issues (If Any)
Even with careful setup, sync problems can happen. Here’s how to fix them:
- One strand is out of sync? Unplug it and test alone. If it works solo, the issue is with the previous strand’s output port. Replace or repair it.
- All strands flicker randomly? Check for loose connections. Wiggle each plug gently—if flickering changes, tighten the connection or replace the wire.
- Controller not responding? Unplug everything, wait 30 seconds, then reconnect. Resetting clears glitches.
- Dim lights at the end of the chain? You’ve exceeded the max strand limit. Split into two chains, each with its own controller.
If problems persist, use a multimeter to check voltage at each plug. A drop below 100V (in a 120V system) means too much resistance—shorten the chain or upgrade to a higher-wattage controller.
Pro Tips & Common Mistakes to Avoid
Syncing Twinkle Star lights isn’t rocket science—but a few small mistakes can ruin the effect. Here’s what seasoned decorators wish they’d known:
Pro Tip 1: Label Your Strands
Use colored tape or tags to mark each strand (e.g., “Tree 1,” “Fence 2”). When troubleshooting, you’ll know exactly which one is misbehaving. No more guessing!
Pro Tip 2: Use a Central Controller Hub
For large setups (like a full yard), use a controller hub (sold separately). It connects multiple controllers and syncs them via a master unit. This way, you can have one tree on “Twinkle,” a fence on “Fade,” and a roofline on “Wave”—all starting at the same time.
Pro Tip 3: Store Lights Properly
After the holidays, wind each strand around a cardboard rectangle or light reel. Store in a dry, cool place. Moisture and tangles are the #1 cause of next-year sync failures.
Common Mistake 1: Overloading the Circuit
Plugging 10 strands into one outlet can trip your breaker. Most household circuits handle 15–20 amps. A single Twinkle Star strand uses about 0.5 amps. So, max 30–40 strands per outlet—but check your local code.
Warning: Never exceed the controller’s rated load. It can overheat and fail. When in doubt, split into two chains with separate controllers.
Common Mistake 2: Ignoring Weatherproofing
Indoor-rated lights will short outdoors. Look for IP44 or higher on the packaging. For wet areas, use outdoor-rated extension cords and seal plugs with silicone tape.
Common Mistake 3: Skipping the Test Phase
We get it—you’re excited to see the lights! But skipping the ground test leads to 80% of sync issues. Always test before mounting. Your future self will thank you.
Common Mistake 4: Using Incompatible Accessories
Not all extension cords or smart plugs work with low-wattage LED systems. Use cords labeled “LED compatible” or “low load.” Otherwise, the lights may not turn on at all.
FAQs About How to Sync Twinkle Star LED String Lights for Perfect Glow
Q: Can I sync different brands of LED string lights?
Not reliably. While some brands use similar voltages, their controllers often speak different “languages.” Stick to Twinkle Star or compatible brands (check the manual). Mixing brands can cause erratic behavior or damage.
Q: Why do my lights blink out of sync after a few hours?
This is usually due to voltage drop or a loose connection. Check that all plugs are snug and the chain isn’t too long. Also, avoid running lights for more than 8 hours straight—heat buildup can affect the controller.
Q: Can I connect more than 6 strands?
It depends. Most Twinkle Star models max out at 6 strands (around 1,000 bulbs). Exceeding this can overload the controller. If you need more, use a secondary controller for the extra strands. Sync them manually by turning both controllers on at the same time.
Q: Are Twinkle Star lights waterproof?
Most are water-resistant (IP44), not fully waterproof. They can handle rain and snow, but don’t submerge them. Keep the controller and plugs dry—use a cover or hang it under shelter.
Q: How do I sync lights to music?
You’ll need a music-sync controller (sold separately). Plug your Twinkle Star lights into it, then connect the controller to a speaker or audio source. The lights will pulse with the beat. Some models work with Bluetooth—just pair your phone and play!
Q: What if the controller stops working?
Try a reset: unplug everything, wait 30 seconds, then reconnect. If that fails, replace the controller (they’re often cheaper than a new strand). Keep the original manual—Twinkle Star offers replacements for defective parts.
Q: Can I cut or shorten the strands?
No. Unlike some LED strips, Twinkle Star string lights aren’t designed to be cut. Doing so breaks the circuit and voids the warranty. Always buy the right length for your space.
Final Thoughts
Creating a perfectly synced display with Twinkle Star LED string lights isn’t just about looks—it’s about crafting an experience. Whether it’s a quiet evening under the stars or a festive holiday glow, the magic lies in harmony. Now that you know how to sync Twinkle Star LED string lights for perfect glow, you can transform any space into a warm, inviting sanctuary.
Remember: start with a clean setup, test early, and don’t skip the small details. Use proper connectors, avoid overloading, and protect your system from the elements. And if something goes wrong? Don’t panic—most sync issues are fixable with a little patience.
So grab your lights, gather your tools, and let the glow begin. Your perfect twinkle is just a few steps away. And when your neighbors stop to admire your display, you’ll know it was worth every minute.
Now go make some magic.

