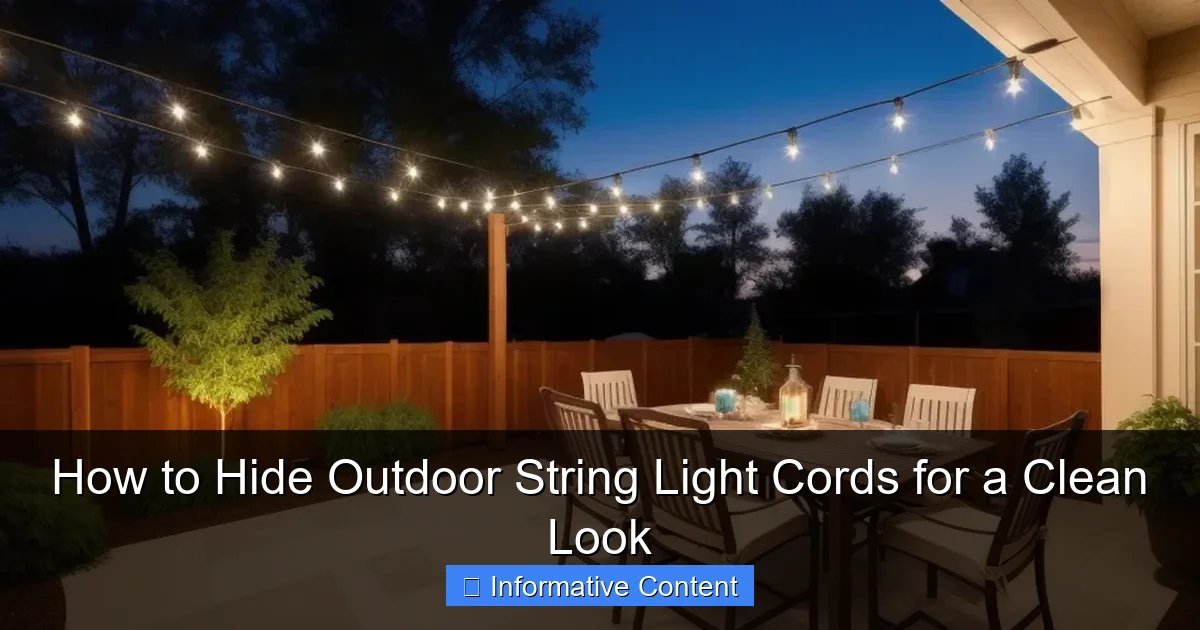
Featured image for how to hide outdoor string light cords
Image source: lastinglights.com
Concealing outdoor string light cords instantly elevates your space with a clean, professional look. Use discreet cord covers, raceways, or natural elements like planters and railings to hide wires while maintaining safety and style. With a few simple tools and smart placement, you can achieve a seamless glow that enhances your outdoor ambiance without unsightly tangles.
Key Takeaways
- Use cord covers: Install raceways or moldings to conceal cords seamlessly.
- Route along structures: Attach cords to fences, walls, or railings for discreet placement.
- Hide in plain sight: Match cord color to surroundings for visual blending.
- Anchor with clips: Use adhesive or screw-in clips to secure cords neatly.
- Go wireless: Opt for battery-powered lights to eliminate cords entirely.
- Camouflage with plants: Weave cords through greenery for natural concealment.
📑 Table of Contents
- How to Hide Outdoor String Light Cords for a Clean Look
- Why Hiding Cords Matters (Beyond Just Looks)
- Top Methods to Hide Outdoor String Light Cords
- Tools and Materials You’ll Need
- Step-by-Step Guide: Installing String Lights with Hidden Cords
- Common Mistakes to Avoid
- Data: Cord Hiding Methods Compared
- Final Thoughts: Light Up Your Space, Not the Cords
How to Hide Outdoor String Light Cords for a Clean Look
There’s something magical about string lights. They transform a plain backyard into a cozy, inviting retreat. But let’s be honest — that tangle of cords snaking across your patio, dangling from the fence, or dangling from the trees can quickly ruin the effect. It’s like showing up to a fancy dinner with a stain on your shirt. You can’t unsee it.
I learned this the hard way. A few years ago, I strung up a beautiful set of warm white lights for a summer barbecue. The ambiance was perfect — until someone tripped over a cord that was dangling near the grill. Not only was it a safety hazard, but it also looked messy. Since then, I’ve made it a mission to find clever, practical ways to hide outdoor string light cords. And I’ve tested a lot of them. Some worked great. Others? Not so much. In this guide, I’ll share what actually works, what to avoid, and how to keep your outdoor lighting looking sleek and professional — without spending a fortune.
Why Hiding Cords Matters (Beyond Just Looks)
Safety First: Prevent Trips and Tangles
Let’s start with the obvious: safety. Exposed cords are a tripping hazard, especially when the lights are on and people aren’t paying attention. Kids running around, guests carrying drinks, or even pets can get caught in loose wires. According to the U.S. Consumer Product Safety Commission, thousands of home accidents each year are linked to electrical cords, including trips, falls, and even electrical shocks.
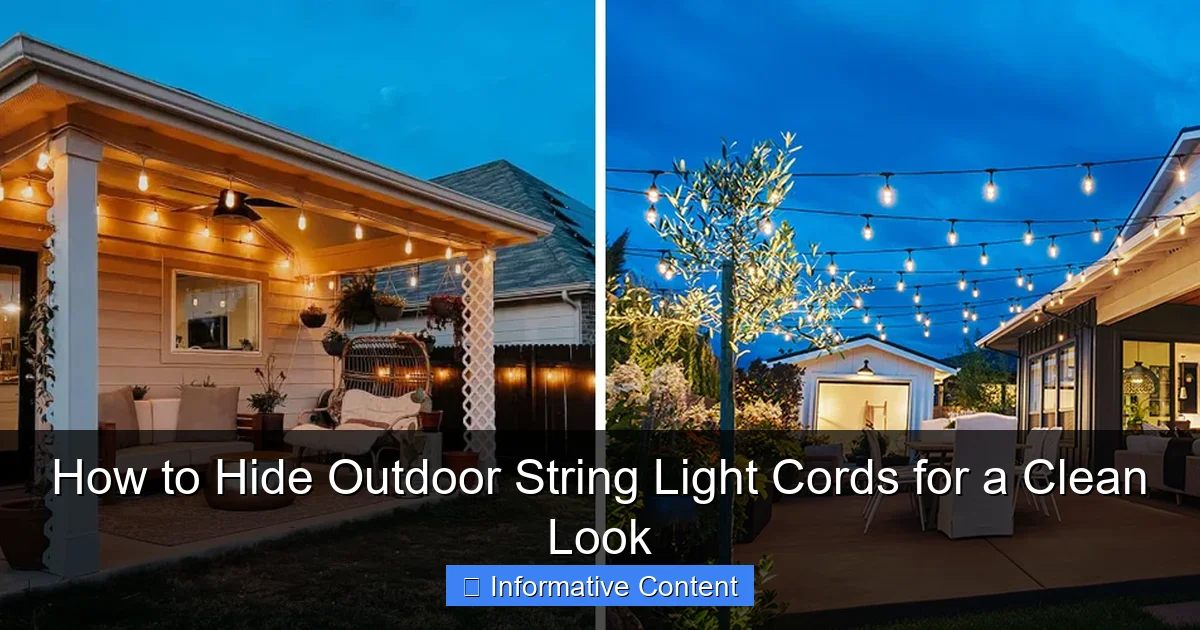
Visual guide about how to hide outdoor string light cords
Image source: brightlighthub.com
Hiding cords doesn’t just make your space look better — it makes it safer. When cords are secured and out of the way, you reduce the risk of someone getting hurt. It’s a small change with big benefits.
Protect Your Investment
Outdoor string lights aren’t cheap. A decent set can cost anywhere from $30 to over $100, depending on the quality and features. Leaving cords exposed to the elements — sun, rain, wind, and foot traffic — can shorten their lifespan. UV rays degrade plastic insulation over time, and moisture can lead to short circuits or corrosion.
By hiding or protecting cords, you’re essentially giving your lights a longer, healthier life. Think of it like storing your winter coat in a garment bag instead of tossing it on the floor. A little care goes a long way.
Create a Polished, Professional Aesthetic
Let’s be real — we all want our outdoor spaces to look inviting and intentional. A clean look signals that you care about your home and your guests’ experience. When cords are tucked away, the focus stays on the glow of the lights, not the mess behind them.
I once hosted a dinner party where I used cord clips to run lights along a pergola. A friend said, “I didn’t even notice the wires!” That’s the goal. The lights should feel like part of the architecture, not an afterthought.
Top Methods to Hide Outdoor String Light Cords
Use Cord Clips or Cable Raceways
One of the easiest and most effective ways to hide cords is with cord clips or cable raceways. These are small plastic or metal clips that attach to walls, fences, or posts and hold the cord in place. They come in various styles: adhesive-backed, screw-in, or even magnetic (for metal surfaces).
My favorite: Adhesive cord clips with a low-profile design. They’re nearly invisible once installed and work great on smooth surfaces like stucco, wood, or vinyl fencing. Just make sure the surface is clean and dry before applying.
Pro tip: Space clips every 12–18 inches to prevent sagging. If you’re running cords along a long stretch, use a level to keep them straight. A crooked cord line is almost as distracting as a loose one.
For a more permanent solution, consider raceway channels. These are plastic or aluminum tracks that snap open to hold cords inside. They’re ideal for patios, decks, or pergolas where you want a clean, flush finish. Paint them to match your wall or trim for a seamless look.
Run Cords Along Natural or Built-In Features
Instead of fighting your space, work with it. Look for existing structures where cords can blend in:
- Under eaves or soffits: Use clips or hooks to run cords just below the roofline. The shadow hides the wires, and the lights hang down like a curtain.
- Along railings or banisters: Wrap cords around posts or tuck them behind balusters. Use zip ties (out of sight) to secure them.
- Behind furniture: If you have a bench, planter, or storage box near your light line, run the cord behind it. The furniture acts as a natural cover.
- Through trees or shrubs: Use plant-safe hooks or clips to guide cords up a tree trunk and into the branches. Just avoid wrapping tightly — you don’t want to damage the bark.
I once hid a cord behind a row of tall planters on my deck. The lights looked like they were floating above the plants, and no one could tell the wires were there. It was a win-win.
Use Decorative Cord Covers or Sleeves
Want to hide cords and add style? Try decorative cord covers. These are flexible tubes made of braided fabric, rubber, or even bamboo. They slide over the cord and come in various colors and textures.
For example, a brown braided sleeve blends in with wooden fences or tree trunks. A black silicone sleeve works well on metal railings. And a white fabric cover can look like a decorative trim on a pergola.
Bonus: Some covers are UV-resistant and waterproof, so they last longer outdoors. Just check the product details before buying.
Watch out: Don’t cover cords that are still plugged into an outlet or power strip. Heat can build up, which is a fire hazard. Only use sleeves on the non-powered sections of the cord.
Go Wireless: Use Battery-Powered or Solar Lights
If hiding cords feels like too much hassle, skip them entirely. Battery-powered and solar-powered string lights don’t need a plug, so there’s no cord to hide.
Battery lights: Great for small areas like a balcony or gazebo. Just remember to replace or recharge batteries regularly. Some models have timers, so you don’t have to do it manually.
Solar lights: Ideal for gardens, pathways, or trees far from an outlet. They charge during the day and turn on automatically at dusk. Just make sure the solar panel gets at least 6 hours of direct sunlight.
I use solar string lights in my side yard. They’re strung between two trees, and the solar panel sits on a nearby bench. No cords, no outlets, no mess.
Bury or Conceal Cords in the Landscape
For a truly hidden look, bury the cord — or at least make it disappear into the ground. This works best for low-voltage lights (like LED strings) and when you’re setting up a permanent installation.
Option 1: Use landscape edging or mulch. Run the cord along the edge of a garden bed, then cover it with mulch, gravel, or decorative stones. The cord stays protected and out of sight.
Option 2: Install a shallow trench. Dig a 1–2 inch deep trench along your desired path, lay the cord inside, and cover it with soil or pavers. For extra protection, run the cord through a flexible conduit (like PVC pipe) before burying.
Option 3: Use outdoor-rated cord covers. These are flat, flexible trays that lie on the ground and hold the cord. They’re often made of rubber or recycled plastic and can handle foot traffic. Just make sure they’re rated for outdoor use and won’t crack in freezing temps.
Caution: Never bury a cord that’s still plugged in. Always disconnect power before working with cords. And check local electrical codes — some areas have rules about burying outdoor wiring.
Tools and Materials You’ll Need
Essential Supplies for a Clean Install
Before you start, gather these tools and materials. They’ll make the process faster, safer, and more effective:
- Cord clips or raceways: Choose adhesive, screw-in, or magnetic based on your surface.
- Zip ties (outdoor-rated): Use them to secure cords behind furniture or to posts. Cut the ends flush for a clean look.
- Weatherproof electrical tape: For sealing connections or reinforcing weak spots in the cord.
- Flexible conduit or cable sleeves: Protect buried or exposed cords from damage.
- Measuring tape and level: Keep your cord line straight and evenly spaced.
- Drill and screws (optional): For attaching raceways or heavy-duty clips.
- Outdoor-rated extension cord: If you need to reach an outlet, use a cord with a weatherproof cover at the connection point.
- GFCI outlet or power strip: Always use a ground fault circuit interrupter for outdoor electrical safety.
Recommended Brands and Products
Here are a few products I’ve personally tested and recommend:
- Command Outdoor Cord Clips (3M): Strong adhesive, easy to install, and remove without damage.
- Legrand Wiremold Outdoor Raceways: Durable, paintable, and perfect for patios or decks.
- Techflex Flexo Outdoor Braided Sleeving: UV-resistant, flexible, and comes in multiple colors.
- Sunlite Solar String Lights: 20-foot strand with a 5-foot lead wire (minimal cord to hide).
- Gardena Outdoor Cable Cover: Flexible, rubber-like tray for ground-level cords.
Note: Always check product ratings and reviews. Look for keywords like “weatherproof,” “UV-resistant,” and “outdoor-rated.”
Step-by-Step Guide: Installing String Lights with Hidden Cords
Step 1: Plan Your Layout
Before you start hanging lights, sketch out your design. Where do you want the lights to go? How will you hide the cord? Use painter’s tape or string to mark the path.
Ask yourself:
- Where is the nearest outdoor outlet?
- Can I run the cord along a wall, fence, or railing?
- Do I need extension cords? If so, where will they be?
- Are there trees, furniture, or plants I can use to hide the cord?
I once skipped this step and ended up with a cord that dangled over the grill. Not ideal.
Step 2: Install Hooks, Clips, or Raceways
Follow the manufacturer’s instructions. For adhesive clips, clean the surface first. For screw-in clips, use a drill with the right bit. For raceways, snap the base into place, then lay the cord inside and close the cover.
Tip: Start at the outlet and work outward. This keeps the cord taut and reduces slack.
Step 3: String the Lights and Secure the Cord
Hang the lights on the hooks or clips, then run the cord along your planned path. Use clips or zip ties every 12–18 inches. Avoid sharp bends or kinks — they can damage the cord.
If you’re using a raceway, lay the cord inside before closing it. For decorative sleeves, slide them over the cord before plugging in.
Step 4: Conceal the Power Source
The outlet and plug are often the hardest parts to hide. Try these tricks:
- Use a weatherproof outlet cover with a built-in cord slot.
- Place a planter, bench, or storage box in front of the outlet.
- Run the cord behind a nearby structure (like a shed or fence).
- Use a power strip with a cover if you’re using multiple lights.
Step 5: Test and Adjust
Turn on the lights and walk around your space. Look for:
- Cords that are too tight (can cause sagging or damage)
- Clips that are too loose (cord might fall)
- Areas where the cord is still visible
- Any tripping hazards
Make small adjustments until everything looks and feels right.
Common Mistakes to Avoid
Using Indoor Clips or Adhesives
Indoor cord clips often aren’t rated for UV exposure or moisture. They can yellow, crack, or lose their adhesive in a few weeks. Always choose outdoor-rated products.
Overloading Outlets or Extension Cords
Too many lights on one circuit can cause overheating or tripped breakers. Check the wattage of your lights and the rating of your outlet. As a rule, don’t exceed 80% of the circuit’s capacity.
Ignoring Weatherproofing
Outdoor electrical connections must be protected. Use weatherproof outlet covers and outdoor-rated extension cords. For added safety, plug into a GFCI outlet.
Rushing the Installation
Take your time. A rushed job leads to crooked lines, loose clips, and exposed cords. Measure twice, install once.
Forgetting About Maintenance
Check your lights and cords at least once a year. Look for frayed wires, loose clips, or signs of wear. Replace damaged parts immediately.
Data: Cord Hiding Methods Compared
| Method | Ease of Install | Cost | Durability | Best For |
|---|---|---|---|---|
| Cord Clips | Easy | $ (under $20) | 3–5 years | Walls, fences, railings |
| Raceways | Moderate | $$ ($20–$50) | 5+ years | Pergolas, decks, patios |
| Decorative Sleeves | Easy | $ (under $30) | 2–4 years | Short runs, decorative accents |
| Battery/Solar Lights | Very Easy | $$$ ($30–$100) | 3–5 years (battery), 5+ years (solar) | Remote areas, no outlet |
| Burying/Concealing | Hard | $$ (tools + materials) | 5+ years | Permanent installations, landscapes |
Note: Costs are approximate and based on average retail prices for standard kits.
Final Thoughts: Light Up Your Space, Not the Cords
Hiding outdoor string light cords isn’t just about looks — it’s about creating a safer, more enjoyable space. Whether you use clips, sleeves, raceways, or go completely cordless, the goal is the same: let the lights shine, not the wires.
Remember, there’s no one-size-fits-all solution. Your backyard, patio, or garden is unique. Try a few methods, see what works, and don’t be afraid to mix and match. Maybe you use clips on the fence, a sleeve along the railing, and solar lights in the trees. That’s okay! The best setup is the one that feels right for your space.
And if you make a mistake? No worries. Outdoor lighting is forgiving. You can always adjust, reposition, or try something new next season. The most important thing is to enjoy the glow — and keep your guests from tripping over a cord.
Now go string up those lights, hide those cords, and make your outdoor space the cozy, inviting retreat it’s meant to be. You’ve got this.
Frequently Asked Questions
How can I hide outdoor string light cords without drilling into my patio?
Use adhesive cord clips, zip ties, or decorative planters to secure cords along railings, fences, or furniture. These methods keep the cords tidy while preserving your outdoor space’s integrity. For a seamless look, match the clips to your decor.
What are the best ways to hide outdoor string light cords on a deck?
Route cords under deck railings, through hollow furniture, or along existing trim using clear clips. For a more permanent solution, tuck cords beneath outdoor rugs or use cord covers that blend with your deck’s color.
Can I bury outdoor string light cords underground for a clean look?
Yes, but only if the cords are rated for direct burial (check packaging). Use a shallow trench lined with mulch or gravel to protect the cords, and avoid sharp bends to prevent damage.
How do I hide outdoor string light cords on a balcony with no railing?
Attach cords to the ceiling or wall with adhesive hooks or tension rods. For a creative fix, weave them through potted plants or use decorative cable sleeves that match your balcony’s style.
Are there cord covers designed specifically for outdoor string lights?
Yes, flexible PVC cord covers or raceway channels are weather-resistant and easy to install. Choose a color that matches your walls or trim to keep the focus on the lights, not the cords.
How can I hide outdoor string light cords while keeping them easily removable?
Opt for temporary solutions like magnetic clips, removable adhesive hooks, or cord clips with reusable fasteners. These allow you to adjust or remove cords seasonally without leaving marks.

