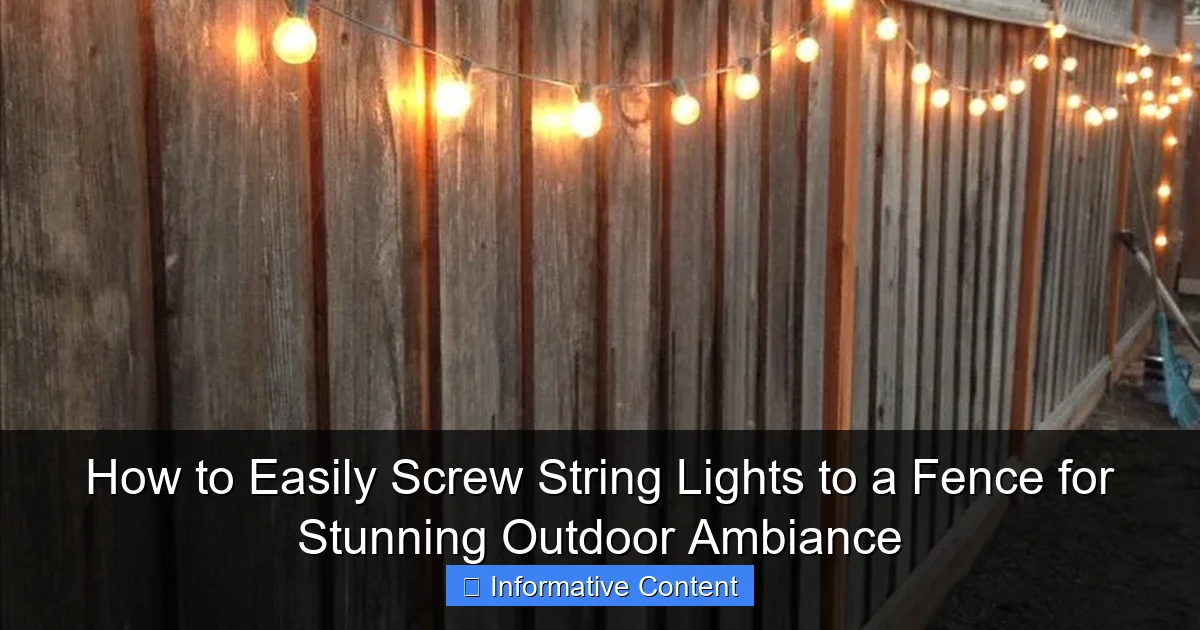
Featured image for screwing string lights to a fence
Image source: landscapelightingguru.com
Transform your outdoor space instantly by securely screwing string lights directly into your fence using simple tools like a drill, screws, and light clips for a clean, professional look. This easy DIY method ensures a stunning, weather-resistant glow that enhances ambiance without damaging your fence or requiring complex wiring.
Key Takeaways
- Plan spacing first: Measure and mark light positions evenly for a polished look.
- Use outdoor-rated screws: Choose rust-resistant hardware to ensure durability and safety.
- Secure with clips or hooks: Prevent sagging by attaching lights to sturdy fixtures.
- Check power source access: Place lights near outlets or use extension cords safely.
- Test before final install: Ensure lights work properly before securing them permanently.
- Angle lights downward: Maximize ambiance by directing glow toward seating areas.
📑 Table of Contents
- Why String Lights Are the Secret to a Magical Backyard
- Planning Your String Light Setup: Start with the Right Approach
- Tools and Materials: What You’ll Need to Screw String Lights to a Fence
- Step-by-Step Guide: How to Screw String Lights to a Fence
- Pro Tips for a Flawless Installation
- Common Mistakes (And How to Avoid Them)
- Data Table: Recommended Fasteners for Different Fence Types
- Final Thoughts: Light Up Your Life (Literally)
Why String Lights Are the Secret to a Magical Backyard
There’s something almost magical about the soft glow of string lights on a warm summer evening. Maybe it’s the way they turn a simple backyard into a cozy retreat, or how they make even a plain wooden fence feel like part of the celebration. I remember the first time I strung lights along my fence for a birthday dinner—my guests didn’t just notice them. They *felt* them. The mood shifted instantly: laughter grew louder, conversations lingered longer, and someone even said, “It’s like we’re at a vineyard in Tuscany.” (We were in my suburban backyard, but I’ll take it!)
But let’s be honest: the idea of screwing string lights to a fence can sound intimidating. You’re picturing tangled wires, crooked lines, and maybe even a ladder mishap. The truth? It’s one of the easiest, most impactful upgrades you can make to your outdoor space—if you know the right steps. Whether you’re hosting a party, creating a romantic nook, or just want to enjoy your yard after sunset, properly installed string lights add warmth, safety, and style. And the best part? You don’t need to be a DIY expert. With the right tools and a little planning, you can achieve that Pinterest-worthy glow in a few hours.
Planning Your String Light Setup: Start with the Right Approach
Measure Your Fence and Choose the Right Length
Before you buy a single light, grab a tape measure. Measure the total length of your fence where you plan to install the lights. This isn’t just about buying enough strands—it’s about avoiding the dreaded “I ran out of lights” moment halfway through.
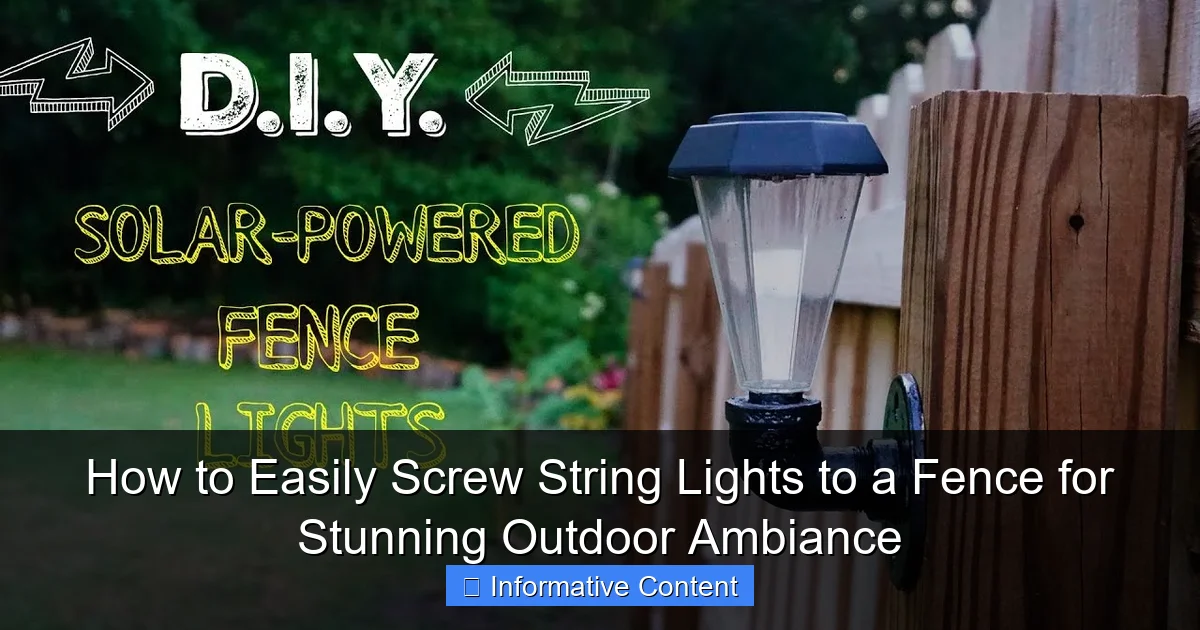
Visual guide about screwing string lights to a fence
Image source: i.ytimg.com
Here’s a pro tip: add 10–15% extra length to your total measurement. This accounts for:
- Spacing between bulbs (some strands have bulbs every 6 inches, others every 12)
- Extra wire needed for corners, gates, or slight curves
- Potential future adjustments
For example, if your fence is 30 feet long, plan for 33–35 feet of lighting. If your chosen lights are 25 feet per strand, you’ll need two strands with a small overlap or a connector.
Pick the Right Type of String Lights
Not all string lights are created equal. For fence installations, consider these factors:
- Weather resistance: Look for IP44 or higher ratings. These indicate protection against splashing water and dust—essential for outdoor use.
- Bulb type: LED bulbs are energy-efficient, long-lasting, and stay cool. Incandescent bulbs give a warmer glow but use more power and burn out faster.
- Plug-in vs. solar: Plug-in lights are brighter and more reliable. Solar lights are easier to install (no outlet needed) but may dim on cloudy days.
- Connectable strands: Some brands let you link multiple strands end-to-end. This is a game-changer for long fences.
I once tried solar lights on my fence during a rainy spring. After three days, half the bulbs had faded to a faint blue. Lesson learned: invest in plug-in LEDs with weatherproof connectors.
Map Out Your Power Source
Where will your lights plug in? This affects your entire layout. If the nearest outlet is 20 feet away, you’ll need a heavy-duty outdoor extension cord (rated for 15–20 amps). Avoid daisy-chaining multiple cords—it’s a fire hazard. Instead, use a single long cord or install a weatherproof outdoor outlet (hire an electrician if needed).
Pro tip: position your first strand near the outlet, then work outward. This minimizes cord clutter and ensures even brightness.
Tools and Materials: What You’ll Need to Screw String Lights to a Fence
Essential Tools
Here’s your go-to checklist for a smooth installation:
- Measuring tape: For precise spacing
- Pencil or chalk: To mark screw locations
- Drill and drill bits: A cordless drill with a 1/8-inch drill bit works well for pre-drilling pilot holes (prevents wood splitting)
- Screws or hooks: Use outdoor-rated screws (stainless steel or galvanized) or specialized light clips (more on these later)
- Screwdriver or drill bit adapter: For driving screws
- Level (optional but helpful): Keeps your lights straight
- Ladder: For tall fences—use a stable step ladder or extension ladder with a stabilizer
- Work gloves: Protects your hands from splinters and sharp wire ends
Choosing the Right Fasteners
The key to screwing string lights to a fence is picking fasteners that won’t damage your lights or fence. Here are the best options:
- Outdoor-rated screws with built-in hooks: These have a small loop at the end to thread the light cord. They’re sturdy and widely available at hardware stores.
- Adhesive light clips: Great for metal or vinyl fences where drilling isn’t an option. Use heavy-duty, outdoor-rated clips (rated for 10+ lbs).
- Cup hooks: Small, screw-in hooks with a rounded top. They work well for wooden fences and are easy to remove.
- Zip ties (temporary fix): Not ideal for long-term use, but handy for quick setups or renters.
When I installed lights on my cedar fence, I used stainless steel cup hooks. They blended in nicely and held the lights securely through wind and rain. For my neighbor’s metal fence, we opted for heavy-duty adhesive clips—no drilling, no rust.
Optional but Helpful Extras
- Timer or smart plug: Automatically turns lights on at dusk and off at bedtime
- Wire clips or cable raceways: Keeps cords tidy and safe from tripping
- Weatherproof electrical tape: Seals connections in humid climates
Step-by-Step Guide: How to Screw String Lights to a Fence
Step 1: Mark Your Screw Spacing
Decide how far apart your fasteners will be. For most string lights, 18–24 inches is ideal. Closer spacing (12 inches) works for heavier bulbs or windy areas; wider spacing (30+ inches) is fine for lightweight fairy lights.
Use your measuring tape and pencil to mark each screw location. Pro tip: start at the outlet end and work toward the far side. This keeps your cord from getting tangled. For corners, add an extra screw to guide the lights smoothly.
Step 2: Pre-Drill Pilot Holes
This step is crucial for wooden fences. Use your drill and 1/8-inch bit to create pilot holes at each mark. Why? It prevents the wood from splitting when you drive in the screws. If you skip this, you risk cracking the fence boards—especially in older or dry wood.
For metal or vinyl fences, skip drilling and use adhesive clips or magnetic hooks (if the fence is magnetic).
Step 3: Install the Fasteners
Now, screw in your chosen fasteners. If using cup hooks or screw hooks, twist them clockwise until snug. Don’t over-tighten—this can strip the wood or bend the hook. Leave the hook loop open and facing upward (so you can easily slide the cord in later).
For adhesive clips, clean the fence surface with rubbing alcohol first. Let it dry, then press each clip firmly for 30 seconds. Wait 24 hours before hanging lights (yes, really—this ensures the adhesive bonds properly).
Step 4: String the Lights
Start at the outlet end. Unroll your first light strand and plug it in to test. If it lights up, great! Now, gently thread the cord through each hook or clip. Don’t pull too tight—leave a slight slack to prevent strain on the cord. Think of it like hanging a picture: taut but not stretched.
For corners, bend the cord gently around the hook. Avoid sharp kinks, which can damage the wire. If your lights have a built-in plug, position it at the outlet end to hide it behind a planter or furniture.
Step 5: Connect Additional Strands
If using multiple strands, connect them end-to-end. Most plug-in lights have male/female connectors. Plug the first strand into the outlet, then connect the second strand to the first. Continue until you’ve covered the entire fence.
Warning: Don’t exceed the manufacturer’s recommended number of connected strands. For example, many LED strands can be connected up to 50 feet total. Overloading can cause overheating or flickering.
Step 6: Test and Adjust
Once all lights are hung, plug them in and check for:
- Even brightness (no dim or dark sections)
- Proper alignment (lights aren’t sagging or twisted)
- Secure fasteners (no loose hooks)
If a strand isn’t lighting, unplug it and check the connections. A loose plug or damaged wire is usually the culprit. Adjust any sagging sections by tightening the cord or adding an extra hook.
Pro Tips for a Flawless Installation
Create a Balanced, Professional Look
Even spacing is key, but don’t obsess over perfection. A slightly uneven line often looks more natural and charming. That said, use your level for straight sections—especially if your fence is visible from the street or a window.
For a “layered” effect, install two rows of lights: one near the top of the fence and another 12–18 inches below. This creates depth and makes the space feel larger. Just ensure you have enough outlets and strands.
Handle Corners and Gates Gracefully
Corners are the trickiest part. Instead of forcing a sharp 90-degree turn, use a corner hook to guide the cord smoothly. You can also:
- Wrap lights around the corner: Add an extra hook to create a gentle arc
- Use a gate kit: Specialized connectors let lights “jump” across a gate without dangling wires
- Skip the gate: Install lights on either side of the gate, leaving the gate itself unlit
For my backyard, I used a corner hook and wrapped the lights around the post. It looked seamless and survived a 30 mph windstorm (true story).
Weatherproof Your Connections
Outdoor electrical connections are vulnerable to moisture. To protect them:
- Use weatherproof extension cords with rubber or silicone covers
- Wrap plugs and connectors with electrical tape or heat-shrink tubing
- Elevate cords off the ground with cord clips or hooks
I once left a plug on the grass during a rainstorm. The next day, the lights flickered erratically. After drying the plug and taping it, they worked perfectly—but it taught me to always keep connections elevated.
Maintain Your Lights Year-Round
To extend the life of your setup:
- Check fasteners annually: Tighten loose screws or replace worn adhesive clips
- Clean bulbs and cords: Wipe with a damp cloth to remove dirt and cobwebs
- Store lights properly in winter: Coil them loosely and keep in a dry, cool place
Common Mistakes (And How to Avoid Them)
Using Indoor Lights Outdoors
It’s tempting to repurpose indoor string lights, but it’s a safety hazard. Indoor lights aren’t rated for moisture, UV exposure, or temperature swings. The result? Flickering, short circuits, or even fire risk. Always choose outdoor-rated lights with weatherproof bulbs and cords.
Overloading Circuits
Plugging too many lights into one outlet can trip your breaker or cause overheating. As a rule of thumb:
- LED strands: up to 250 feet on a 15-amp circuit
- Incandescent strands: up to 200 feet (they draw more power)
If you’re unsure, use a circuit tester or consult an electrician.
Ignoring Local Codes
Some neighborhoods have rules about outdoor lighting (e.g., brightness, hours of operation). Check your HOA guidelines or local ordinances. For example, some areas require lights to be turned off by 11 PM.
Skipping a Timer
Leaving lights on all night wastes energy and can disturb neighbors. A simple outdoor timer (set to turn on at dusk and off at 10 PM) solves this. Smart plugs are even better—control lights from your phone or set schedules.
Here’s a real-world example: My neighbor left his lights on until 2 AM every night. After a polite chat, he installed a timer. Now his backyard is just as magical—but without the glare in my bedroom window.
Data Table: Recommended Fasteners for Different Fence Types
| Fence Material | Best Fastener | Spacing | Durability | Notes |
|---|---|---|---|---|
| Wood | Stainless steel cup hooks | 18–24 inches | 5+ years | Pre-drill pilot holes to prevent splitting |
| Metal | Heavy-duty adhesive clips | 20–30 inches | 3–5 years | Clean surface with alcohol before applying |
| Vinyl/PVC | Adhesive clips or magnetic hooks | 24–36 inches | 2–4 years | Avoid screws—they can crack vinyl |
| Chain Link | Zip ties or S-hooks | 12–18 inches | 1–2 years | Replace zip ties annually to prevent UV damage |
| Stone/Concrete | Concrete screws with hooks | 24–30 inches | 5+ years | Use a masonry drill bit and wear eye protection |
Final Thoughts: Light Up Your Life (Literally)
Transforming your fence with string lights isn’t just about aesthetics—it’s about creating a space that invites connection, relaxation, and joy. Whether you’re hosting a barbecue, enjoying a quiet night with a book, or celebrating a holiday, the right lighting changes everything. And the process of screwing string lights to a fence? It’s simpler than you think. With a little planning, the right tools, and these practical tips, you’ll avoid common pitfalls and achieve a result you’re proud of.
Remember: the best installations are those that feel effortless. Don’t strive for perfection—aim for charm. A slightly crooked line, a few extra hooks, or a strand that dips in the middle? That’s not a flaw. It’s character. And it’s yours.
So grab your drill, pick out some warm white LEDs, and start stringing. In a few hours, you’ll have a backyard that doesn’t just look good—it *feels* good. And isn’t that what outdoor living is all about?
Frequently Asked Questions
How do you screw string lights to a fence without damaging it?
Use small outdoor-rated screws or hooks with soft rubber padding to secure the lights while protecting the fence surface. Avoid over-tightening and opt for removable clips or hooks if you plan to take them down seasonally.
What type of screws work best for string lights on a wooden fence?
Stainless steel or galvanized screws are ideal for wooden fences because they resist rust and corrosion. Choose ½-inch to 1-inch screws with a flat head to grip the light strands or mounting clips securely.
Can I screw string lights into a vinyl or metal fence?
Yes, but use self-tapping screws for metal fences or specialized vinyl-safe clips to avoid cracking. For vinyl, adhesive hooks or zip ties are gentler alternatives to screwing string lights directly.
How far apart should screws be when hanging string lights on a fence?
Space screws every 12–18 inches to prevent sagging, especially for heavier LED or incandescent bulbs. For longer runs, measure and mark the spacing first to ensure even placement.
Do I need a drill to screw string lights into a fence?
A drill speeds up the process, but a screwdriver works for small installations. Pre-drill pilot holes in hard wood or metal to avoid splitting or stripping the material.
How do I hide the screws when screwing string lights to a fence?
Use matching paint or screw caps to blend the hardware with your fence color. Alternatively, position the lights so the strands or bulbs cover the screw heads naturally.

