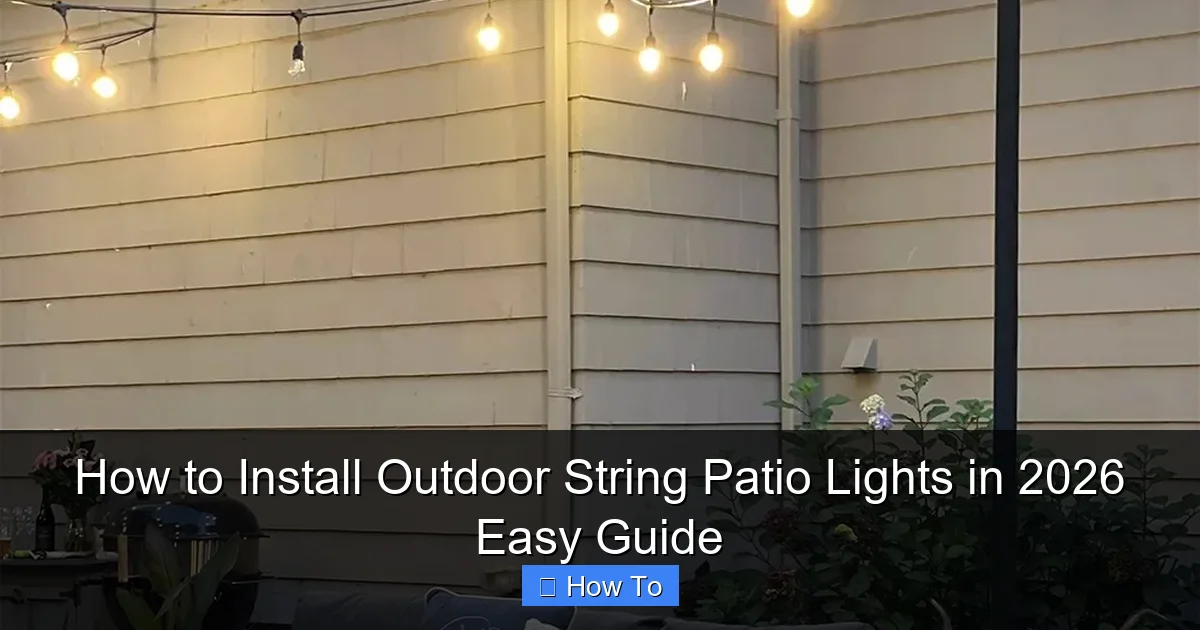
Featured image for how to install outdoor string patio lights
Image source: i0.wp.com
Installing outdoor string patio lights in 2026 is easier than ever with smart, weather-resistant designs and simple plug-and-play systems. Just plan your layout, secure mounting points, and connect to a weatherproof power source—no electrician needed. Follow this guide for a safe, stunning glow that transforms your outdoor space in under an hour.
“`html
How to Install Outdoor String Patio Lights in 2026: Easy Guide
Key Takeaways
- Plan your layout first: Measure space and mark anchor points before installation.
- Use weatherproof fixtures: Ensure lights and connections are rated for outdoor use.
- Secure with proper hardware: Use hooks, screws, or zip ties designed for outdoor durability.
- Test lights before mounting: Verify functionality to avoid rework after installation.
- Space bulbs evenly: Maintain consistent spacing for a professional, balanced look.
- Hide cords safely: Tuck wires under eaves or use raceways for a clean finish.
Why This Matters / Understanding the Problem
Remember that one summer night when you hosted a backyard BBQ and realized halfway through—your patio was dark? Not just dim, but pitch black, like someone forgot to pay the moon bill. You fumbled with flashlights, guests spilled drinks, and the mood flatlined. We’ve all been there. That’s why learning how to install outdoor string patio lights in 2026 easy guide isn’t just about aesthetics—it’s about ambiance, safety, and sanity.
Outdoor string lights aren’t just for holidays anymore. In 2026, they’re a year-round staple. Whether you’re sipping wine under the stars or hosting a birthday bash, the right lighting transforms your space. But here’s the catch: poor planning or installation can turn your dream patio into a tangled mess or a safety hazard. That’s where this guide comes in. I’ll walk you through every step—from picking the right lights to avoiding rookie mistakes—so you can nail this on your first try.
Pro tip: Think of outdoor lighting like seasoning. Too little, and your patio feels flat. Too much, and it’s overwhelming. The goal? Perfect balance.
What You Need
Before you start, gather these tools and materials. Don’t worry—most are DIY basics you might already own.
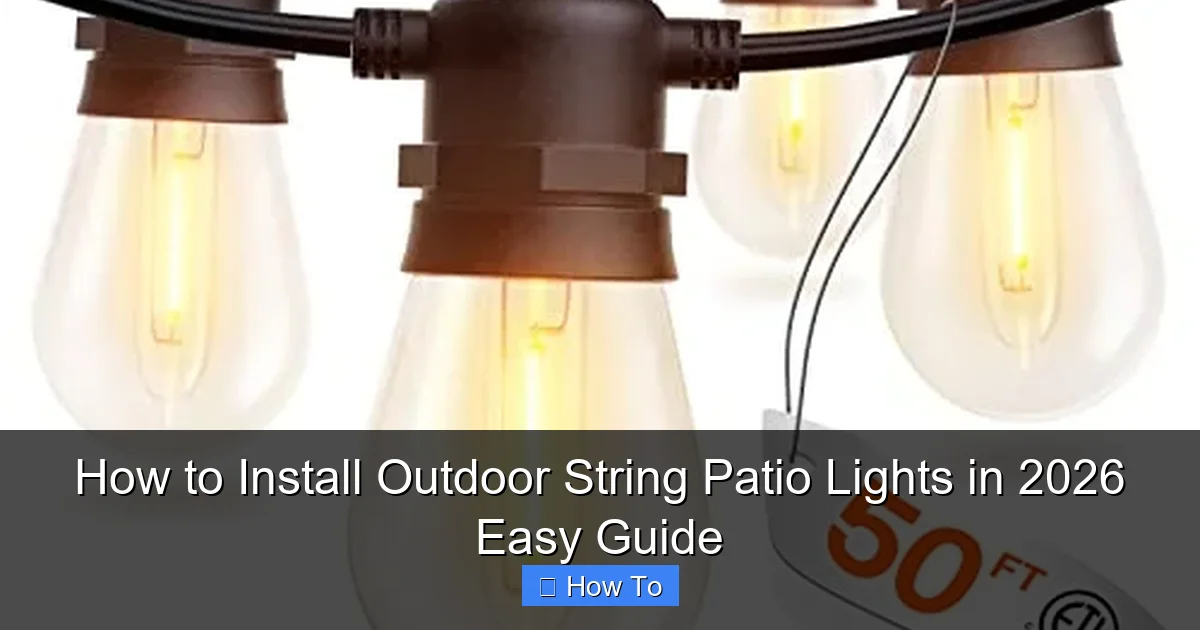
Visual guide about how to install outdoor string patio lights
Image source: m.media-amazon.com
- String lights: Choose weatherproof (IP65 or higher) and LED for energy efficiency. For 2026, I recommend smart LED string lights with app control (more on this later).
- Measuring tape: To map your space and avoid overbuying.
- Drill & screws: For mounting hardware (if using posts or walls).
- Eye hooks, screw-in hooks, or adhesive clips: For attaching lights. Pro tip: Use marine-grade stainless steel for durability.
- Extension cords: Outdoor-rated, GFCI-protected. Match the gauge (thickness) to your light wattage.
- Timer or smart plug: For automatic on/off (a game-changer for energy savings).
- Zip ties or cable clips: For managing excess cord.
- Ladder: If working above ground level.
- Voltage tester: To ensure outlets are safe before plugging in.
Bonus: For a seamless look, consider light tracks or permanent conduit channels (common in 2026 patio designs).
Step-by-Step Guide to How to Install Outdoor String Patio Lights in 2026 Easy Guide
Step 1: Plan Your Layout (The “Before You Buy” Step)
Don’t just start stringing lights randomly. How to install outdoor string patio lights in 2026 easy guide starts with planning. Grab your measuring tape and sketch your patio’s layout. Note:
- Anchor points: Trees, posts, eaves, pergolas, or walls.
- Distance between points: Most string lights span 20–30 feet per strand. Overlapping is better than gaps.
- Power source location: You’ll need an outdoor GFCI outlet within 6 feet of your first light strand.
Example: My patio is 12×15 feet with a pergola. I planned two parallel runs from the pergola’s front posts to the back, with a third strand zigzagging across for depth.
Warning: Measure twice, buy once. I once miscalculated and ended up with a strand that was 5 feet too short. Lesson learned: always add 10% extra length.
Step 2: Choose the Right Lights (2026 Edition)
Not all string lights are created equal. In 2026, smart and eco-friendly are king. Here’s what to consider:
- Bulb type:
- LED: Energy-efficient, long-lasting, and cool to the touch. Avoid incandescent (they burn out fast).
- Smart bulbs: App-controlled, dimmable, color-changing (great for parties). Brands like Philips Hue or Govee are reliable.
- Weatherproofing: Look for IP65 rating (dust-tight, water-resistant). Check the plug and socket seals.
- Bulb spacing: 12-inch spacing is ideal for ambient light. Closer spacing (6 inches) for task areas.
- Plug type: Male/female connectors let you link strands end-to-end. Ensure they’re waterproof.
My pick: I used Govee’s 40-foot smart string lights with 200 LEDs. They’re dimmable, app-controlled, and survived a 2025 monsoon.
Step 3: Install Anchor Points (The “No Sag” Trick)
Weak anchor points = sagging lights. Not cute. Here’s how to fix it:
- For walls/posts: Drill pilot holes, then screw in eye hooks or j-hooks. Space them 12–18 inches apart for even support.
- For trees: Use tree-friendly straps (not nails!). Wrap the strap around the trunk, then attach a hook. Pro tip: Avoid branches—they move in wind, stressing the lights.
- For eaves/pergolas: Use adhesive clips (for wood) or screw-in hooks (for metal). Ensure they’re rated for outdoor use.
Warning: Don’t use nails or staples—they damage lights and create fire hazards. I once used a staple gun and nicked the wire. Sparks. Not fun.
Step 4: Hang the Lights (The “Tension Test”)
Now, the fun part! But hang with care:
- Start at the power source: Plug in the first strand, then unroll it toward the next anchor point.
- Use clips or hooks: Attach every 12–18 inches. Don’t pull too tight—leave a slight sag (1–2 inches) to absorb wind stress.
- Link strands: If using multiple, connect male/female ends. Seal connections with electrical tape for weatherproofing.
- Test as you go: Turn on the lights after each strand. Fix issues early.
Example: I hung my first strand from the pergola’s front-left post to the back-right post, then added a second parallel run. The zigzag strand connected the pergola’s center to a tree.
Step 5: Manage Cords & Power (The “Clean Look”)
Messy cords = messy vibes. Here’s how to hide them:
- Use zip ties or cable clips: Bundle excess cord and attach to anchors.
- Route along edges: Tuck cords under eaves or along fence lines.
- Use a smart plug: Plug your lights into a weatherproof smart plug (e.g., Kasa or TP-Link). Schedule on/off times via app.
- Add a timer: For non-smart lights, use an outdoor timer to automate.
Pro tip: In 2026, invisible cord channels (like Lutron’s) are trending. They’re pricey but worth it for a seamless look.
Step 6: Test & Adjust (The “Final Check”)
Don’t skip this! Turn on all lights and inspect:
- Brightness: Is it even? Adjust dimmer settings or bulb spacing.
- Connections: Are plugs secure? No loose wires?
- Weatherproofing: Check seals, tape, and cord routing.
- Smart features: Test app controls, color changes, and schedules.
My fix: One strand flickered. I found a loose connection and tightened it with electrical tape. Crisis averted.
Pro Tips & Common Mistakes to Avoid
After installing lights for 10+ years, here’s my hard-won wisdom:
Pro Tip 1: Use a light meter app (like Lux Light Meter) to check brightness. Aim for 50–100 lux for ambiance, 200+ lux for task areas.
Pro Tip 2: Install in dry weather. Wet conditions risk electric shock and damage to tools.
Pro Tip 3: Leave slack in cords. Temperature changes cause expansion/contraction. A tight cord snaps.
Common Mistake 1: Ignoring wattage limits. Most extension cords handle 150–200 watts. Exceed this, and you risk overheating. My fix: I use two cords—one for each side of the patio.
Common Mistake 2: Skipping GFCI protection. Outdoor outlets must be GFCI (Ground Fault Circuit Interrupter) to prevent shocks. Test it monthly.
Common Mistake 3: Overcrowding bulbs. Too many lights in one area = glare. Space them evenly for a “twinkling” effect.
FAQs About How to Install Outdoor String Patio Lights in 2026 Easy Guide
Q: Can I install string lights on a rental patio?
Yes! Use adhesive clips (like 3M Command) or removable hooks. Avoid drilling. For power, use a long outdoor-rated extension cord from a window or door. Pro tip: Check your lease first—some landlords ban outdoor electrical work.
Q: How do I prevent lights from sagging?
Use more anchor points (every 12–18 inches) and slightly slacken the cord. For heavy bulbs, add a center support (e.g., a small hook under the middle of the run). My fix: I added a third anchor point to my zigzag strand—no sag after a windstorm.
Q: Are smart string lights worth the extra cost?
Absolutely. In 2026, smart lights save energy (dimming reduces usage by 50%) and offer convenience (app control, voice commands, schedules). Example: I set my lights to turn on at sunset and off at 10 PM. No more forgetting to unplug!
Q: How do I clean and maintain my lights?
Wipe bulbs with a dry microfiber cloth every 3 months. For dirt, use a damp cloth (unplug first!). Store lights in a cool, dry place during winter. Pro tip: Wrap bulbs in tissue paper to prevent breakage.
Q: Can I connect multiple strands to one outlet?
Yes, but check wattage. Most outlets handle 1,875 watts (15A x 125V). Divide by bulb wattage (e.g., 5W bulbs = 375 bulbs max). Use a wattage calculator (like this one from Energy.gov) to be safe.
Q: What if my patio has no anchor points?
Get creative! Use freestanding posts (e.g., Shepherd’s hooks), light tracks (mounted to the ground), or floating canopies (tensioned between trees). In 2026, modular light poles are trending for renters.
Q: How do I handle windy areas?
Use wind-resistant lights (e.g., G40 bulbs with rubber seals) and secure anchor points (e.g., ground stakes for posts). Pro tip: Install lights parallel to the wind direction, not perpendicular.
Final Thoughts
Learning how to install outdoor string patio lights in 2026 easy guide is one of the best upgrades you can make to your outdoor space. It’s not just about light—it’s about creating moments. Whether you’re hosting friends or enjoying quiet nights, the right lighting sets the mood.
Here’s your action plan:
1. Plan your layout (measure, measure, measure!).
2. Buy weatherproof, energy-efficient lights (smart is best for 2026).
3. Install anchor points and hang with tension control.
4. Hide cords and automate with a timer/smart plug.
5. Test and adjust for perfect ambiance.
And remember: mistakes happen. I’ve tangled cords, blown fuses, and even shocked myself once (lesson: always unplug!). But each error taught me something. Now, my patio is the envy of the neighborhood—all because I followed a simple, step-by-step process.
So grab your tools, invite a friend, and get started. Your dream patio is just a few strings away.
“`

