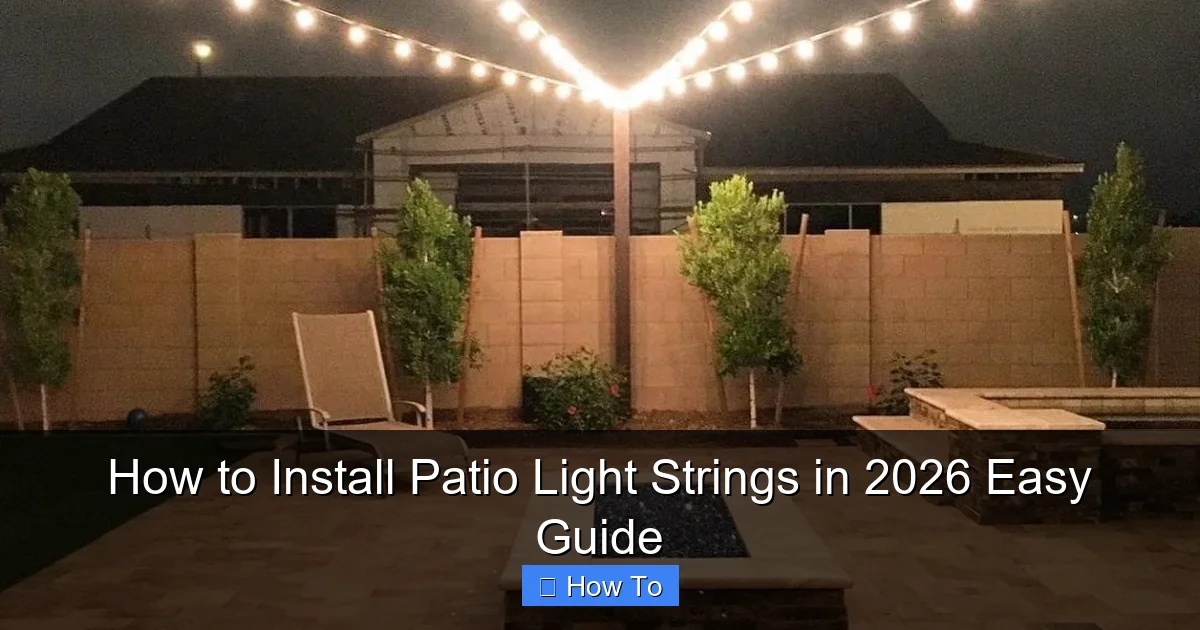
Featured image for how to install patio light strings
Image source: hellobombshell.com
Transform your outdoor space in minutes by installing patio light strings with simple tools and smart planning—just measure your layout, secure durable mounting hardware, and connect weather-resistant LED strands for a safe, stunning glow. Always prioritize safety and spacing to avoid overloaded circuits and ensure even, inviting illumination all season long.
“`html
How to Install Patio Light Strings in 2026 Easy Guide
Key Takeaways
- Plan your layout: Measure the area and sketch a design before buying lights.
- Choose weatherproof lights: Ensure durability with UL-listed or IP65-rated string lights.
- Secure mounting hardware: Use hooks, clips, or cables rated for outdoor use.
- Test lights first: Check for defects before hanging to avoid reinstallation hassles.
- Space evenly: Maintain consistent distance between bulbs for a professional look.
- Use timers: Automate lighting schedules to save energy and enhance convenience.
Why This Matters / Understanding the Problem
Let’s be honest: there’s nothing quite like sitting outside on a warm summer evening, sipping a drink, and watching the stars with soft, warm lights glowing above. But if you’ve ever tried to set up patio light strings and ended up with tangled cords, sagging wires, or lights that won’t turn on, you know it can be frustrating.
You’re not alone. Many of us want that cozy, Instagram-worthy outdoor space, but the how to install patio light strings in 2026 easy guide part? That’s where things get messy. Whether it’s your first time or you’re upgrading from last year’s setup, the key is doing it right—so it looks great, lasts long, and doesn’t become a fire hazard or tripping nightmare.
Over the years, I’ve installed lights on pergolas, between trees, across patios, and even along fences. Some went smoothly. Others? Let’s just say I’ve learned from my mistakes (like using zip ties on wet wood—yikes). The good news? With the right plan and a few pro tips, you can skip the headaches and get it done in a weekend—or less.
This guide walks you through everything: from choosing the right lights to securing them safely, avoiding common pitfalls, and making your outdoor space shine—literally. Whether you’re hosting a BBQ, enjoying quiet nights, or just want to boost your curb appeal, this how to install patio light strings in 2026 easy guide has you covered.
What You Need
Before we dive in, let’s make sure you’ve got all the tools and materials. Don’t worry—most of this is stuff you might already own. Here’s your checklist:
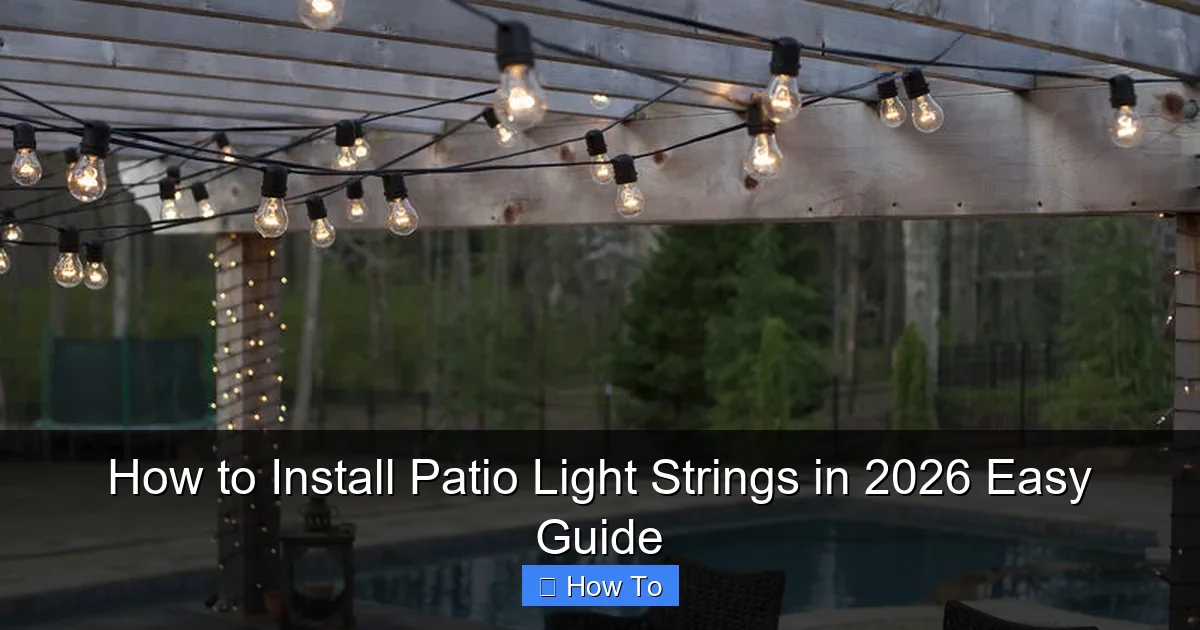
Visual guide about how to install patio light strings
Image source: img.yardenvy.com
- Patio light strings (LED recommended): Look for weatherproof (IP44 or higher), shatterproof bulbs, and energy-efficient LEDs. I prefer warm white for ambiance, but RGB options are fun for parties.
- Measuring tape: You’ll need this to map your layout. Trust me—eyeballing leads to uneven lines.
- Stakes, hooks, or clips: Depending on your setup—wood, metal, concrete, or trees—you’ll need:
- For wood or pergolas: Screw-in eye hooks or S-hooks
- For concrete/brick: Masonry anchors and screws
- For trees: Tree-friendly light clips or adjustable zip ties (non-metal)
- For metal railings or fences: Magnetic hooks or adhesive clips (if removable)
- Extension cords and outdoor-rated outlets: Use outdoor-rated cords with GFCI protection. Never daisy-chain more than three strings unless rated for it.
- Drill and bits (if needed): For screwing in hooks or anchors.
- Level (optional but helpful): Keeps your lines straight, especially over long distances.
- Timer or smart plug (recommended): Saves energy and lets you automate on/off times.
- Scissors or wire cutters: For trimming zip ties or adjusting cords.
- Step ladder or ladder stand: Safety first—don’t stand on a wobbly chair!
Pro insight: Buy 10–15% more lights than you think you’ll need. It’s better to have a little extra than to run short mid-install.
Step-by-Step Guide to How to Install Patio Light Strings in 2026 Easy Guide
Step 1: Plan Your Layout and Choose the Right Lights
Before touching a single bulb, sketch out your space. Where do you want the lights? Over the dining table? Along the fence? Between trees? Think about sightlines, power sources, and how the lights will frame your area.
Measure the distance between anchor points (e.g., from one tree to another, or pergola post to post). Add 6–12 inches of slack per connection—this prevents tension and sagging. For example, if your span is 20 feet, get a string that’s at least 21 feet long.
Now, pick your lights. In 2026, LED string lights dominate—they’re brighter, last longer (25,000+ hours), and use 80% less energy than incandescents. Look for:
- Weather resistance: IP44 or higher (splash-proof)
- Bulb type: Globe, Edison, or mini—choose based on style and coverage
- Connectivity: Some strings plug into each other (end-to-end), others need a central hub. Check the max number of connectable strings—usually 3–5.
- Smart features (optional): Wi-Fi or app-controlled lights are great for automation, but not essential.
Warning: Never use indoor-only lights outside. They’re not built for UV exposure or moisture—and could short out or become a hazard.
Step 2: Prepare the Mounting Points
This is where most people cut corners—and pay for it later. Secure mounting points mean no drooping, no falling, and no damage to your property.
For wood (pergolas, decks, fences):
- Use screw-in eye hooks or S-hooks. Pre-drill small holes to avoid splitting the wood.
- Space hooks 2–3 feet apart. Closer spacing = less sag.
- Use a level to keep lines straight. A crooked string looks sloppy fast.
For concrete or brick (walls, pillars):
- Use masonry anchors and screws. A drill with a masonry bit is essential.
- Wipe the surface clean before drilling. Dust can weaken the hold.
- Use plastic anchors for lighter loads (under 5 lbs).
For trees:
- Never hammer nails or screws into trees—it damages them and can attract pests.
- Use tree-friendly light clips or non-metallic zip ties that expand as the tree grows.
- Wrap the tie loosely—don’t cinch it tight. Trees grow, and you don’t want to girdle them.
For metal (railings, gutters):
- Use magnetic hooks (if the metal is ferromagnetic) or adhesive clips rated for outdoor use.
- Check the weight rating—some magnets can’t hold heavier strings.
Pro tip: Test your hooks by hanging a small weight (like a water bottle) before attaching lights. If it stays put, you’re good.
Step 3: Test the Lights Before Hanging
Yes, really. Plug in the strings before you start installing. This saves you from climbing up and down a ladder only to find a dead bulb or broken wire.
Check:
- All bulbs light up
- No flickering or buzzing
- Connectors are snug (if using end-to-end strings)
- No exposed wires
If something’s off, fix it now. Replace dead bulbs, repair frayed cords, or swap out the string entirely. A little time now saves a lot later.
Personal story: I once installed 30 feet of lights before realizing a bulb was loose. Had to take the whole thing down. Learn from me.
Step 4: Hang the Lights—Start at the Power Source
Always work from the power source outward. This prevents tangled cords and makes troubleshooting easier.
- Plug the first string into an outdoor outlet or extension cord.
- Hang the first bulb or socket near the outlet. Use a hook or clip to secure it.
- Unroll the string slowly, moving toward the next anchor point. Don’t pull tight—keep a slight sag (like a catenary curve) to allow for expansion and contraction.
- Secure each bulb or socket to a hook as you go. For strings with bulbs every 6–12 inches, use a clip or loop every 12–18 inches.
- If connecting multiple strings, plug them in as you go—before hanging the next section.
For long spans (20+ feet):
- Add a center support (like a hook or pole) to prevent sagging.
- Use a tension wire (like a thin steel cable) behind the lights for extra support. Attach the lights to the wire with small clips.
Warning: Don’t over-tighten. Lights expand in heat and contract in cold. Too tight = broken sockets or snapped wires.
Step 5: Manage Cords and Power Sources
Messy cords are a tripping hazard and an eyesore. Keep them tidy:
- Use cord clips or raceways to run cords along walls, railings, or under decks.
- Elevate cords off the ground with hooks or stakes. Never run cords across walkways.
- If using an extension cord, place it where it won’t get stepped on. Use a cord cover if it crosses a path.
- Plug into a weatherproof outlet cover if the outlet is exposed to rain.
For multiple power sources:
- Use GFCI-protected outlets (they cut power if they detect a fault).
- Label cords so you know which switch controls what.
Pro tip: Use a smart plug or timer to automate lights. Set them to turn on at sunset and off at midnight—no fumbling with switches.
Step 6: Final Check and Adjust
Step back and look at your work. Does it look even? Are bulbs pointing the right way (usually down or sideways for ambient light)? Is there any sagging?
Adjust as needed:
- Add more clips if a section sags.
- Reposition bulbs for even coverage (avoid “hot spots”).
- Trim excess zip ties with scissors—don’t leave sharp ends.
- Check that all connections are secure and weatherproof.
Turn the lights on at night. Walk around the space. Does it feel cozy? Inviting? If not, tweak the spacing or add a second row.
Step 7: Maintain for Longevity
Good news: LED strings last years. But a little care goes a long way:
- Seasonal check: Before each use, inspect for frayed wires, broken bulbs, or loose connections.
- Clean gently: Wipe bulbs with a dry cloth. Avoid water or chemicals.
- Store properly: If removing for winter, coil lights loosely (don’t wrap tightly) and store in a dry place. Use a labeled bin to avoid tangles.
- Replace bulbs: Most LED strings have replaceable bulbs. Keep a few spares on hand.
Pro Tips & Common Mistakes to Avoid
After years of installing patio lights, here’s what I’ve learned—the hard way and the easy way:
- Use the right clips for the surface: Adhesive clips work great on metal or smooth surfaces, but fail on rough wood or concrete. Match the clip to the material.
- Don’t overload circuits: Most outdoor outlets can handle 1,500–1,800 watts. A single string uses ~10–50 watts. Check your circuit’s rating and add up your load.
- Mind the weather: Even “weatherproof” lights need protection. Avoid direct rain on plug connections. Use outdoor-rated extension cords.
- Think about light pollution: Point bulbs downward or sideways to avoid blinding guests. Shield bright lights with plants or pergola beams.
- Plan for growth: Trees and plants grow. Leave room for them to expand—don’t tie lights too tight.
- Use a ladder stabilizer: If working on a roof or uneven ground, a stabilizer prevents tipping. Safety > speed.
- Label your strings: If you have multiple sets, label them (e.g., “Tree 1,” “Fence 2”) so you know what’s what.
Common mistake: Hanging lights too high. If they’re above 8 feet, they lose ambiance. Aim for 6–7 feet for intimate lighting.
Pro insight: For a layered look, mix light types. Try string lights overhead + pathway lights + lanterns on tables. It adds depth and function.
FAQs About How to Install Patio Light Strings in 2026 Easy Guide
Q: Can I leave patio lights up year-round?
A: It depends. If your lights are rated for outdoor use and installed properly (with weatherproof connections), you can. But I recommend checking them monthly. Snow, ice, and UV can wear them down. For harsh climates, remove them in winter to extend lifespan.
Q: How do I hide the cords?
A: Use cord clips to run them along railings or under decks. For ground cords, use a cord cover or bury them shallowly (with conduit if in a yard). Or, get creative—run cords behind planters or furniture.
Q: What if my patio has no nearby outlet?
A: Use a long extension cord (outdoor-rated, 14-gauge or thicker) or install an outdoor outlet (hire an electrician for this). Solar-powered string lights are another option—but they’re dimmer and need direct sun.
Q: Can I connect more than 3 light strings?
A: Check the manufacturer’s rating. Some LED strings allow 5–10 connected sets. Others max out at 3. Overloading can overheat the wires or trip the breaker. When in doubt, use a power strip with surge protection.
Q: How do I prevent sagging in long spans?
A: Use a tension wire (like a steel cable) behind the lights. Attach the lights to the wire with clips. Or, add a center support (a hook or pole). Never rely on the light string alone for long distances.
Q: Are solar patio lights worth it?
A: They’re great for remote areas with no outlets. But they’re less bright, need direct sun, and batteries degrade over time. I use them for accent lighting, not main sources.
Q: How high should I hang the lights?
A: For ambiance, hang them 6–7 feet high. This keeps the light at eye level and creates a cozy glow. For safety, keep them at least 7 feet above walking paths to avoid bumps.
Final Thoughts
Installing patio light strings isn’t just about hanging wires—it’s about crafting an experience. A space where you can relax, entertain, and feel at home under the stars. With this how to install patio light strings in 2026 easy guide, you’ve got the tools, tips, and know-how to do it right.
Remember: plan first, test early, secure properly, and maintain regularly. Skip the shortcuts. A little extra time upfront means years of enjoyment.
And don’t stress if it’s not perfect the first time. Even the pros have off nights. The goal isn’t perfection—it’s creating a space you love. So grab your tools, pour a drink, and start stringing. Your dream patio is just a few lights away.
Happy lighting!
“`

