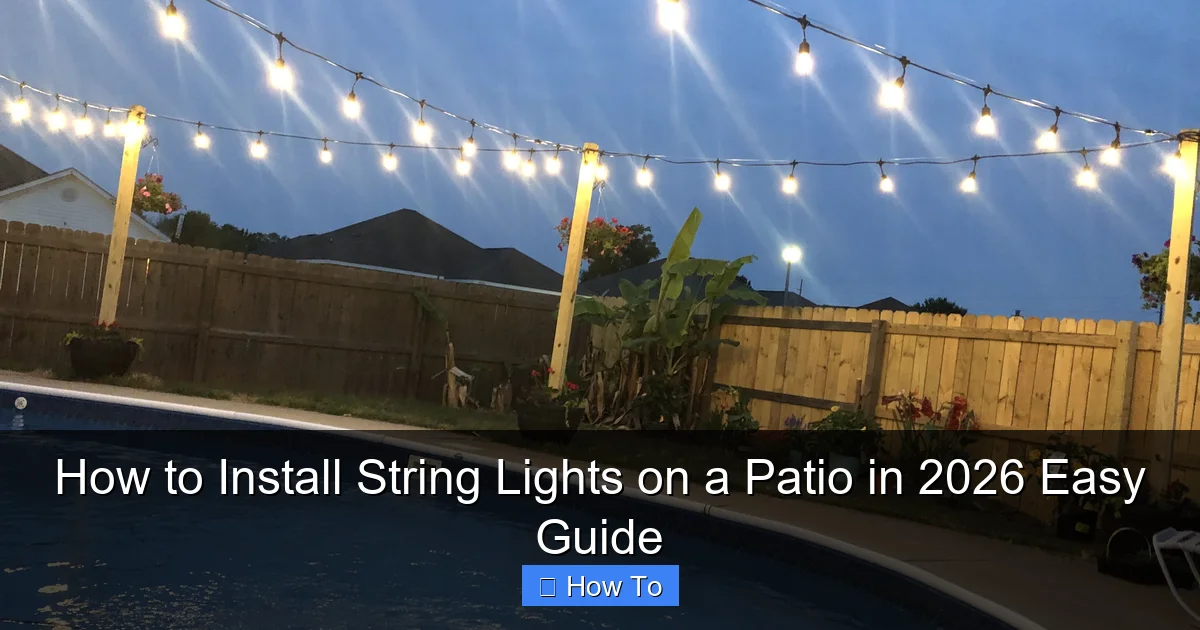
Featured image for how to install string lights on a patio
Image source: i.pinimg.com
Transform your patio into a cozy, inviting retreat by installing string lights in just a few simple steps—no electrician required. Whether you’re mounting them on walls, pergolas, or freestanding poles, this 2026 guide walks you through secure hardware placement, weatherproofing essentials, and smart plug-in options for effortless ambiance. With the right tools and a little creativity, you’ll have a stunning, illuminated outdoor space in under an hour.
“`html
How to Install String Lights on a Patio in 2026 Easy Guide
Key Takeaways
- Plan your layout: Sketch the patio area to determine light placement and power source access.
- Choose durable lights: Opt for weather-resistant, commercial-grade string lights for long-term use.
- Secure mounting hardware: Use hooks, clips, or tension cables for a safe, sag-free installation.
- Test before finalizing: Check light functionality and spacing before securing all connections.
- Hide cords safely: Use raceways or cord covers to keep wires tidy and hazard-free.
- Use a timer: Automate lights with a timer for effortless, energy-efficient operation.
Why This Matters / Understanding the Problem
There’s something magical about string lights. They turn a plain backyard into a cozy retreat, perfect for summer BBQs, romantic dinners, or just unwinding after work. But if you’ve ever tried to install them, you know it’s not as simple as just hanging a few bulbs and calling it a day.
Over the years, I’ve seen friends struggle with sagging wires, tangled cords, and even lights that fall mid-party. The how to install string lights on a patio in 2026 easy guide isn’t just about aesthetics—it’s about creating a safe, functional, and lasting setup that survives wind, rain, and time.
Whether you’re a DIY newbie or a seasoned home improver, this guide walks you through a modern, reliable method that works for patios of all shapes and sizes. No guesswork. No broken bulbs. Just a warm glow that lasts.
What You Need
Before you start, gather the right tools and materials. Trust me, skipping this step leads to frustration (and maybe a trip to the hardware store mid-project).
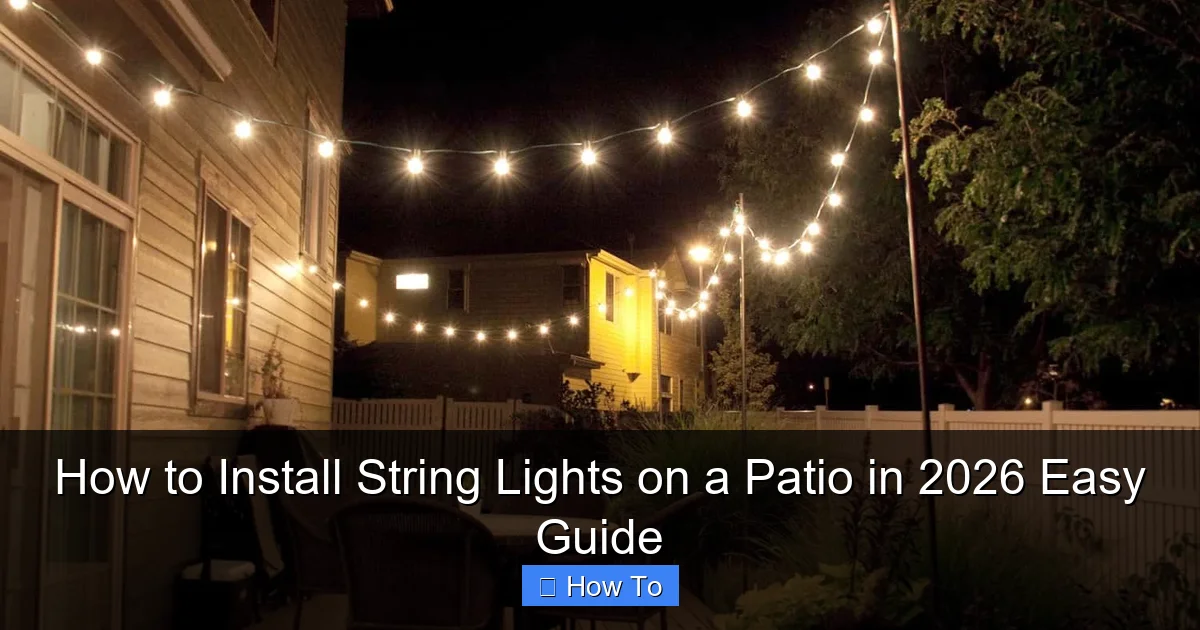
Visual guide about how to install string lights on a patio
Image source: wehangchristmaslights.com
- Outdoor-rated string lights (LED, shatterproof, and weather-resistant—look for IP44 or higher)
- Measuring tape (a 25-foot tape works for most patios)
- Drill and drill bits (for concrete, wood, or metal surfaces)
- Eye hooks, cup hooks, or screw-in anchors (choose based on your patio surface)
- Zip ties or cable clips (for securing cords and managing slack)
- Extension cords with outdoor-rated outlets (GFCI-protected is a must)
- Level (to keep lines straight—no one likes crooked lights)
- Optional: Timer or smart plug (for automatic on/off)
- Optional: Light clips or adhesive hooks (for vinyl or metal railings)
Pro Insight: I once used regular indoor string lights outside—big mistake. After two weeks of rain, half the bulbs flickered out. Always check the outdoor rating on the packaging. It’s worth the extra $10.
Step-by-Step Guide to How to Install String Lights on a Patio in 2026 Easy Guide
This isn’t just a random tutorial—it’s the method I’ve refined after installing lights on patios from Texas to Maine. The how to install string lights on a patio in 2026 easy guide focuses on durability, simplicity, and style.
Step 1: Plan Your Layout (Sketch It Out)
Start with a rough sketch. Grab a notepad or use a free app like Sketchbook. Draw your patio, noting where the house connects, railings, posts, and any obstacles (like trees or furniture).
Decide on the lighting pattern:
- Perimeter: Lights along the edges (great for defining space)
- Grid: Crisscrossed lines (ideal for large patios)
- Canopy: Lights radiating from a central point (perfect for gazebos)
Measure the total distance you’ll cover. Add 10–15% extra for slack and curves. This helps you buy the right number of light strands.
Warning: Don’t daisy-chain more than 3–5 strands. Overloading circuits causes overheating. Check your lights’ max connection limit.
Step 2: Choose the Right Mounting Method
Your patio surface dictates how you attach the lights. Here’s what I’ve learned from trial and error:
- Wood (deck, pergola): Use eye hooks or cup hooks. Drill pilot holes to prevent splitting.
- Concrete or stucco: Use concrete screws or toggle bolts. A hammer drill helps, but a regular drill with masonry bits works too.
- Vinyl/metal railings: Use adhesive hooks or clamp-on clips (no drilling needed).
- No permanent attachment? Use weighted bases or freestanding poles (great for renters).
For a modern look, I love using stainless steel cable systems—they’re nearly invisible and super sturdy. But they cost more, so I reserve them for high-wind areas.
Step 3: Mark and Install Anchor Points
Use your sketch to mark where each hook or anchor goes. For a grid or canopy, space points every 3–5 feet. For perimeter, go every 4–6 feet.
Drill holes and screw in hooks. Use a level to ensure they’re aligned. I once skipped this step and ended up with lights that looked like a drunk spider’s web. Not a good look.
Pro Tip: Paint hooks or anchors to match your patio color. It’s a small detail, but it makes the setup look intentional, not like a last-minute add-on.
Step 4: String the Lights (The Fun Part)
Start at the power source. Unroll the first strand and attach one end to a hook. Work outward, gently pulling the wire taut—but don’t stretch it.
For straight lines, loop the end of the strand around the hook and secure it with a zip tie. For curves, use multiple hooks and let the wire drape naturally.
If you’re doing a grid, cross the strands at 90-degree angles. Secure intersections with zip ties or small carabiners. This prevents sagging in the middle.
For long runs, use support wires (thin steel cables) stretched between hooks. Hang the lights from the cable with S-hooks. This keeps everything tight and reduces stress on the bulbs.
Common Mistake: I used to tie lights directly to hooks with knots. Big no-no. Knots loosen over time and can damage the wire. Always use zip ties or S-hooks.
Step 5: Manage Cords and Power
Outdoor extension cords are your best friend. Use a GFCI-protected outlet (or a GFCI adapter) to prevent shocks.
Run cords along walls or railings. Secure them with outdoor-rated cable clips or zip ties. Keep them off the ground to avoid tripping and water damage.
For a clean look, hide cords under decking, behind plants, or inside PVC conduit (painted to match).
If your setup is far from an outlet, use an outdoor-rated power box with multiple outlets. I keep one near my patio door—it powers lights, speakers, and even a mini-fridge.
Warning: Never use indoor extension cords outside. They’re not waterproof and can become fire hazards. I learned this after a squirrel chewed through one. (Yes, really.)
Step 6: Test and Adjust
Plug in the lights and walk around. Look for:
- Sagging wires: Tighten hooks or add support
- Flickering bulbs: Check connections and replace faulty strands
- Uneven spacing: Adjust hooks or add/remove zip ties
Turn off the power and make adjustments. Once everything looks good, secure all loose ends.
For a professional touch, use light dimmers or smart plugs to control brightness and timing. I use a timer so the lights turn on at dusk—no more fumbling in the dark.
Step 7: Maintain Your Setup
Check your lights monthly. Look for:
- Loose hooks or anchors (tighten or replace)
- Damaged cords (cut and splice or replace)
- Burnt-out bulbs (swap with spares)
After storms, inspect for wind damage. I once lost a strand to a gust—now I check the forecast before turning them on.
At the end of the season, unplug and store lights in a dry place. Wrap them around a cardboard tube to prevent tangles. (No, a ball in a bag doesn’t work. Trust me.)
Pro Tips & Common Mistakes to Avoid
Over the years, I’ve made every mistake in the book. Here’s what I wish I’d known sooner:
- Use LED lights. They’re 80% more energy-efficient, last 10+ years, and don’t get hot. Incandescent bulbs are a fire hazard in dry climates.
- Buy extra strands. You’ll need them for repairs or expansion. I keep one spare in the garage.
- Don’t ignore wind. In open areas, use stronger anchors or shorter spans. I once lost a grid to a 30-mph gust—now I use 1/8-inch steel cable for support.
- Label your strands. Write “Front” or “Back” on the plug with a permanent marker. It saves time when troubleshooting.
- Think about shadows. Lights hung too high cast long, spooky shadows. I keep mine 7–8 feet up for a cozy glow.
- Use a ladder with a spotter. I’ve fallen once (thankfully, into a bush). Always have someone hold the ladder.
Personal Story: My first attempt was a disaster. I used cheap plastic hooks that melted in the sun. The lights sagged, the bulbs popped, and my wife laughed for weeks. Now, I invest in quality hardware—it pays off in the long run.
FAQs About How to Install String Lights on a Patio in 2026 Easy Guide
Let’s tackle the questions I get most often.
Q: Can I install string lights without drilling?
A: Absolutely! Use adhesive hooks (rated for outdoor use) on vinyl or metal. For wood, try clamp-on clips or weighted bases. Just avoid overloading—adhesive fails under too much weight.
Q: How high should I hang the lights?
A: 7–8 feet is ideal. High enough to walk under, low enough to feel intimate. For pergolas, hang them from the rafters (6–7 feet high). I use a step ladder to test the height before installing.
Q: What if my patio has no power outlet?
A: Use solar-powered string lights (they charge by day, glow at night). Or run a weatherproof extension cord from your house. I’ve used a 50-foot cord across a yard—just bury it under mulch for safety.
Q: How do I prevent sagging?
A: Support every 3–5 feet. For long spans, use a steel cable as a backbone. I hang the lights from the cable with S-hooks—it’s like a suspension bridge for bulbs.
Q: Are smart lights worth it?
A: If you want convenience, yes. I use a smart plug to turn lights on/off with my phone or voice. You can also set schedules (e.g., “turn on at sunset”). But they cost more—start with a timer if you’re on a budget.
Q: Can I leave lights up year-round?
A: Only if they’re rated for all seasons. I take mine down in winter (freezing rain damages wires). But some heavy-duty sets survive snow—check the manufacturer’s specs.
Q: How do I fix a burnt-out bulb?
A: Most LED strands have replaceable bulbs. Unscrew the dead one and pop in a new one. If the whole strand fails, it’s usually the plug or wiring—replace the strand.
Final Thoughts
Installing string lights isn’t just about hanging bulbs—it’s about creating a space where memories happen. The how to install string lights on a patio in 2026 easy guide is your roadmap to a setup that’s safe, beautiful, and built to last.
Remember: Plan first, buy quality gear, and don’t rush. A little patience now saves headaches later. And if you mess up? That’s okay. I’ve re-hung lights three times before getting it right.
Now, go grab your tools, sketch your layout, and light up your patio. Your future self (and your guests) will thank you.
Action Step: Tonight, take 10 minutes to sketch your patio and measure the space. You’ll start your project with confidence—and avoid those “why didn’t I think of that?” moments later.
“`

