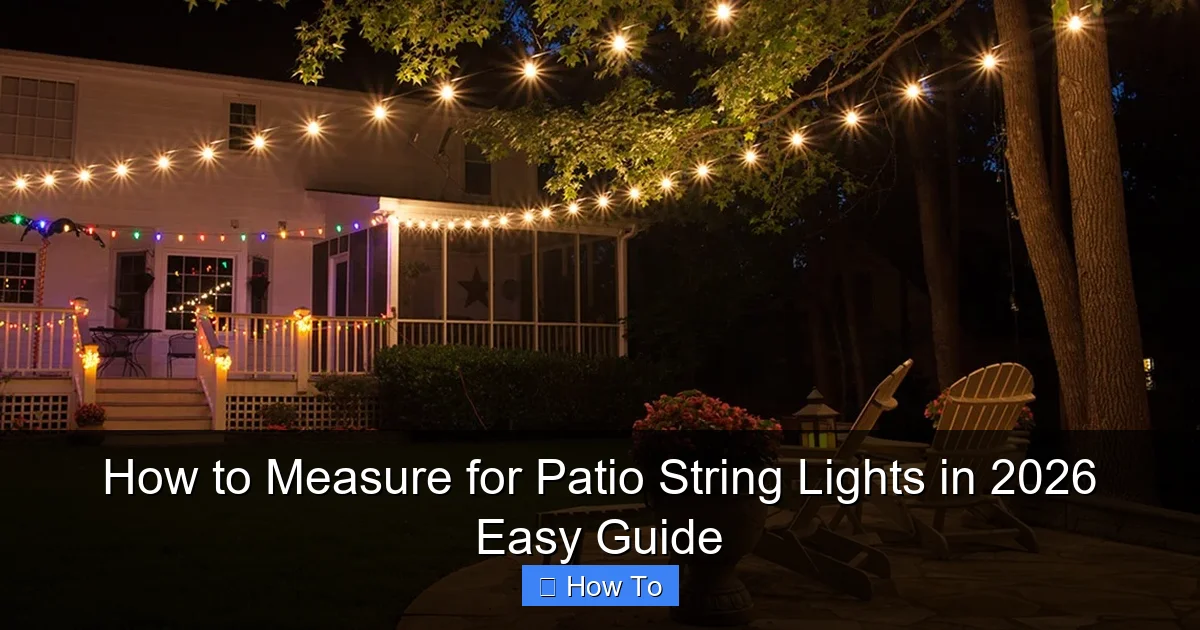
Featured image for how to measure for patio string lights
Image source: cdn.christmaslightsetc.com
Accurate measurements are the foundation for perfectly hung patio string lights—start by measuring the total linear footage of your outdoor space, including any posts, railings, or trees you plan to wrap. Use a flexible tape measure and account for 10–15% extra length to accommodate swags, sags, or unexpected obstacles, ensuring a professional, custom look without frustrating gaps or excess.
“`html
How to Measure for Patio String Lights in 2026 Easy Guide
Key Takeaways
- Measure your patio’s perimeter first to determine the total length of lights needed.
- Account for bulb spacing by dividing total length by desired distance between bulbs.
- Include extra length for swags, hooks, or outlet access—add 10–15% to measurements.
- Use a flexible tape measure for curves or irregularly shaped outdoor spaces.
- Map power source locations to avoid overstretching cords or using unsafe extensions.
- Test layout with rope first to visualize spacing and coverage before installing lights.
Why This Matters / Understanding the Problem
Let’s be honest: nothing ruins a cozy outdoor evening faster than realizing your string lights are too short or awkwardly spaced. I learned this the hard way after buying a beautiful set of Edison bulbs—only to find they barely reached halfway across my patio.
If you’ve ever stood in the middle of your backyard, measuring tape in hand, wondering, “Wait, do I go around the pergola or just straight across?”—you’re not alone. That’s exactly why knowing how to measure for patio string lights in 2026 easy guide is essential.
Whether you’re planning a romantic dinner, a backyard party, or just want to enjoy your outdoor space after sunset, the right lighting sets the mood. But it starts with accurate measurements. And trust me, guessing leads to regrets.
In this guide, I’ll walk you through a foolproof method—one I’ve used on my own patio, my friend’s deck, and even a rooftop terrace in Chicago. We’ll cover everything from tools to tricky corners, so you can hang your lights with confidence.
What You Need
Don’t worry—this isn’t rocket science. You don’t need fancy gear or a degree in engineering. Just a few simple tools and a bit of patience. Here’s what you’ll need to get started on your how to measure for patio string lights in 2026 easy guide journey:
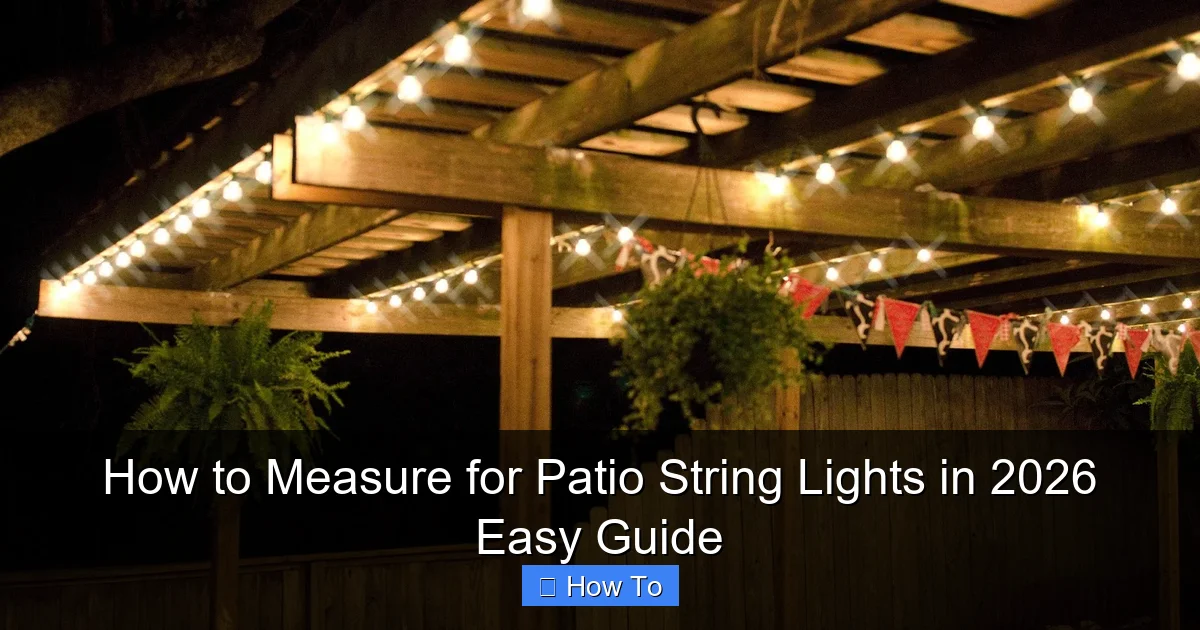
Visual guide about how to measure for patio string lights
Image source: warisanlighting.com
- Measuring tape (25–100 ft): A retractable steel tape works best. I use a 50-footer for most jobs.
- Notepad and pen or smartphone notes app: Jot down lengths, angles, and any quirks in your space.
- Chalk or removable tape: For marking anchor points if you’re working on a concrete or wood surface.
- Helper (optional but helpful): Someone to hold the tape at the far end—especially for long runs.
- Smartphone with camera: Snap reference photos of tricky spots or unique features.
- Ladder (if needed): For high walls, trees, or pergolas.
Pro tip: If you’re measuring at night, bring a flashlight. Shadows can hide obstacles like vents, downspouts, or uneven surfaces.
Step-by-Step Guide to How to Measure for Patio String Lights in 2026 Easy Guide
Step 1: Map Out Your Lighting Zone
Start by deciding where you want the lights. Are you framing the entire patio? Highlighting a dining area? Wrapping around a pergola?
Grab your phone and walk around your space. Take photos from different angles. This helps you visualize the layout and catch details you might miss in person.
Then, sketch a quick bird’s-eye view on paper or in a notes app. Mark key zones: dining table, seating area, grill, fire pit, etc. Think of this as your “lighting blueprint.”
For example, on my 12×16 ft patio, I focused on three zones: the pergola (top priority), the dining nook (under a roof overhang), and a path leading to the garden. Each required different mounting strategies.
Tip: Use chalk to outline your zones on the ground if you’re working on concrete or pavers. It washes off easily and gives you a clear visual.
Step 2: Choose Your Mounting Method
This step is critical because it affects how and where you measure. There are four common ways to hang patio string lights:
- Wall-to-wall (or post-to-post): Most straightforward. Lights span between two fixed points like house walls, fence posts, or pergola columns.
- Ceiling/roof-mounted: For covered patios or pergolas with rafters. Lights hang below the structure.
- Tree-to-structure: Ideal for yards with mature trees. Use tree-friendly methods (we’ll cover this).
- Free-standing poles: Great for open spaces without walls or trees. Requires ground anchors.
Once you know your mounting style, you can tailor your measurements. For instance, wall-to-wall is simple—just measure the distance between anchor points. But tree-to-structure needs extra slack for sway and growth.
Warning: Never nail or staple lights directly into trees. It damages bark and can kill the tree over time. Use tree-safe straps or cable ties rated for outdoor use.
Step 3: Measure Straight Runs
Now, the actual measuring begins. Start with the longest straight section—usually the main span across your patio.
- Stand at one anchor point (e.g., the side of your house).
- Unroll your measuring tape to the opposite anchor (e.g., a fence post or pergola column).
- Have your helper hold the end or secure it temporarily with tape.
- Read the measurement. Round up slightly—better to have extra than fall short.
For example, if the distance is 14 feet 3 inches, go with 15 feet to account for sagging and connection points.
Repeat this for every straight run. Label each one on your sketch: “Pergola Run 1: 15 ft,” “Side Path: 12 ft,” etc.
Pro tip: If your space has multiple levels (like a split-level deck), measure each level separately. Don’t assume continuity.
Step 4: Account for Curves, Angles, and Obstacles
Not everything is straight. Your patio might have a curved edge, a corner, or a pillar in the way. This is where most people mess up.
Here’s how to handle it:
- Curved paths: Measure along the curve using a flexible tape (or a piece of string, then measure the string). Add 10–15% extra for gentle bends.
- Corners: Measure from point A to the corner, then from the corner to point B. Add the two lengths. Don’t try to “cut” the corner—it creates tension and weak spots.
- Obstacles (vents, windows, plants): Go around them. Measure the detour path. For example, if there’s a window in the middle of a wall run, go up and over or down and around.
I once skipped this step on a client’s patio. There was a small HVAC unit on the wall. I measured straight across—only to realize the lights would drape over it. Not safe. Not pretty. We had to rework the whole layout.
Lesson learned: always check for obstacles before finalizing your measurements.
Step 5: Plan for Sagging and Drape
String lights don’t hang perfectly straight. They sag—especially over long distances or with heavier bulbs. And that’s okay. In fact, a little drape adds charm.
But you need to plan for it. As a rule of thumb:
- Add 10% extra length for spans under 10 feet.
- Add 15–20% extra for spans over 10 feet.
- For very long runs (20+ ft), consider using a support wire or center pole to reduce sag.
For example: A 12-foot run needs about 13.2–14.4 feet of lights (12 + 10–20%).
Why? Because when you tension the lights, they stretch slightly. Plus, gravity pulls them down. If you cut it too tight, they’ll look strained and may even break over time.
Tip: Test sag with a lightweight string first. Hang it at the desired height and see how much it droops. Adjust your extra length accordingly.
Step 6: Include Connection Points and Power Access
This is a sneaky one. Many people forget that string lights need power—and that means cords, outlets, and connectors.
Here’s what to consider:
- Power source location: Where’s the nearest outdoor GFCI outlet? Measure from that point to your first light.
- Extension cords: If the outlet is far, you’ll need an outdoor-rated extension cord. Factor its length into your total.
- Connectors and splices: Most string lights have end-to-end connectors. Each connection uses about 2–3 inches of “wasted” length. If you’re linking 3 strands, add 6–9 inches extra.
On my patio, the outlet was on the back of the house, about 8 feet from the first anchor. I needed an 8-foot extension cord just to reach the lights. Without planning for that, I would’ve been 8 feet short.
So, always measure from the power source to the start of your first light run. Then add that length to your shopping list.
Step 7: Account for Height and Clearance
How high will your lights hang? This affects both safety and aesthetics.
- Minimum clearance: At least 7 feet above the ground. This keeps lights out of the way of people, furniture, and pets.
- Above dining tables: 8–9 feet is ideal. Low enough to feel intimate, high enough to avoid head bumps.
- Under pergolas: Hang 1–2 feet below the rafters to avoid glare and heat buildup.
To measure height:
- Use a ladder or extendable pole to reach the mounting point.
- Drop a weighted string or tape measure down to the ground.
- Measure the vertical distance. Ensure it’s at least 7 feet everywhere.
Also, check for overhead obstructions: tree branches, satellite dishes, or roof overhangs. You don’t want lights tangled in leaves or blocked by a vent.
Warning: Never hang lights below 6 feet. It’s a tripping hazard and can lead to accidental damage.
Step 8: Calculate Total Length and Buy Smart
Now, add up all your measured lengths—including extras for sag, connections, and power access.
Example:
- Pergola Run: 15 ft + 20% = 18 ft
- Side Path: 12 ft + 10% = 13.2 ft (round to 14 ft)
- Power cord: 8 ft
- Connections: 3 strands = 6 inches extra
- Total: ~40.5 ft
Now, shop for string lights in 25-ft or 50-ft increments. I recommend:
- Buy 50-foot strands if your total is 35+ feet. You’ll have backup for future projects.
- Choose lights with end-to-end connectors so you can link multiple strands.
- Look for outdoor-rated, weatherproof lights (rated IP44 or higher).
Pro tip: Buy one extra strand. You’ll likely need it for a future repair or extension.
Pro Tips & Common Mistakes to Avoid
Over the years, I’ve made every mistake in the book. Here are the big ones—and how to avoid them when following this how to measure for patio string lights in 2026 easy guide.
- Mistake: Measuring only once. Always double-check. I once measured a 14-foot run, but the tape slipped—it was actually 16.5 feet. The lights were too short. Measure twice, hang once.
- Mistake: Ignoring wind and weather. In windy areas, lights can sway and rub against surfaces. Add extra slack and use protective sleeves or clips to prevent fraying.
- Mistake: Overloading circuits. Too many lights on one outlet can trip breakers. Check your lights’ wattage and ensure your circuit can handle the load.
- Mistake: Using indoor lights outdoors. Indoor string lights aren’t weatherproof. They’ll rust, short out, or pose a fire hazard. Always use outdoor-rated models.
- Mistake: Hanging lights too tight. This stresses the wires and connectors. Allow natural drape. It looks better and lasts longer.
Pro tip: Use a laser measure for large patios or multi-level spaces. I use a Bosch laser tool—it’s accurate within 1/8 inch and saves so much time.
Pro tip: Label your lights by zone. If you have multiple strands, use colored zip ties to mark which is for the pergola, which is for the path, etc. Makes troubleshooting a breeze.
FAQs About How to Measure for Patio String Lights in 2026 Easy Guide
Q: Can I use a regular tape measure, or do I need a special one?
You can absolutely use a regular retractable tape measure. A 25–50 ft steel tape is perfect for most patios. Just make sure it’s long enough for your longest run. I’ve used a $10 tape for years—no issues.
Q: What if my patio has no walls or posts to hang lights from?
No problem! Use free-standing poles or ground stakes. You can buy decorative metal poles or DIY them with PVC pipes. Anchor them securely with concrete or sandbags. For trees, use tree-safe straps (not nails).
Q: How much sag is too much?
It depends on the look you want. A gentle U-shape is ideal—about 1–2 feet of dip in the middle of a 10-foot span. More than that looks sloppy and can stress the wires. If it’s sagging too much, add a support pole or use a guide wire.
Q: Do I need to measure every single strand?
No. Measure your layout first. Once you know the total length, buy strands that fit. For example, if you need 40 feet, buy two 25-ft strands (50 ft total). You’ll have extra, which is good.
Q: Can I hang string lights on a covered patio with a roof?
Yes! Use ceiling hooks, rafter clips, or adhesive mounts (for smooth surfaces). Measure from rafter to rafter, and hang the lights 1–2 feet below. This protects them from rain and keeps the light diffused.
Q: What’s the best way to hide cords and connectors?
Use cord clips, zip ties, or decorative covers. Run cords along edges, under railings, or behind furniture. For a clean look, paint clips to match your walls. And always keep connectors off the ground to avoid water damage.
Q: Should I measure during the day or at night?
Daytime is best for accuracy. But I recommend a night check too. Turn on your lights (or use a flashlight) to see how shadows, glare, and spacing look after dark. You might spot issues you missed in daylight.
Final Thoughts
Measuring for patio string lights isn’t about perfection—it’s about preparation. And now, with this how to measure for patio string lights in 2026 easy guide, you’ve got everything you need to get it right the first time.
Remember: sketch your space, measure twice, account for sag and power, and always think about safety and aesthetics. Don’t rush it. Take your time. The result will be a warm, inviting outdoor oasis you’ll love for years.
When I finally hung my own lights—after all the measuring, the sketching, the double-checking—I stood back and smiled. The glow over my dining table, the soft hum of conversation, the way the light danced on the leaves… it was worth every minute.
So grab your tape measure, call a friend, and get started. Your perfect patio lighting is just a few measurements away.
Happy hanging!
“`

